
How to Remove White Lines from Patterns in Illustrator

I’m a self-taught artist who loves sharing tips and tutorials for painting with watercolor and gouache, and using the Procreate app on the iPad.
Learn how to remove white lines from patterns in Adobe Illustrator. Fix this pesky Illustrator glitch with the click of a button when saving!
After years of using Adobe Illustrator, I’ve learned several ways to fix the white line problem.
This post contains affiliate links. By purchasing an item through an affiliate link, I earn a small commission at no extra cost to you. As an Amazon Associate I earn from qualifying purchases.
I’ve been teaching myself how to use Adobe Illustrator for the past few years, and every now and then, I run across an issue that isn’t very easy to figure out.
White lines in patterns are my personal nemesis. Mainly because the information on the internet was NOT solving my problems. I sat through an 11-minute video only to hear that it’s not an issue.
Except that it is if you sell digital patterns. Or anything that needs to be printed. My white lines showed up when saved as JPEG images, so yes, I would say that’s more than a visual glitch on Illustrator.
Luckily, I’ve figured out how to fix them, and I’m sharing that knowledge today.
I sell digital patterns in my Etsy shop, and a customer recently contacted me to tell me that the patterns had white lines.
I thought I had fixed them all, but I neglected that particular pattern. It gave me the chance to screenshot the fixes as I worked.
How to Remove White Lines from Patterns in Illustrator
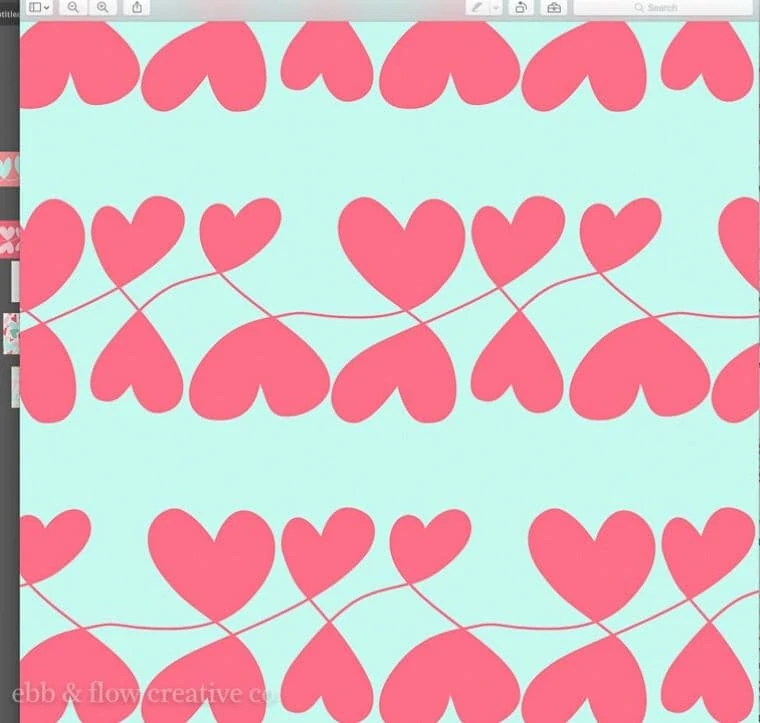
Here’s my image, which has tiny white lines between the patterns. If you print or use it in Photoshop, those lines will be visible.
The lines show where the pattern repeats, but in a seamless pattern, they should be invisible.

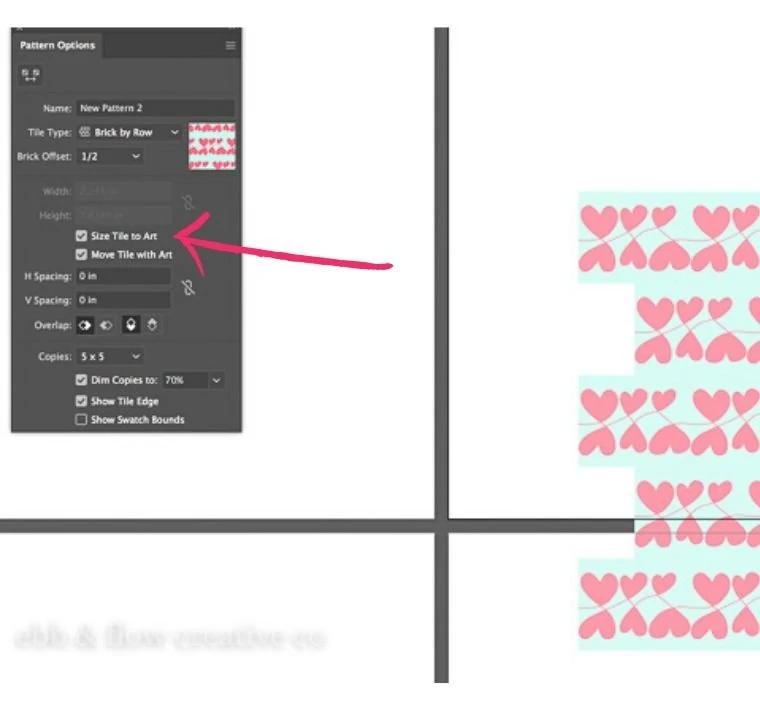
The Basic Fix #1: Size Tile to Art
Make sure to click “Size tile to art” when making the pattern using the pattern maker. (Unfortunately, this didn’t fix my lines, but it’s good practice.)
Fix # 2: Select “Anti-Aliasing” and “Art Optimized”
Anti-aliasing. This is the key phrase to know.
Turning it off in the general Illustrator panel will make Illustrator run faster because it’s not reading as much data. But it also helps with the lines showing up.
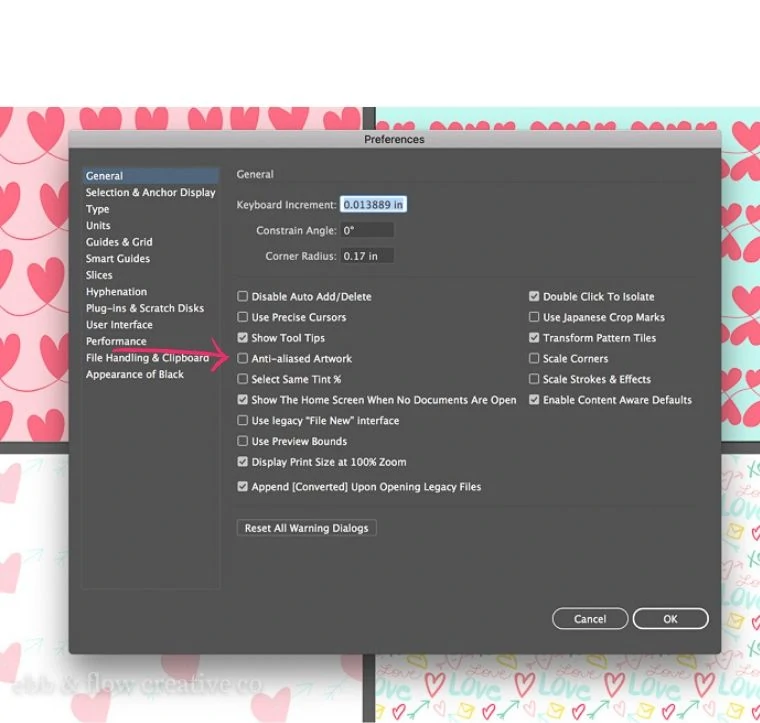
This will fix the visual glitch. But what about the saving glitch?
In the export to jpeg panel, under Anti-Aliased, choose “Art Optimized (Supersampling).”
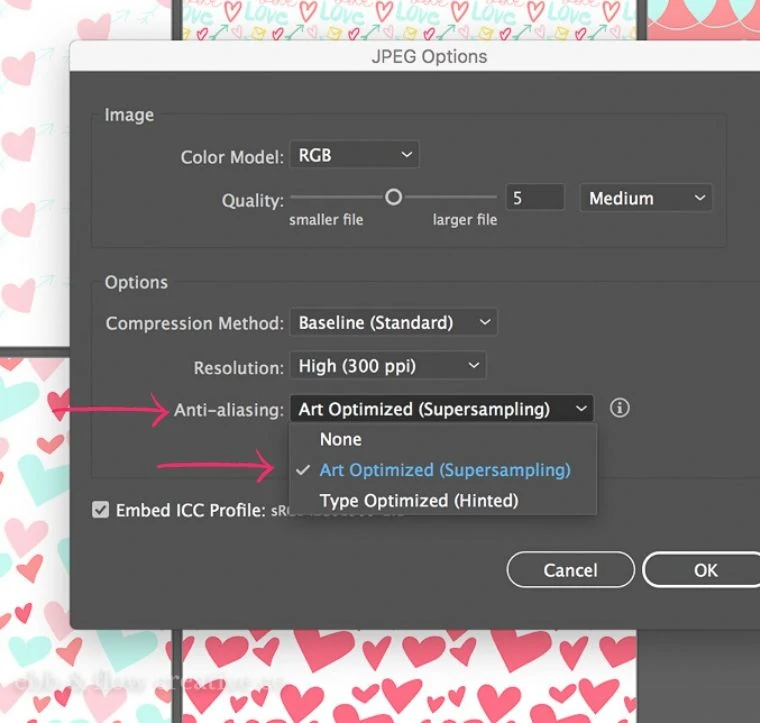
This is the magic button you need.
Fix #3: Don’t Use the Pattern Maker
I wrote this post years ago, and the biggest thing I’ve changed is that I no longer use the pattern maker.
When I first learned Illustrator, it was THE way to make patterns. However, I find it a bit glitchy.
Instead, copy the background square or rectangle (Command or Control C). Then, send it to the back (Command or Control B). Change the fill and stroke to nothing. Then, select the entire pattern and drag it into the swatches panel.
Fix #4: Your Artboards Need to Be Located at Whole Numbers
I started a Spoonflower shop for my designs recently and had the hardest time creating patterns without white lines. When I looked, all of my designs had one extra pixel.
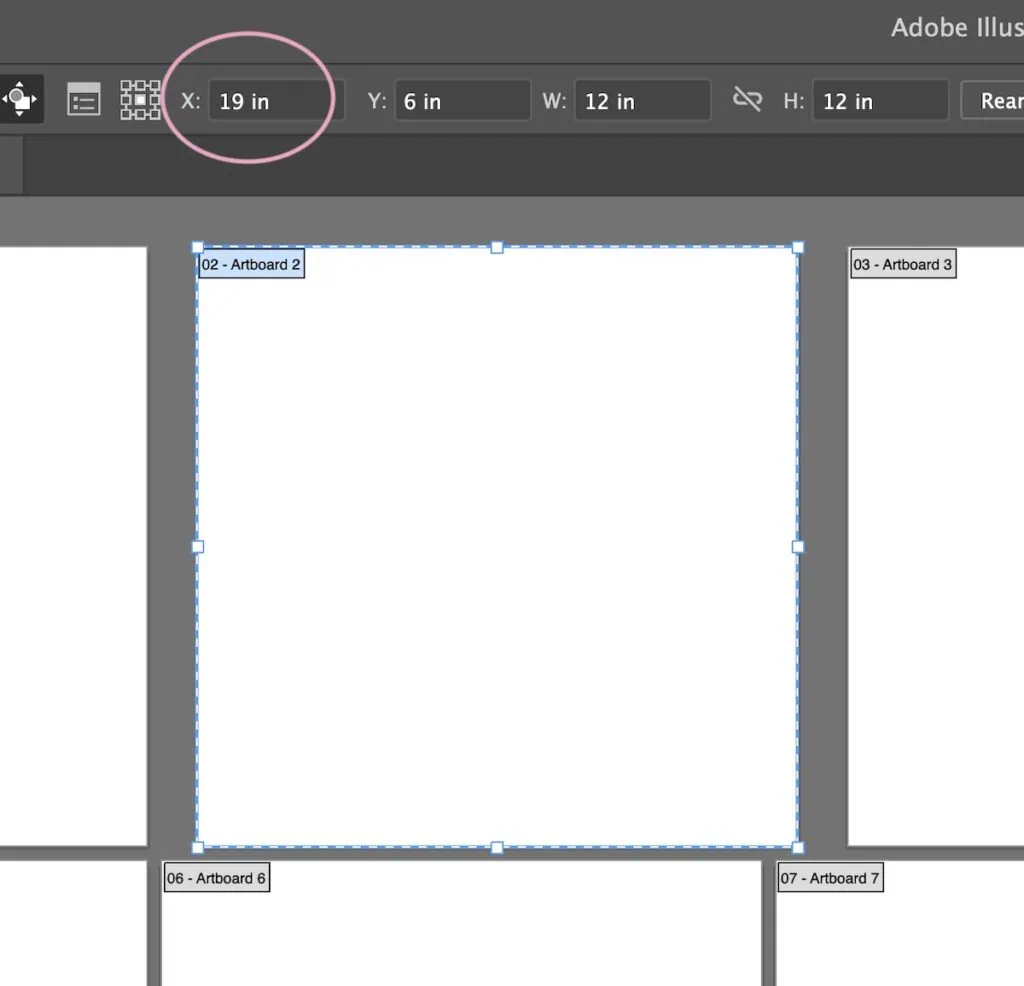
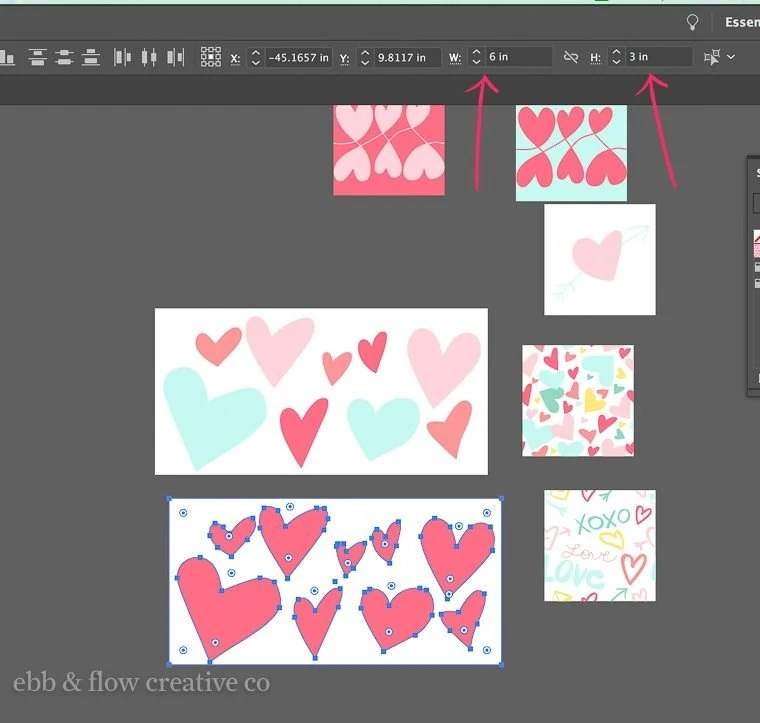
If you’re also dealing with the one extra pixel problem, you must move your artboards to sit on whole numbers. I’ve never cared where they were placed, so they’re usually located at random points. Look at the X and Y coordinates.
Adobe doesn’t know how to split a pixel, so it adds 1 to the size. Luckily, it’s super easy to change.
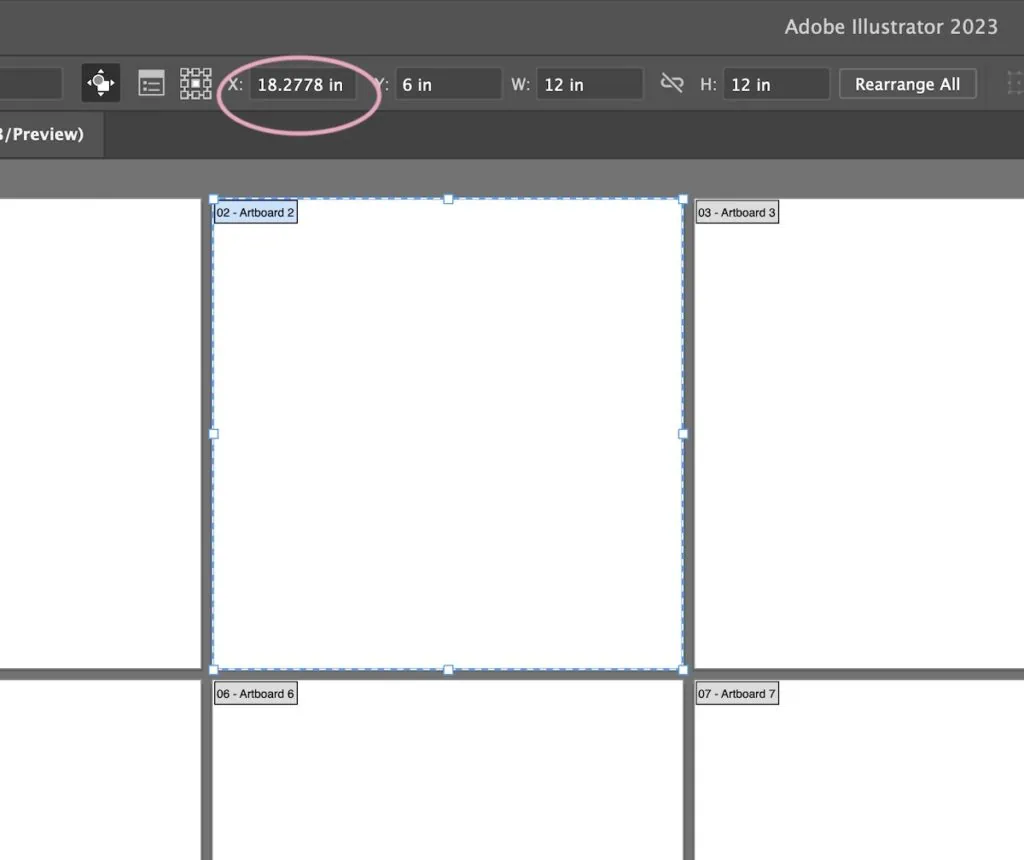
If the document already exists, you can edit the artboards. To move them, change the X (or Y) coordinates to the nearest whole number.
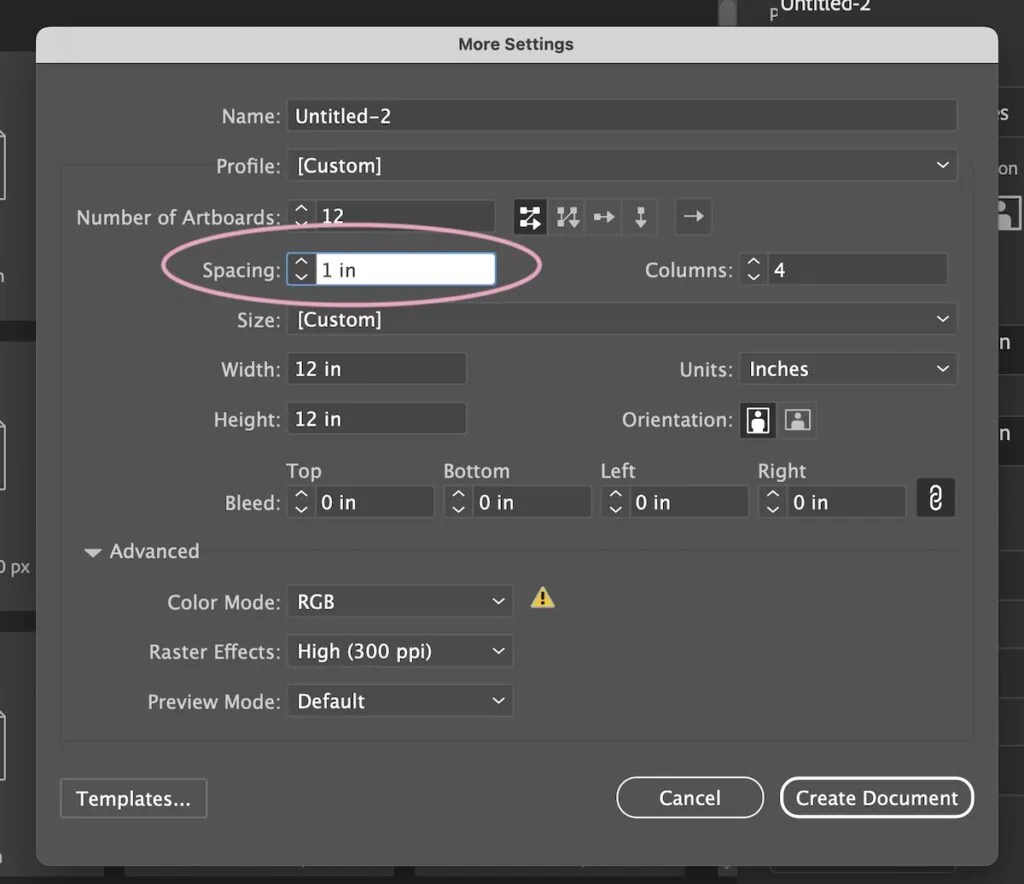
To create a document from scratch, you can change the artboard spacing by clicking advanced options and more settings. Then, change the artboard spacing to a whole number.
Other Tips for Making Seamless Patterns
While I was fixing the white lines in this pattern set, I noticed, to my horror, that my patterns were not 100% seamless. It’s one of the first pattern sets I created, and I guess I didn’t fully understand how to create them back then.
So here’s how I fixed them to make them seamless.
Pattern Sizes
Make the pattern size divisible by the size of your finished product.
For digital paper, I make the patterns 12″ x 12″. Each side of my image needs to be divisible by 12, not random sizes.
To fix this, I selected the pattern and the background and then altered the size, sticking as close to the size ratio as possible.
Then, I had to remake the pattern and refill the 12 x 12 shape with my pattern.
Offset Sizes
Make sure the pattern offsets are divisible by the finished dimensions as well.
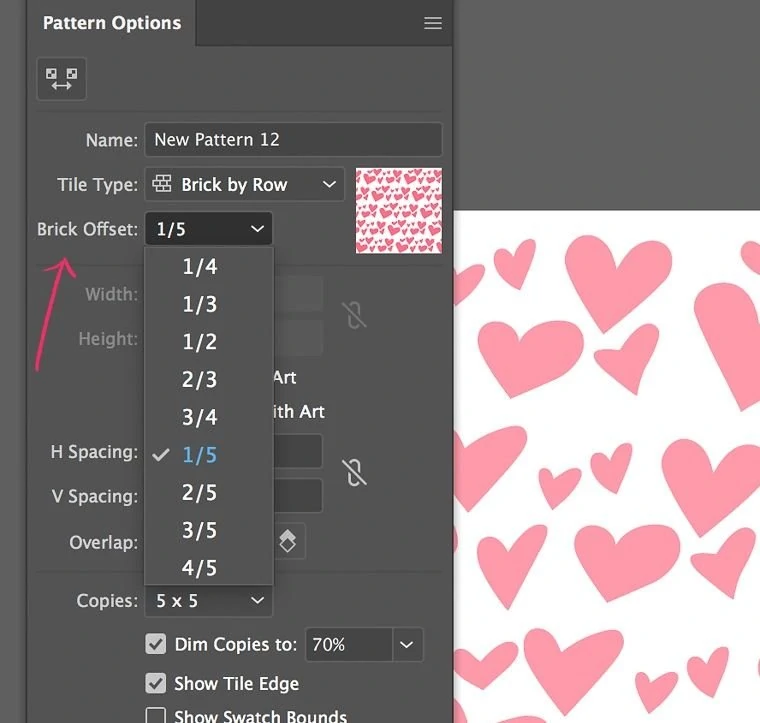
I had one pattern set to 1/5 offset, which isn’t divisible, so the pattern was not seamless.
Setting it to 1/2 offset changed the design but made it a seamless pattern.
You Might Also Like:
- How to Make Calendars in Illustrator
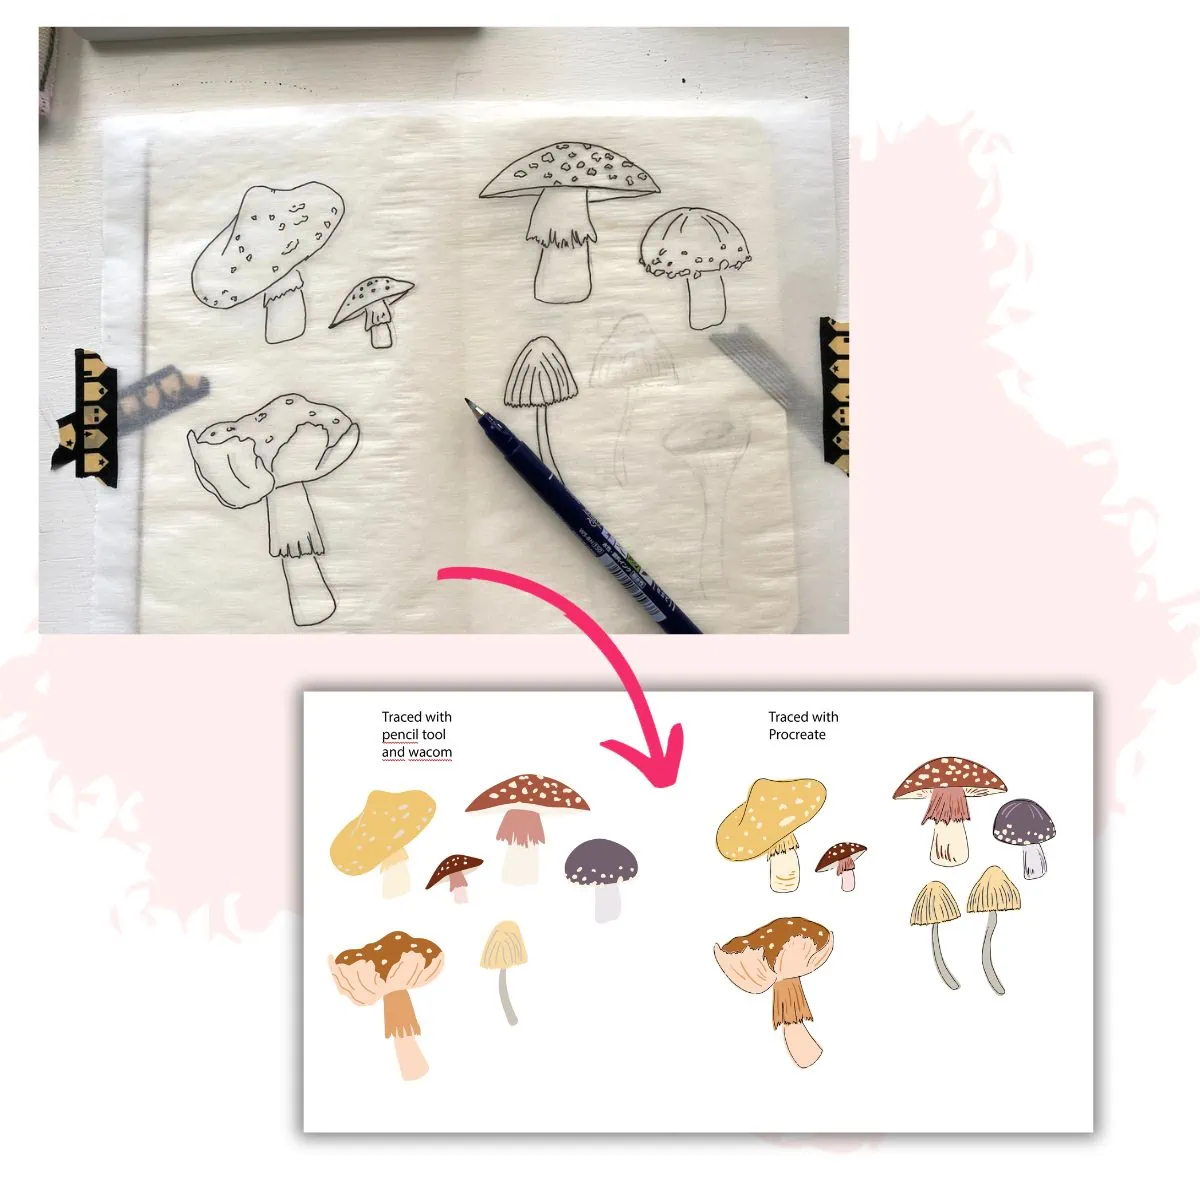
- Convert Procreate Drawing to Illustrator Files
- How to Make Repeating Patterns in Procreate
Pin for Later!

I found another way, set outline to none, snap the two objects together on their edge. Selected both of them and then set the outline colour to the fill colour. This seems to fix it. I tested with different zoom levels and rotation. You will need to take into consideration the outline if measurement needs to be precise, however for most situation this should be a practical solution.
thanks. this helps me a lot!
yess! gett in! thank you for sharing this incredibly helpful info 🙂