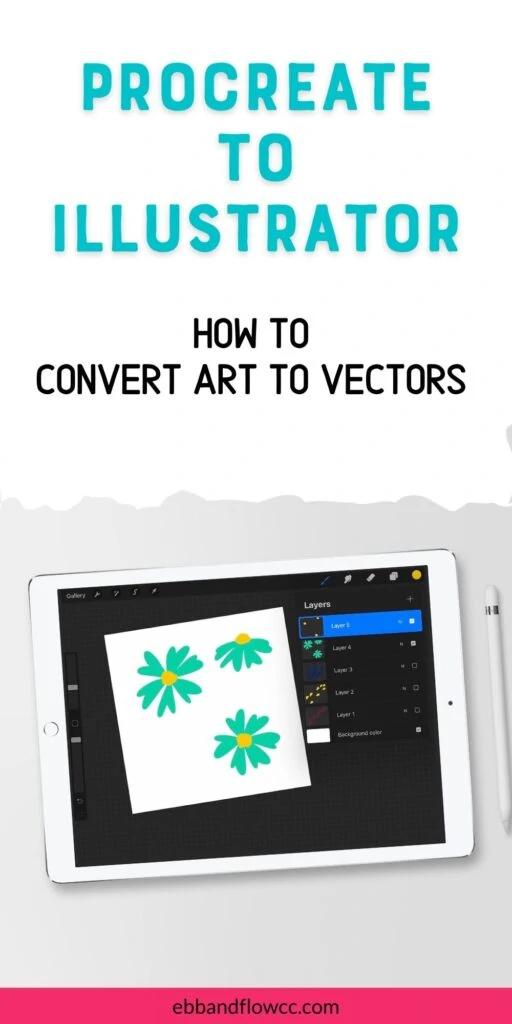
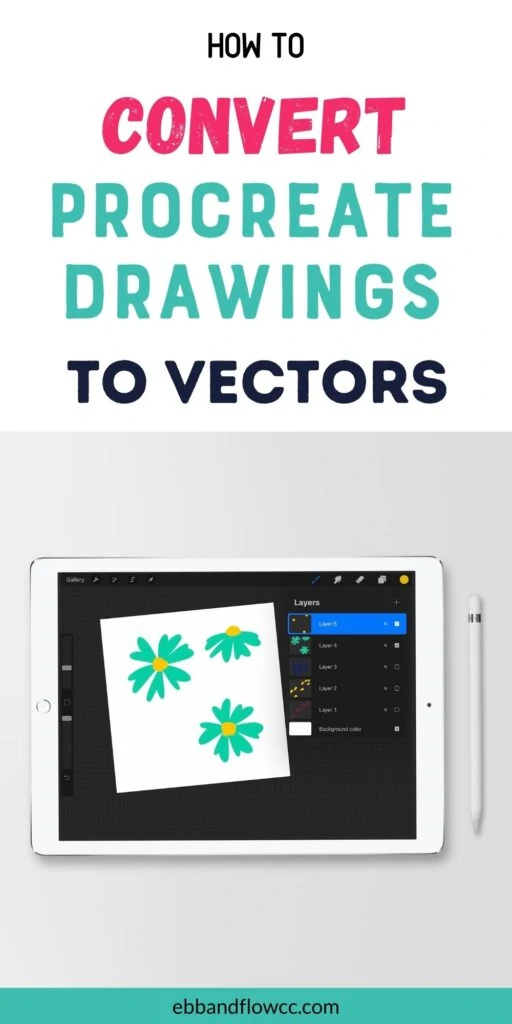
Procreate to Illustrator: How to Convert Procreate Drawings into Vectors

I’m a self-taught artist who loves sharing tips and tutorials for painting with watercolor and gouache, and using the Procreate app on the iPad.
Convert Procreate files into vectors with this easy tutorial! You will love using Procreate with Illustrator! Speed up your illustration workflow with this easy tutorial.
You might also like this guide on how to use Procreate.
This post contains affiliate links. By purchasing an item through an affiliate link, I earn a small commission at no extra cost to you. As an Amazon Associate I earn from qualifying purchases.
Vectorizing Procreate Drawing FAQs
What is the difference between Procreate and Illustrator?
Procreate is a drawing app on the iPad that allows you to use the Apple pencil to create artwork. It feels very natural to draw with a pencil versus a mouse. Procreate is very easy to learn.
However, Procreate is raster-based, which means that it used pixels and loses quality when scaled larger.
Adobe Illustrator is a drawing program for the computer (there is an app available, but it’s limited.) Illustrator is professional art software so the learning curve is a bit steeper, but it’s still possible to teach yourself.
Illustrator is vector-based, which means that the art can be scaled infinitely without losing quality.
I find it much easier to recolor artwork using Illustrator as well. It has a lot of fun features like the pattern maker, the recolor tool, and image trace, which make it unlike any of its cheaper competitors.
Why Use Procreate with Illustrator?
I love using Procreate with Illustrator because it feels so natural to draw with the Apple pencil.
This makes it really easy to create files for my Cricut (SVG files) or create elements for patterns.
Recently, I discovered just how easy and FAST it is to import drawing from Procreate to Illustrator.
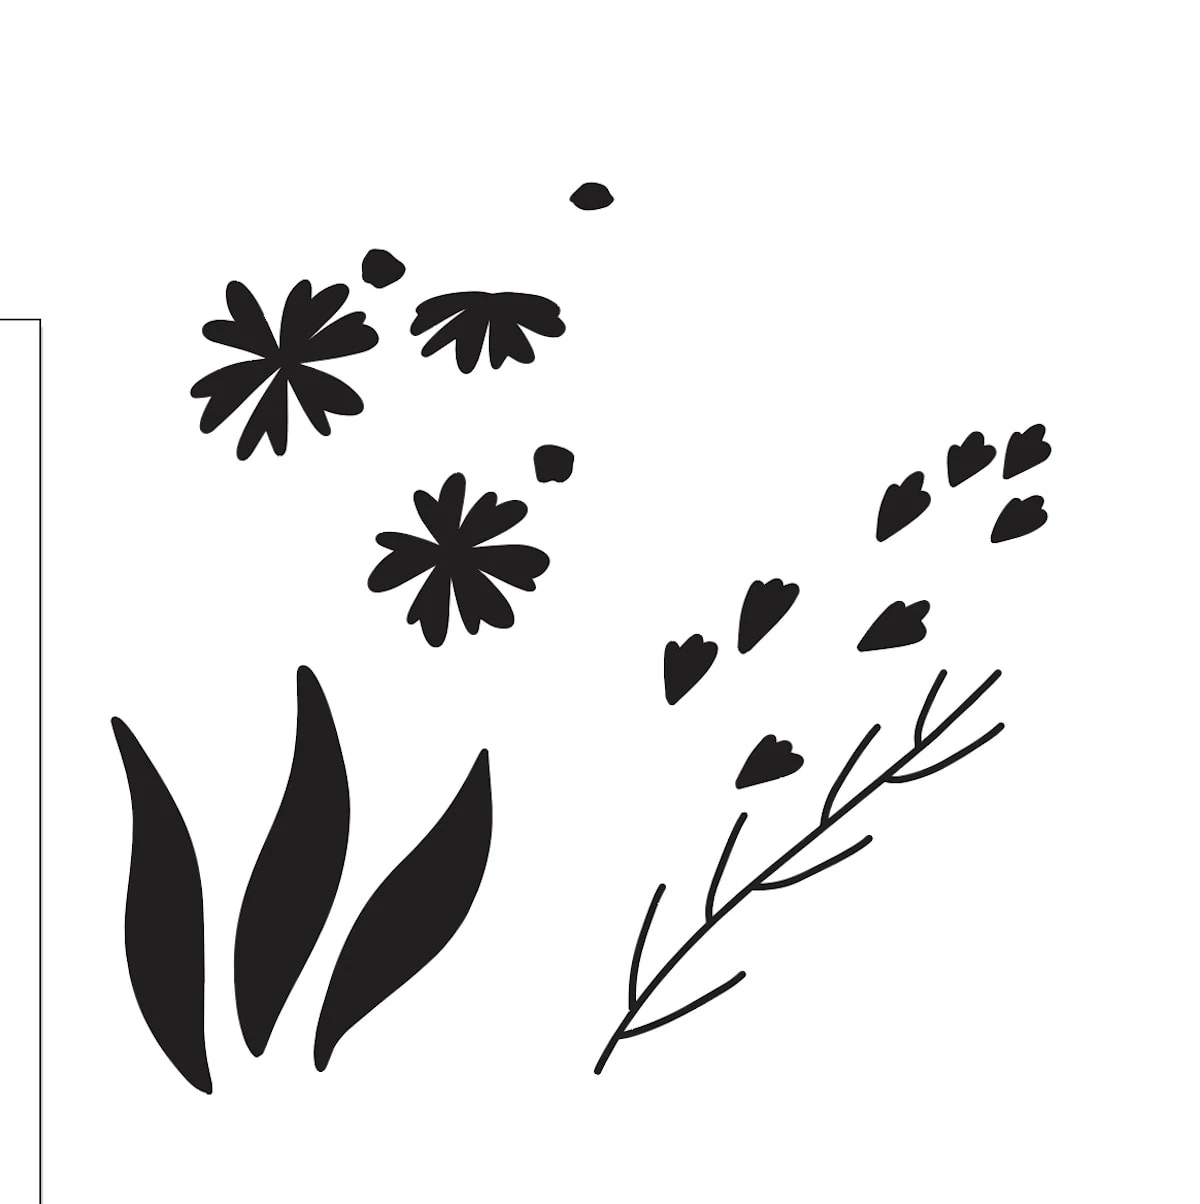
I’m working on adding floral elements to an old pattern listing in my Etsy shop and I was thrilled with how much easier it is to create the illustration in Procreate and bring them to Illustrator.
Can you use another program besides Illustrator?
As far as I know, no other vector-based software has the image trace function. It’s very possible that I’m wrong though.
Other programs might have workarounds for this process, but I’m not familiar with them.
I understand that Adobe is expensive, but it’s totally possible to pay for it by selling your art on Etsy.
Can you open Procreate files in Adobe Illustrator?
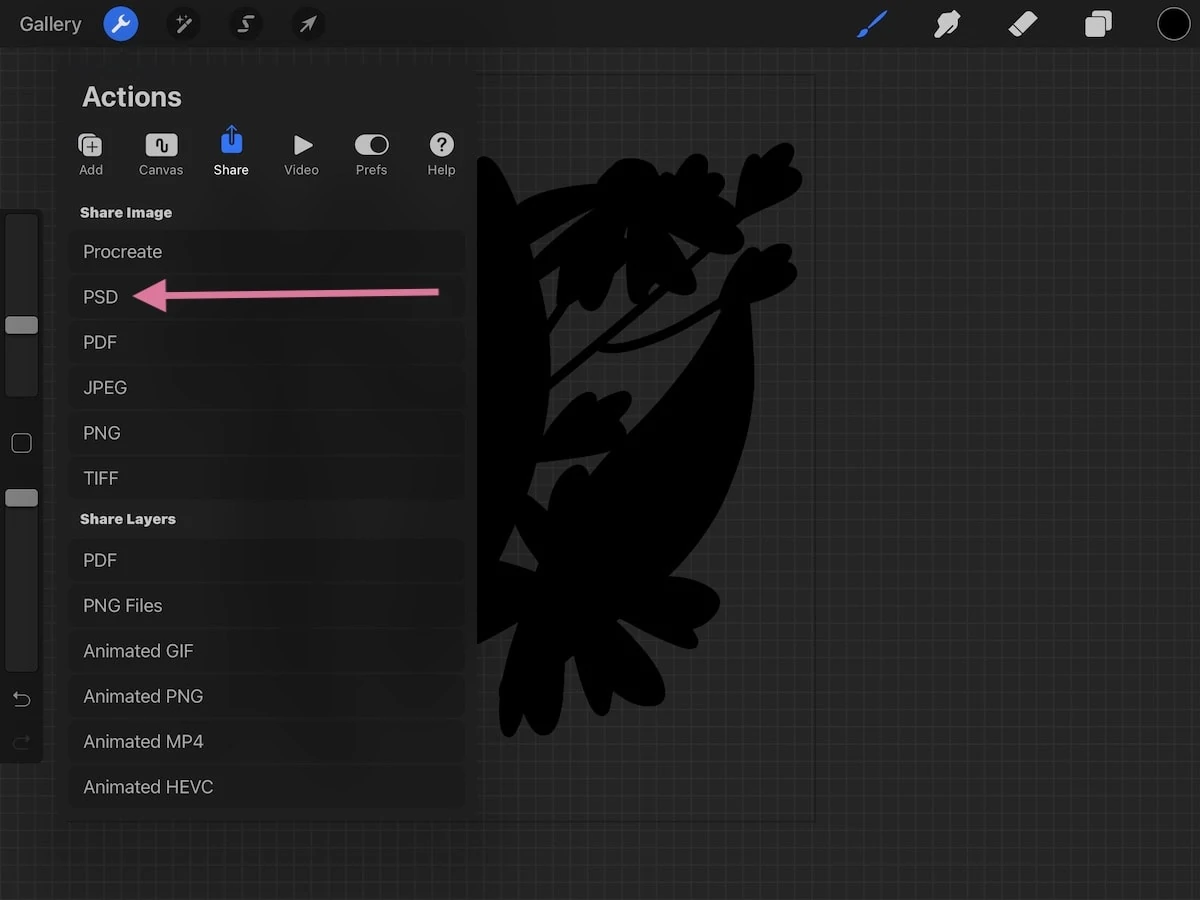
Procreate files themselves cannot be opened in Adobe Illustrator. You have to save them as PSD (Photoshop) files to open them.
PSD files allow you to open the entire document with all of the layers.
PNG and PDF files will open in Adobe Illustrator, but every single layer will be its own file. That will take forever to vectorize if you have a large file.
Converting a Procreate Drawing into a Vector
This is a 2-step process. The first part involves you drawing in Procreate, but there are a few differences to how you normally work.
After that, we bring the artwork into Illustrator. (If you have a Mac, this part is so easy…)
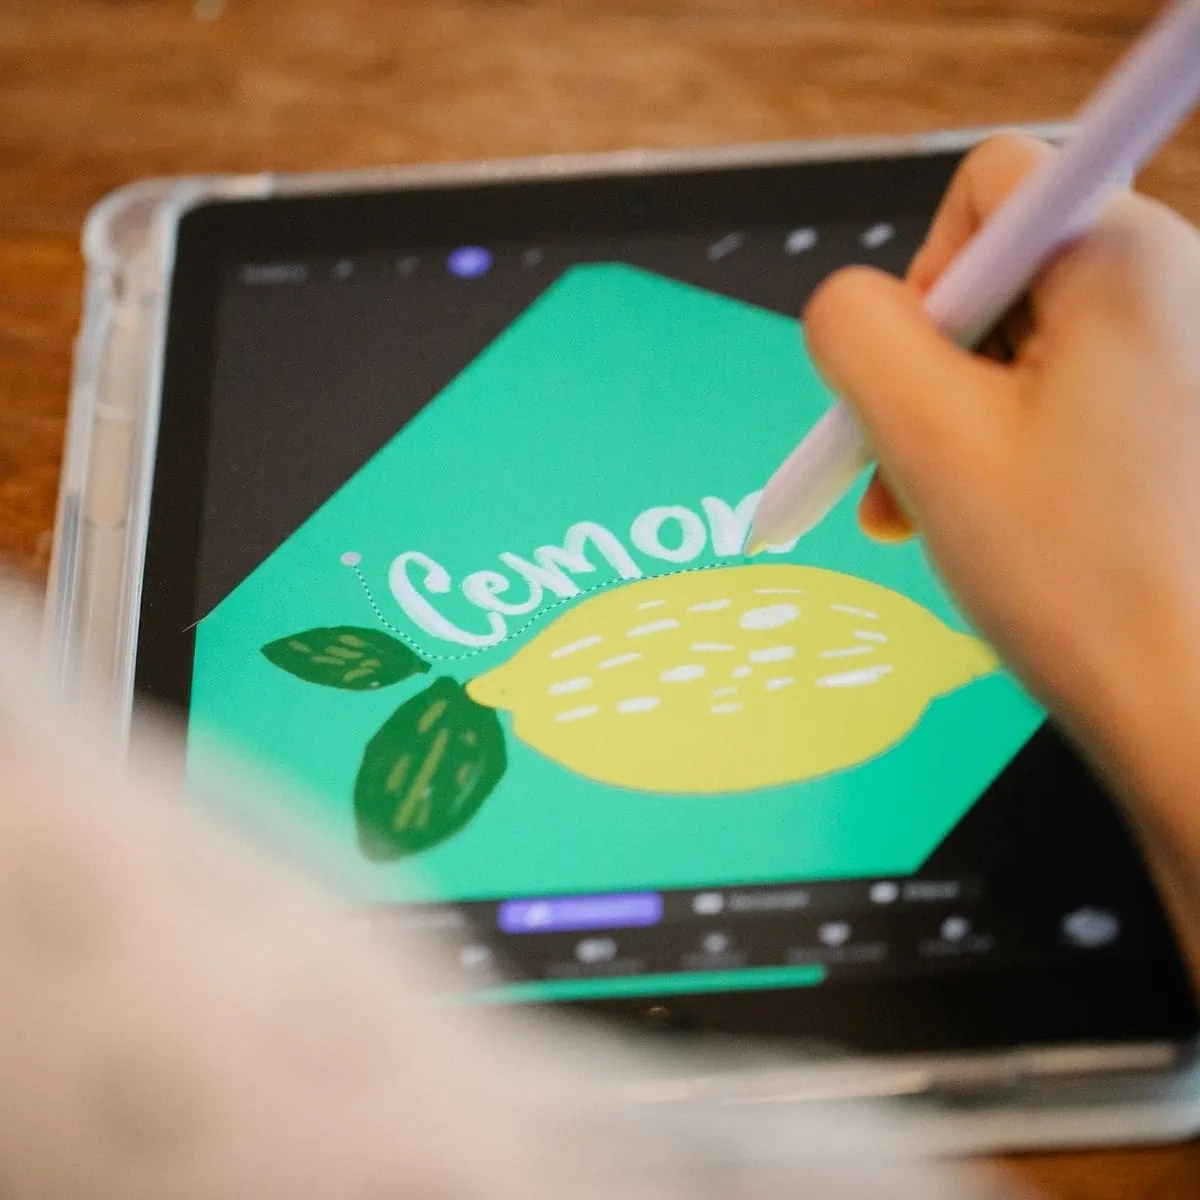
Getting Your Drawing Ready on Procreate
There are 2 really important things to know about creating your artwork in Procreate.
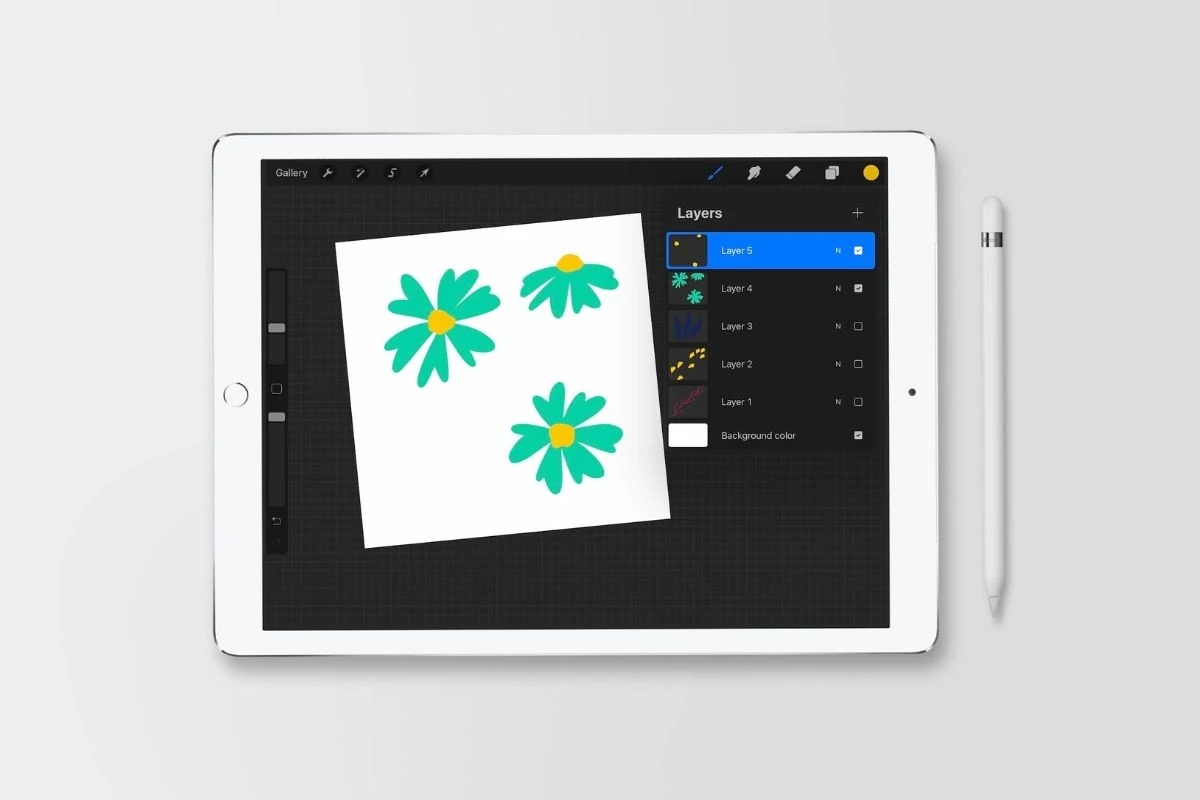
The first is that every single element needs to be on its own layer.
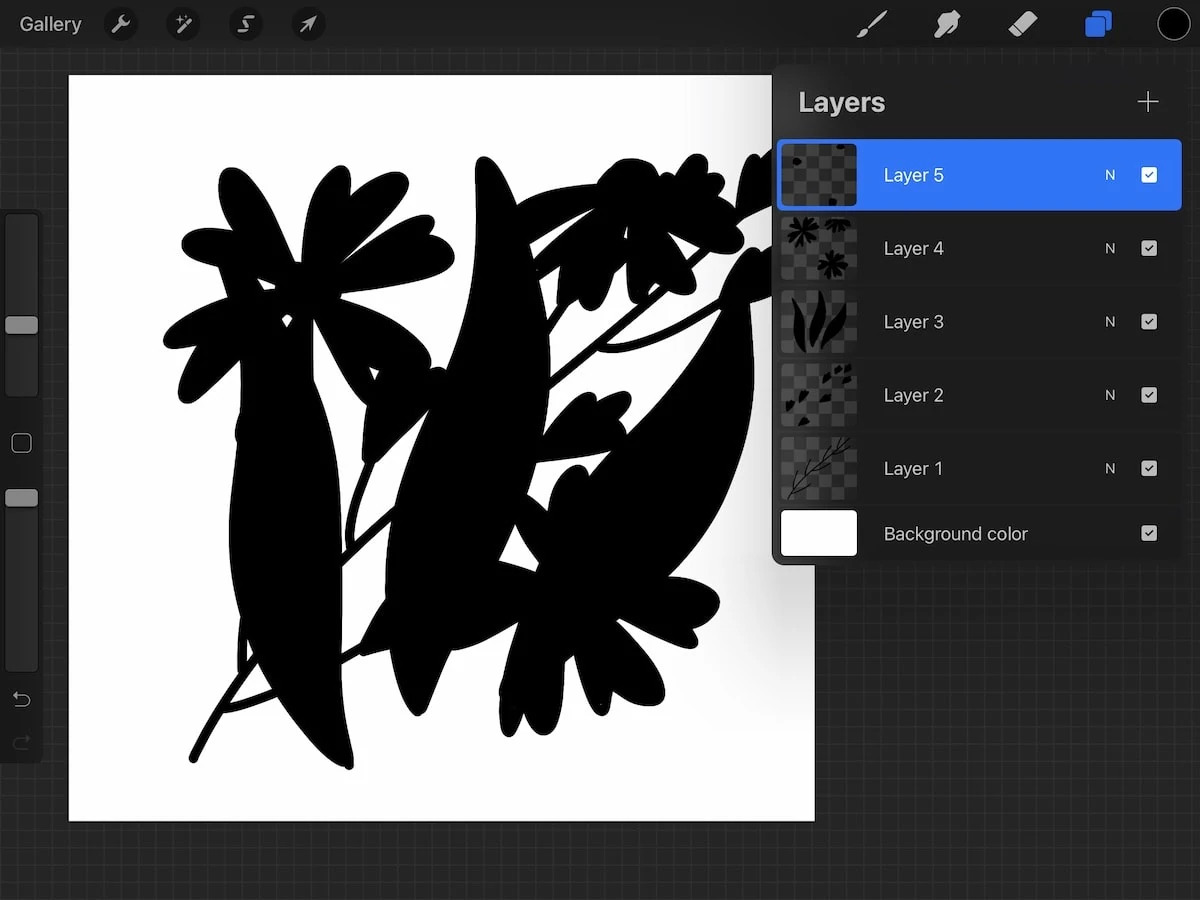
The second is that you will need to make every single item black. (Illustrator can handle colored files, but it works so much better with black shapes.)
If I had to add one more tip, I would say to save textured brushes for textured layers only, not the actual artwork. I love using my monoline brush.
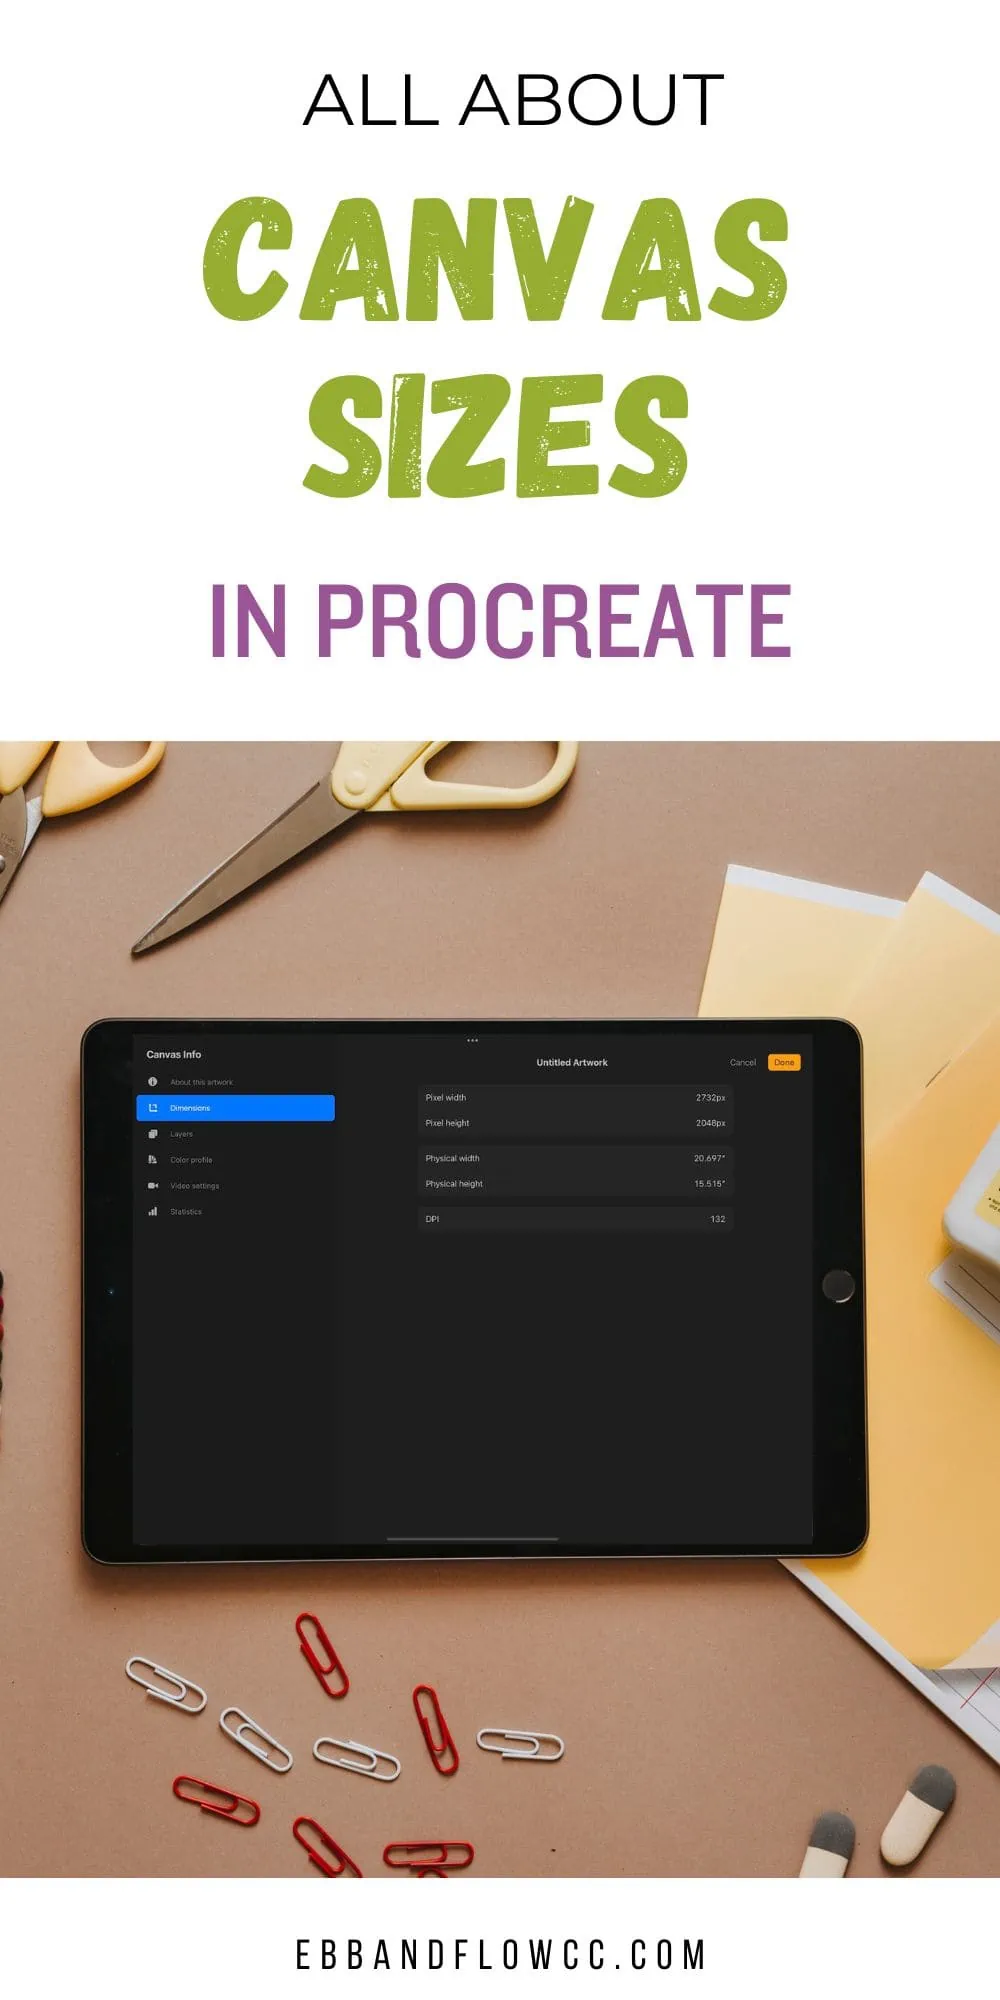
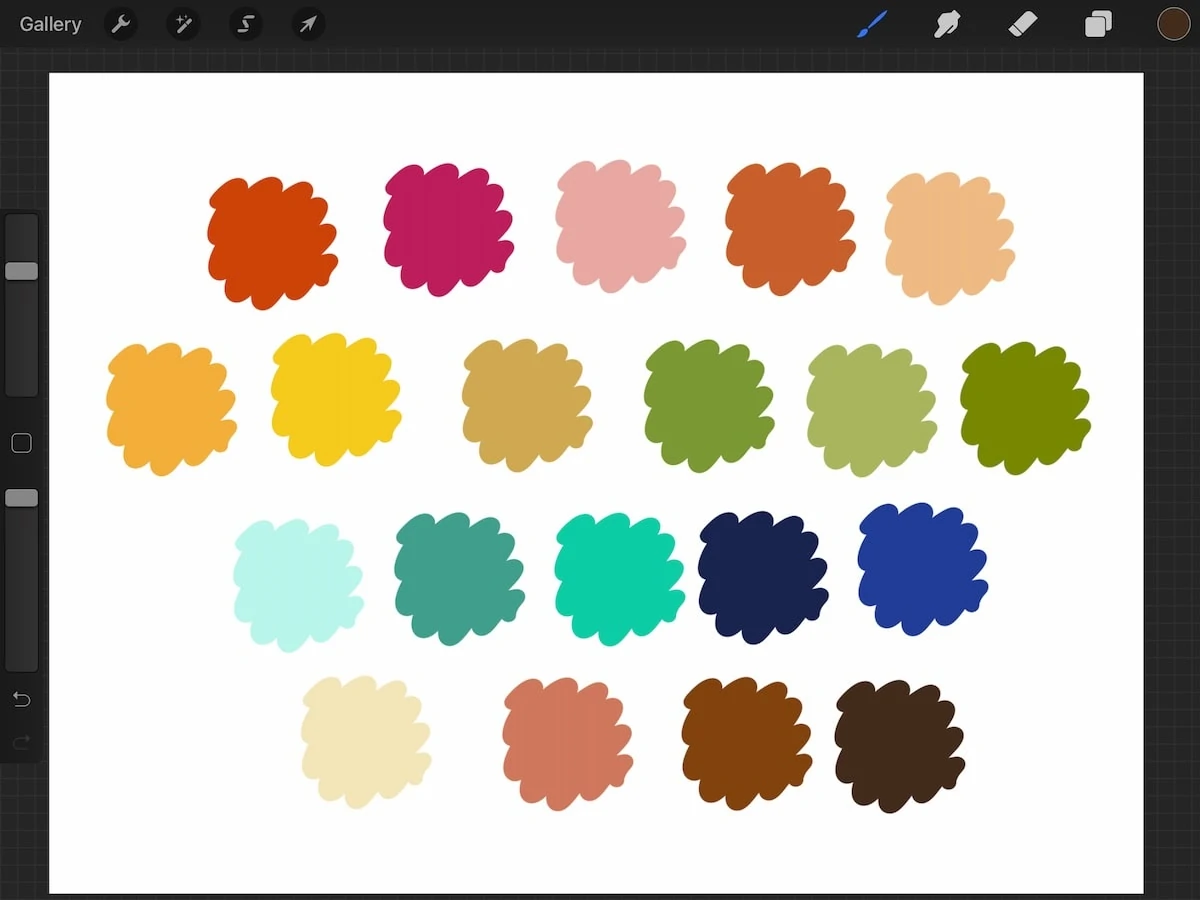
- Create a large canvas to work on. I used 2048 x 2048 pixels.
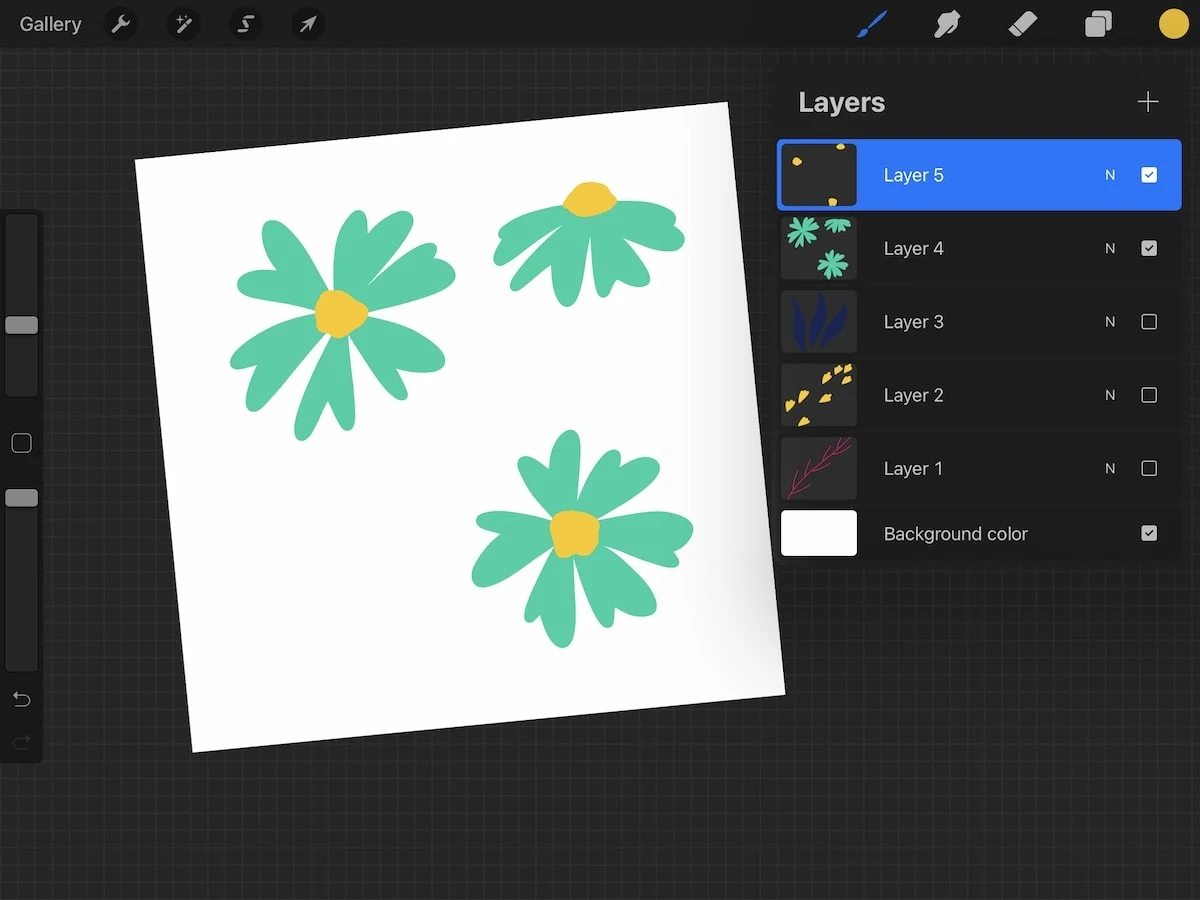
- Draw your artwork using a new layer for every single element. For my florals, I use one layer for the petals, another for the flower center, and another for any other flower details.

- You can draw these using colors or you can lower the opacity to be able to see the placement for the flower details.
- Draw as many layers as you want (or that your iPad allows.) Even 25 layers won’t take very long to vectorize! Hide layers as you go so that you can see what you’re working on.
- Make every layer black. Select alpha lock for each layer, select black, and then click fill layer.
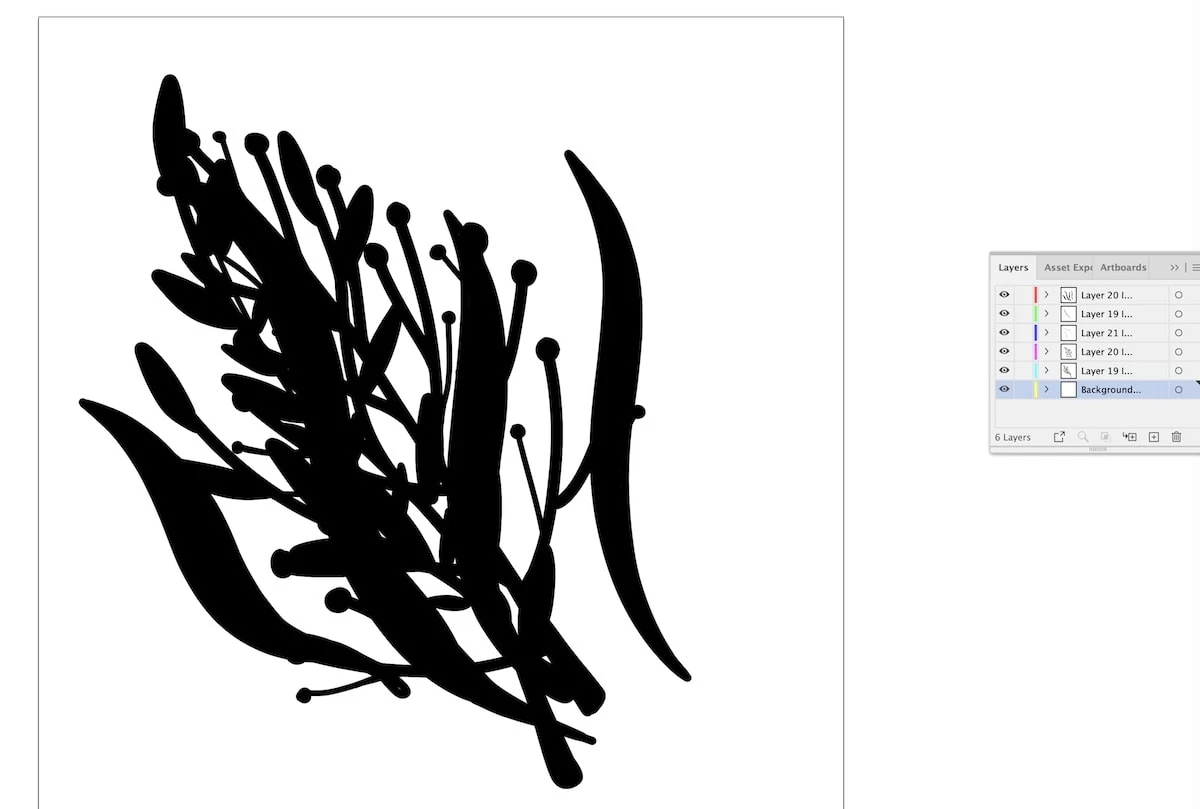
- Turn the layers back on that you want to import. You will have a big black blob.
- Turn off the background layer. (If you forget this step, it’s not a huge deal.)
- Share as a PSD file. This brings the entire file with the layers preserved.
- If you have a Mac, airdrop this file into your computer. If you have Windows, you will need to get them on your computer using google drive or emailing the file if it’s small enough.
Using Illustrator to Convert Drawing to Vectors
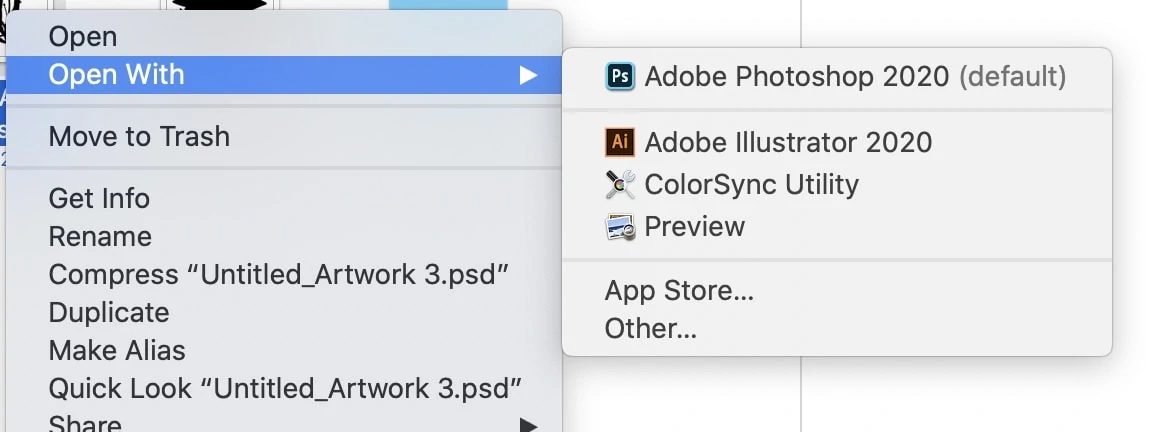
- Open the PSD file with Illustrator. You will have to manually select this or it will open in Photoshop.

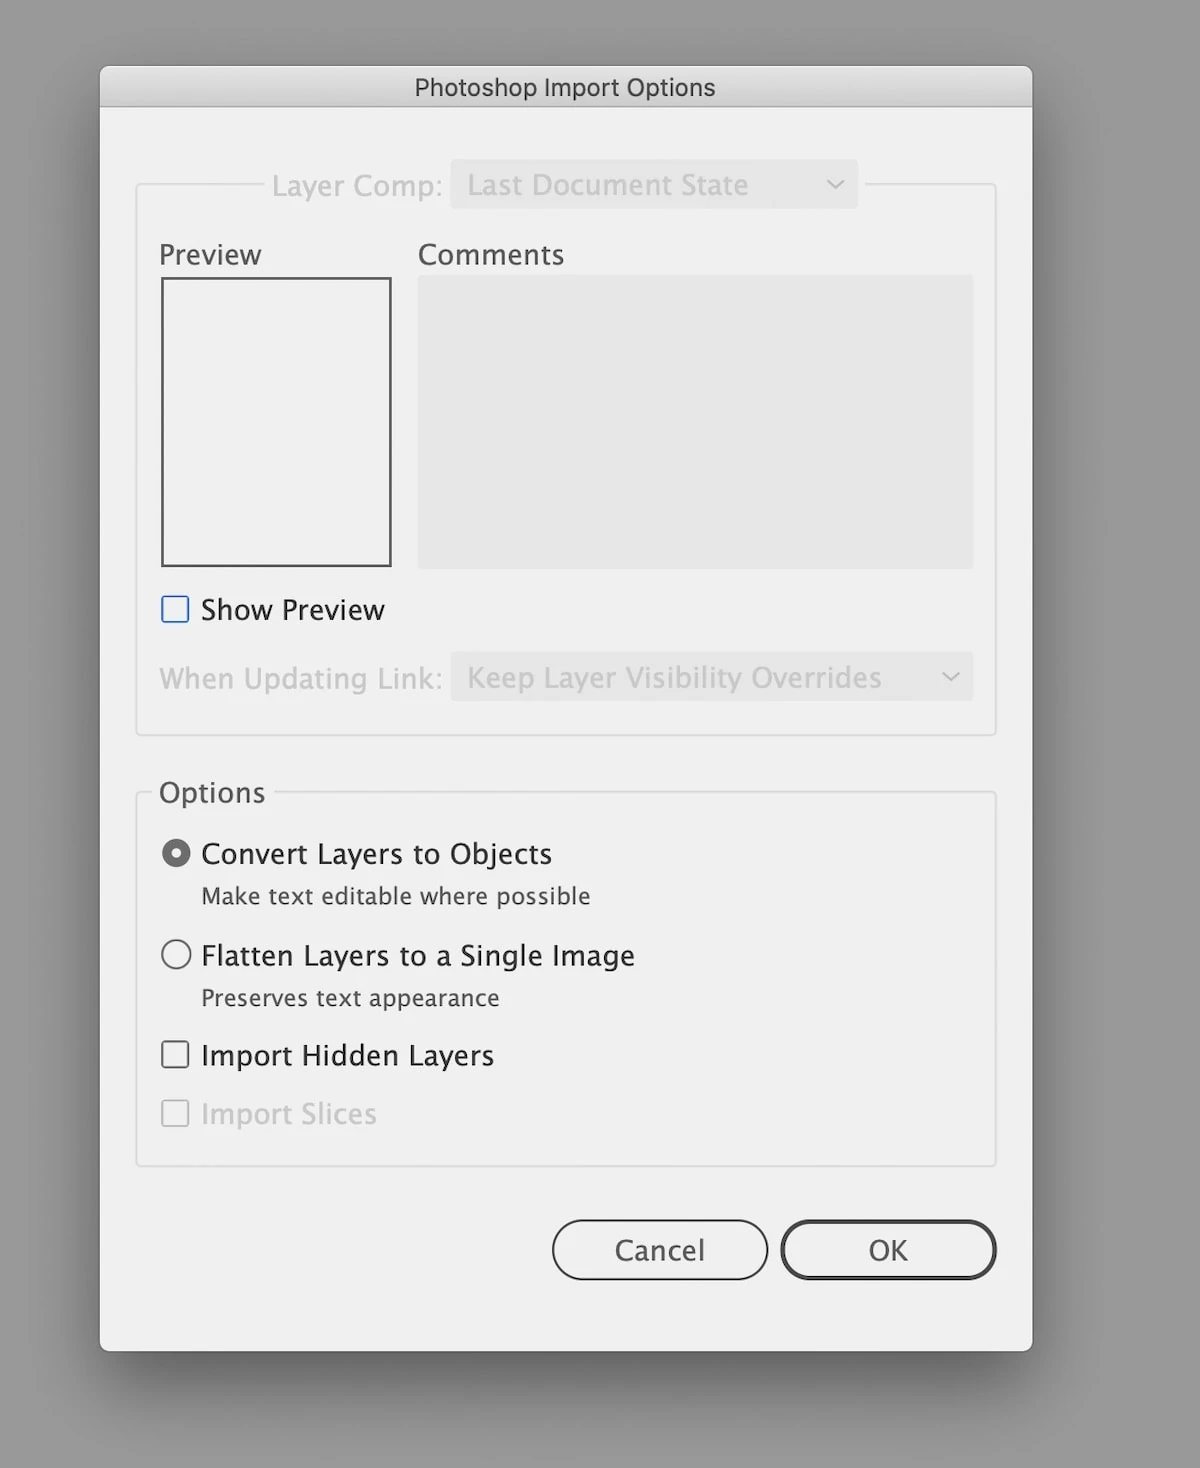
- Select “Convert Layers to Objects” and click okay.

- This brings the layered file into your artboard.

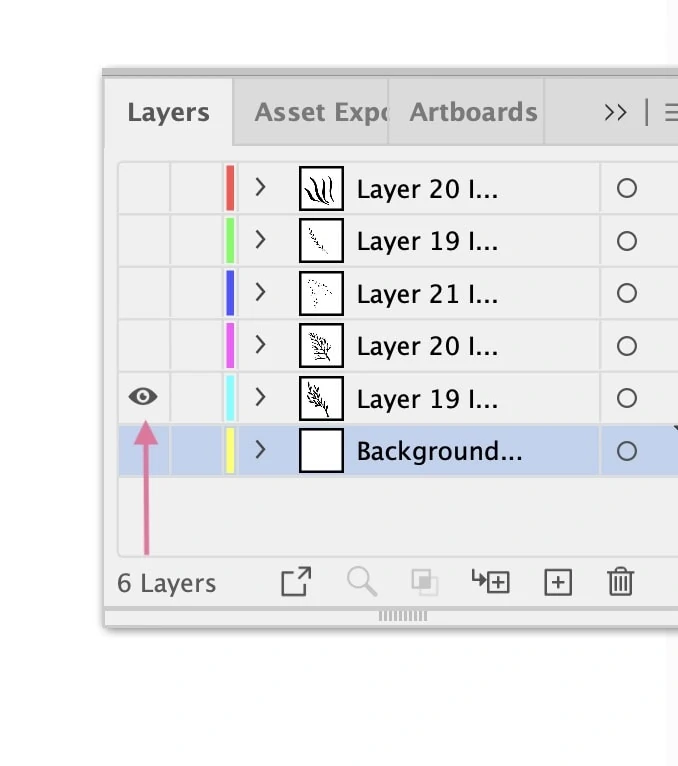
- Turn off all of the layers except the 1st one (not the background.)

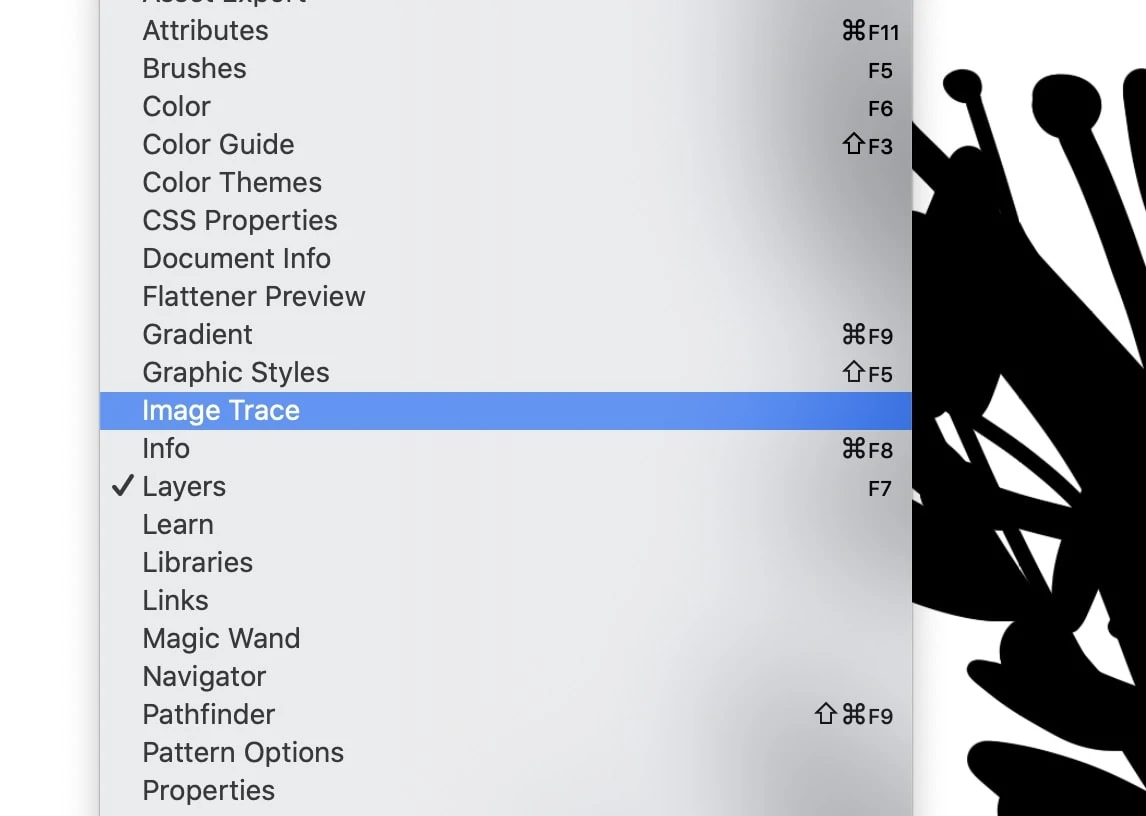
- When you click on the layers, you will see Image Trace at the top, but we’re going to need to whole window panel open so go to Window> Image Trace.

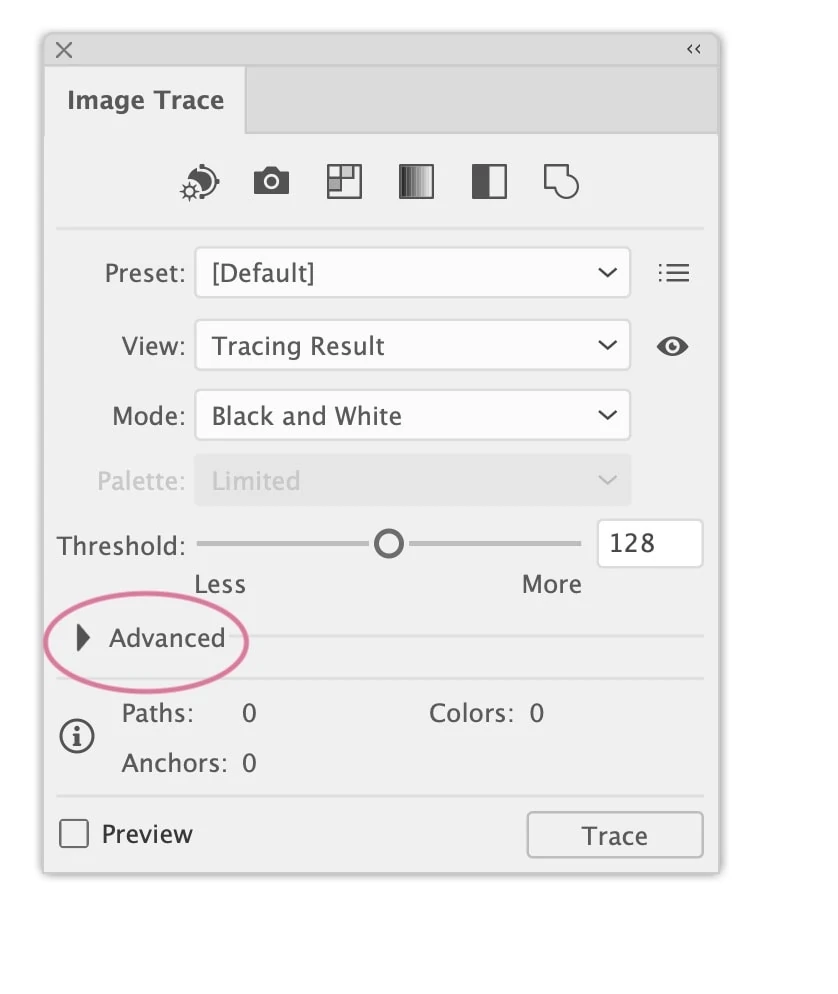
- It brings up a small window. Click Advanced to get all of the options.

- Click ignore white.*

- You can play with the modes and settings to get better results for the image trace.
- Click Trace. (This isn’t permanent, so don’t worry about it messing it up.) You will get a message about it taking a while since the image is large.
- If you’re not happy with the results, play with the settings until you are happy.
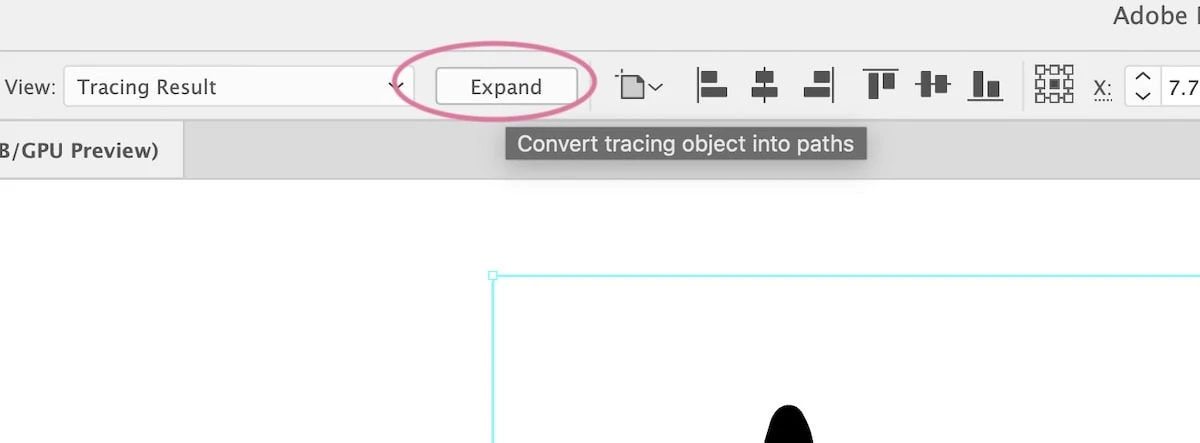
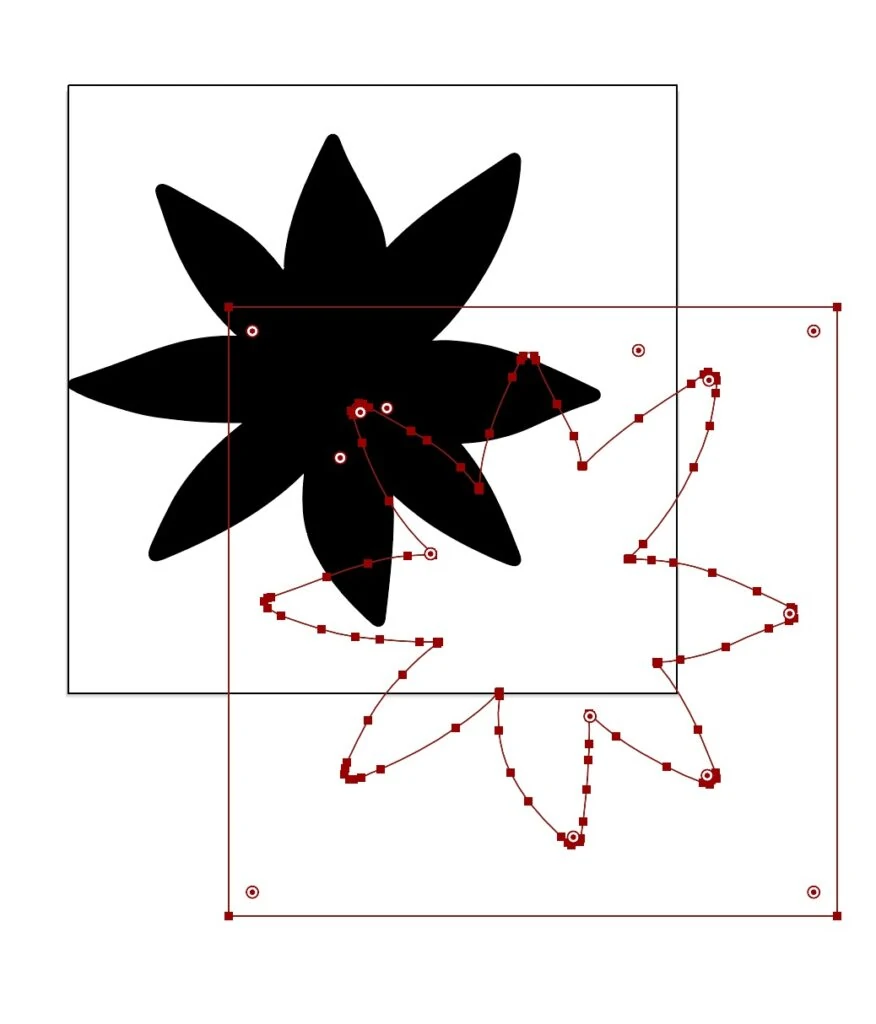
- When you’re happy, click expand at the top of the screen.

- Continue for all of the layers, hiding them and revealing them as needed. I find it helpful to move the completed layers to the side of the artboard.

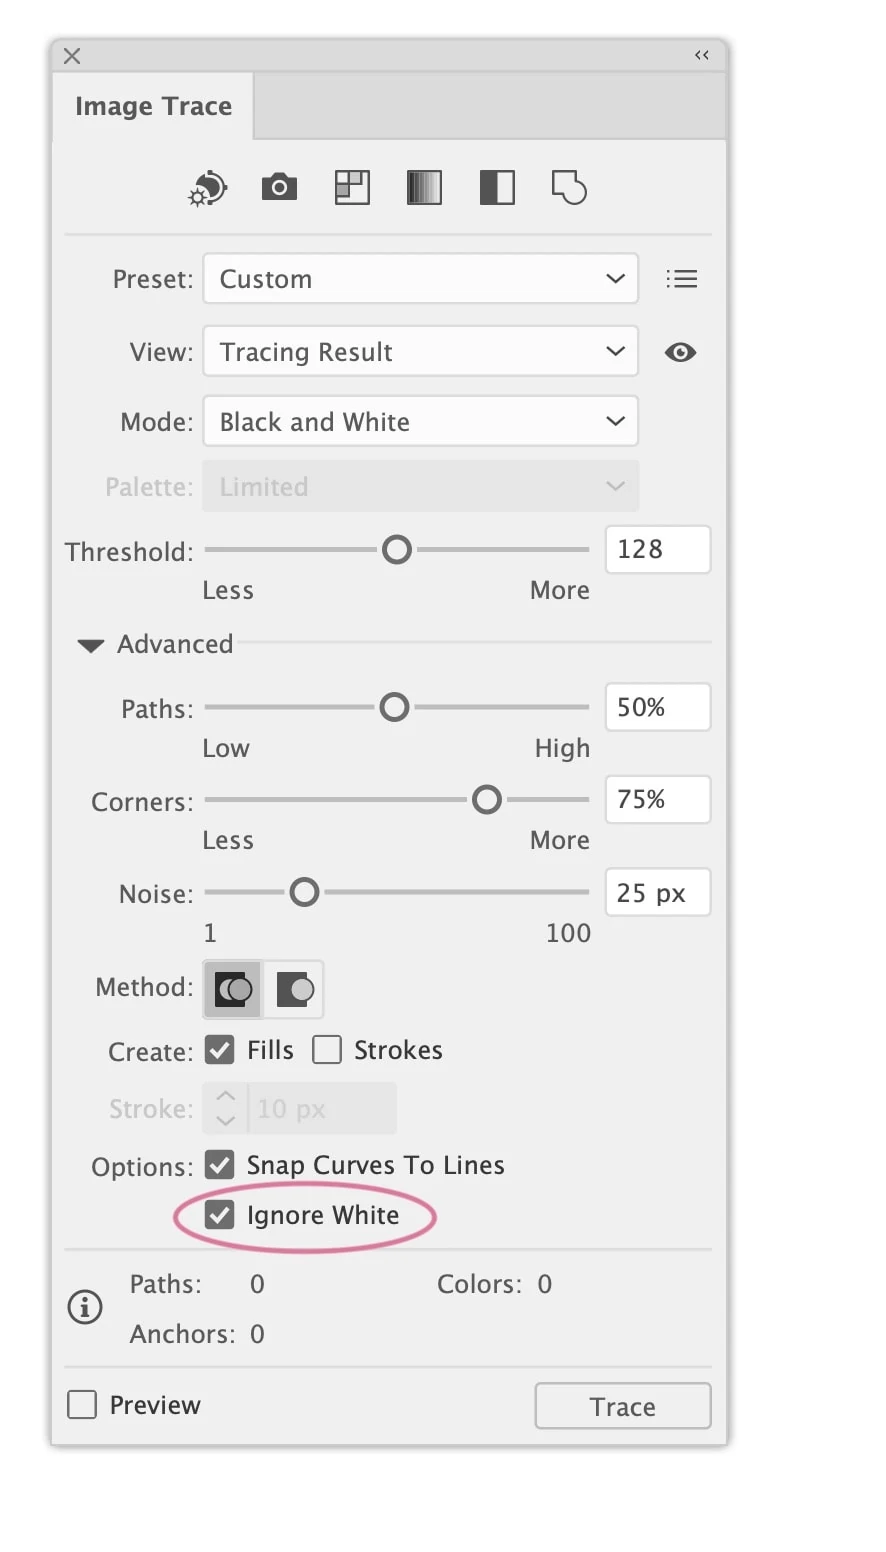
*If you forget to hit “ignore white”, it’s no big deal. Ungroup the shape and delete the background.
If the Image Trace panel doesn’t work or shows up with all of the options grayed out, be sure to select your layer and click Image Trace at the top of the screen. It may take a bit of clicking to get it to work.
Clean Up the Shapes
From there, you have the option to clean up the shapes using the direct select tool.
You can manipulate each node using the direct select tool or you can use the pencil tool or the smooth tool to draw along the wonky area. It will magically straighten it out. Just make sure that you start drawing on the line.
You can zoom way in if you need to.
Just keep in mind that if you make things too perfect, you lose that beautiful hand-drawn quality that makes it so special.
Now that your drawings are vectorized, they can be resized as much as you want.
Recoloring is super easy and fun too.
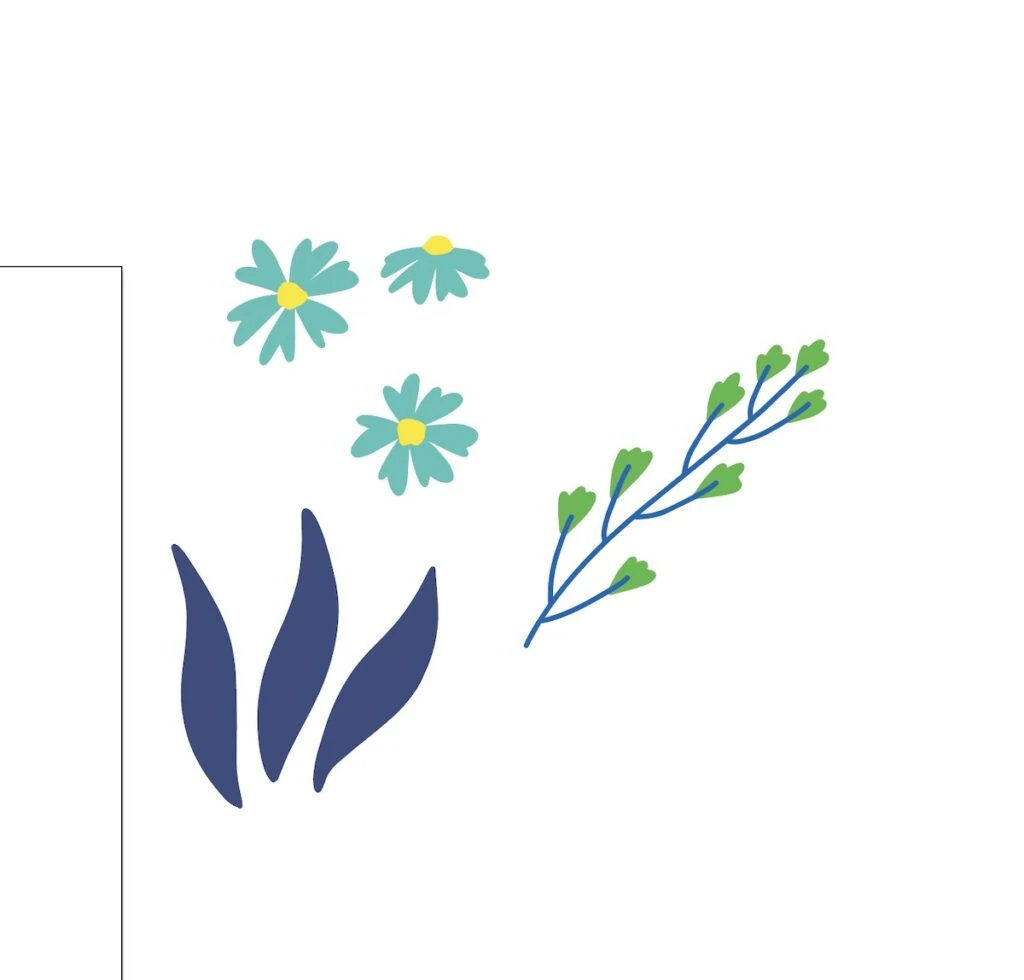
From here, you can do whatever you want with the elements. It’s easy to save them as SVG files to use with Cricut. Or you can make simple patterns. Those are my 2 main uses, but I know there are a million more.
Hope you enjoyed this tutorial. When I realized how easy it is to use Procreate with Illustrator, it felt life-changing. It speeds up my illustrating process so much!
I’m looking forward to sharing a lot more Illustrator tutorials. If there’s anything specific that you want to know, leave me a comment with your suggestion.
You Might Also Like:
- Ways to Vectorize Sketches
- Remove White Lines from Patterns in Illustrator
- How to Make a Calendar in Illustrator
- Procreate Blending Tips
Pin for Later!