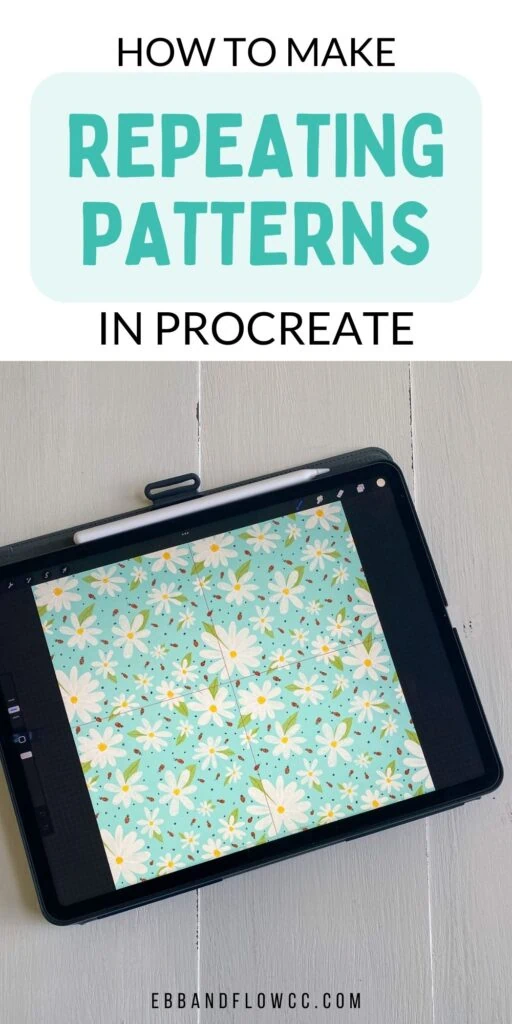
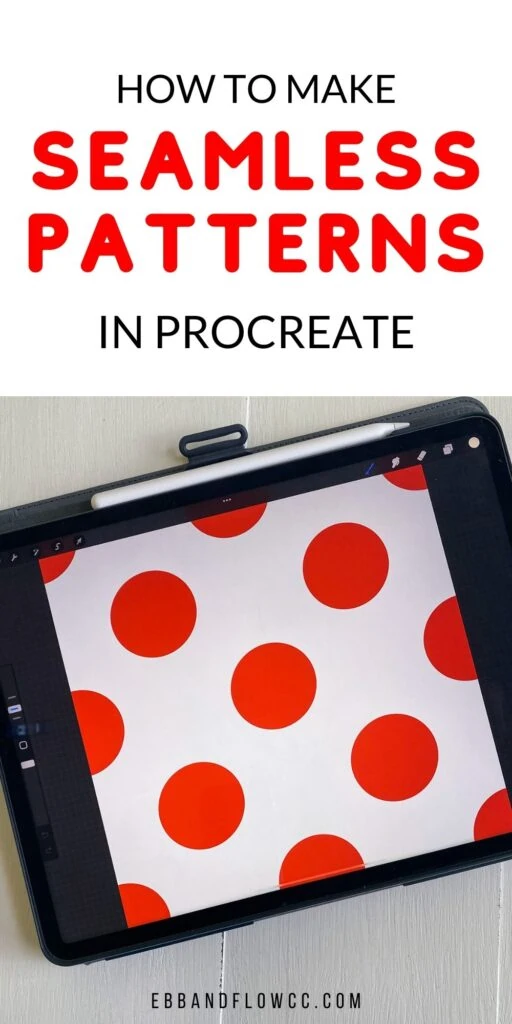
Learn how to make repeating patterns in Procreate. It’s so much fun to create seamless patterns with hand-drawn elements on the iPad.
Get easy tips for making the process less frustrating, different types of patterns to create, and how to test your pattern to make sure that it’s seamless.
This post contains affiliate links. By purchasing an item through an affiliate link, I earn a small commission at no extra cost to you. As an Amazon Associate I earn from qualifying purchases.
You will need to understand how to create repeating patterns first.
This is a more advanced lesson, but it’s easy once you get the hang of it.
So if the instructions feel overwhelming, take a deep breath and try it anyway. It’s really fun and you will find yourself creating a million patterns to use.
What is a Repeating Pattern?
A repeating pattern is a pattern that repeats itself perfectly when tiled. It’s also known as a seamless pattern because you can’t tell where it starts and ends.
Repeating patterns have a ton of uses. They can be printed out for products, used for print-on-demand products, web design, graphic design, or even sold in packs in an Etsy shop.
Tips for Making Repeating Patterns
Okay, before we get started, I want to give you my best tips.
Make your patterns on a square canvas in a large size. I make mine at 3000 pixels by 3000 pixels, 300 DPI.
Create each color on its own layer.
Always duplicate your pattern layers before flattening them. This helps in case you mess something up, but it also allows you to bring elements in as you build the pattern.
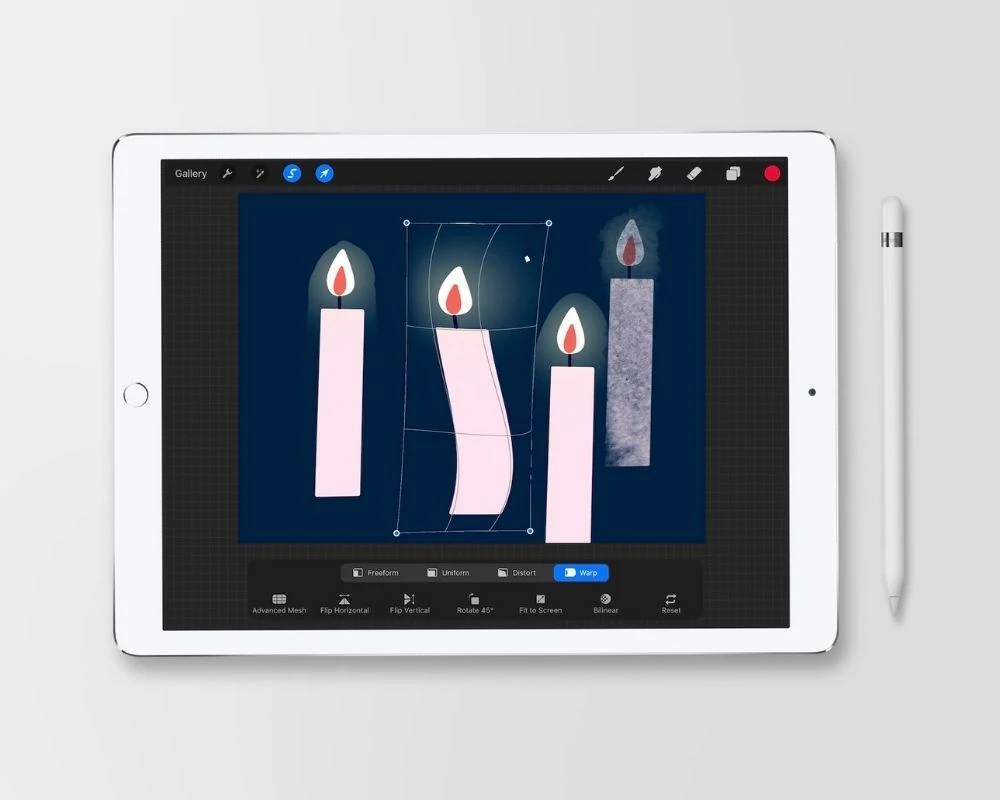
Use the drawing guides and snapping to ensure that it fits perfectly. I also like to turn the velocity and distance to the max because this ensures that there are no white lines between my patterns.
When creating your pattern, don’t touch the edge of the canvas.
Concentrate your pattern to the center of the canvas because this area will be broken apart and hard to add to later.
Small elements can help fill awkward spaces, so consider adding small florals or dots.
Stamp brushes can speed up your pattern creating process, allowing you to make interesting patterns.
Always test your pattern by shrinking it and repeating it so you can look for any gaps or pattern mistakes.
When creating your canvas, the color mode you choose will depend on how it’s being used. If you’re using it for printed work, choose CMYK. If it’s for the web, choose RGB. For print on demand, check with the website to see what they prefer.
Understanding Patternmaking in Procreate
As we learned in the simple pattern brush tutorial, you can create an element in the center of the canvas and repeat it for a simple pattern.
To make more complex patterns, we will be creating a pattern, breaking it into 4 pieces, and reattaching them.
Types of Patterns
There are many other types of patterns, but here are a few of my favorites.
This is just an overview. Full tutorials are described below.
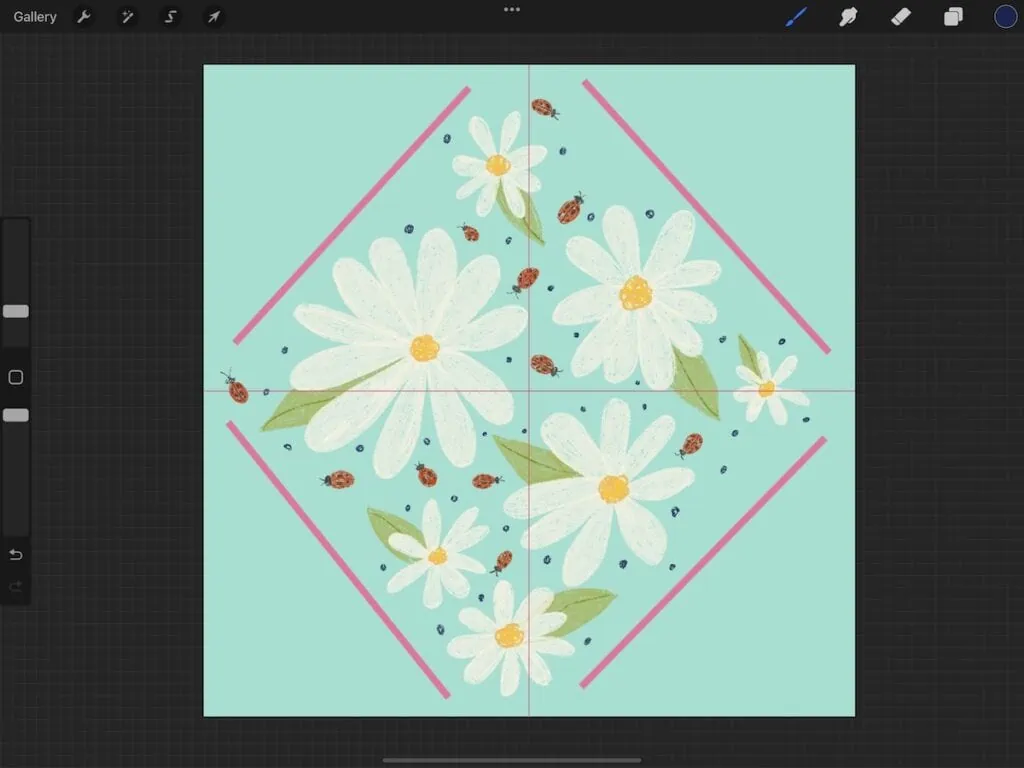
Diamond Patterns
This simple pattern type is technically a diamond pattern. The element bounces around rather than just repeating itself in straight lines.
To create it, we place a motif in the center, duplicate it and move it to the corners. Then the element is brought back in as a layer on top.
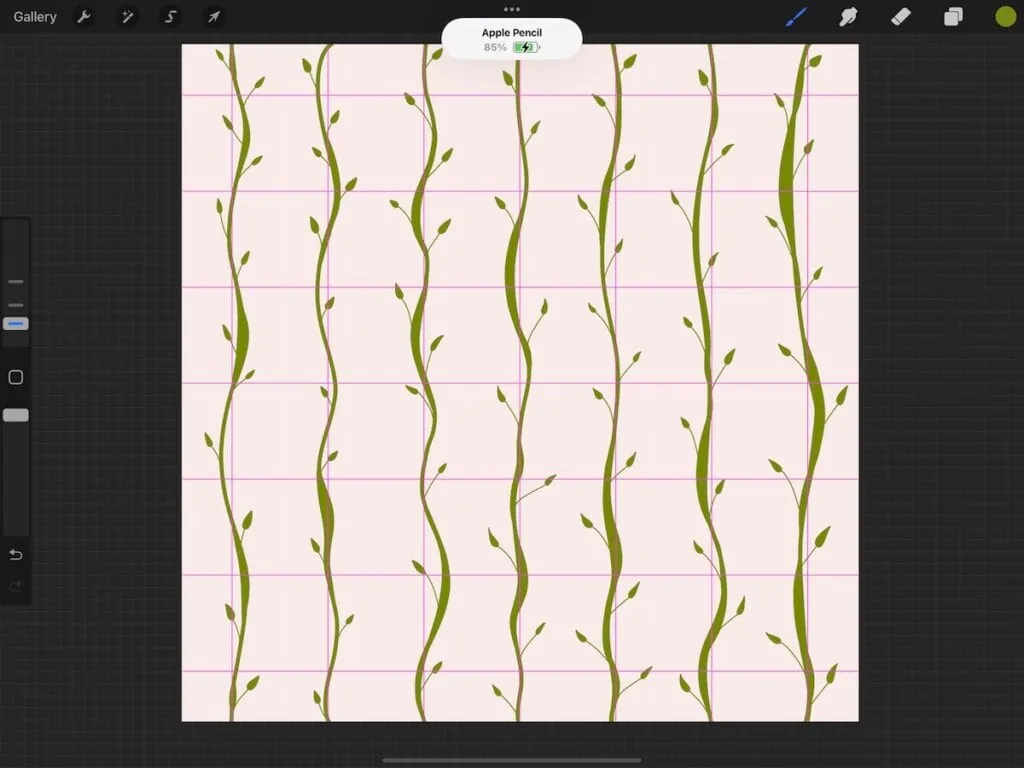
Stripe Patterns
This pattern type aligns at the top and bottom (or sides). These patterns are easier to create with solid brushes than with transparent brushes.
Due to the limitations of Procreate, you will still want to make sure they align on the sides as well to get them spaced evenly. Changing the grid size in the drawing guides can help.
Here’s another one that I made that I love.
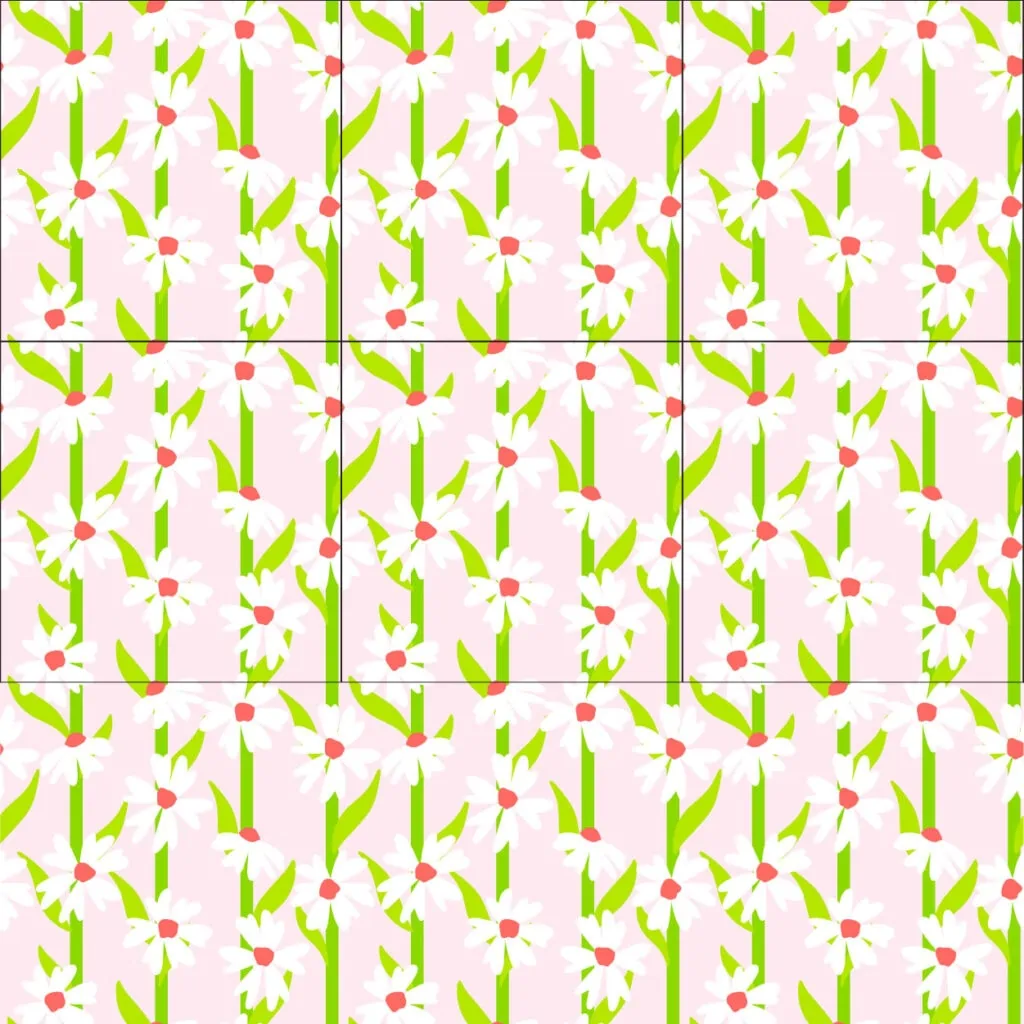
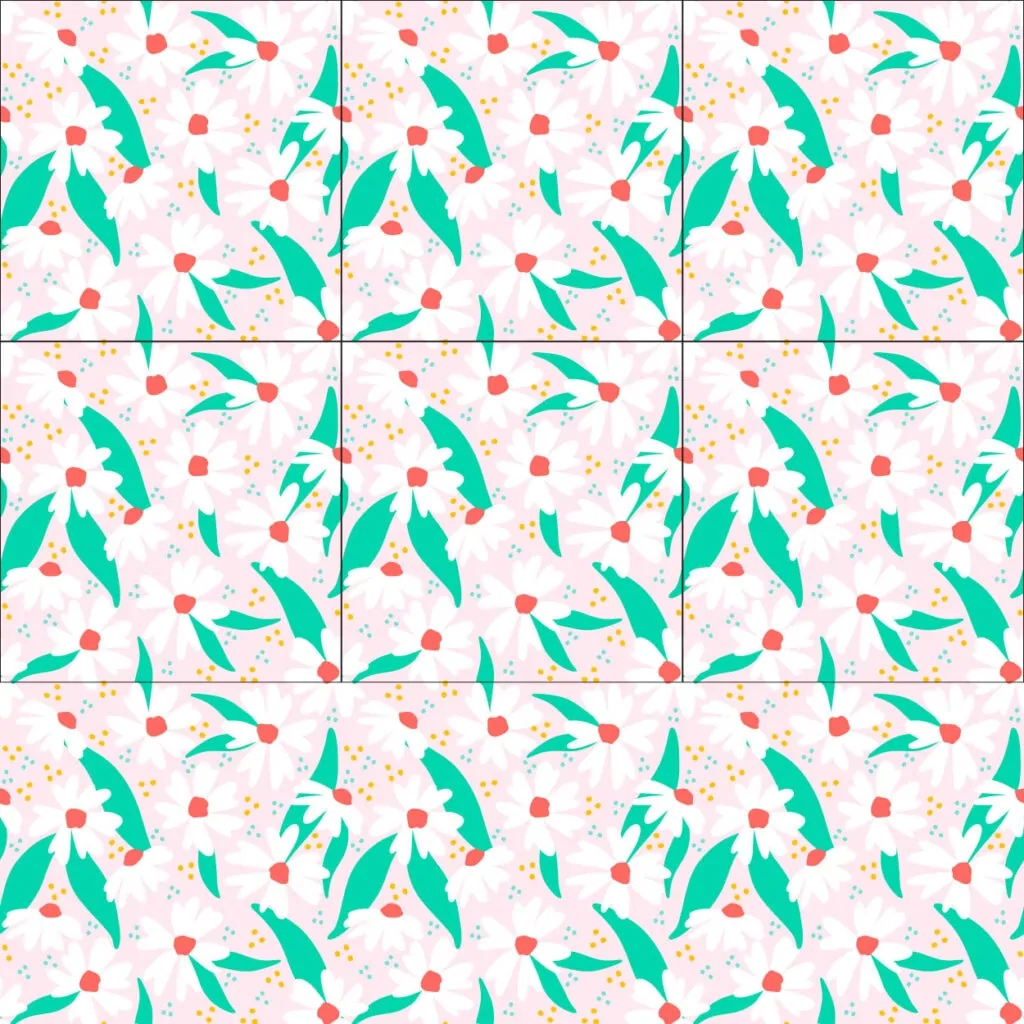
Tossed Patterns
Tossed patterns have a lot more movement and contain more elements. These are my favorite patterns to make.
When creating my first pattern group, I make sure to cover the center grid line (without touching the sides). Small elements help fill awkward gaps.
Avoid creating elements that are straight up and down or side to side. This helps hide the pattern repeat.
How to Make a Repeating Pattern in Procreate: Polka Dot Pattern
I’m making a polka dot pattern, but it can be used with anything. I keep wanting to make a cupcake pattern.
Create a square canvas. Mine is 3000 x 3000 pixels, 300 DPI. The color mode will depend on what you want to do with your patterns.
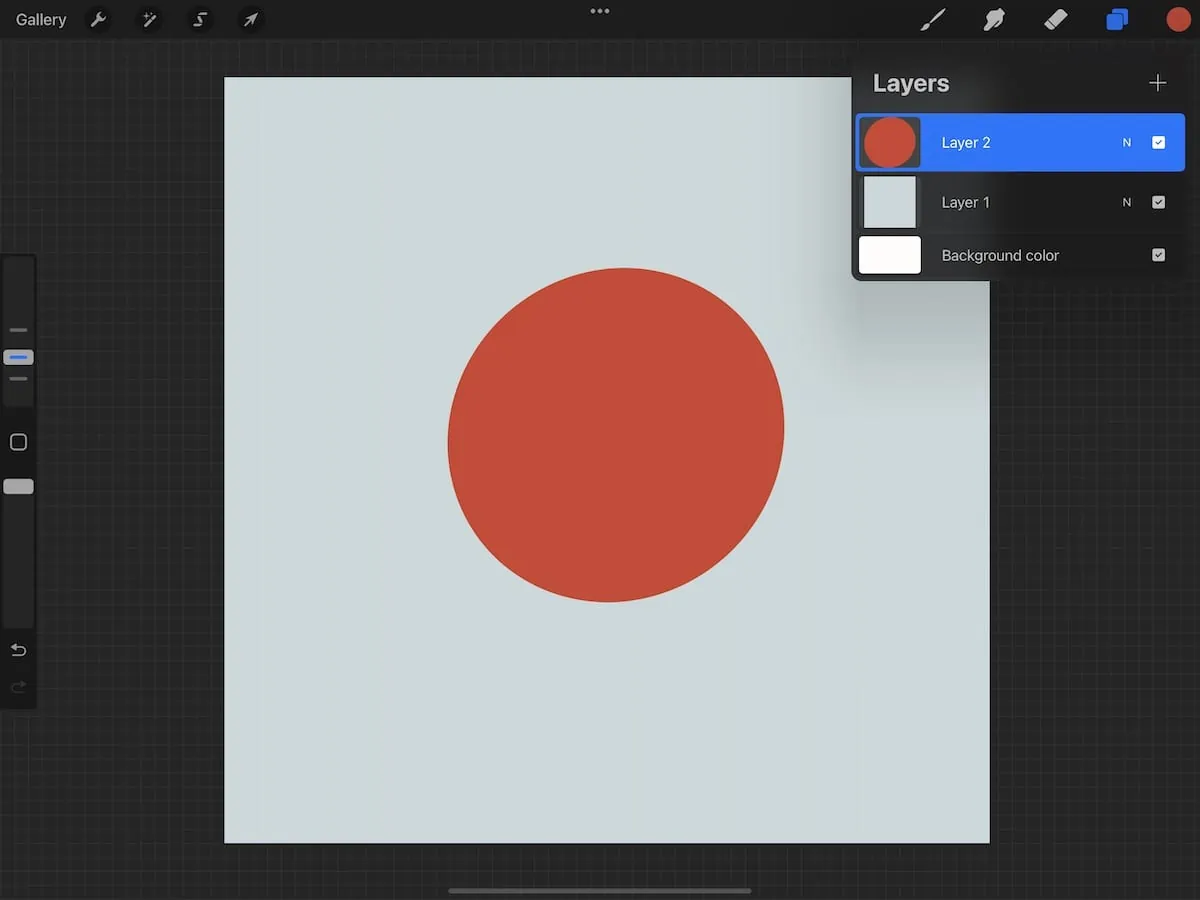
Create a new layer and fill it with a background color.
Choose a new color and create a circle.
Fill it with color.
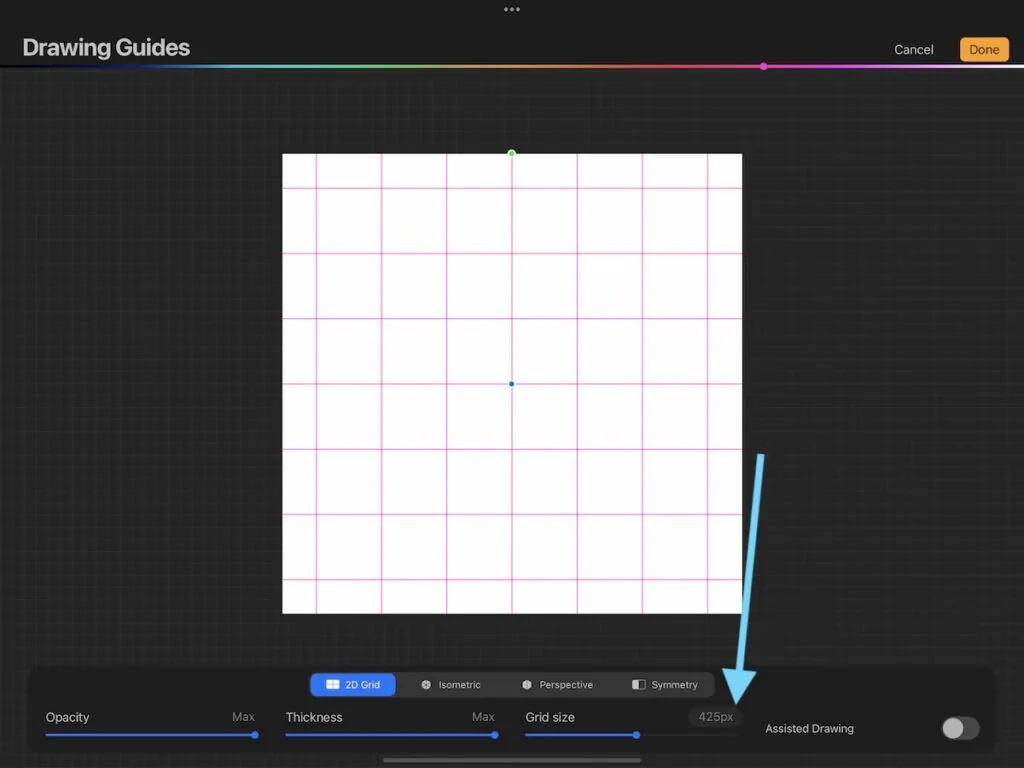
Turn on your drawing guide and edit them to increase the grid size all the way. You can also increase the opacity and line thickness to be able to see it better. Change the color if needed.
Select your layer and make sure that uniform is selected. Turn on snapping and increase the velocity and distance to the max.
Center the circle in the middle. The snapping should help you get it perfect.
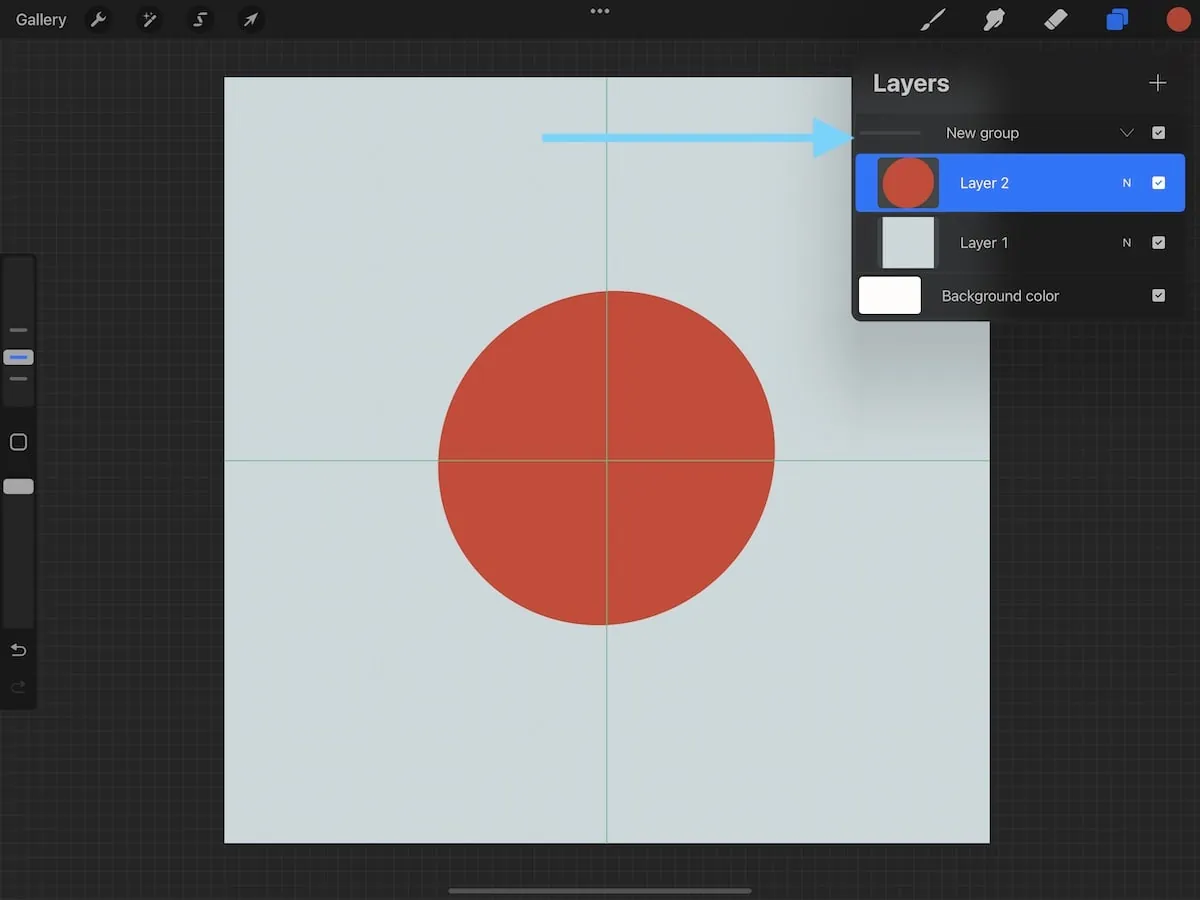
Select a layer and swipe right on the other layer to group them.
Duplicate this group.
Flatten the duplicated group.
Turn the visibility off for the first group.
Duplicate the flattened layer 3 more times.
Create a layer beneath all of the groups and fill it with a contrasting color. It doesn’t matter which color. (We’re just using it to see any lines that may appear between the pattern tiles.)
Turn off the visibility for 3 of the duplicated layers. (This makes it easier to see what you’re doing.)
Select the layer and drag it to the top left corner. (The placement doesn’t really matter.) It will snap into place, but you can zoom in and make sure that it’s in the right place.
Turn on the next layer and move it to the top right corner.
Repeat these steps for each layer, moving them to their own corner. If you lose track of which layers you’ve done, the preview window will show you a different pattern. Or you can toggle visibility to see where each one is.
Zoom in and make sure that there are no lines between the pattern layers.
Go back into the first group of layers and duplicate the circle.
Move the circle to the top of the layers that you moved. This should create a polka dot pattern.
Testing the Pattern
If you had “snapping” turned on, your pattern should be seamless. However, it’s always good to check, especially when you’re new to pattern-making on Procreate.
Make sure that “uniform” is on before starting.
Group the previous 4 layers.
Duplicate it and flatten it again.
Turn off the previous layer set.
Duplicate the flattened layer 4 times.
We’re going to move the tiles again, but this time we’re resizing them to fit the squares.
Turn off all of the layers except the top one and select it.
Use the corner node to shrink it down to one corner.
Repeat those steps for the other layers.
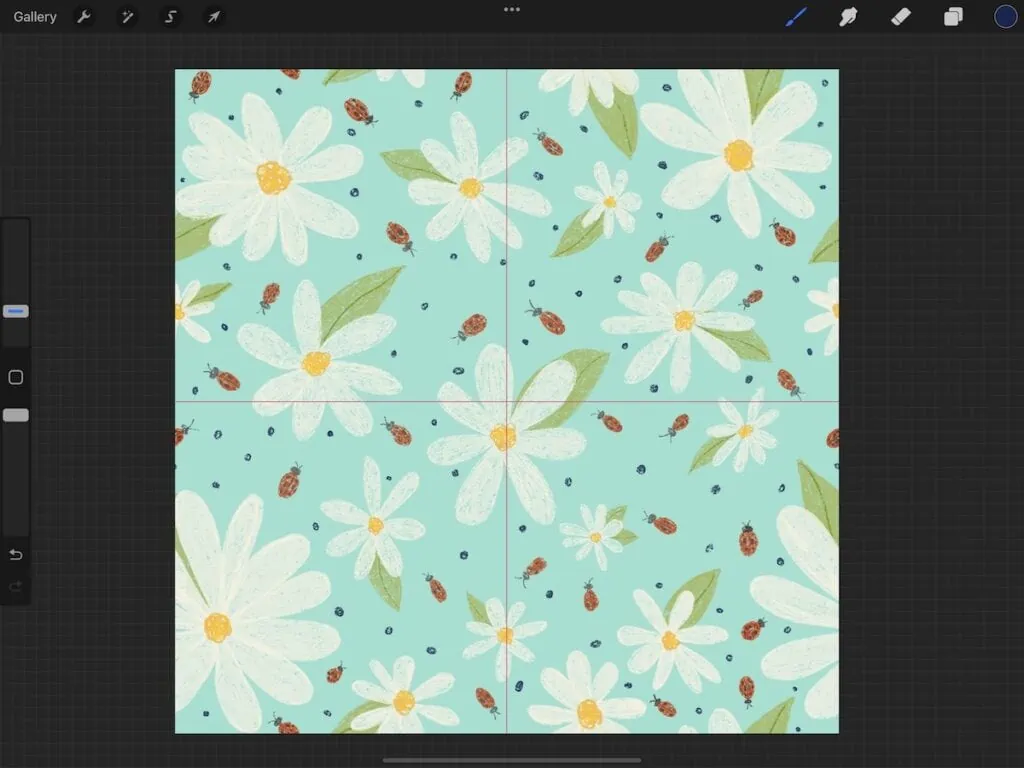
Zoom in around the gridlines to make sure that your pattern is seamless.
How to Create a Scatter Pattern
This pattern type works in the same way, but the initial pattern layer will be concentrated in the center. You can add more, but I find it’s easier to work around the pattern when I start like this.
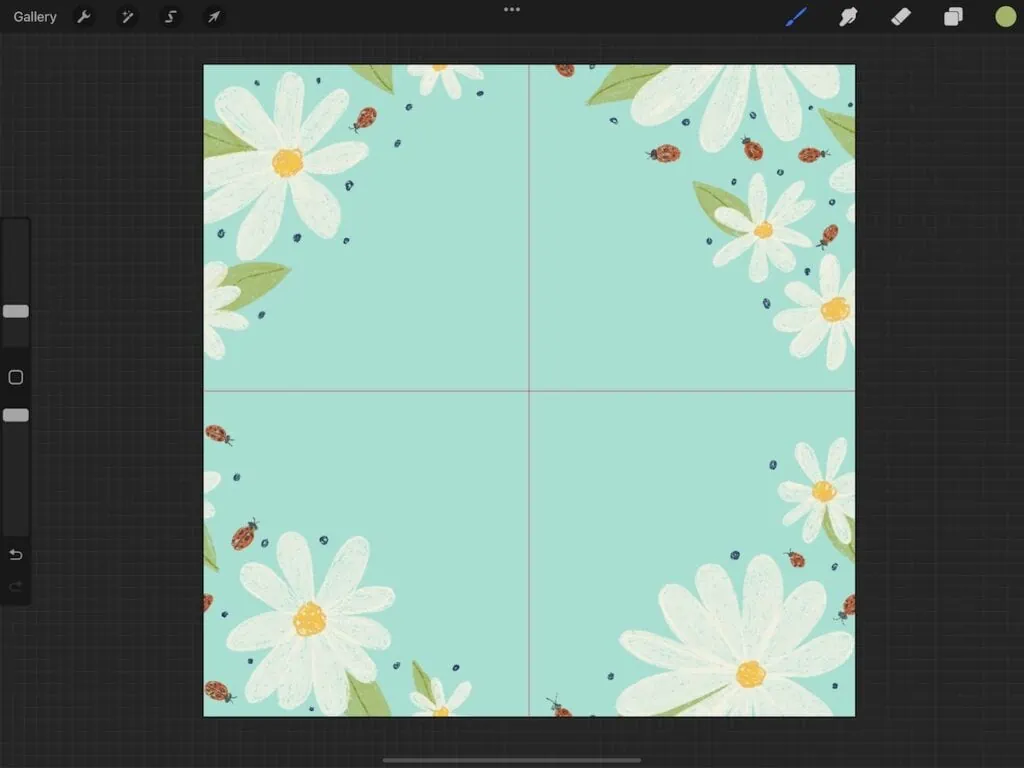
After breaking them apart and recombining them as described above, you’re left with an empty center.
You can select whole elements and copy them to a new layer, but I typically just draw more to get more variety.
FIll in awkward spaces with small elements.
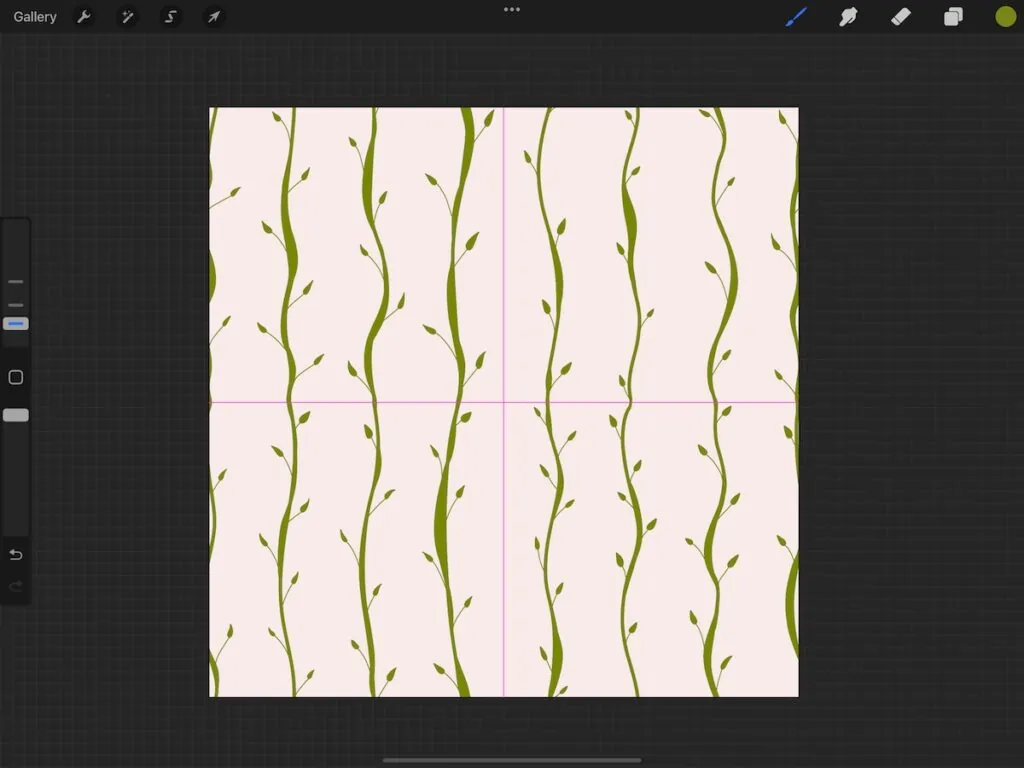
How to Create Stripe Patterns
This tutorial is a bit harder because it’s hard to get perfect spacing, even with the drawing guide grid.
Adjust your grid size. I like to make mine about 430px. This creates 7 lines to draw on. (Alternatively, you can just draw on one line, but I like the variety that this gives me.)
Draw out your pattern, trying to keep the spacing at the tops and bottoms as even as possible.
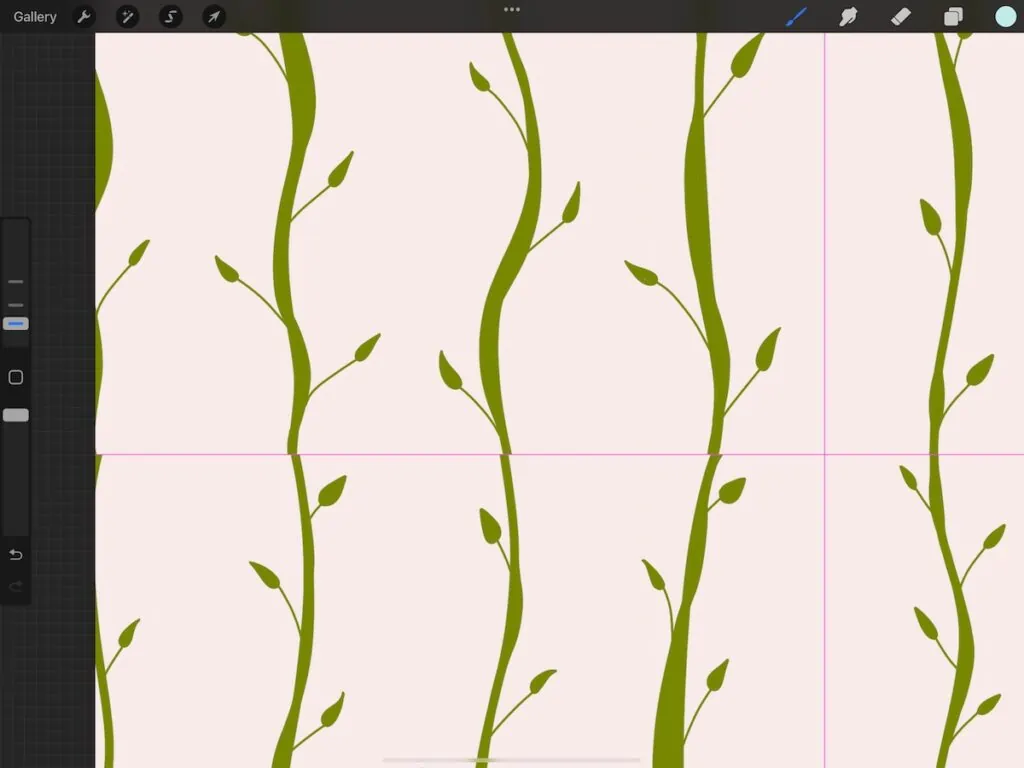
Duplicate the layers, flatten them, and break them apart as described above.
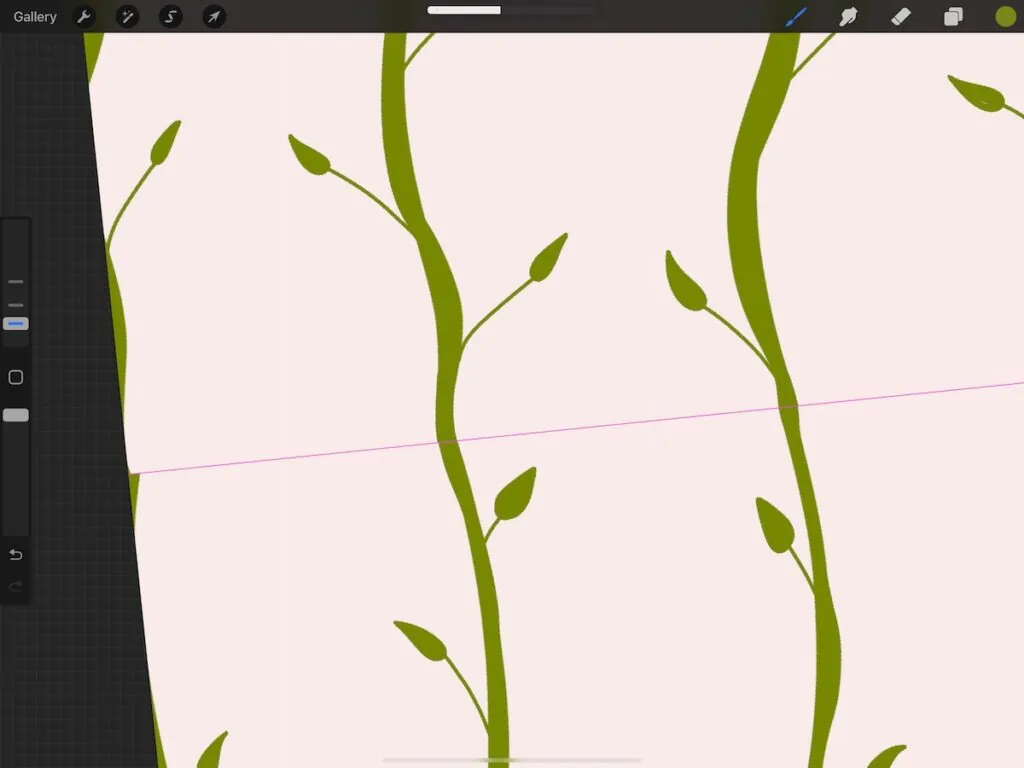
Look for mismatched lines in the center of the pattern.
Add new layers to fix those areas and any other details that need work.
If you need to erase, draw with the background color instead to “erase” the mistakes.
Test the pattern as usual.
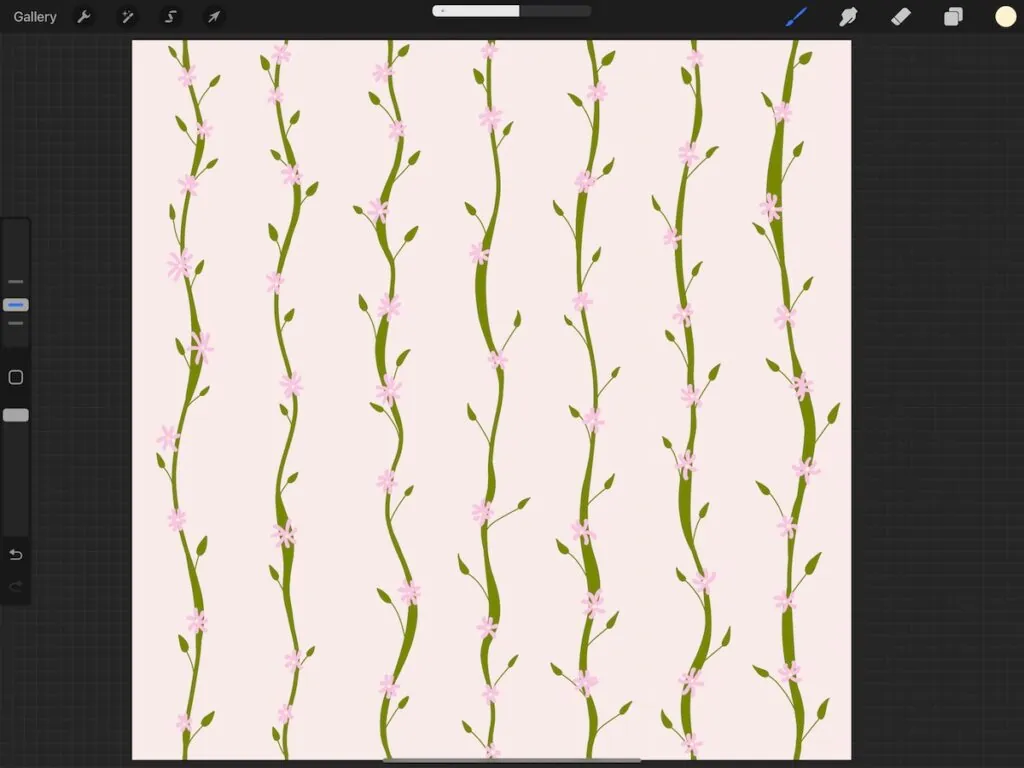
I ended up adding flowers because I don’t love this pattern.