Easy DIY Watercolor Ornaments
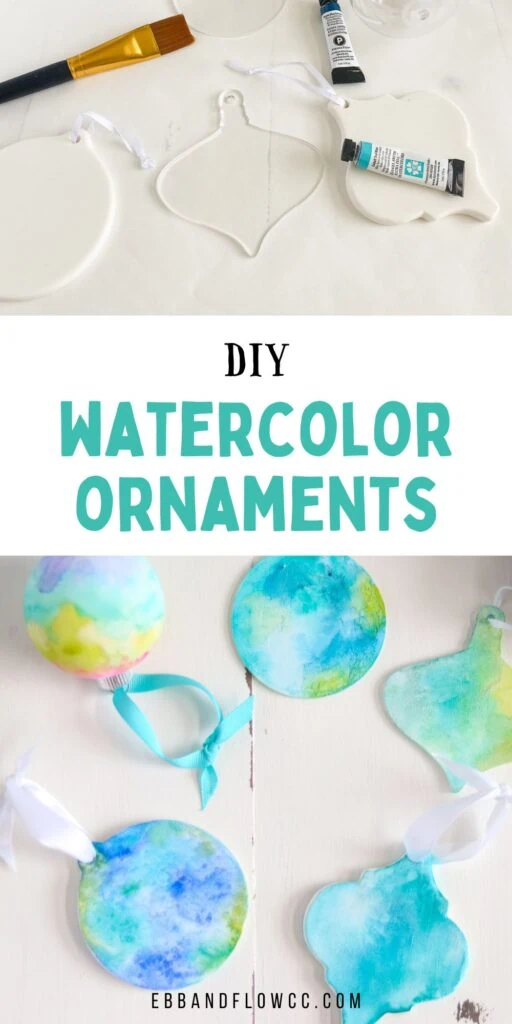
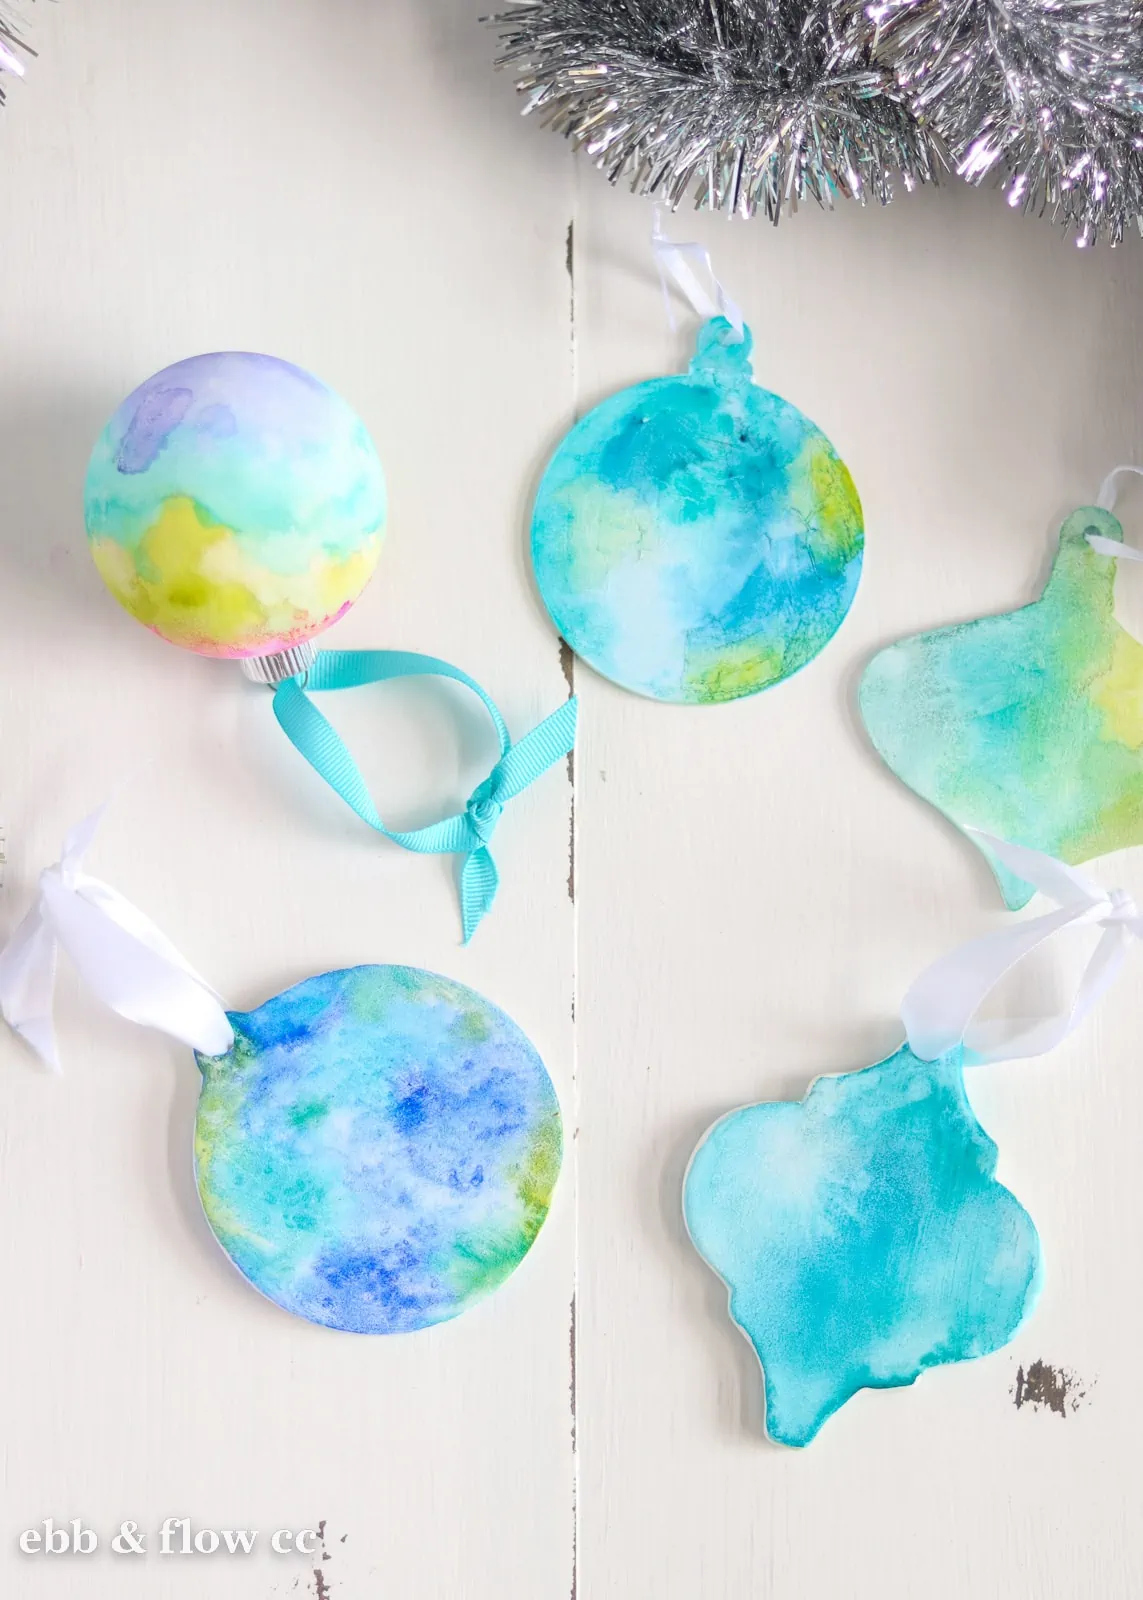
Learn how to make these simple DIY watercolor ornaments for the tree. These Christmas ornaments are so easy to make and are made with actual watercolor paint!
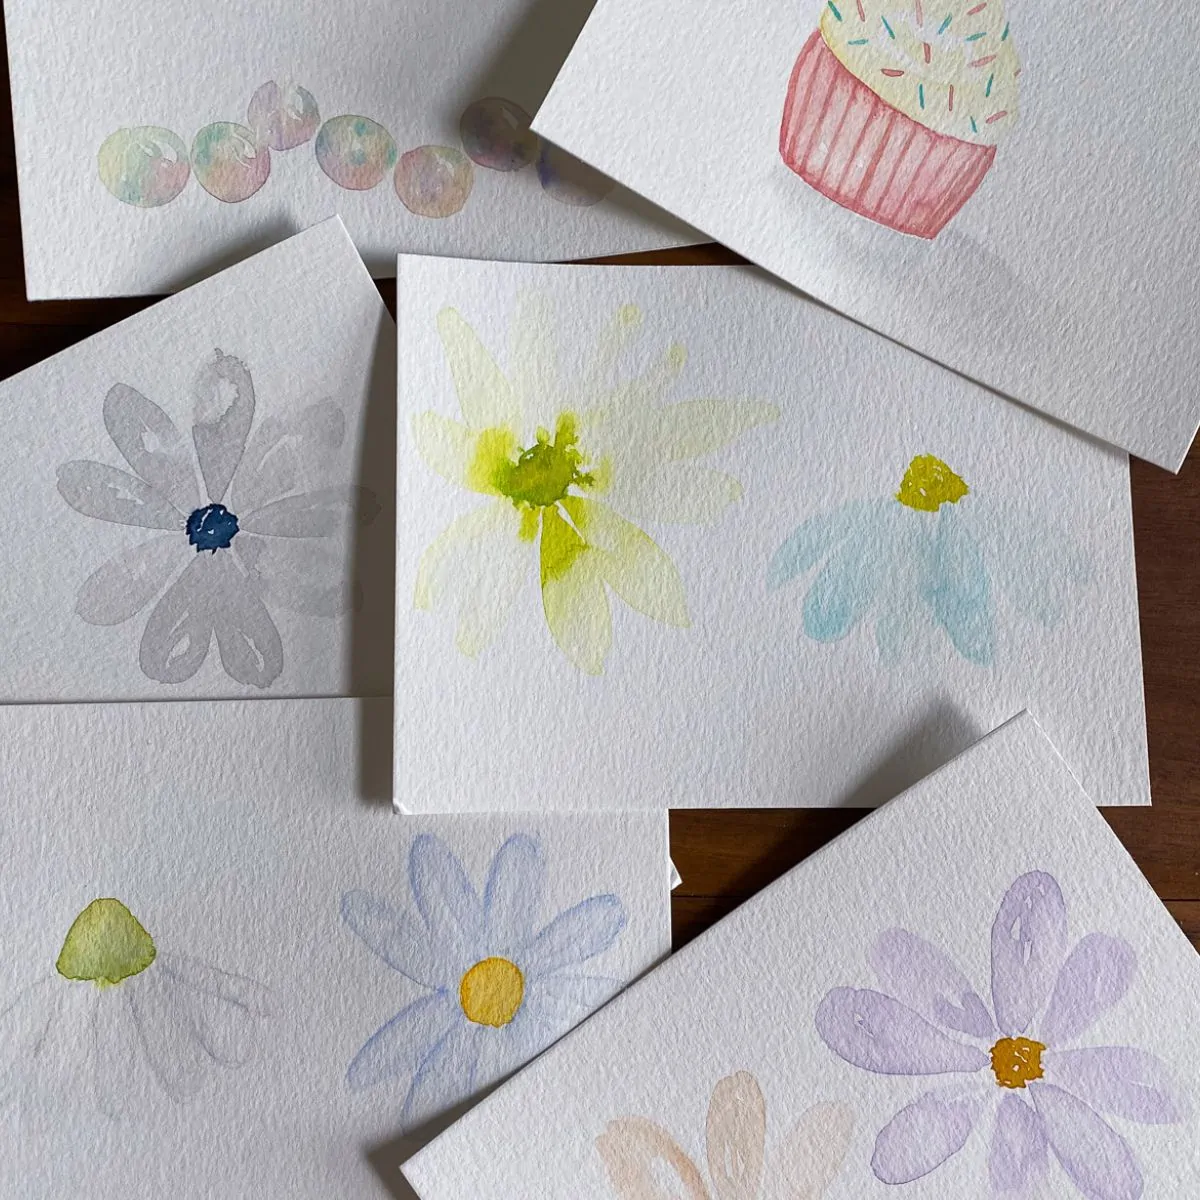
I also have a post about painting watercolor ornaments on paper for Christmas cards.
This post contains affiliate links. By purchasing an item through an affiliate link, I earn a small commission at no extra cost to you. As an Amazon Associate I earn from qualifying purchases.
I love Christmas crafting and making my own ornaments. Even though there are a million techniques to create watercolor effect ornaments, I wanted to use real watercolors because I adore them.
Watercolor ground is what makes this technique possible. Without it, watercolor just sits on top of the surface without sinking in.
I’m not sure what’s in it that makes it work so well, but it’s pretty magical and can turn any surface into watercolor paper. Watercolor ground creates a slightly textured surface.
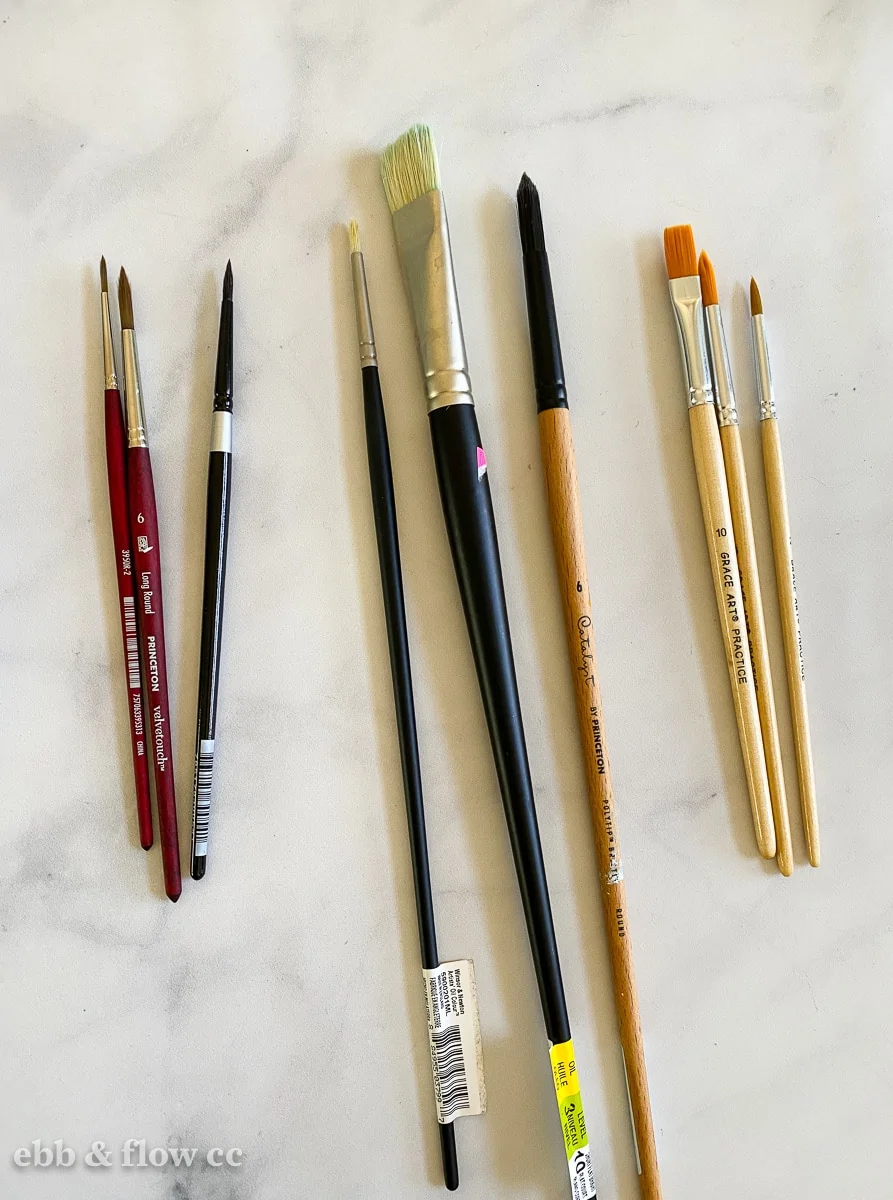
I wouldn’t use my nicest watercolor brushes with this stuff. It was pretty easy to clean, but just in case, I used cheaper brushes. Same with the gesso.
DIY Watercolor Ornaments
Supplies Needed:
- Ornament blanks*
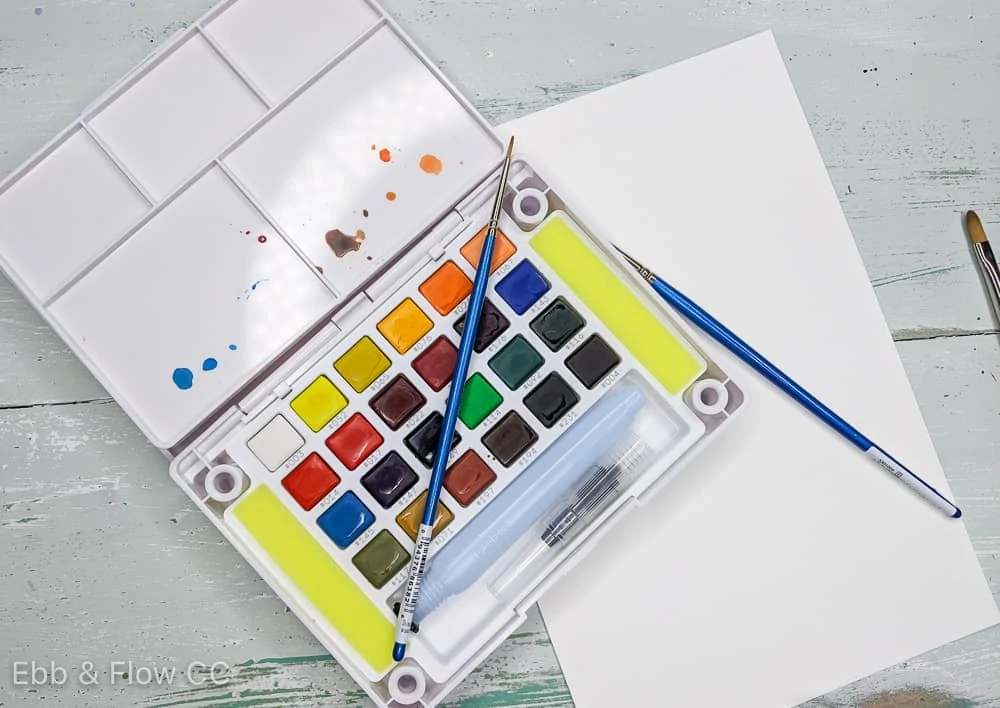
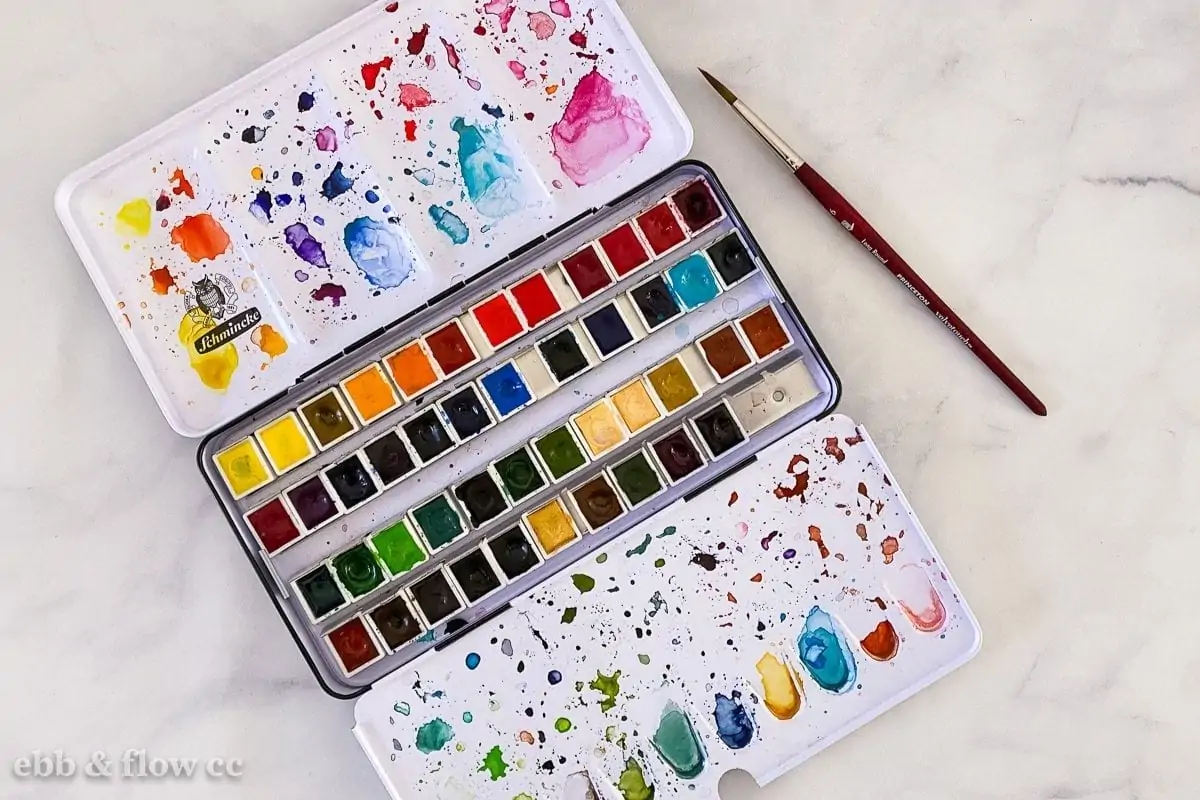
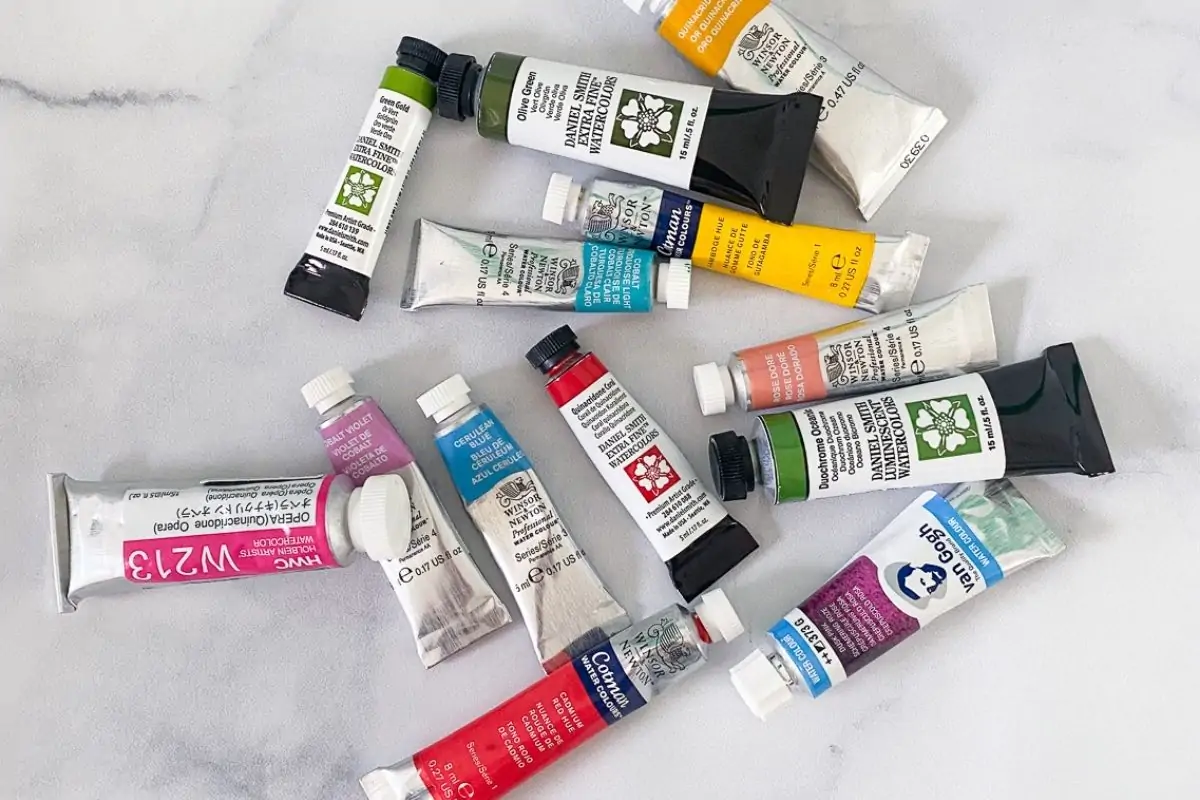
- Watercolor paint
- Watercolor ground
- Brushes
- White acrylic paint or gesso
- Sea salt (optional)
- Ribbon (for hanging)
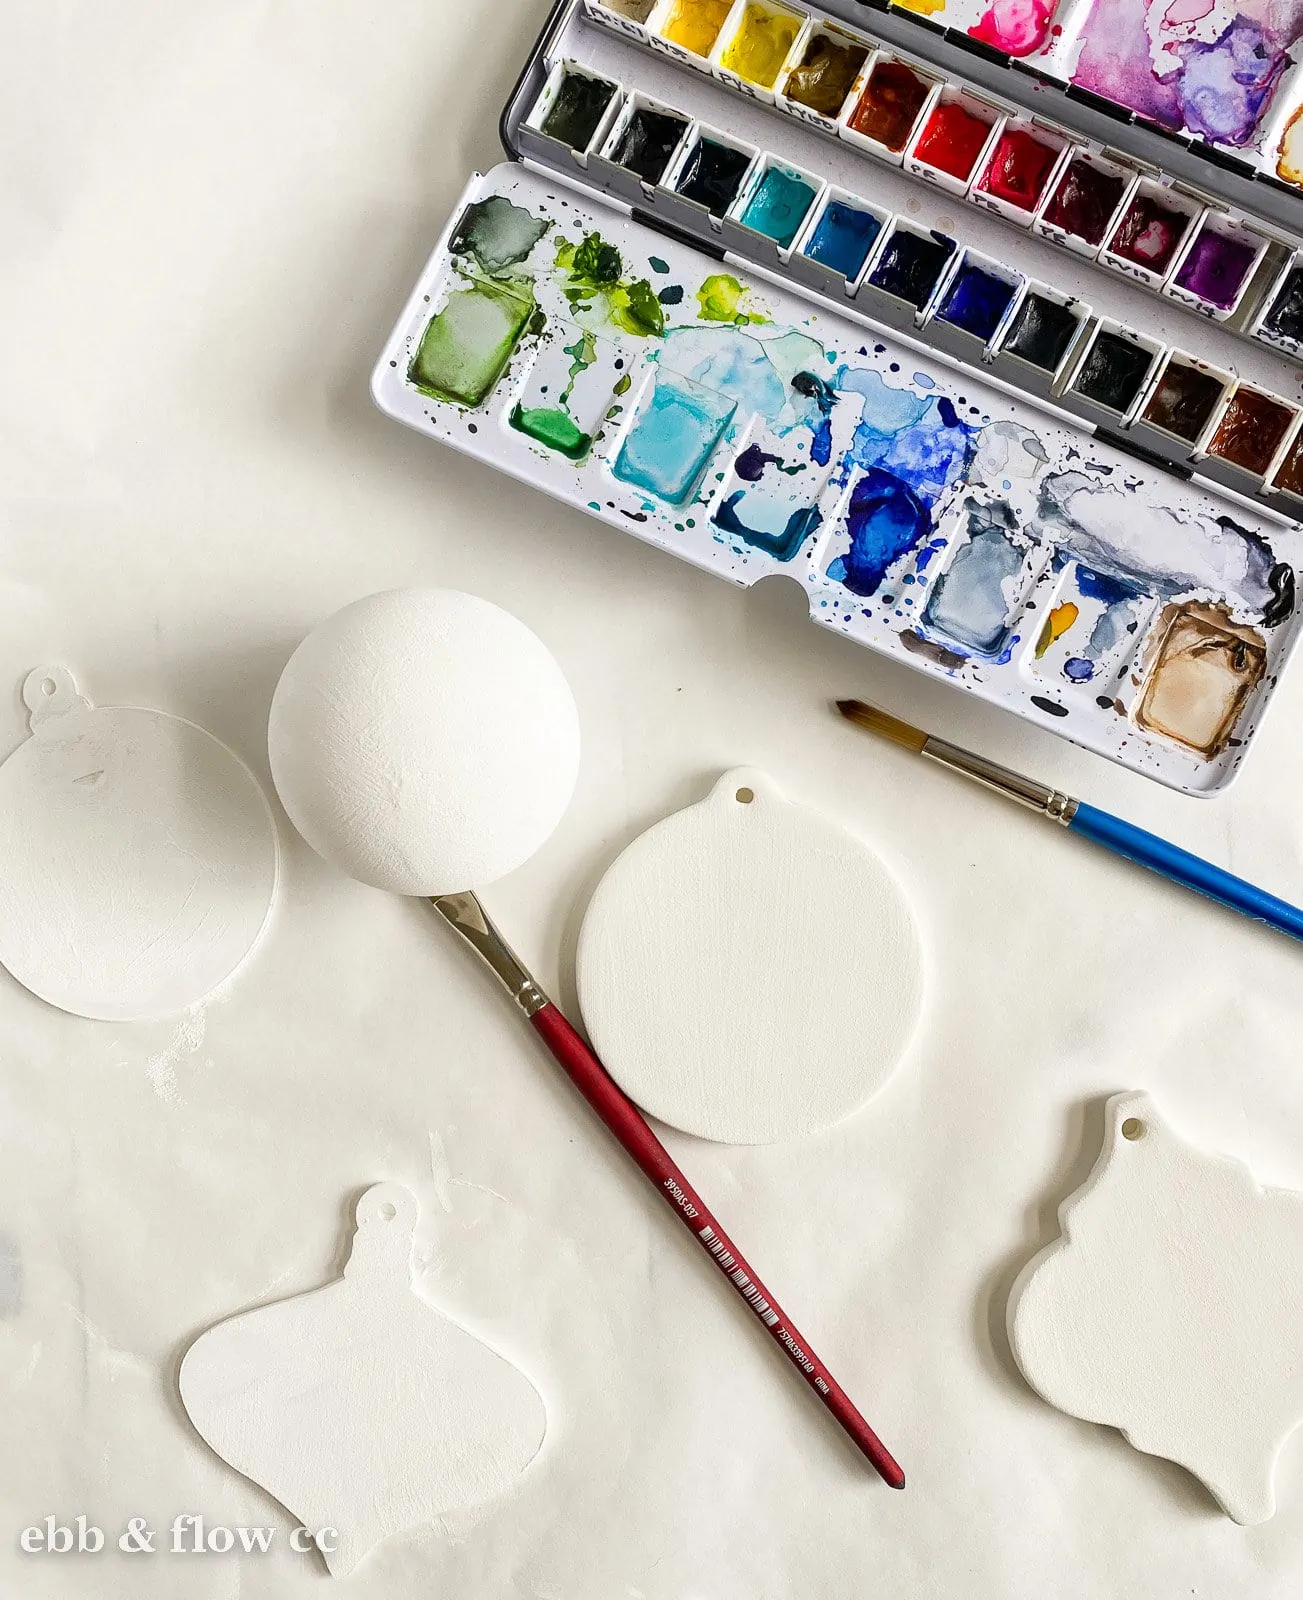
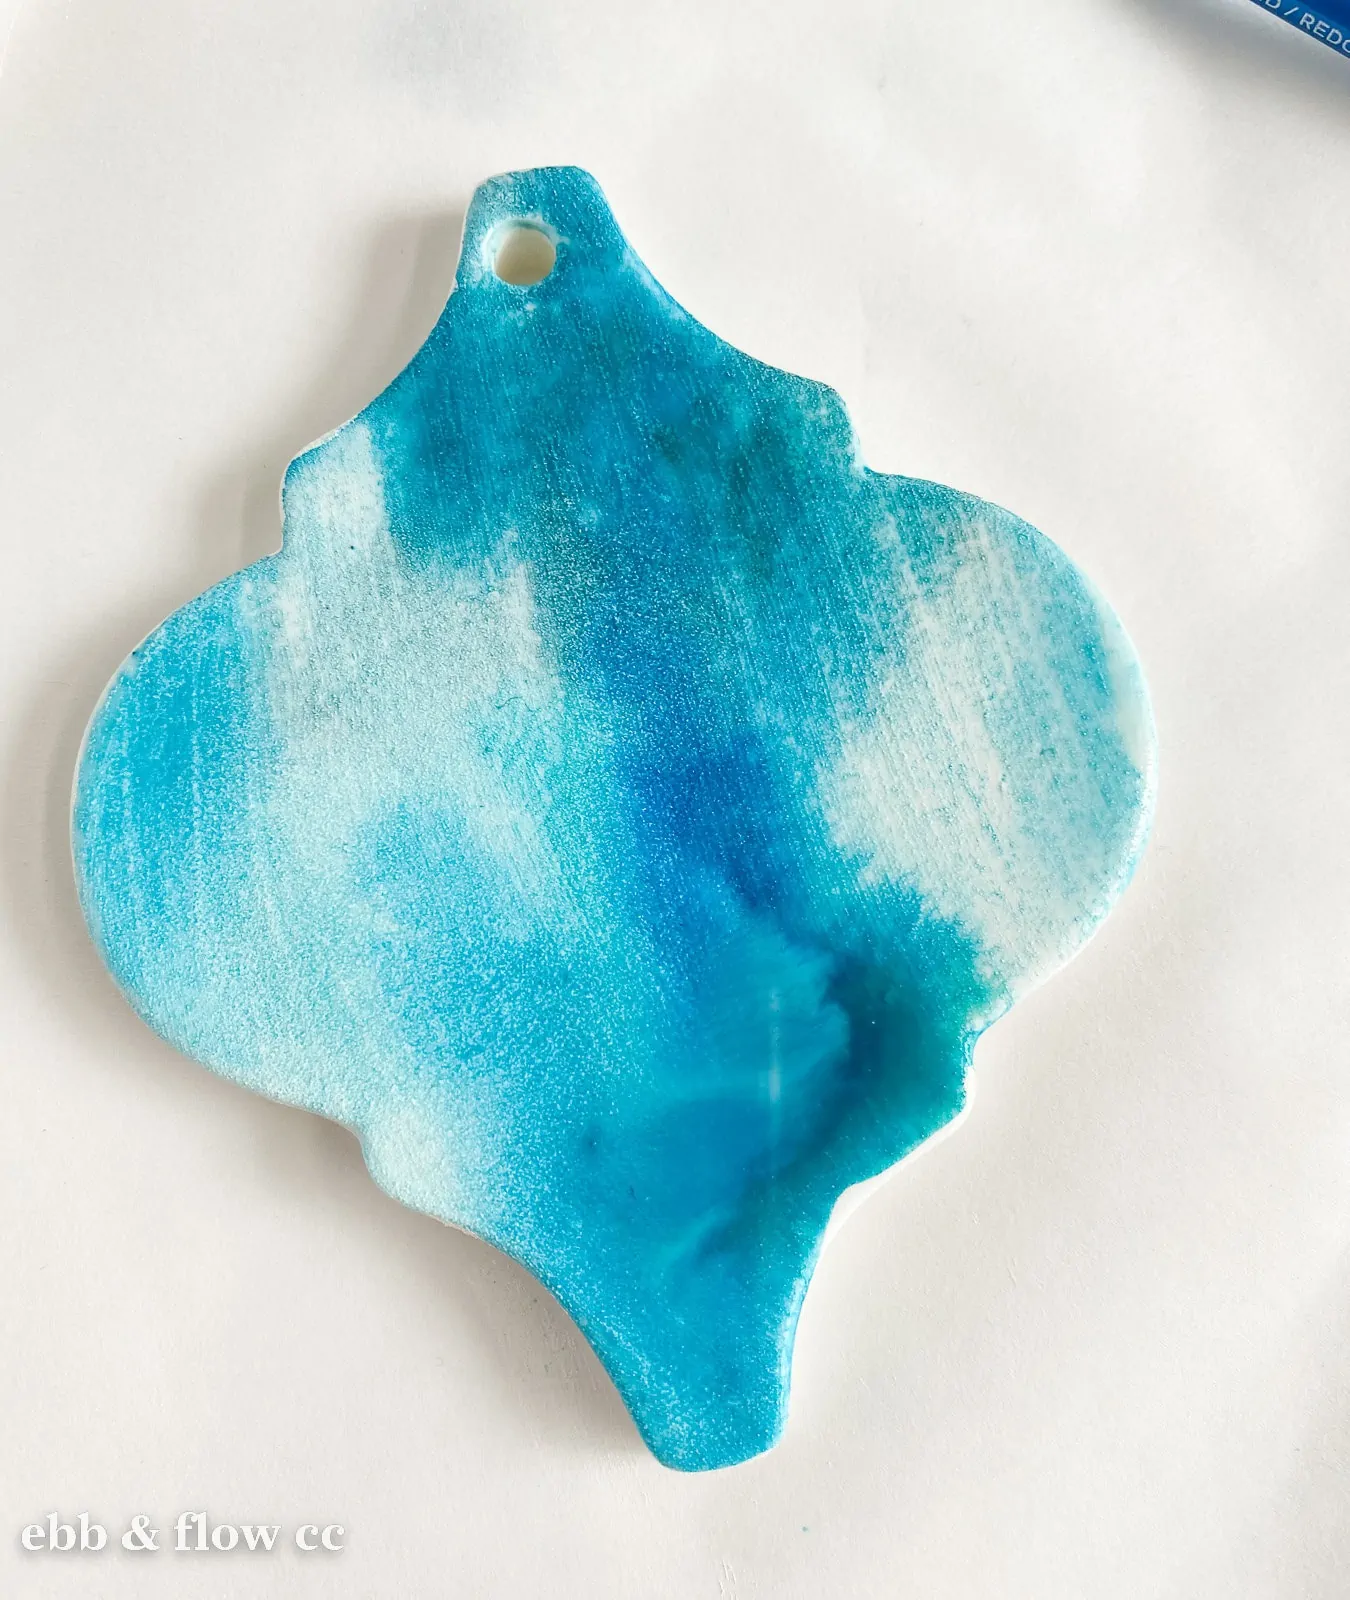
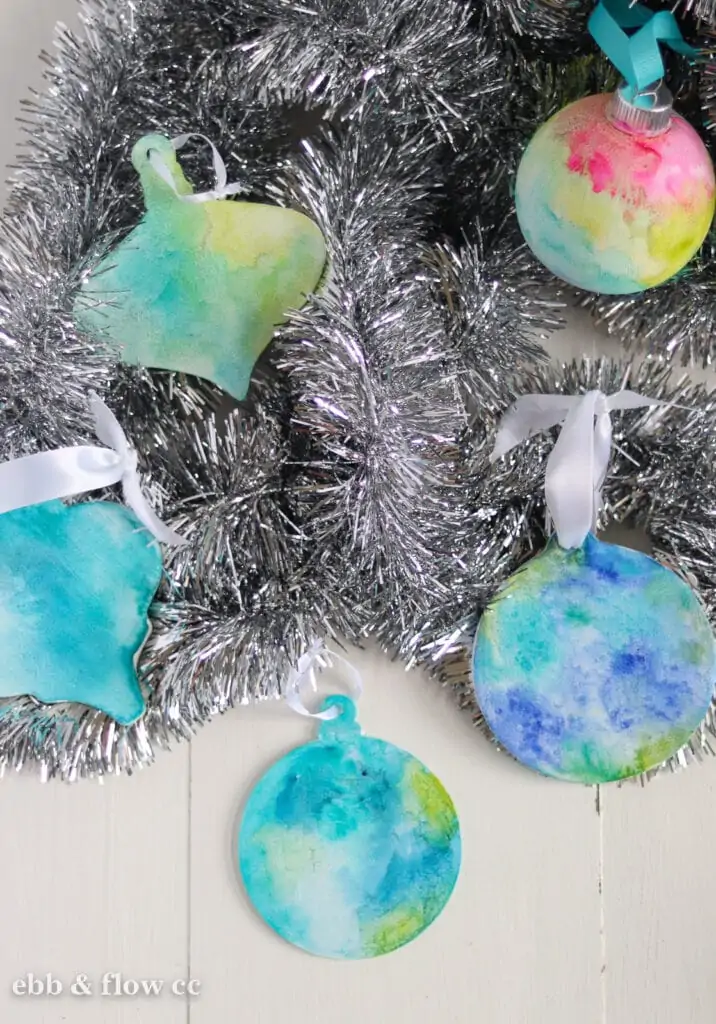
*I wanted to try this technique on a few different types of ornament blanks. I used these ceramic blanks, these flat acrylic blanks, and these plastic ball ornaments. Wooden blanks would work well too.
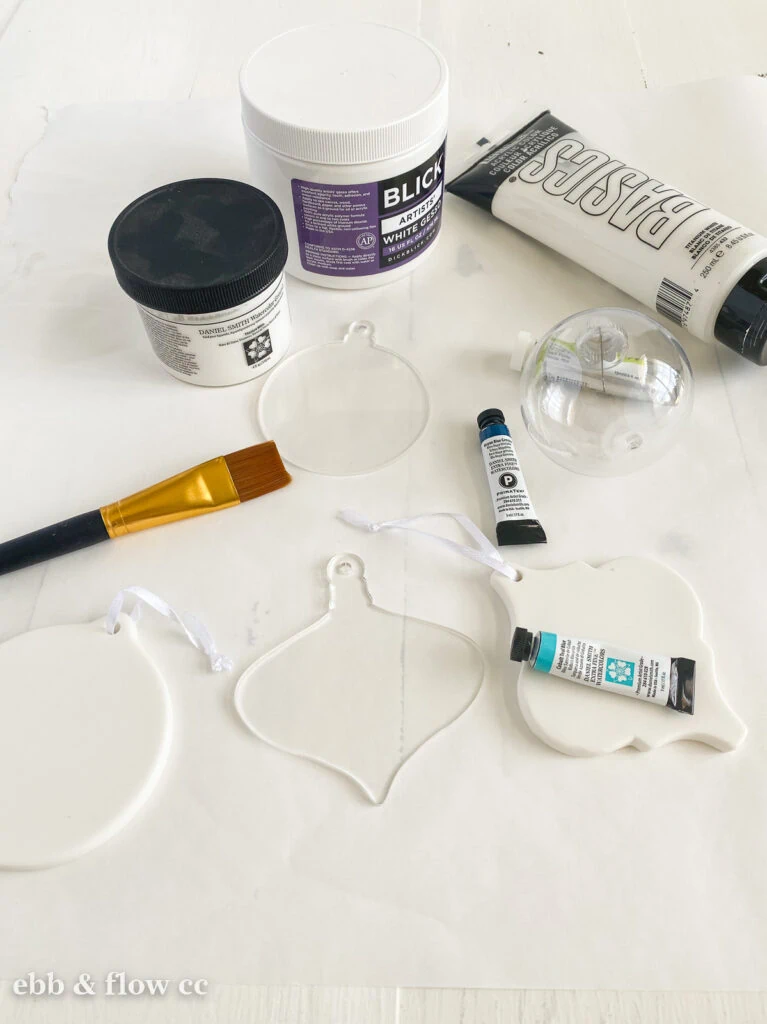
All of them worked pretty well, but the acrylic blanks ended up with a weird texture. It was possibly due to user error though (maybe I didn’t let the gesso dry long enough before adding the watercolor ground.)
Directions
- Protect your surface because this is a pretty messy technique. I like using a sheet of freezer paper, shiny side down.
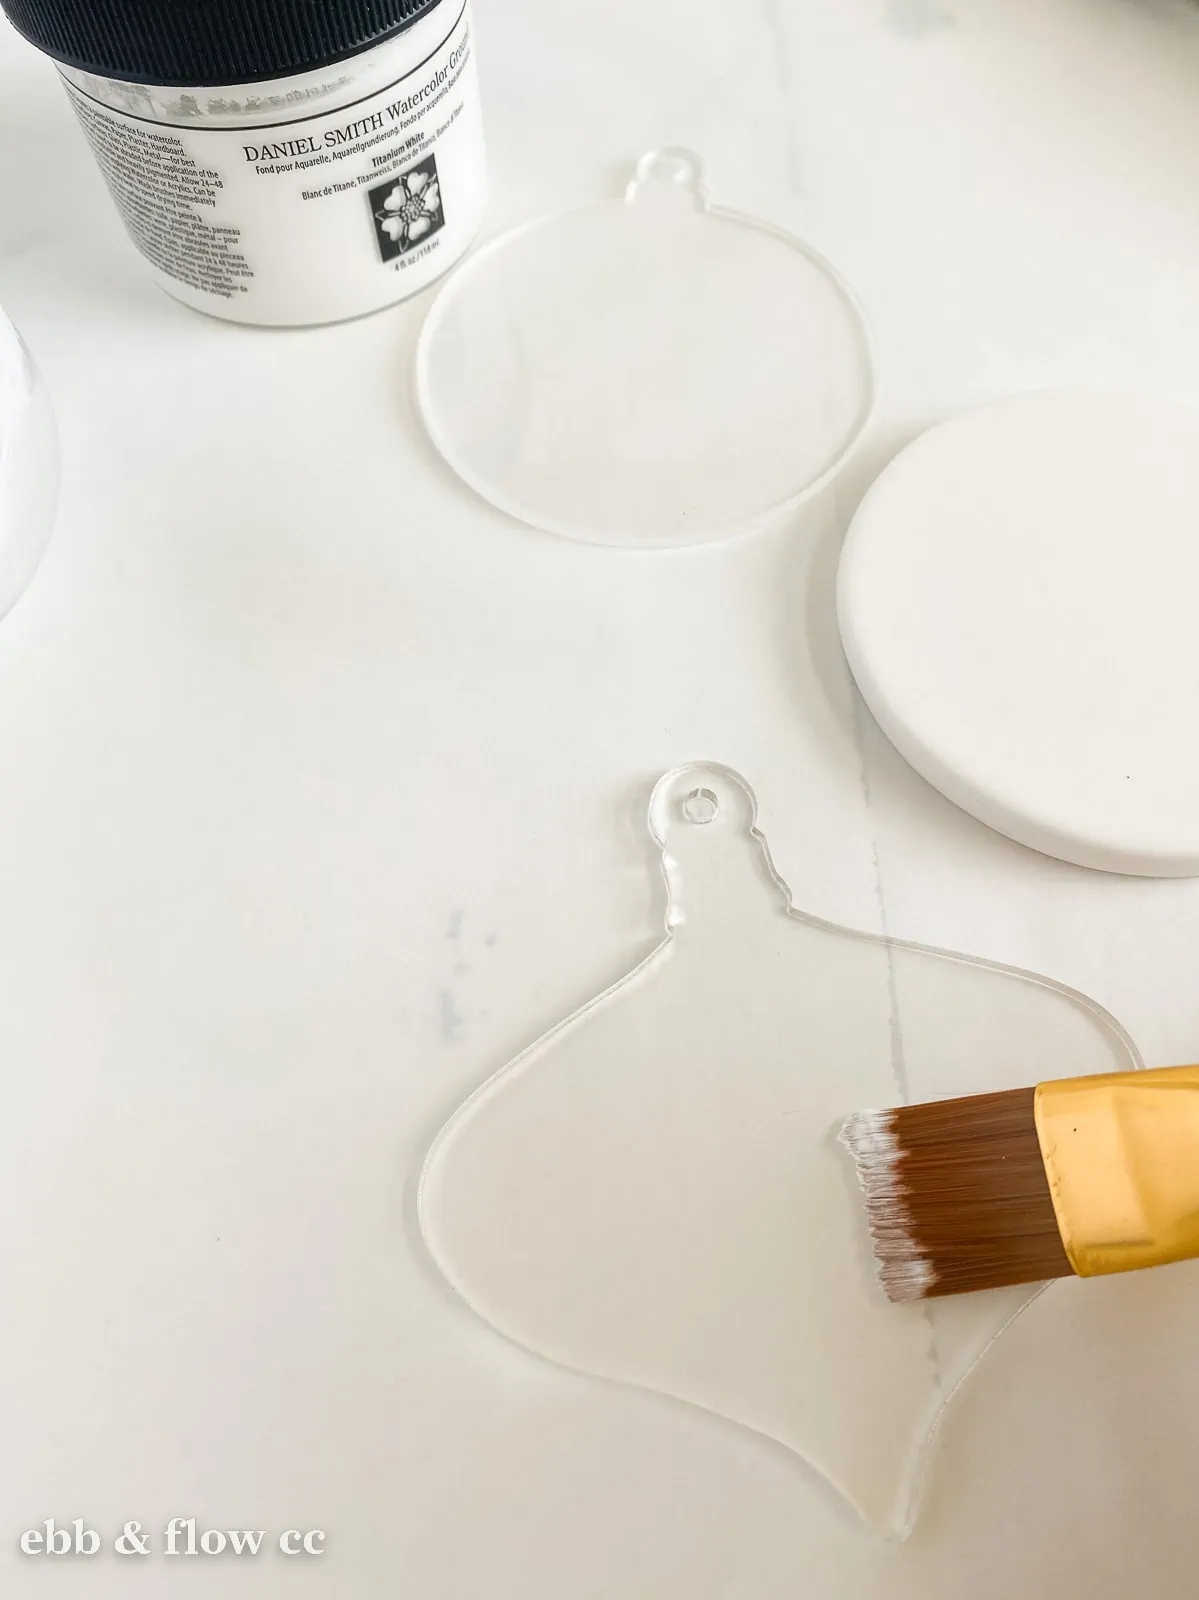
- If they aren’t already white, paint them white with acrylic paint or gesso. I used this gesso and I really liked the coverage.
- Be sure to let it dry and paint the other side as well.
- Paint on a thin coat of watercolor ground, ensuring you cover the entire surface.
- Let it dry and paint the other side as well.
- The watercolor ground that I used instructed me to wait 24 hours to let it fully dry, so I did that.
- Now’s the fun part: adding the watercolor.
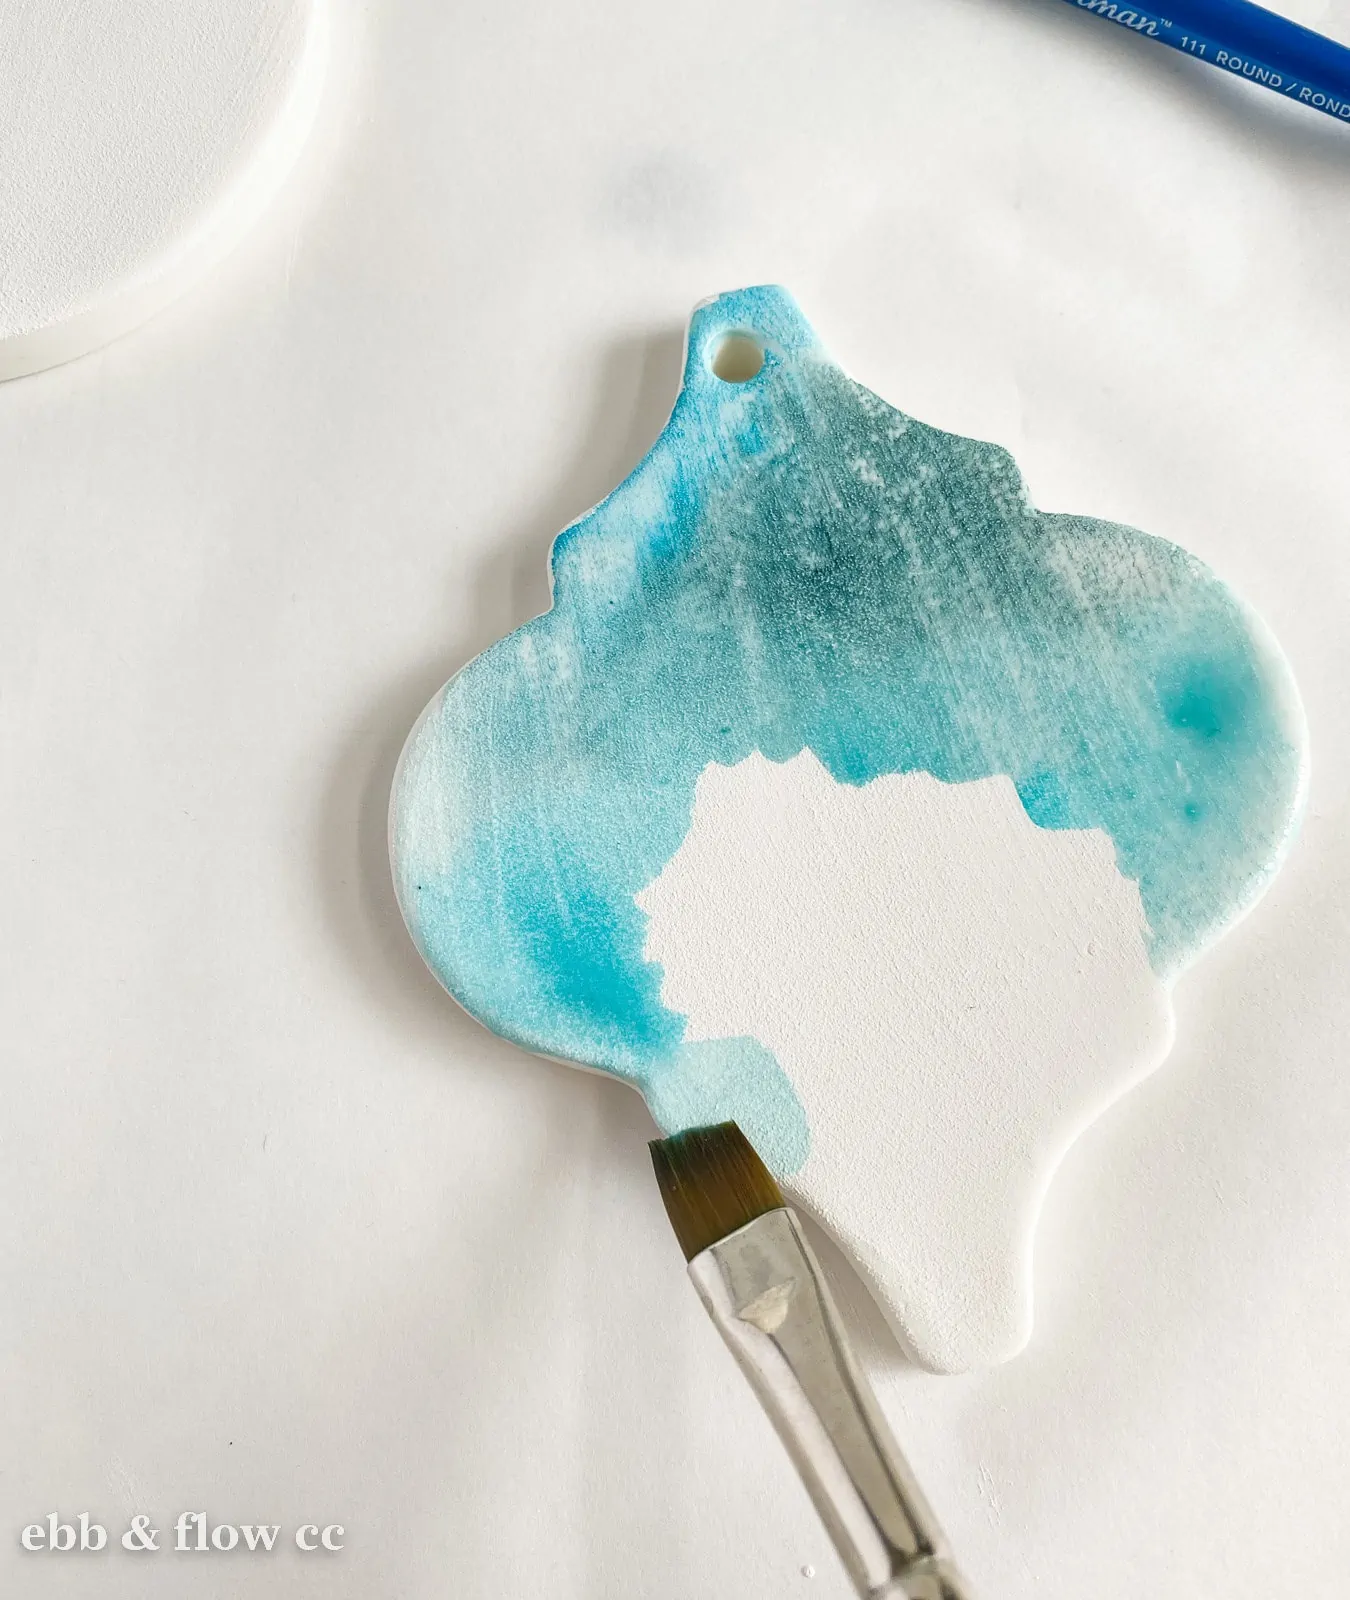
- Paint the ornament with diluted watercolor paint.
- Add another color, letting the paint run into each other and blend.
- These colors dry much lighter than they go on, so be generous with the paint. (You can add more layers if you want.)
- If you want, sprinkle sea salt on the wet paint to create a fun textured effect. (Let it dry completely before brushing it away.)
- Continue painting until you’re happy.
- Let it dry and paint the other side in the same manner.
- Add a ribbon to hang on the tree.
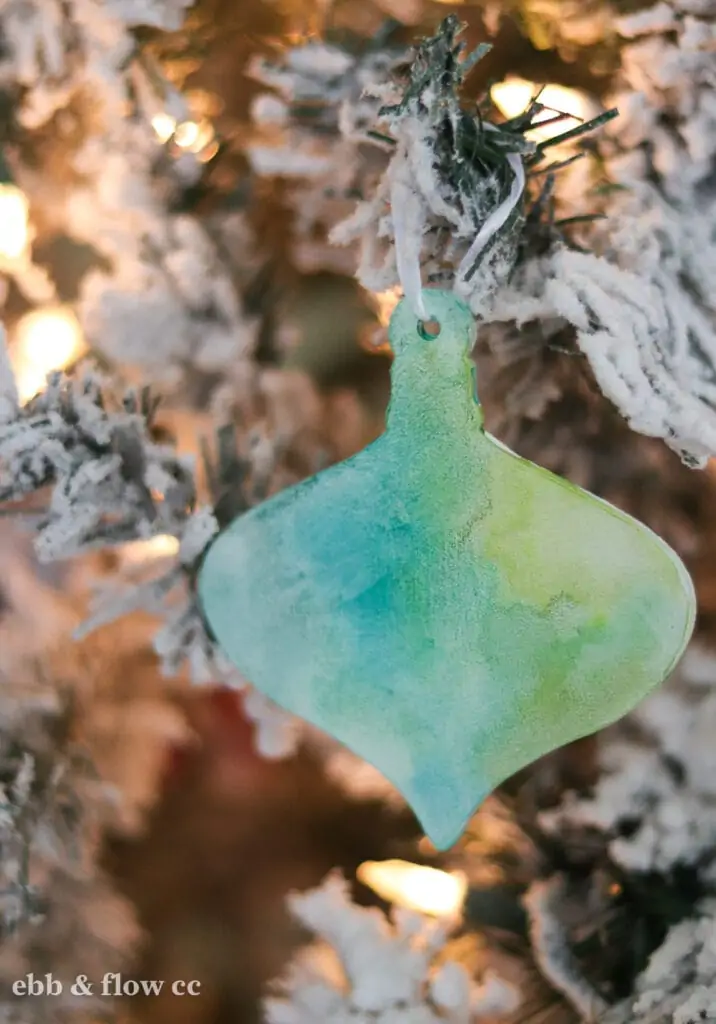
A Few Tips for Painting Watercolor Ornaments
- Dry time will vary depending on where you live. I’m in Florida and it took several hours to dry.
- Combine colors that are adjacent on the color wheel for the best results. For instance, blue and green combine to make aqua. However, red and green would combine to make brown or gray.
- I used this technique to make an abstract look, but you could use it to paint actual paintings on the ornaments. Stick with simple motifs until you get the hang of how the paint moves and dries on the watercolor ground.
- You could even letter names on top of this technique!
- Granulating colors don’t really work as well on the watercolor ground. The color shows up, but the texture is way more subtle than when painted on paper.
- The watercolor paint doesn’t rub off, but if you’re making these to give as gifts or to sell, I would seal them with a clear coat of matte spray.
You Might Also Like:
Pin for Later!
