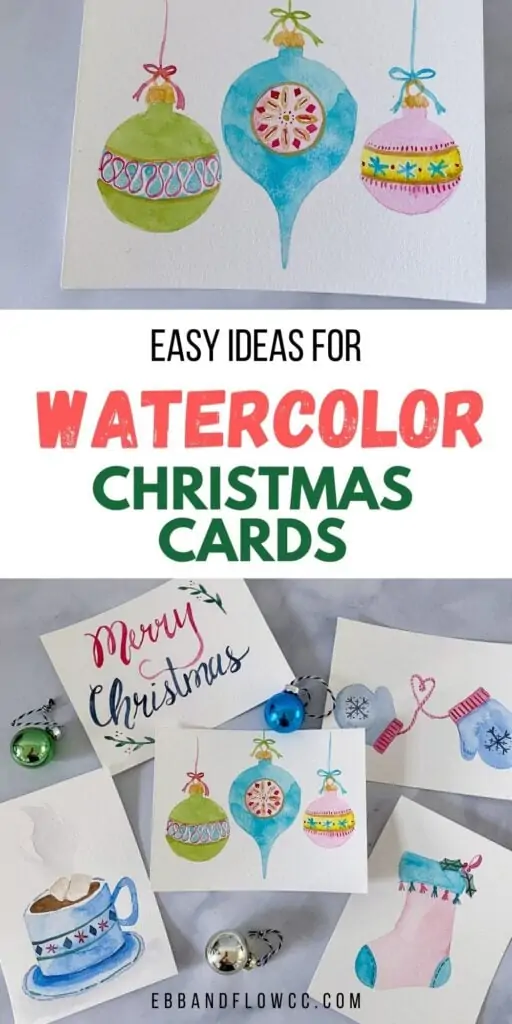
5 More Watercolor Christmas Card Ideas for Beginners

I’m a self-taught artist who loves sharing tips and tutorials for painting with watercolor and gouache, and using the Procreate app on the iPad.
Get 5 more easy watercolor Christmas card ideas. These cards feature simple designs that are perfect for beginners.
If you like these card ideas, you might also like these simple card ideas for Christmas.

This post contains affiliate links. By purchasing an item through an affiliate link, I earn a small commission at no extra cost to you. As an Amazon Associate I earn from qualifying purchases.
Since I had so much fun creating cards last year, I decided to make more this year. I tried to keep the objects simple and graphic.
Feel free to omit details or even add more if you want. You can even add words to customize these cards more.
Can’t draw? No problem? I created a printable PDF (download at the end of the post) to use.
Use carbon paper to trace the design onto watercolor paper.

5 Watercolor Christmas Card Ideas
Supplies Needed:
- Watercolor paint
- Watercolor brushes
- Watercolor paper or cards
- Masking fluid pen (optional)
- Gold paint
- Pencil and eraser
Notes about supplies:
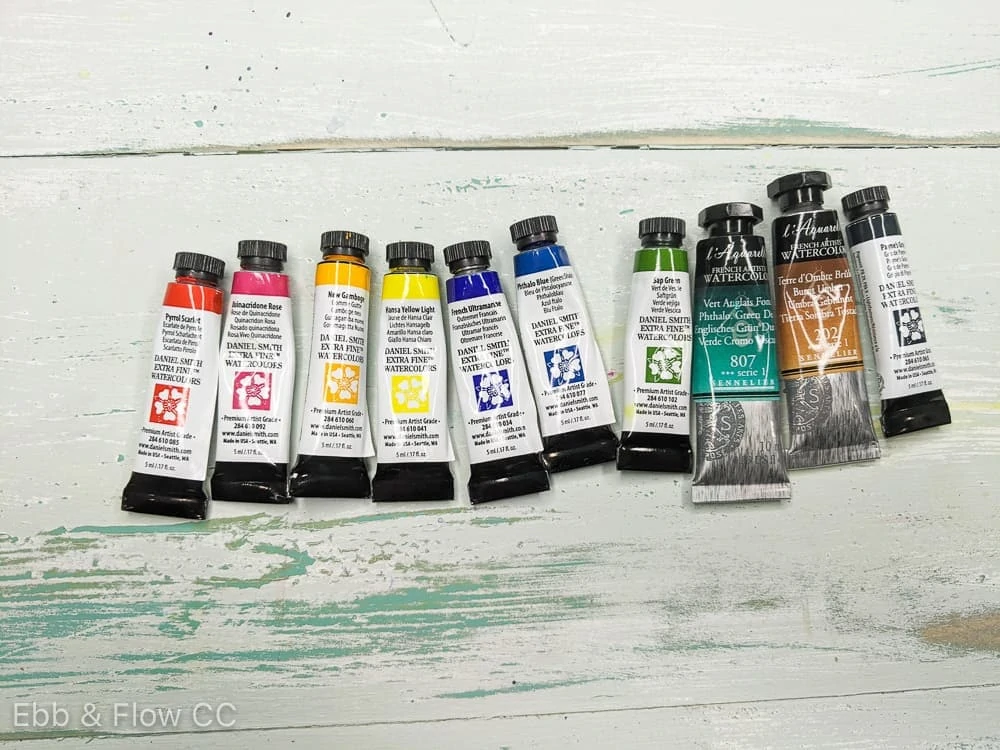
Watercolor Paint
I used my Schminke watercolor paint for this project, but you can use any paint that you have. I’ve noted each color that I used a similar color type for other brands.
Here’s my suggestion for watercolor paint if you’re just starting out.
Watercolor Brushes
I used round sizes 2 and 4 for these paintings. You can use larger brushes if you want, but I really love using small brushes for the details.
By the way, I’ve been testing this set of cheap brushes and they work pretty well for the price.
Watercolor Paper or Cards
I used watercolor paper that I cut down to size with a paper cutter, but premade cards on watercolor paper are also available.
Watercolor paper is important to use because it doesn’t buckle with water. It also doesn’t change colors or dull the paint as it dries.
Masking Fluid
One of the paintings uses masking fluid, but you don’t have to use it if you don’t want to.
If you do, I highly recommend this pen. It’s so easy to use. I do NOT recommend the Winsor and Newton masking fluid. It has never worked for me.
Gold Paint
I used a bit of gold watercolor paint on a few paintings, but a gold gel pen would also work. Just make sure that the paint is completely dry before using it.
Pencil and Eraser
Pencil graphite cannot be erased once it’s wet and can muddy up your paint. I use this pencil instead. It can’t be erased either, but it blends into the background better. Watercolor pencils also work well.
Since watercolor paper is a bit more delicate, I love a kneaded eraser for erasing my pencil marks. It’s much more gentle on the paper and does a great job of removing extra marks.
Hand Lettered “Merry Christmas” Card
I used my own handwriting for this card, but feel free to print it out using a pretty font if you want.
The charm of hand lettering lies in imperfections, so keep that in mind. Also, keep in mind that the downstrokes get thicker.
Colors used:
- Schminke Ruby Red (any cool red will work)
- Schminke Indigo
- Schminke Cobalt Green Dark* (cool green)
*The Schminke cobalt green dark is pretty unique. You should be able to get a similar color by mixing phthalo green with a small amount of indigo.
- Use a pencil to lightly draw out “Merry Christmas” in cursive.

- Lightly erase the pencil.
- Use a small brush to paint along the lettering, making the downstrokes thicker.
- Let the first part dry completely.
- Use green paint to add simple branches with leaves.

- When the paint is dry, paint the second part in the same manner.


Mittens Card
Colors used:
- Schminke Moutain Blue – diluted (a cerulean would work)
- Schminke Ruby Red (cool red)
- Schminke Indigo
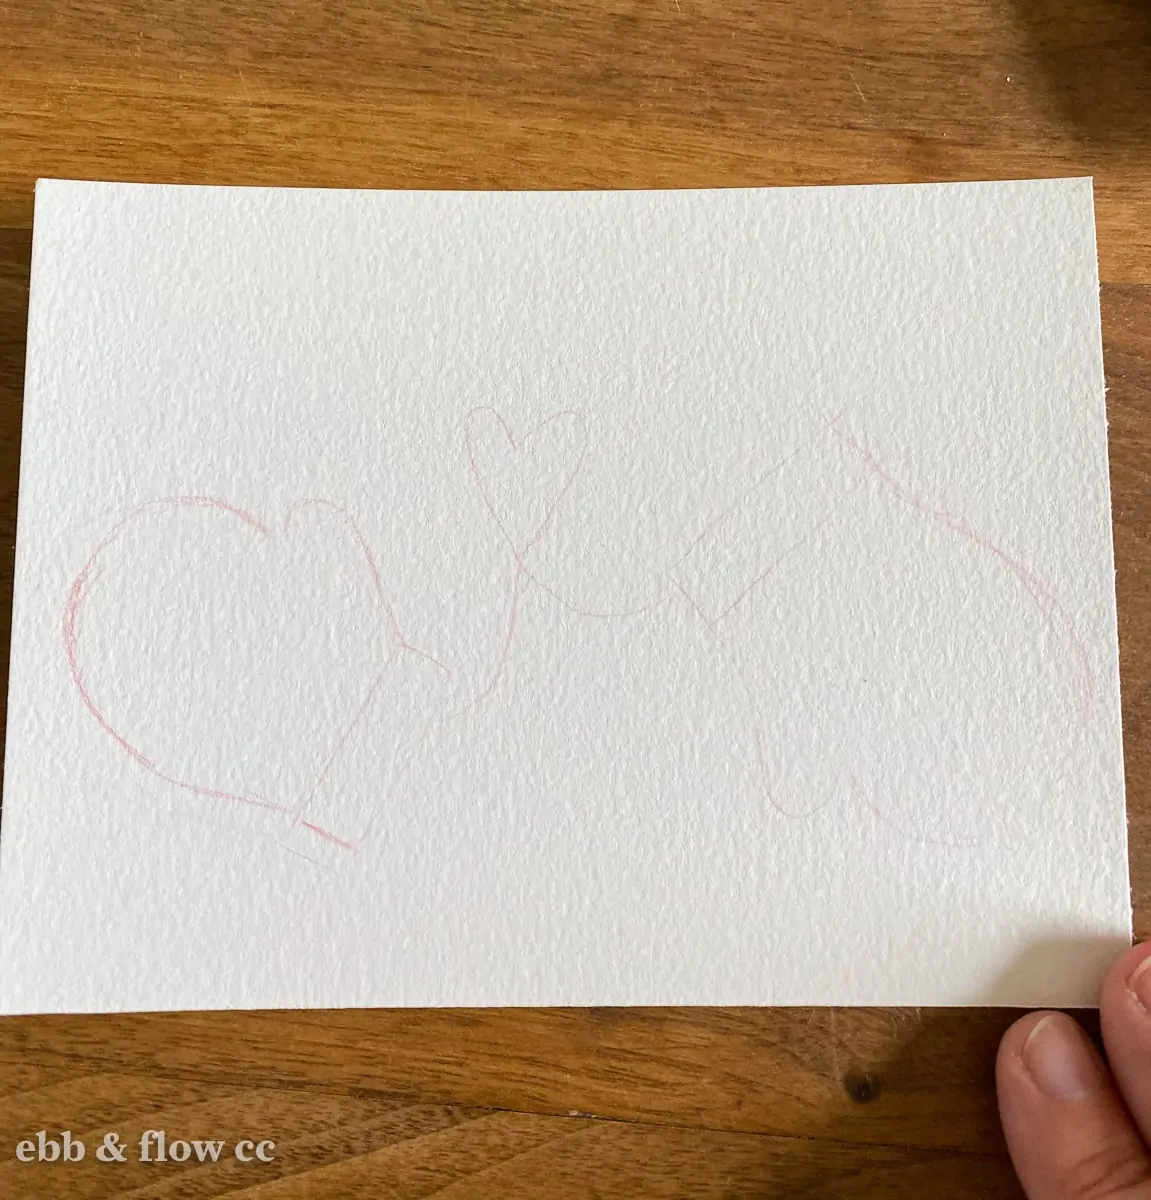
- Draw out the mittens connecting them with a heart string.
- Lightly erase the pencil.
- Paint the main part of the mittens. (If you’re going to add details, make sure to dilute the paint to get a light color.)
- Let the paint dry.
- Paint the mitten cuffs.
- Paint the mitten strings. You can add thickness to the line if you want.

- Let the paint dry.
- Add details. If desired, paint a simple snowflake design.

- Add lines to the mitten cuffs.

- Add lines to the string to make it look knitted.


Vintage Ornaments Card
Colors used:
- A mixture of Schminke Sap Green and Quinacridone gold hue (most sap greens will work)
- Schminke Ruby Red (Cool red like carmine)
- Schminke Cobalt Turquoise (any cobalt turquoise or teal)
- Schminke Transparent Yelow (warm yellow)
- Schminke gold
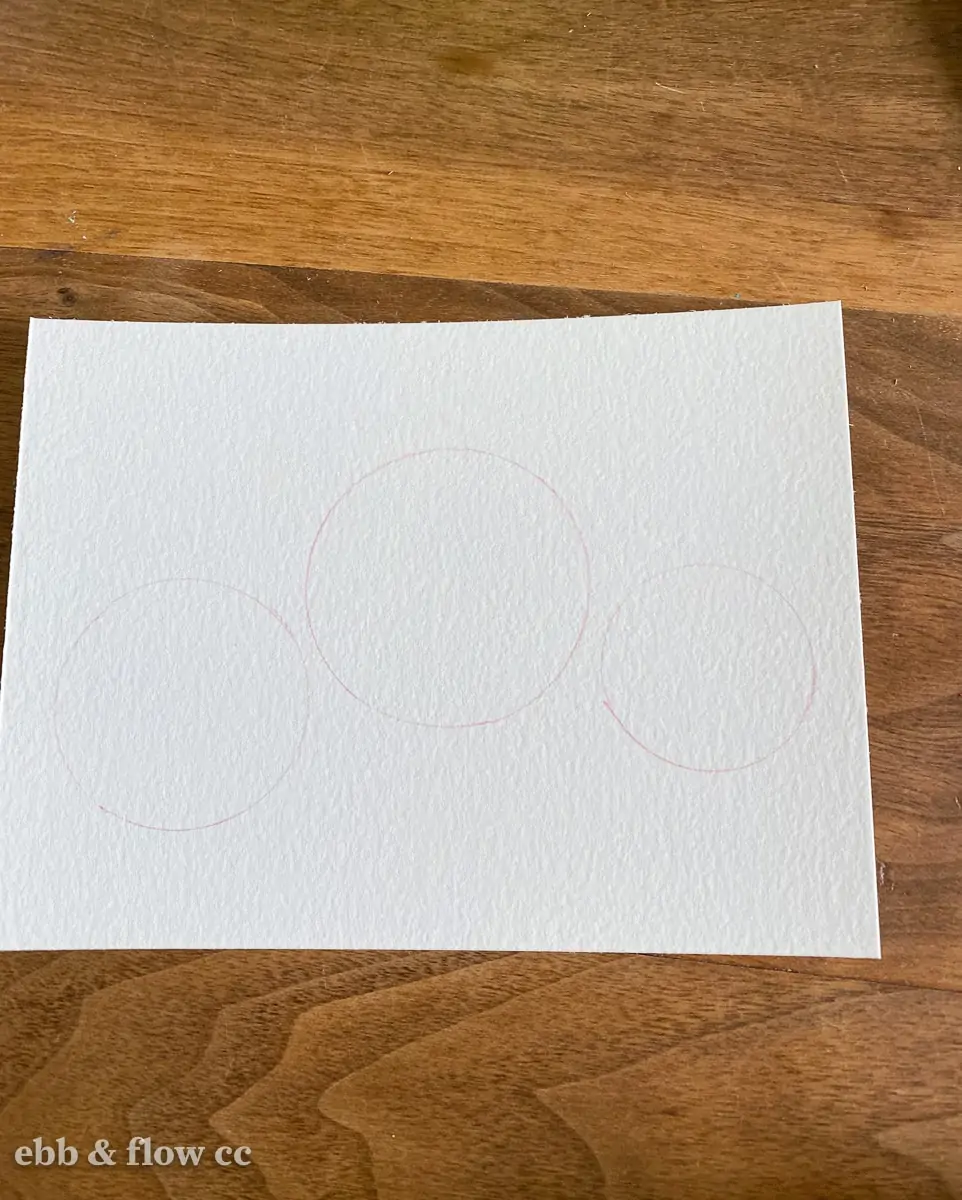
- Draw small circles on the card. I used round objects and traced the shapes.

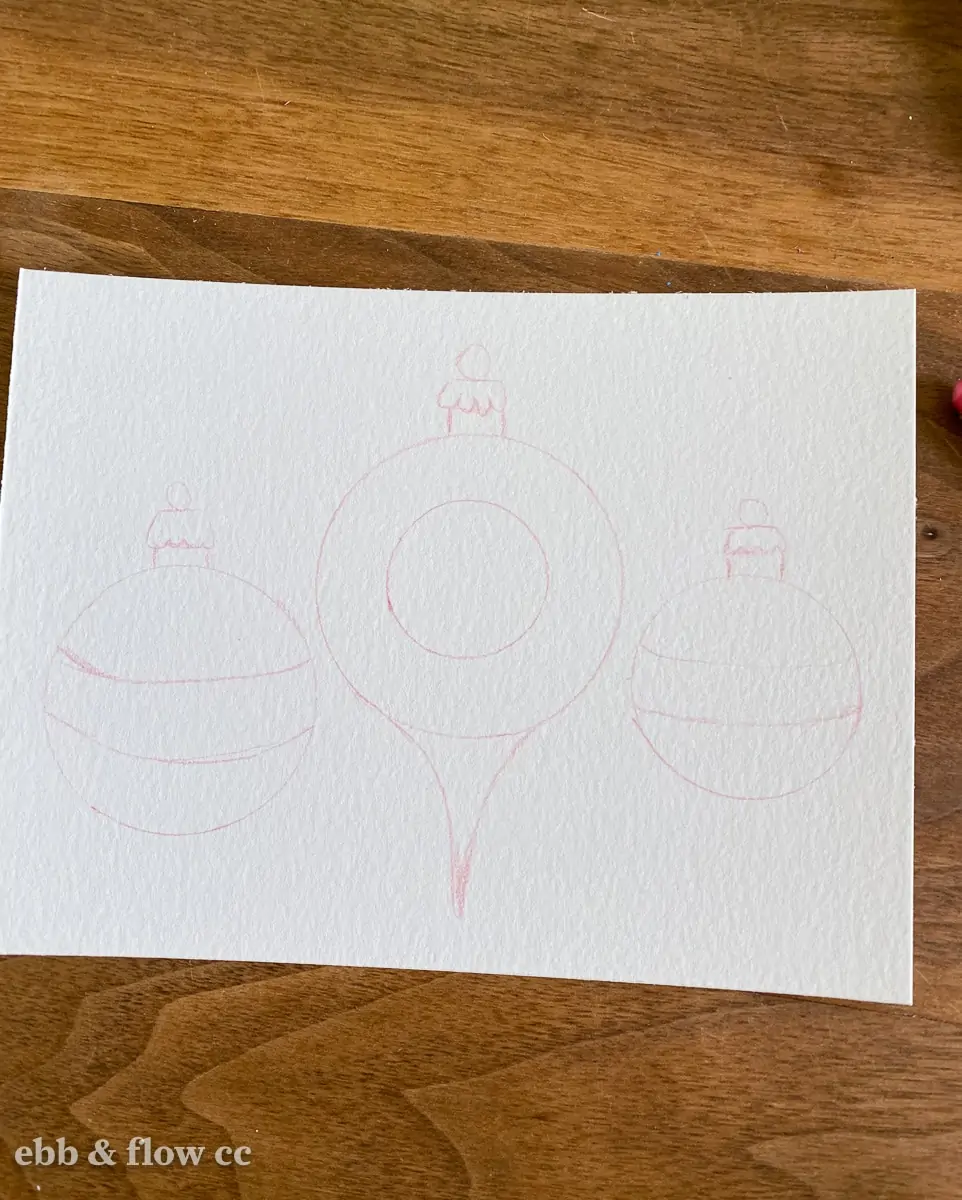
- Lightly draw out the other details to make the circles into ornament shapes.
- Lightly erase the pencil.
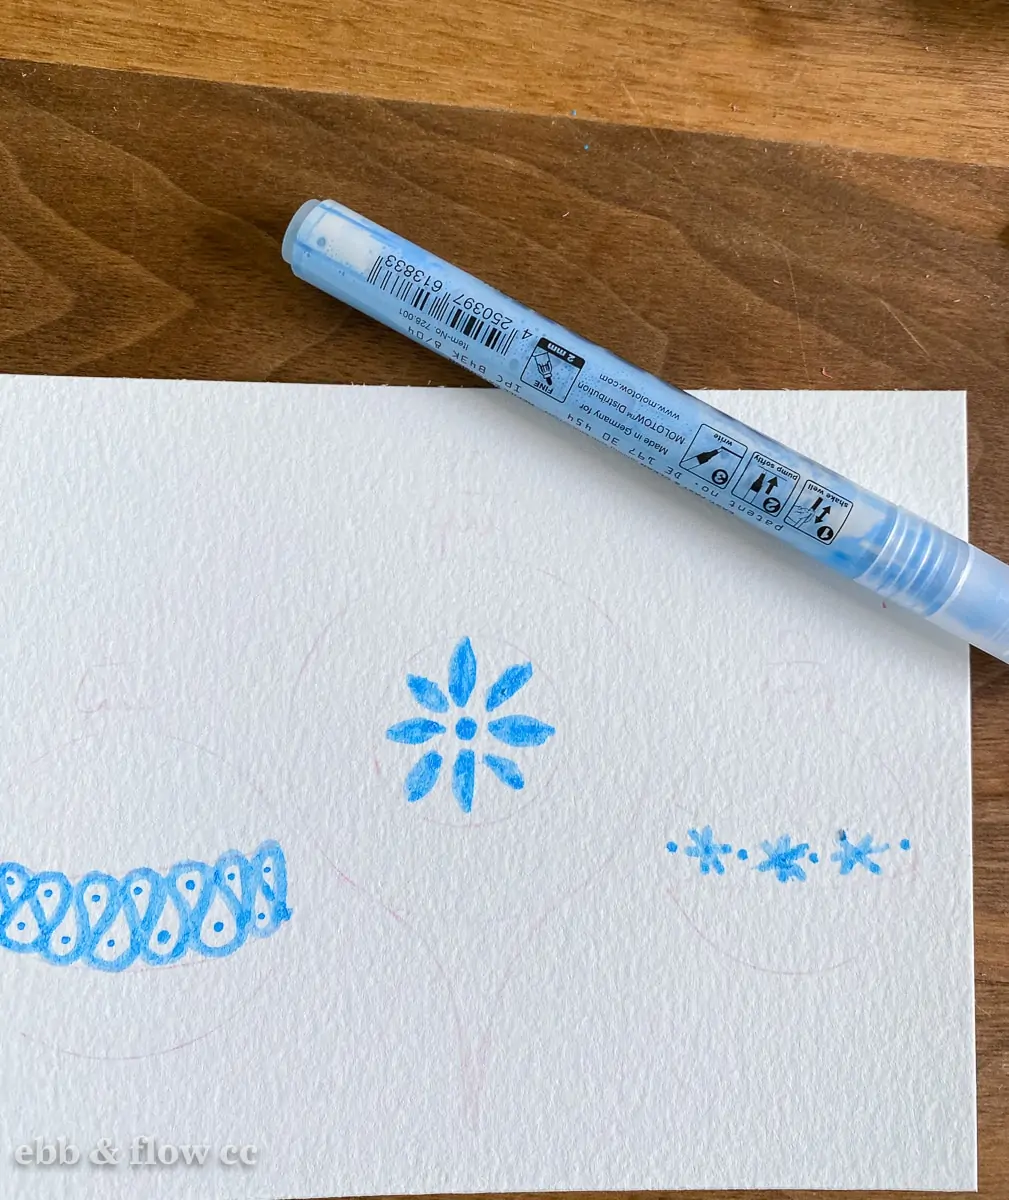
- Draw designs with the masking fluid pen.

- Let the pen dry completely.
- When the masking fluid is dry, paint the bodies of the ornaments.

- Let each part of the painting dry before moving onto the next part.
- Paint over the masking fluid and let the paint dry completely.

- When the paint is dry, use your finger to lightly rub away the masking fluid. This area can be left white or it can be painted.
- Add details. I painted details in darker colors and added gold to the ornaments.


Stocking Card
Colors used:
- Schminke cobalt turquoise (any cobalt turquoise or teal)
- Schminke magenta – diluted (any cool red or magenta)
- Schminke cobalt green dark (cool green)
- Schminke prussian green (any dark turquoise. You can also mix phthalo green with cobalt blue to get this color)
- Draw a stocking shape with holly berries and leaves.
- Lightly erase the pencil.
- Start painting the main part of the stocking.
- Since they don’t touch, I also painted the holly berries.
- Let the paint dry completely.
- Paint the toe, heel, and cuff.
- Let the paint dry and then paint the holly leaves.
- Add details when the paint is dry. I added stitching to the toe and heel of the stocking and tassels to the cuff.


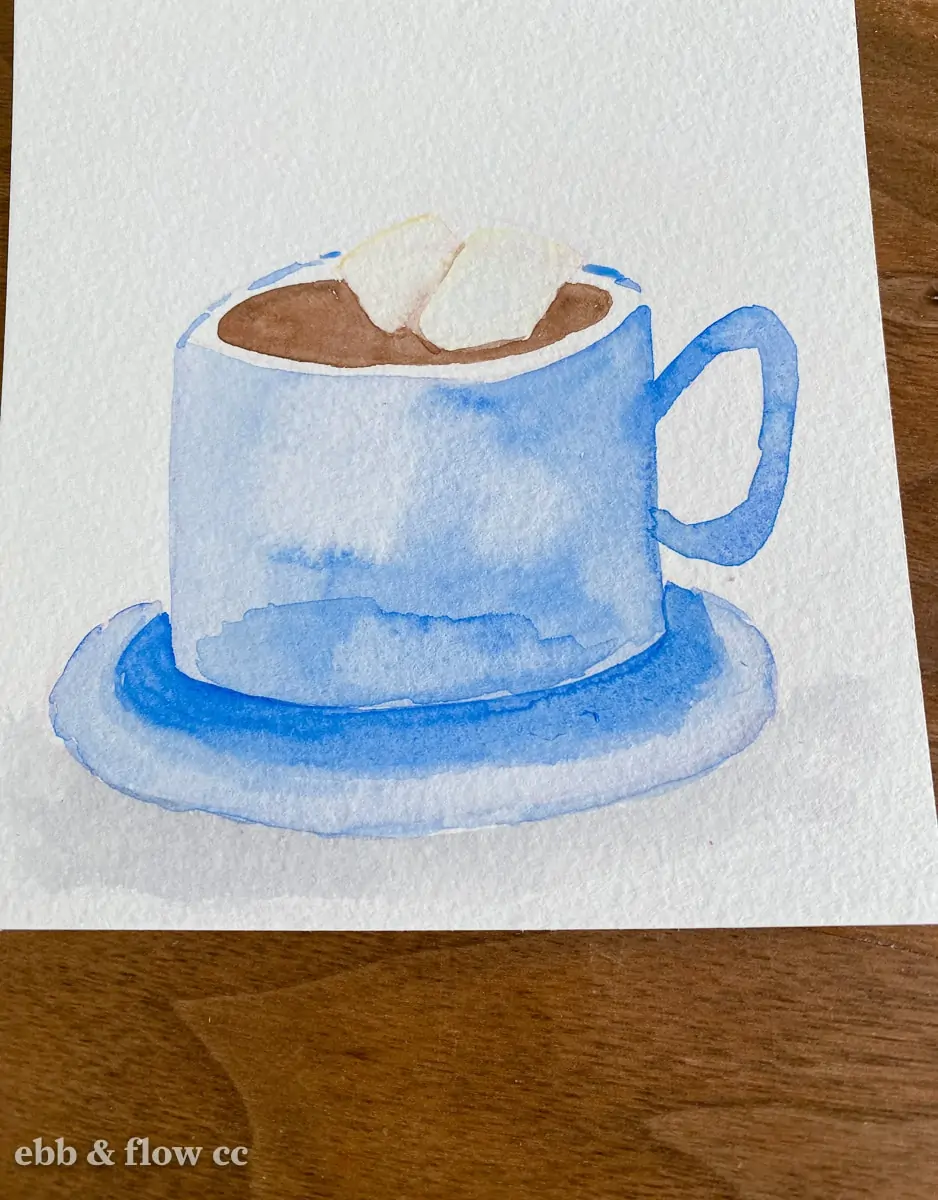
Hot Cocoa Card
Colors used:
- Schminke moutain blue (cerulean would work
- Schminke burnt umber
- Schminke cobalt green dark (cool green)
- Schminke Naples yellow (pastel yellow)
- Schminke ruby red (cool red)
- Schminke payne’s gray – diluted (any Paynes gray or black)
- Schminke gold
This card is a bit harder than the others, but it’s still pretty simple. The thing to remember is to dilute the paint a lot. This enables you to get pale colors for the marshmallows and steam.
- Draw the cup and saucer on the paper.
- Lightly erase the pencil.
- Start painting the cup and handle.
- Let the paint dry.
- Paint the saucer, leaving a small white area between the cup and saucer.
- Paint the cocoa part dark brown, leaving a white rim for the cup. Paint around the marshmallow area.
- When the paint dries, add a more concentrated version of the paint to the white space we just left between the cup and saucer. Use a dry brush to blend it out.

- When the paint dries, paint in the marshmallows. I uses a diluted Naples yellow, but you can use a diluted brown paint. (Don’t use white. It won’t show up.)
- Use diluted black paint to paint the shadow beneath the cup.
- Dilute the black paint even more and paint the steam. (It will dry even lighter.)
- Add details to the cup body. I added simple star shapes.
- When the paint dried, I added a few more details to the cup.
- I added one more layer of diluted brown paint to the marshmallows to make them show up a bit more.


Download the Template

Download a printable PDF to help you make watercolor Christmas cards. The printables can be used with carbon paper to transfer the designs onto watercolor paper.
These downloads are for personal use only. Please do not redistribute or sell.
Dear teachers and students: this download will not work if you try to access it when logged into your school email account. Try a personal email account instead.
What is your favorite watercolor Christmas card idea?
If you like this post, you might like these DIY watercolor ornaments.
You Might Also Like:
Pin for Later!