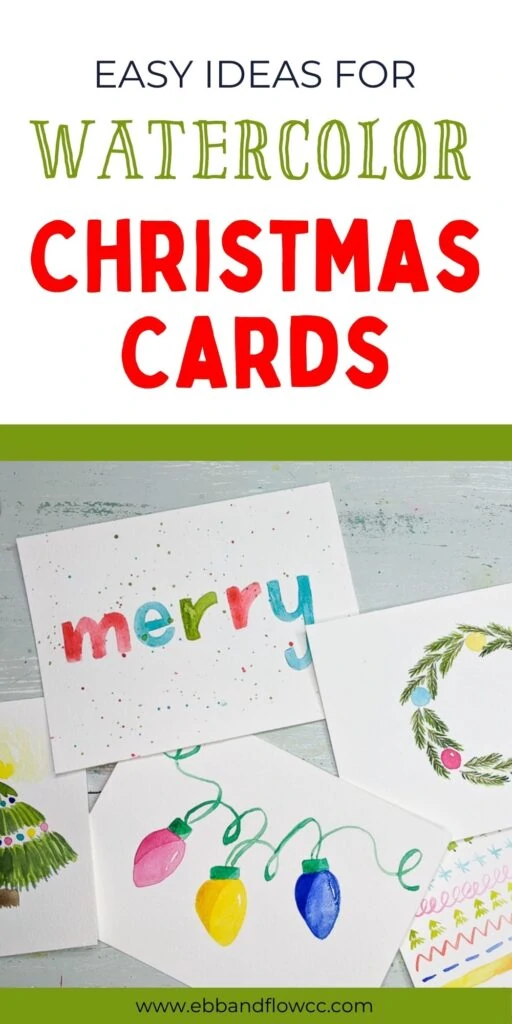
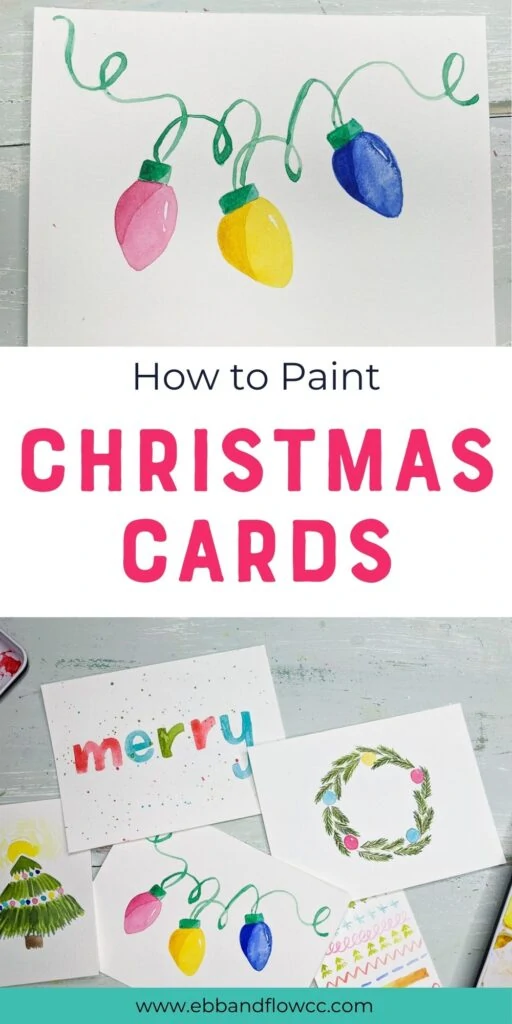
Easy DIY Watercolor Christmas Cards to Make

I’m a self-taught artist who loves sharing tips and tutorials for painting with watercolor and gouache, and using the Procreate app on the iPad.
Make these easy DIY watercolor Christmas cards to give to your loved ones. These simple designs are perfect for beginner painters, but still beautiful enough to share with others.
Get a printable template at the bottom of the post.
You might also like this post on affordable watercolor gifts for artists.
This post contains affiliate links. By purchasing an item through an affiliate link, I earn a small commission at no extra cost to you. As an Amazon Associate I earn from qualifying purchases.
Looking for more Christmas cards ideas? I just wrote a post with 5 more fun ideas!
DIY Watercolor Christmas Cards
Supplies Needed:
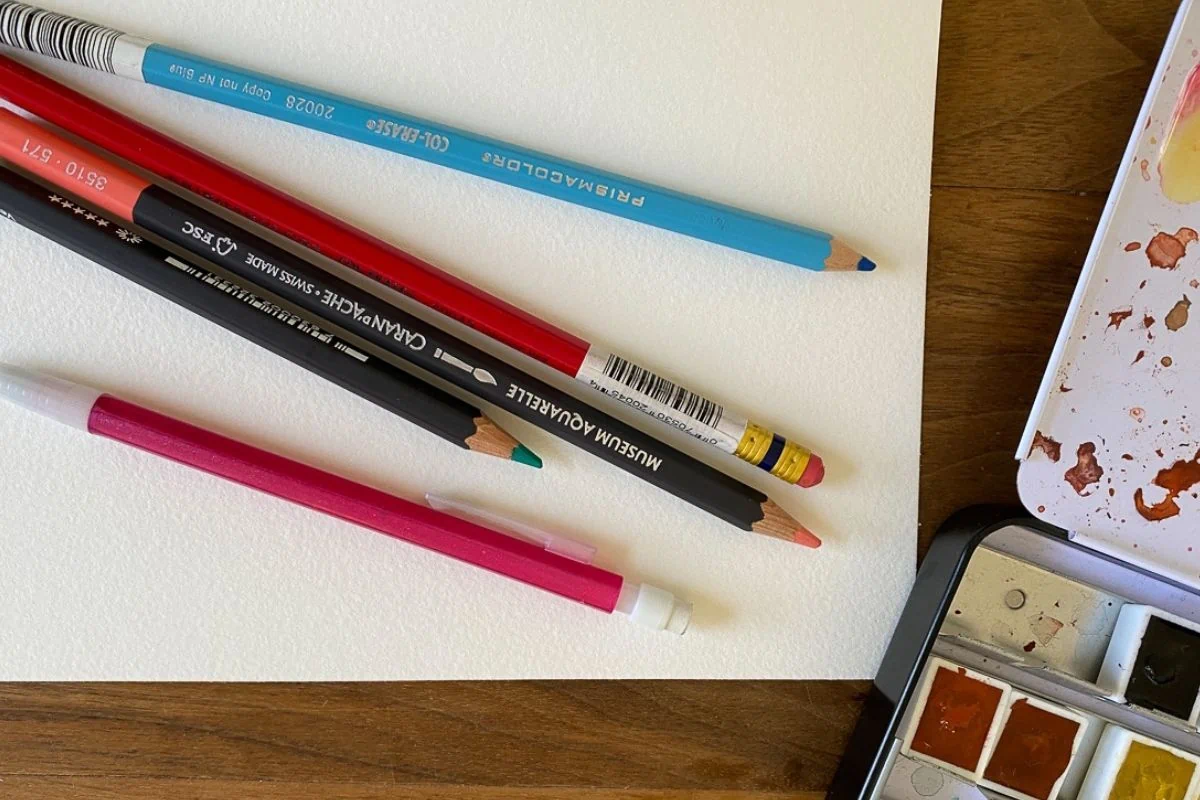
- Watercolor Paint (see info about my palette here)
- Watercolor Brushes
- Watercolor Cards or Paper
- Pencil (I love these pencils because they disappear under watercolor paint better than graphite.)
- Eraser (This eraser is so gentle on watercolor paper.)
Directions
If you’ve never painted with watercolor paint, the most important thing to know is to let each layer dry before the next layer.
The other important thing to know is that watercolor paper is necessary to get the best color pigmentation and to prevent the paper from warping.
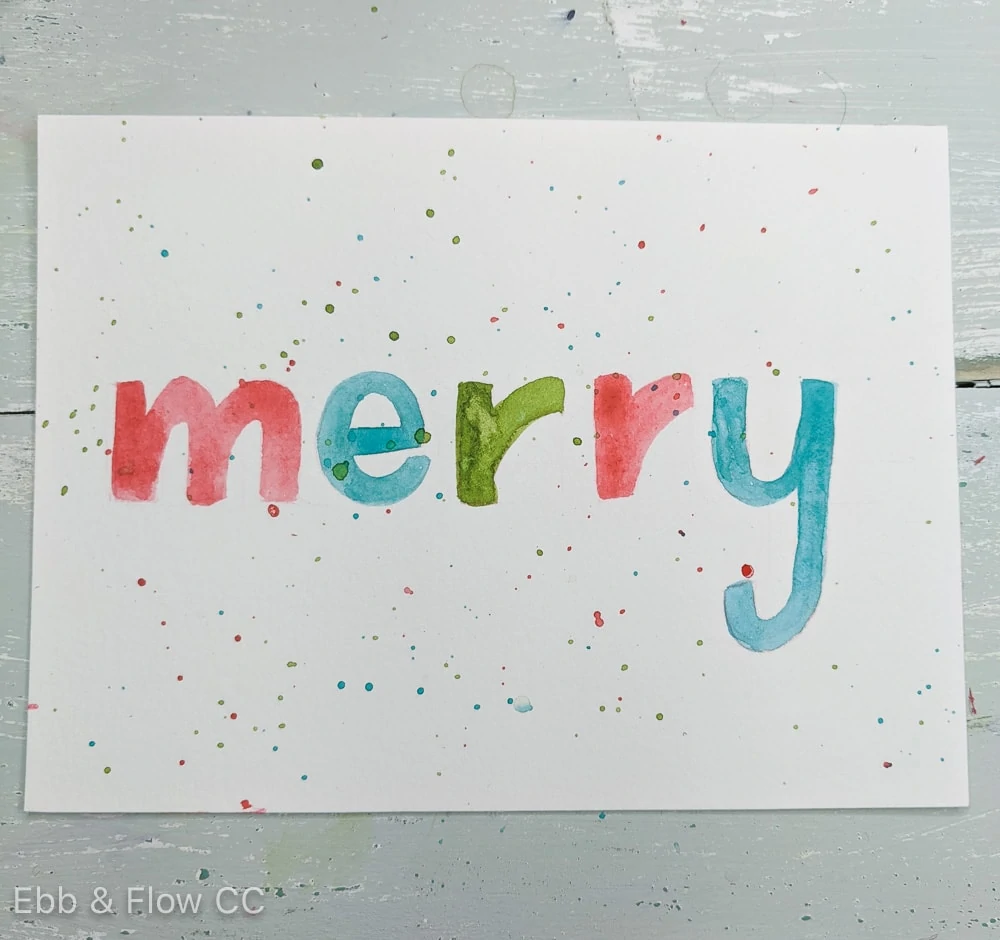
Hand-Lettered “Merry”
Hand-lettering sounds much harder than it is. But it’s pretty easy.
If you still feel uncomfortable hand-lettering it, you can print the word and trace it with carbon paper. Look for a font that is thick for best results.
- Use a ruler to draw light guidelines.

- Find the center of the page.
- Find the center of your word. In “Merry,” it is the 1st R.
- Write the word lightly using the guidelines. Start with the center letter to make sure that all of the letters fit properly.

- Draw each letter. I find it easier to hand-letter if I break each letter into rectangles. Make sure that each rectangle is about the same thickness.

- Erase as much of the drawing as possible, so that you can still see it. Remove any stray lines.
- Start filling in each letter. I start by outlining a portion and use the brush to pull the color into other areas. Line as you go.
- I used 3 colors, alternating on the letters.
- Optional: Add a fun look with paint spatter. Water down the paint and load it onto the brush. Tap it against your hand. Repeat as needed.


Christmas Wreath
This wreath is easier painted with a small paintbrush. I used a #2 and #0 Round.
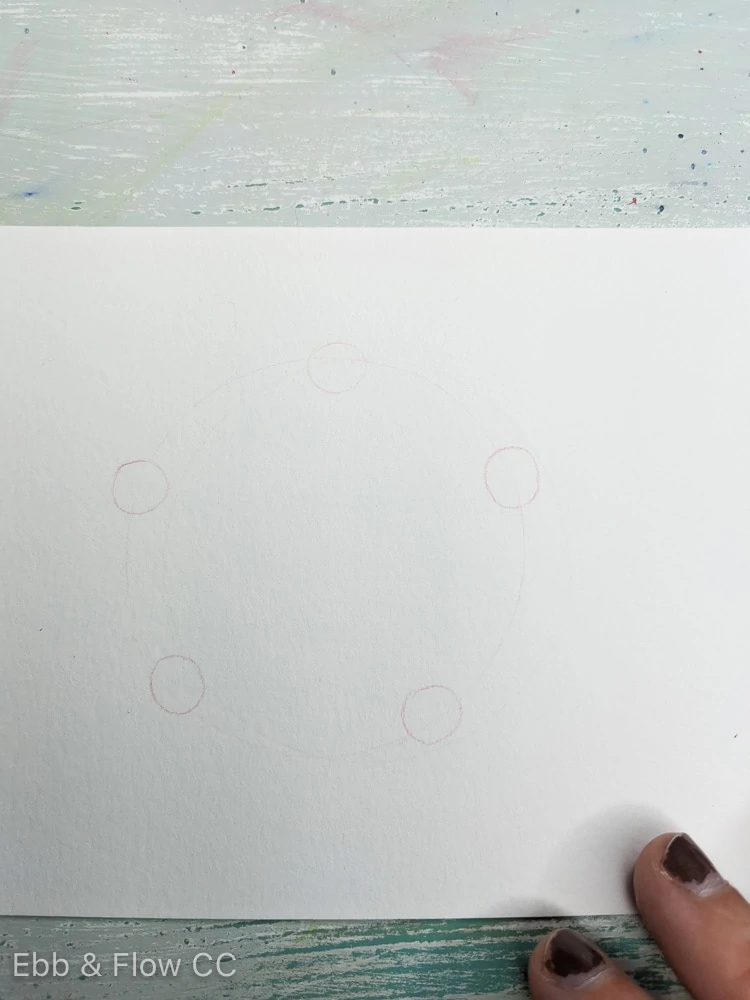
- Lightly draw a circle. (I always find a glass or a roll of tape to trace.)
- Lightly erase the circle.
- Draw in 5 circles for ornaments that are equally spaced around the circle.
- Paint the ornaments, alternating colors.
- Use brown paint to start adding in the stems for the pine needles. They’re just curved lines, equally spaced around the wreath. (The full tutorial for painting leaves and pine needles can be found here.)

- Use a light green to add lines for the pine needles.
- Add a 2nd layer of darker green to add depth.
- If there are any bare areas, add more pine needles.


Christmas Lights
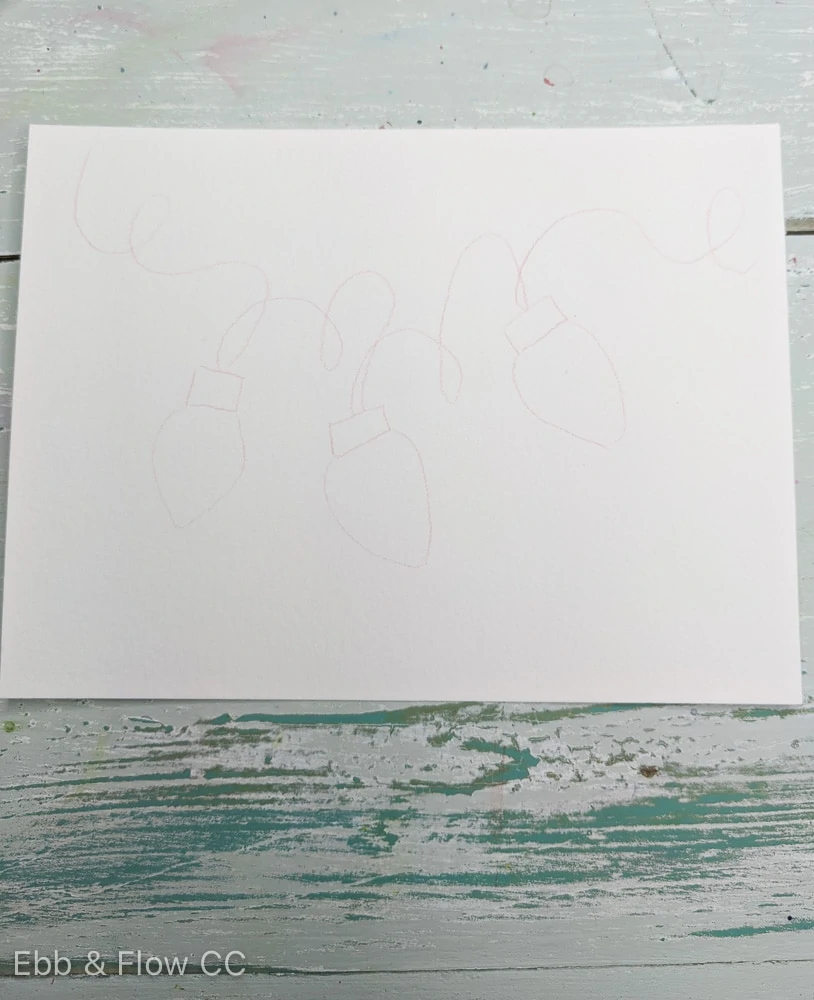
- Sketch out your lights and cords. The lights are ovals with a fatter base. The caps are just rectangles. The cord is a curvy, looped line that connects each light.

- Erase as much pencil as possible.
- Paint the lights, leaving small white triangles of white paper to show the reflection.
- Paint the cord green. (I mixed phthalo green and yellow to get this green.) It’s easier to pull the paintbrush towards you than push it away from you. Turn the paper if you need to.
- Once the lights are dry, paint in the caps with the same green paint.
- Let everything dry and add a layer to each lightbulb to add a shadow.


Christmas Tree
If you don’t want to “decorate” the tree, you can leave smaller gaps between the rows of branches on the tree.
- Use the tip of the brush to make lines forming a small triangle.

- Use this same method for the next 2 rows of branches, leaving white space between them.

- Use the same method to paint a brown tree trunk.
- Use yellow paint to paint a circle around the top of the tree.
- Dilute the paint and add rounded lines around the circle to create the illusion that the tree is lit.

- Add colorful circles in the white spaces to represent ornaments.

- Optional: Add another layer of branches to the tree in a darker paint color.


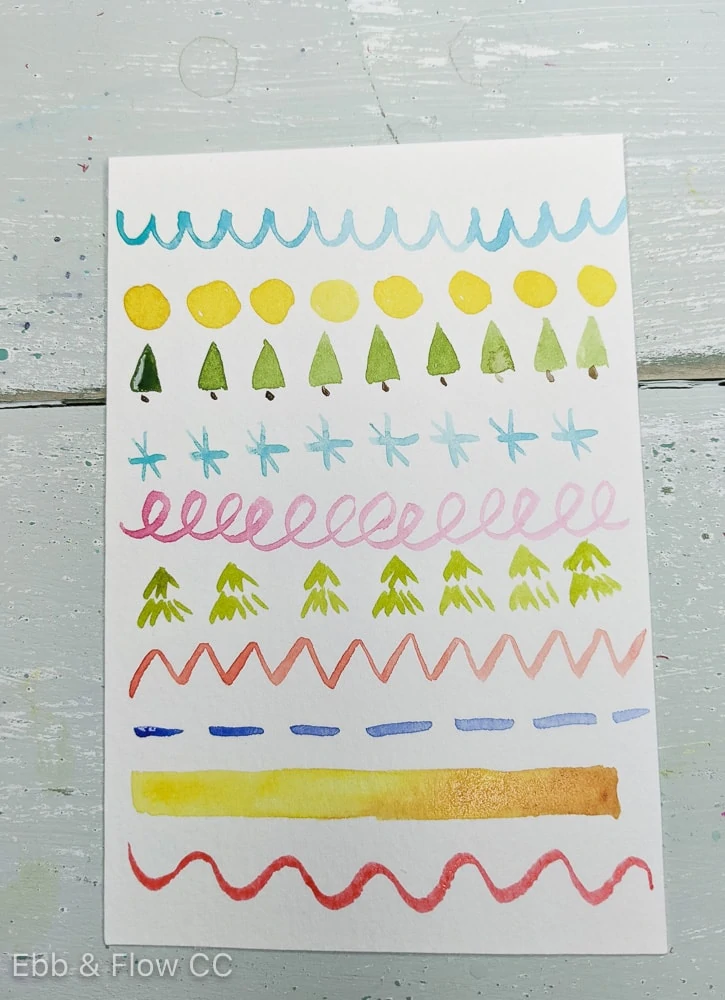
Fun Designs for Edges
Optional idea: Add frames to the edges of the card. These ideas are pretty self-explanatory.
Christmas Card Template
These downloads are for personal use only. Please do not redistribute or sell.
Dear teachers and students: this download will not work if you try to access it when logged into your school email account. Try a personal email account instead.

Get Access to All of My Art Resources
Get Even More Christmas Card Ideas!
Get more Christmas card ideas in this new post!
I also have a post on painting ornaments with watercolors.
You Might Also Like:
- Easy Valentine’s Card with Watercolors
- Affordable Koi Watercolor Review
- How to Paint a Sunset with Watercolors
- Galaxy Painting Tutorial
Pin for Later!