How to Make Stickers with Procreate

I’m a self-taught artist who loves sharing tips and tutorials for painting with watercolor and gouache, and using the Procreate app on the iPad.
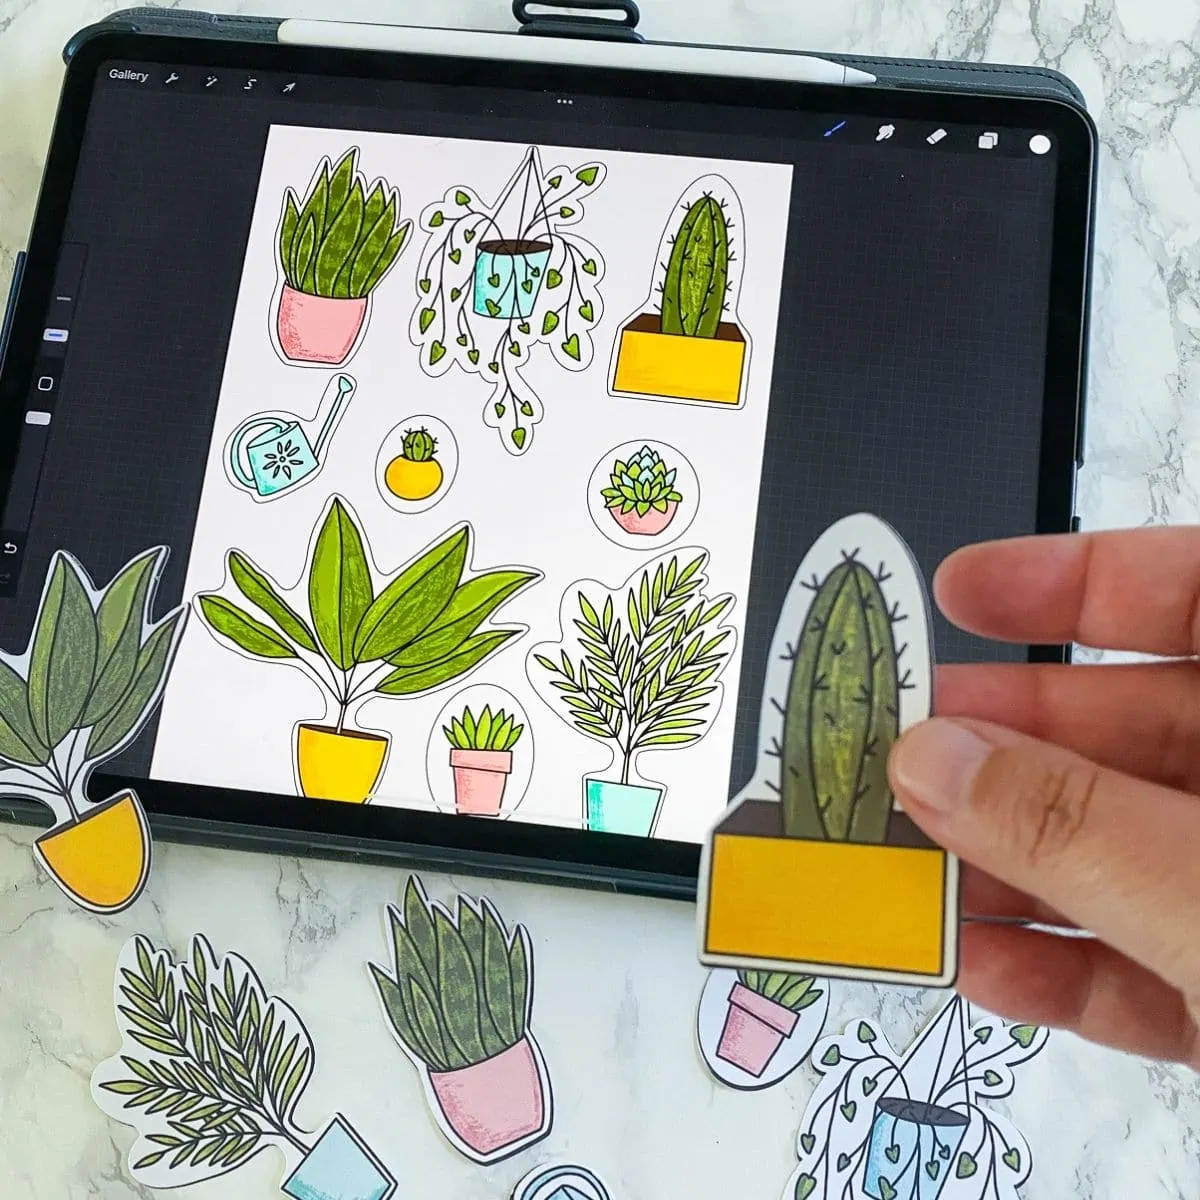
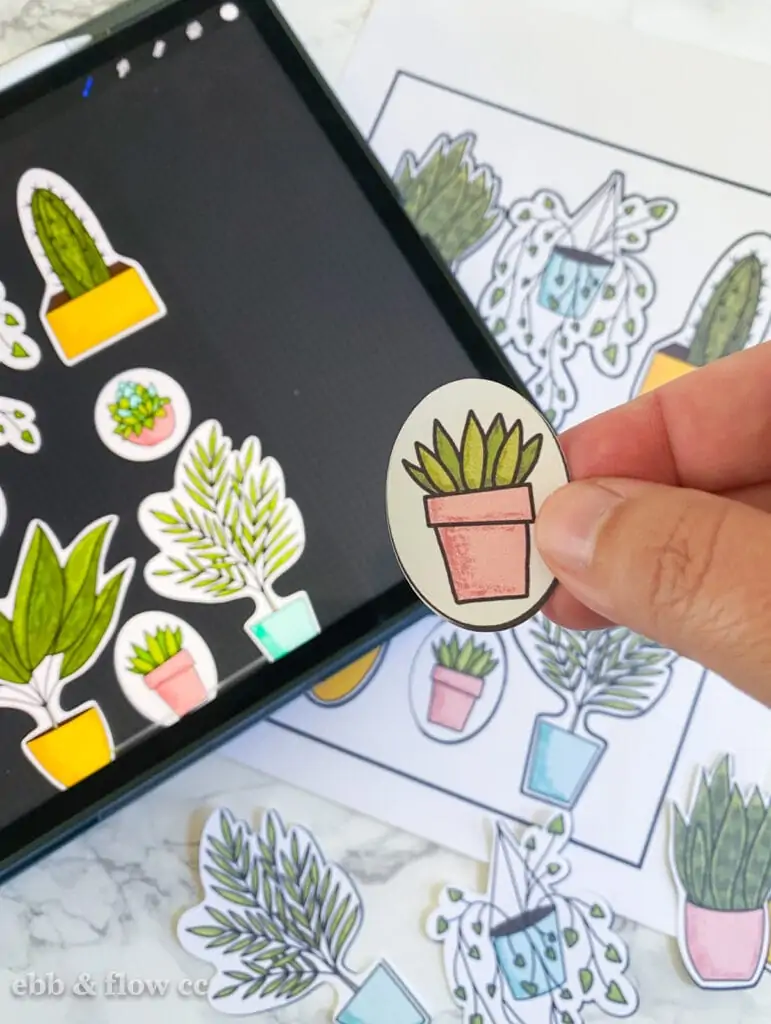
Learn how to make stickers with Procreate. Get tips for creating the artwork, printing the design, and how to cut the stickers with and without a Cricut.
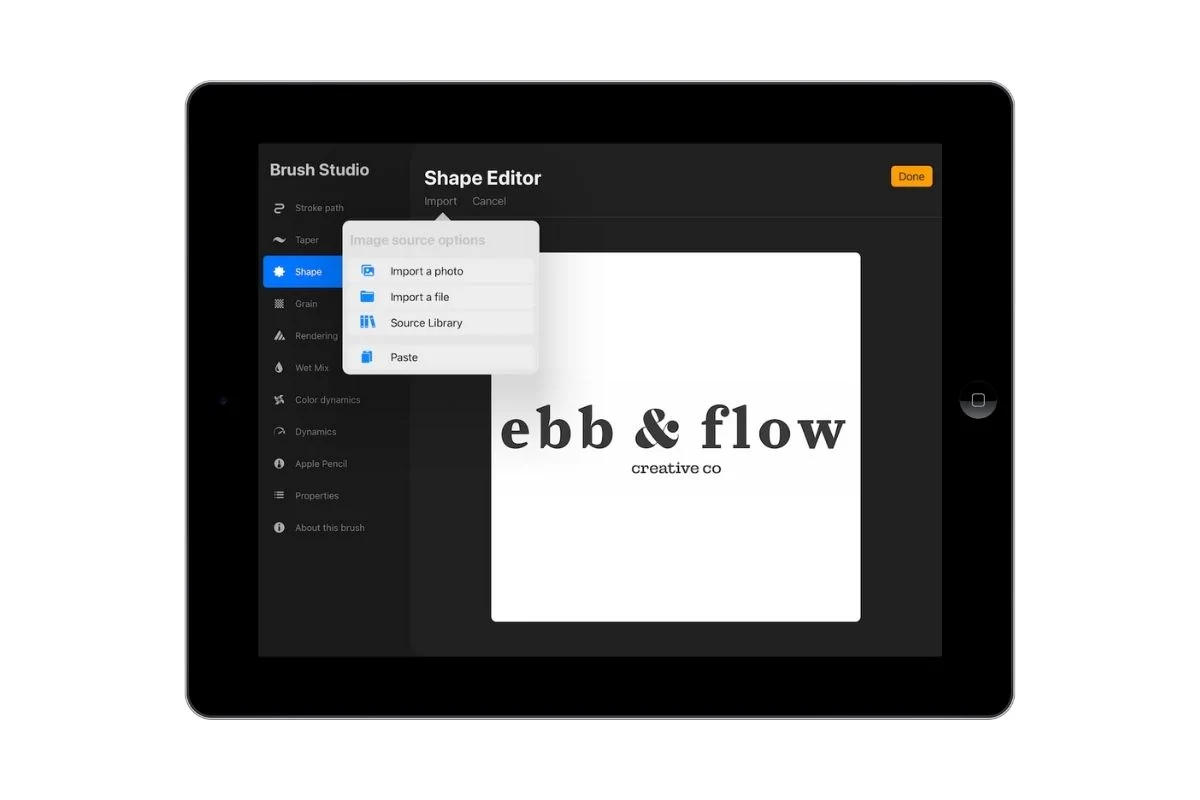
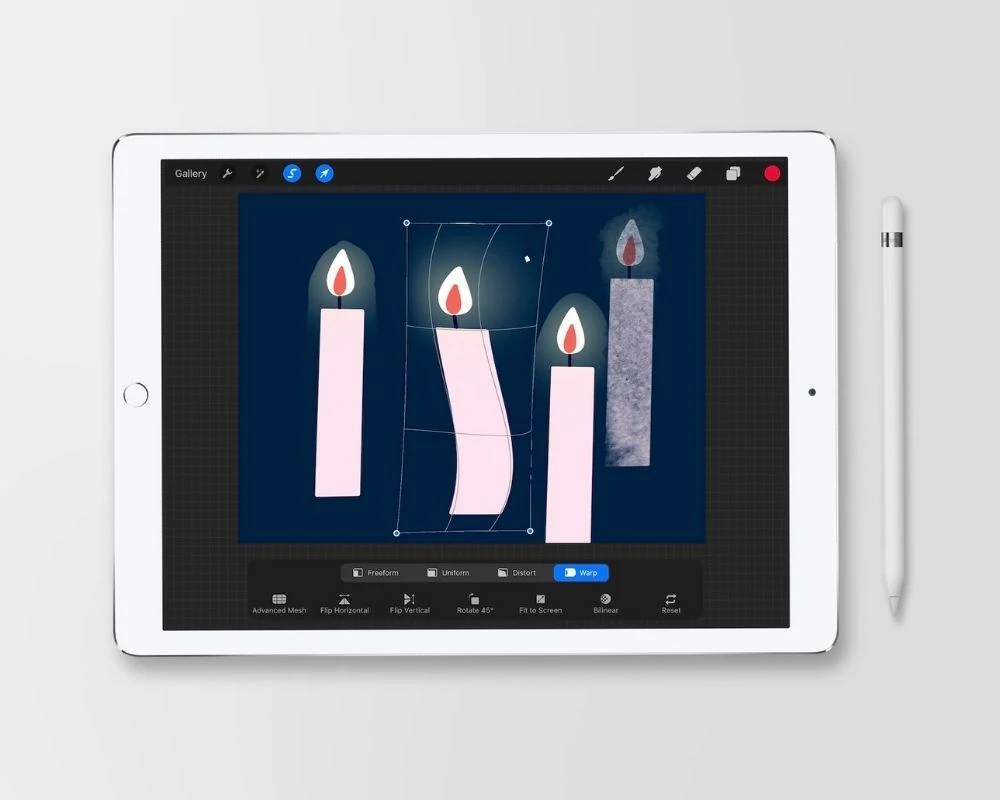
You might also like these other Procreate tutorials.
This post contains affiliate links. By purchasing an item through an affiliate link, I earn a small commission at no extra cost to you. As an Amazon Associate I earn from qualifying purchases.
How to Make Stickers with Procreate
Making stickers is so much fun.
And it’s even better with Procreate. Procreate is my favorite drawing app for the iPad because it allows you to do so much!
Making stickers with Procreate is pretty easy. I’m sharing several tips for creating the stickers and 2 different ways to cut them.
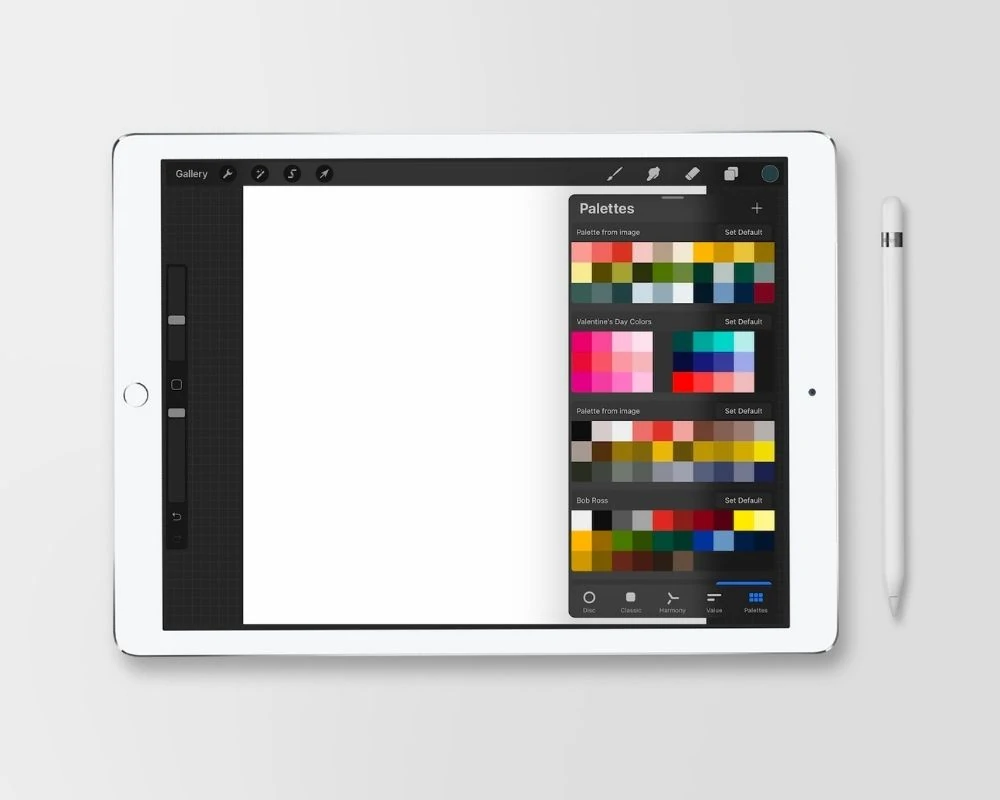
Procreate Canvas Size
Before you get started, it’s important to think about how you’re cutting your stickers.
If you’re cutting them by hand with scissors, you can make your canvas the size of printer paper (8.5″ x 11″ in the US.)
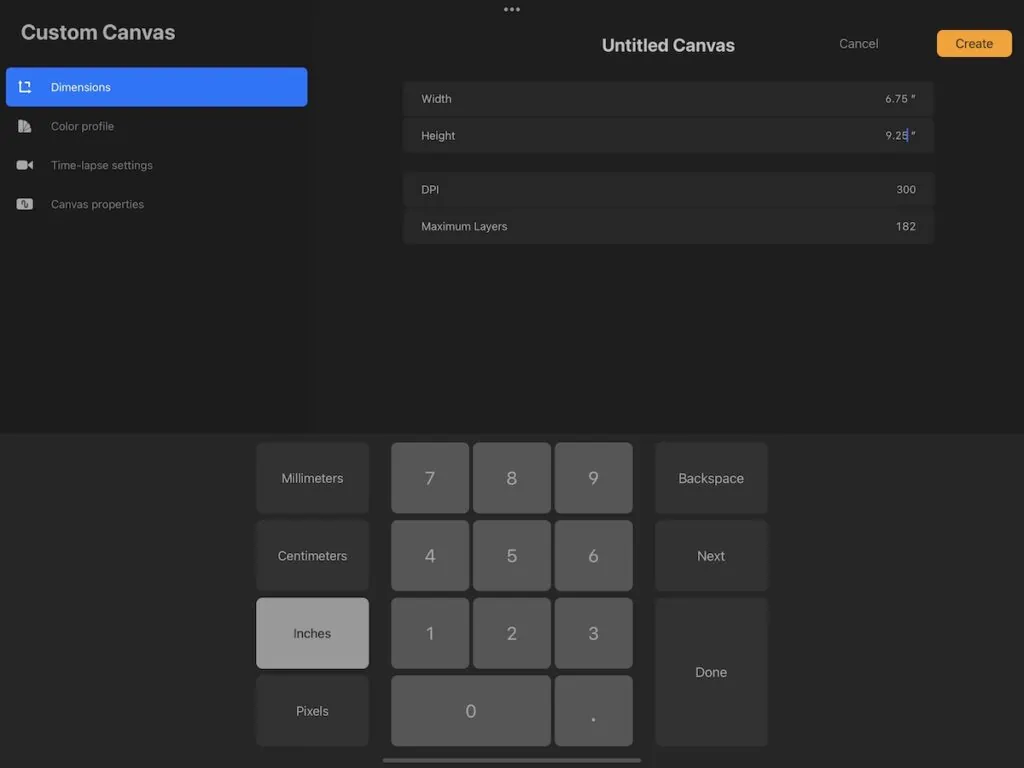
If you’re using a cutting machine, the size will be determined by the cutting machine software. I’m using a Cricut and the size is 6.75″ x 9.25″.
The Silhouette size is closer to 8.5″ x 11″, but the design will have to fit inside the registration marks. I would design the image at about 7.5″ x 10″ with plenty of white space around the edges.
Your other option is getting them printed and cut by a company like Redbubble. This option is perfect if you need to make a lot of stickers for a shop. The printing company will have sizes listed.
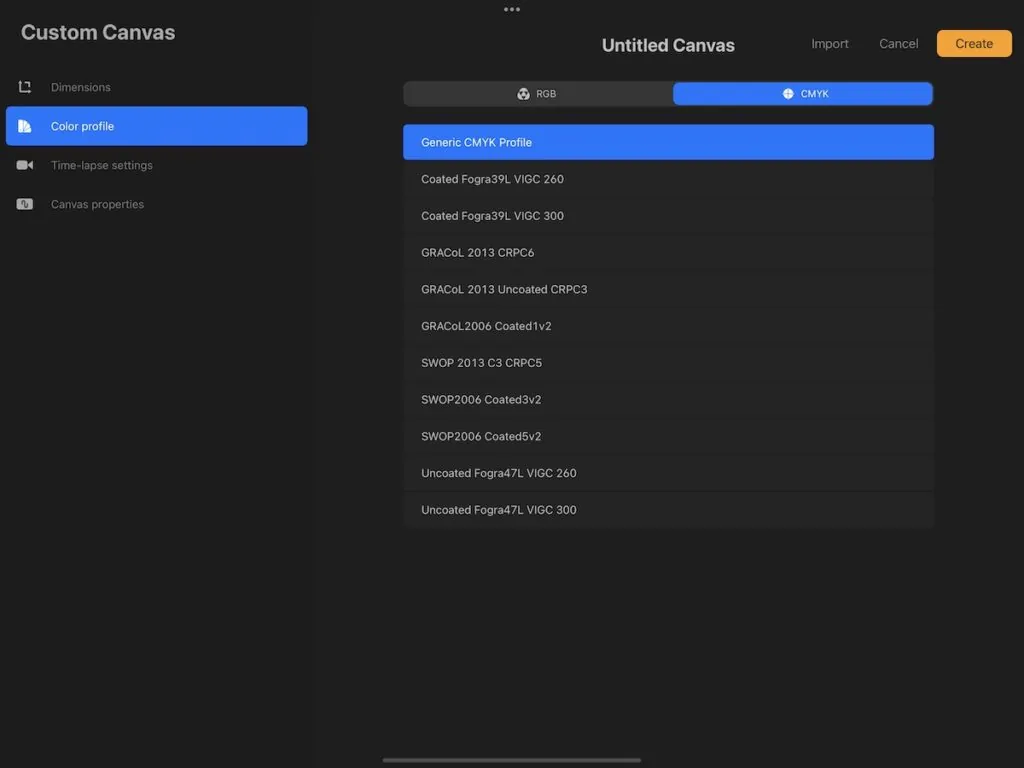
When creating your canvas, make sure the DPI is set to 300 to get the best quality. You also want the color mode to be CMYK for the best results when printing.
There are a few more things to consider.
If you plan on using the art for other things, you might want to create each image individually on a larger canvas versus all on one page. This gives you more versatility for your art.
Keep in mind that the larger you make your canvas, the fewer layers will be available. This probably won’t matter if you have an iPad Pro, but if your iPad is smaller or older, this might affect you more.

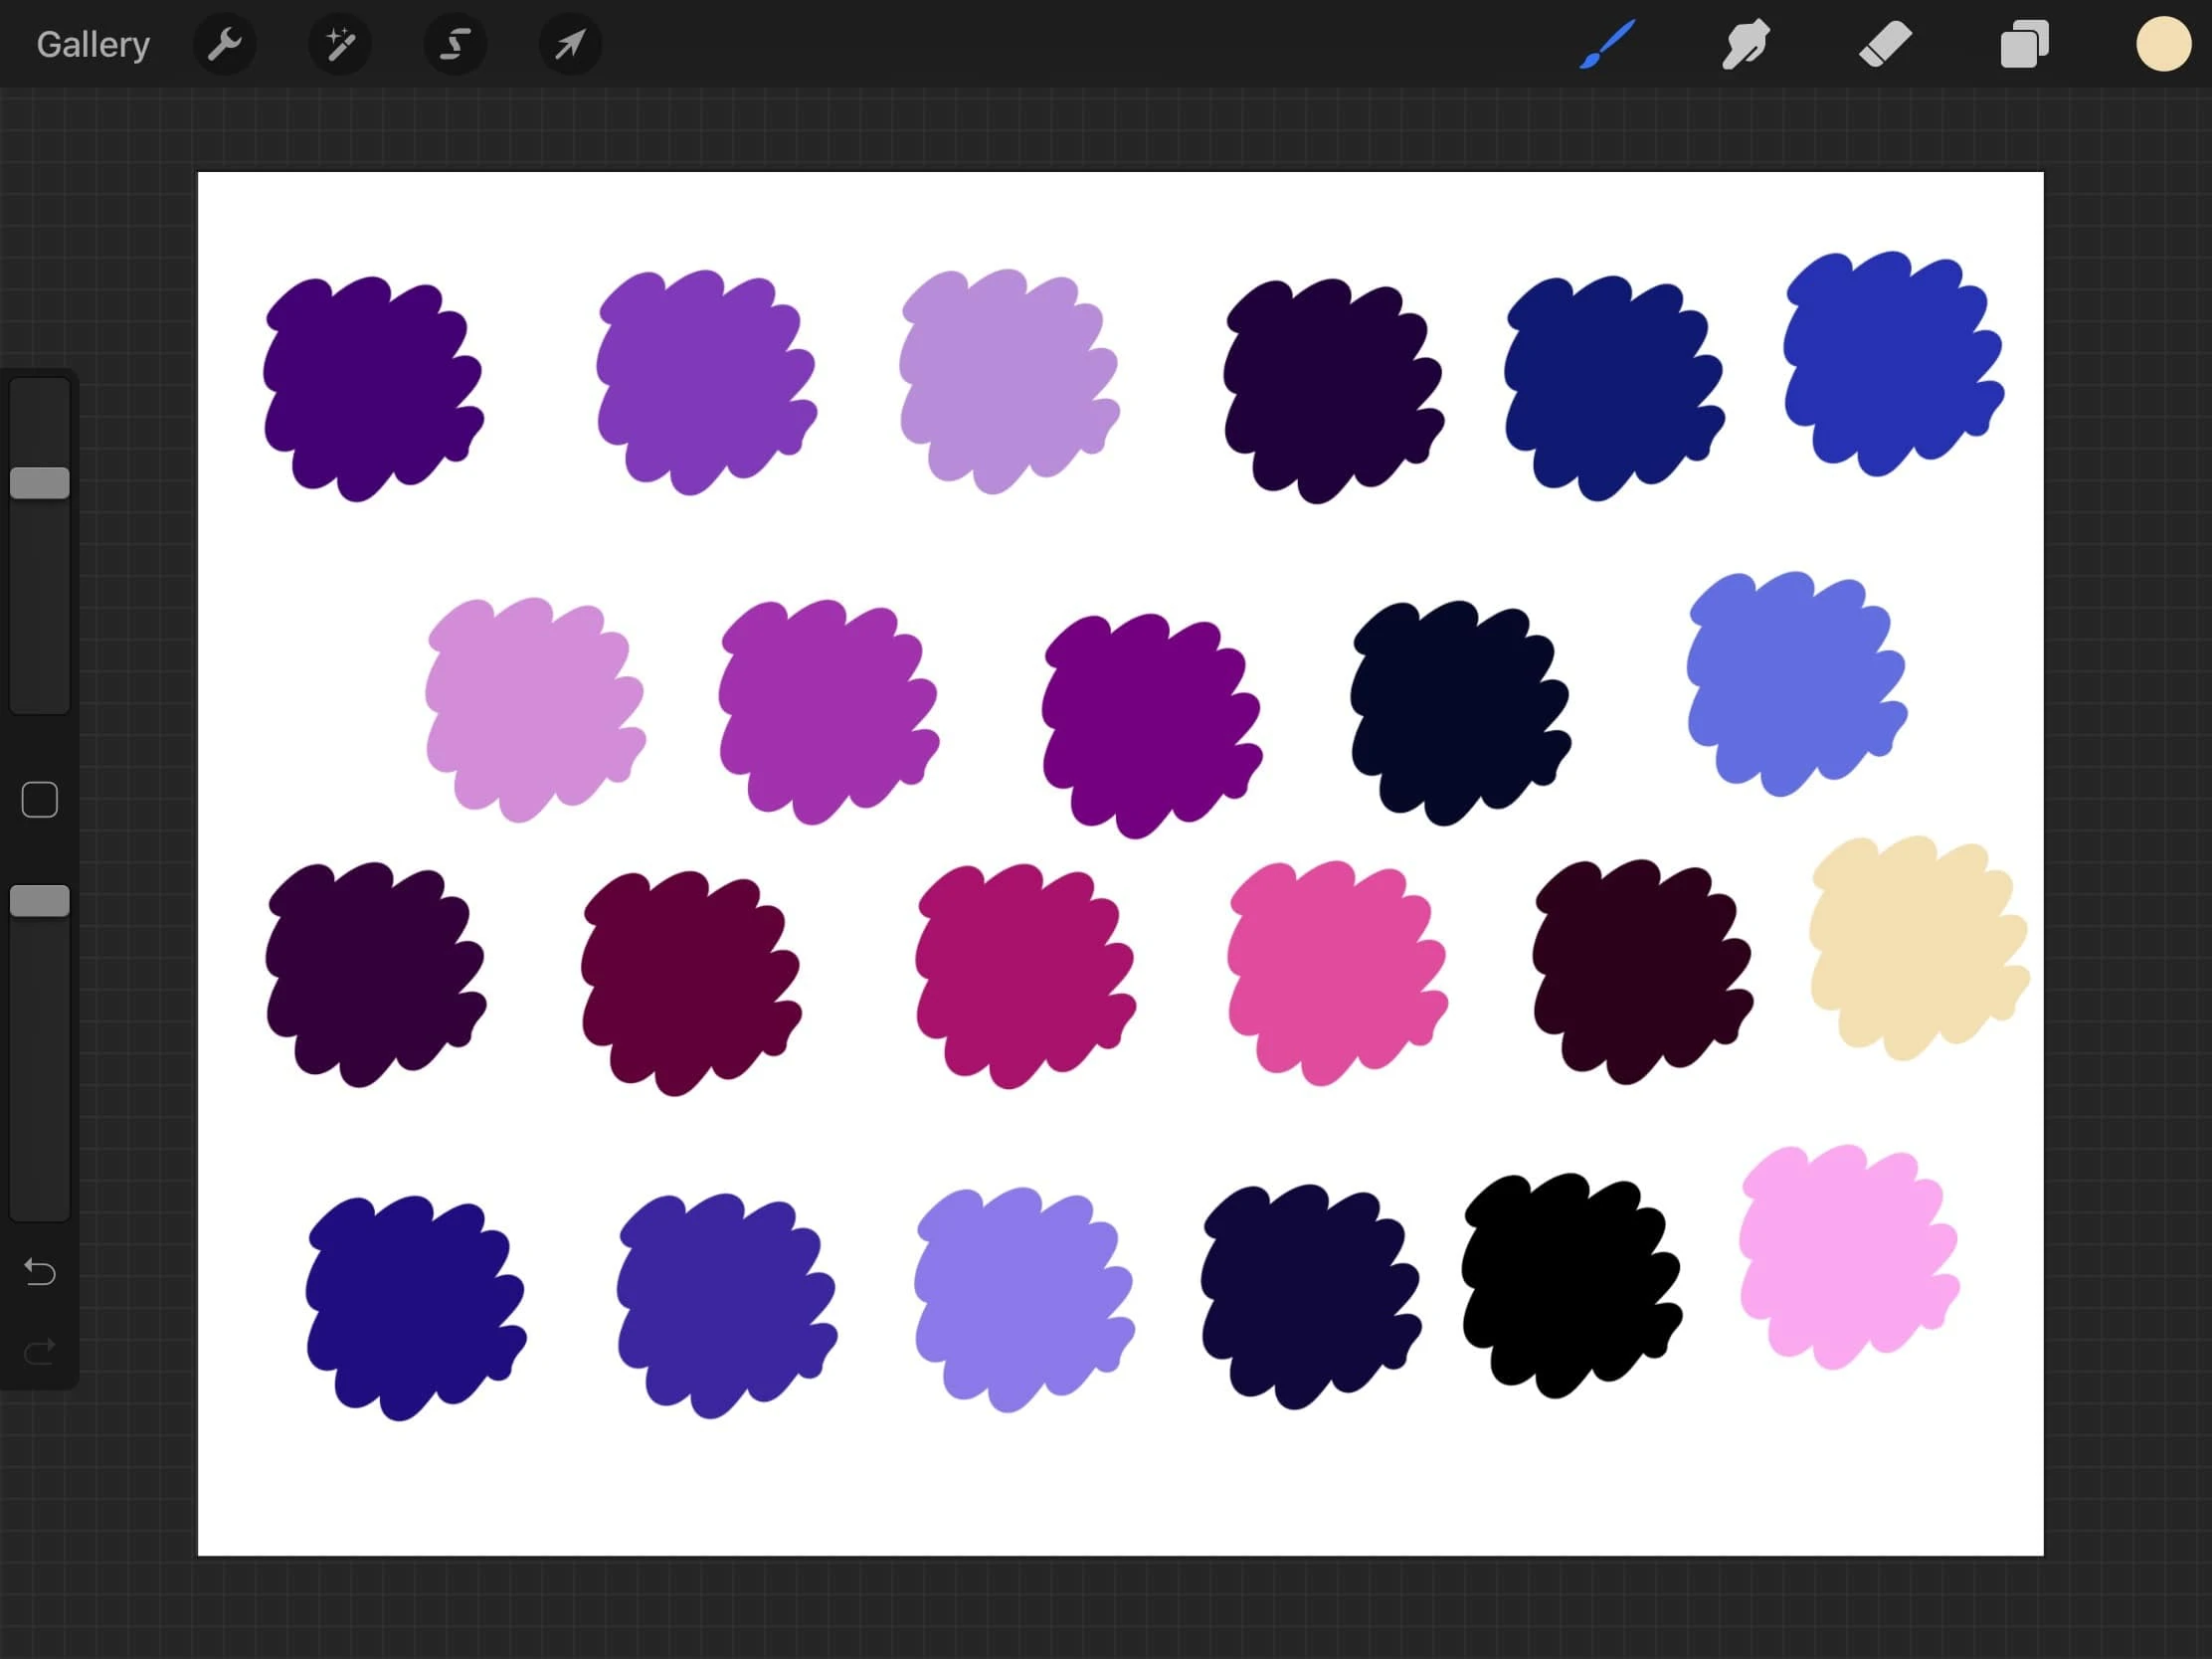
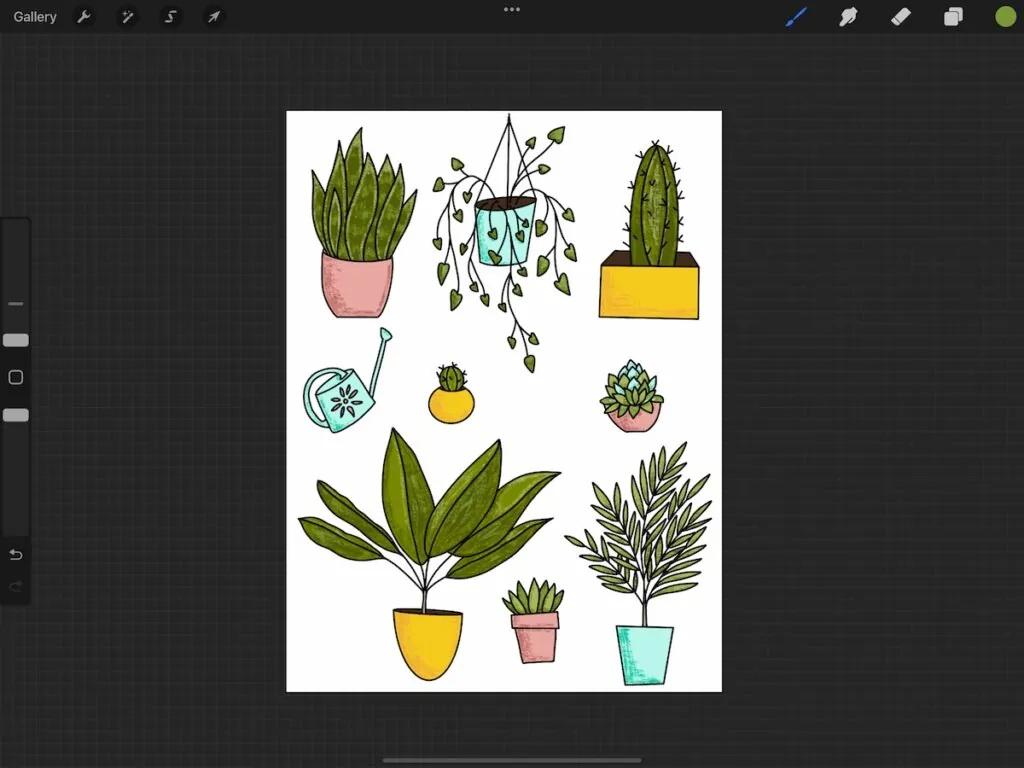
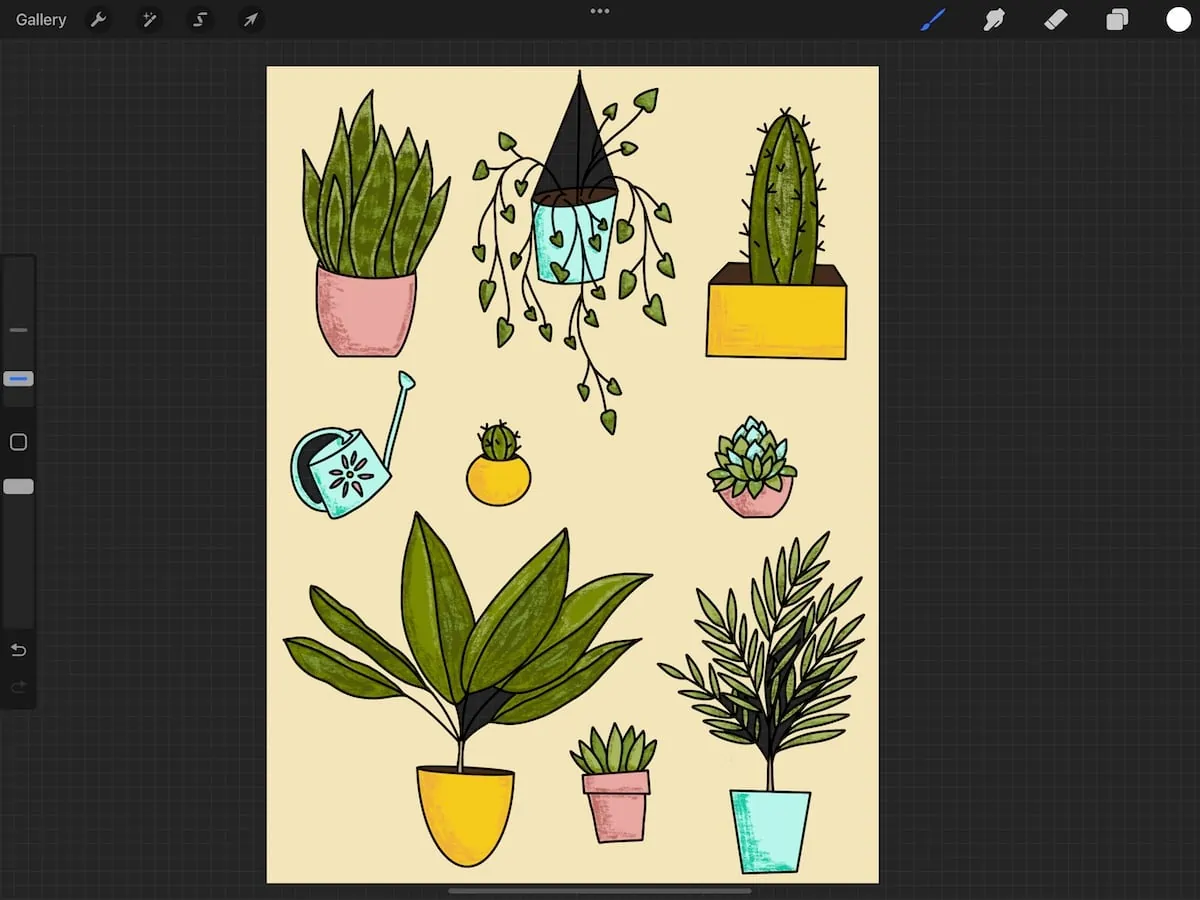
Making the Art
For the sake of keeping this tutorial brief, I’m going to assume you know how to draw with Procreate. If not, here’s how to use Procreate.
Here are some tips for making your art.
- Leave enough space between the elements to add lines for stickers. You can even set up a grid on it’s own layer if that helps.

- I typically sketch first, then refine the linework using a monoline brush. That layer can be set to “reference” and then it’s easy to drop in color (like a coloring book.)
- Create everything on its own layer. The sketch gets its own layer, then the outline, then the colors, then the details.
- Renaming the layers keeps it from getting confusing.


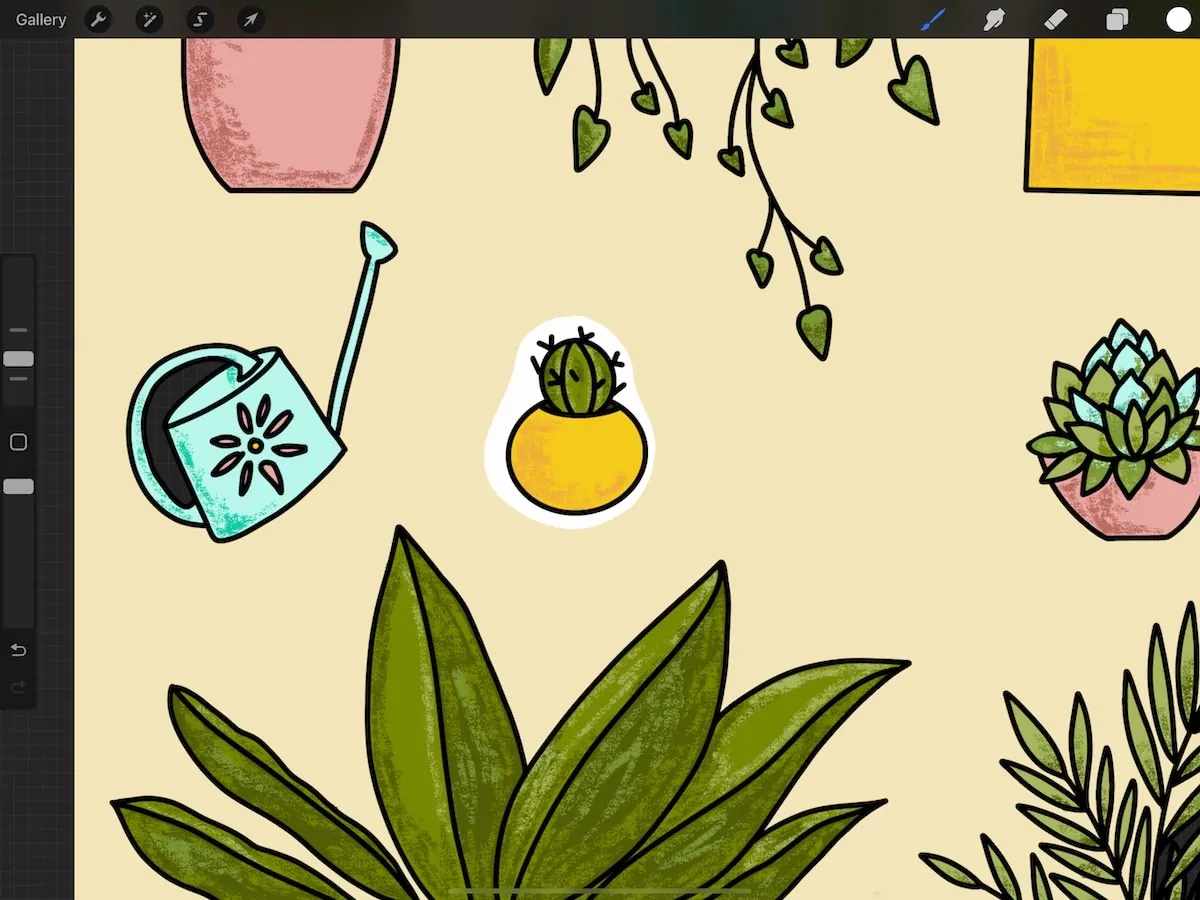
White Sticker Outlines
This part is really important for the cutting software because this is what gets cut.
You have a few choices for how to do this step. You can make shapes (circles and squares) behind the elements or you can make the shapes correspond to the linework of the element, but simplified.
If you’re cutting the stickers by hand, you might want to do simple shapes like squares and rectangles.
Circles also look cute, but they will be harder to cut.
- Create a layer beneath the art and fill it with a color that will allow you to see white and the artwork. I used a cream color to fill my layer.
- Create a layer above the colored layer.
- On the new layer, draw around the edges of the elements. I used my monoline brush to get nice, smooth edges.
- On complicated shapes, I filled in the complex areas with white.
- Areas that were too sharp got softened with a rounded curve. This is just my personal preference, but I think it looks nicer.
- Make sure to fill the entire area with white as well. You can just drop the color in.
- Turn off layers and make sure that the white area is completely filled. Zoom way in to make sure because it will create weird cut lines.

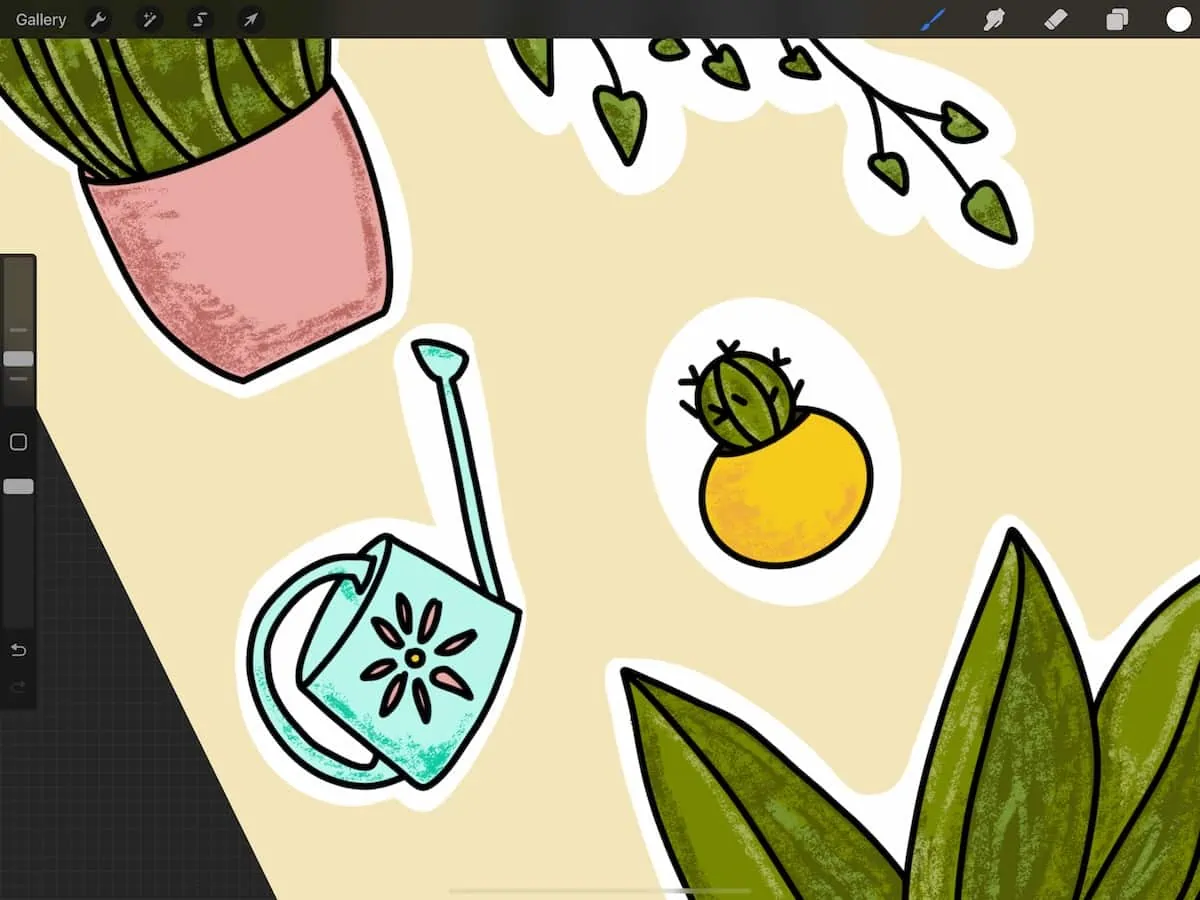

Lining the Art
After adding the white backgrounds, it’s important to add a thin black line around the edges. (You can use gray if you want.) Printers don’t print white, so this is important to know where to cut.
I added this layer in the same way as before, but I made the brush size thinner and only drew the outline (no filling needed.)
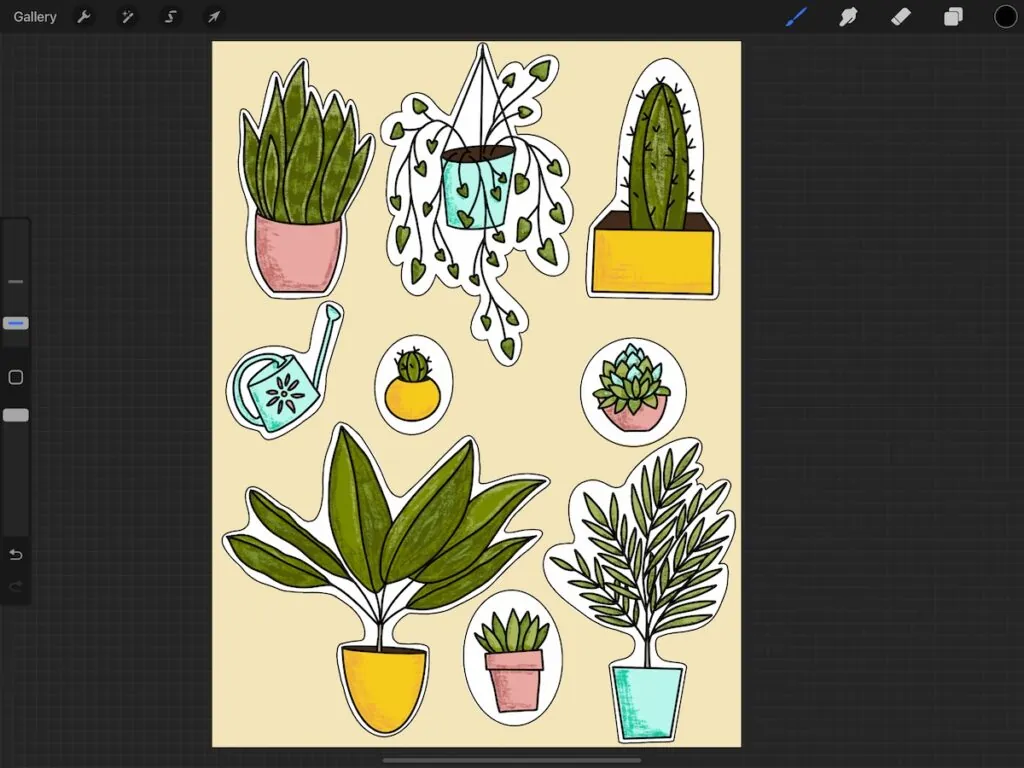
Saving the Sticker Image
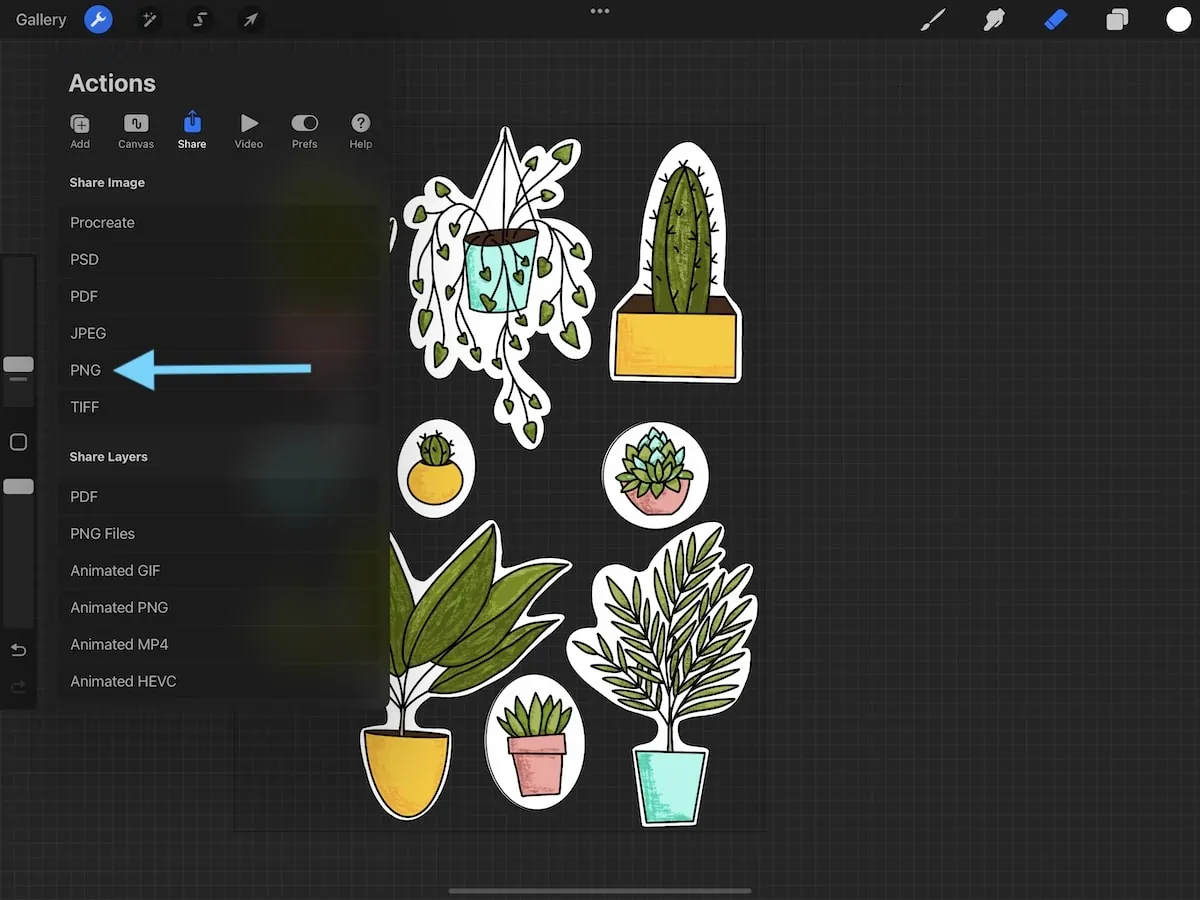
- Turn off any layers that you don’t want to be printed (like the sketch layer and the cream background layer.)
- Turn off the background layer.
- Save the image as a PNG.
Printing the Stickers
If you’re using a Cricut, you will need to print through the Cricut software.
I used this paper for stickers. It’s a matte sticker paper that I had on hand.
The Cricut sticker paper is too thick for most home printers, so I don’t recommend it. If you’re going to sell your stickers, I’ve heard great things about this paper.
You may need to send a copy of your stickers to your computer for printing, rather than printing from your iPad.
Always print at the best quality available.
How to Cut Stickers without a Cricut
If you don’t have a cutting machine, you can still cut your stickers by hand. Here are a few tips to get you started.
- Consider designing your stickers with simple background shapes. Squares and rectangles can be cut easily with scissors or an inexpensive paper cutter.
- You could also use paper punches, but you will need to take that size into account when designing the images.
- If your designs contain is more complicated, I highly recommend using a sharp pair of curved cuticle scissors. The curved blade makes it easy to get around tiny areas.
Cutting the Stickers Using a Cricut
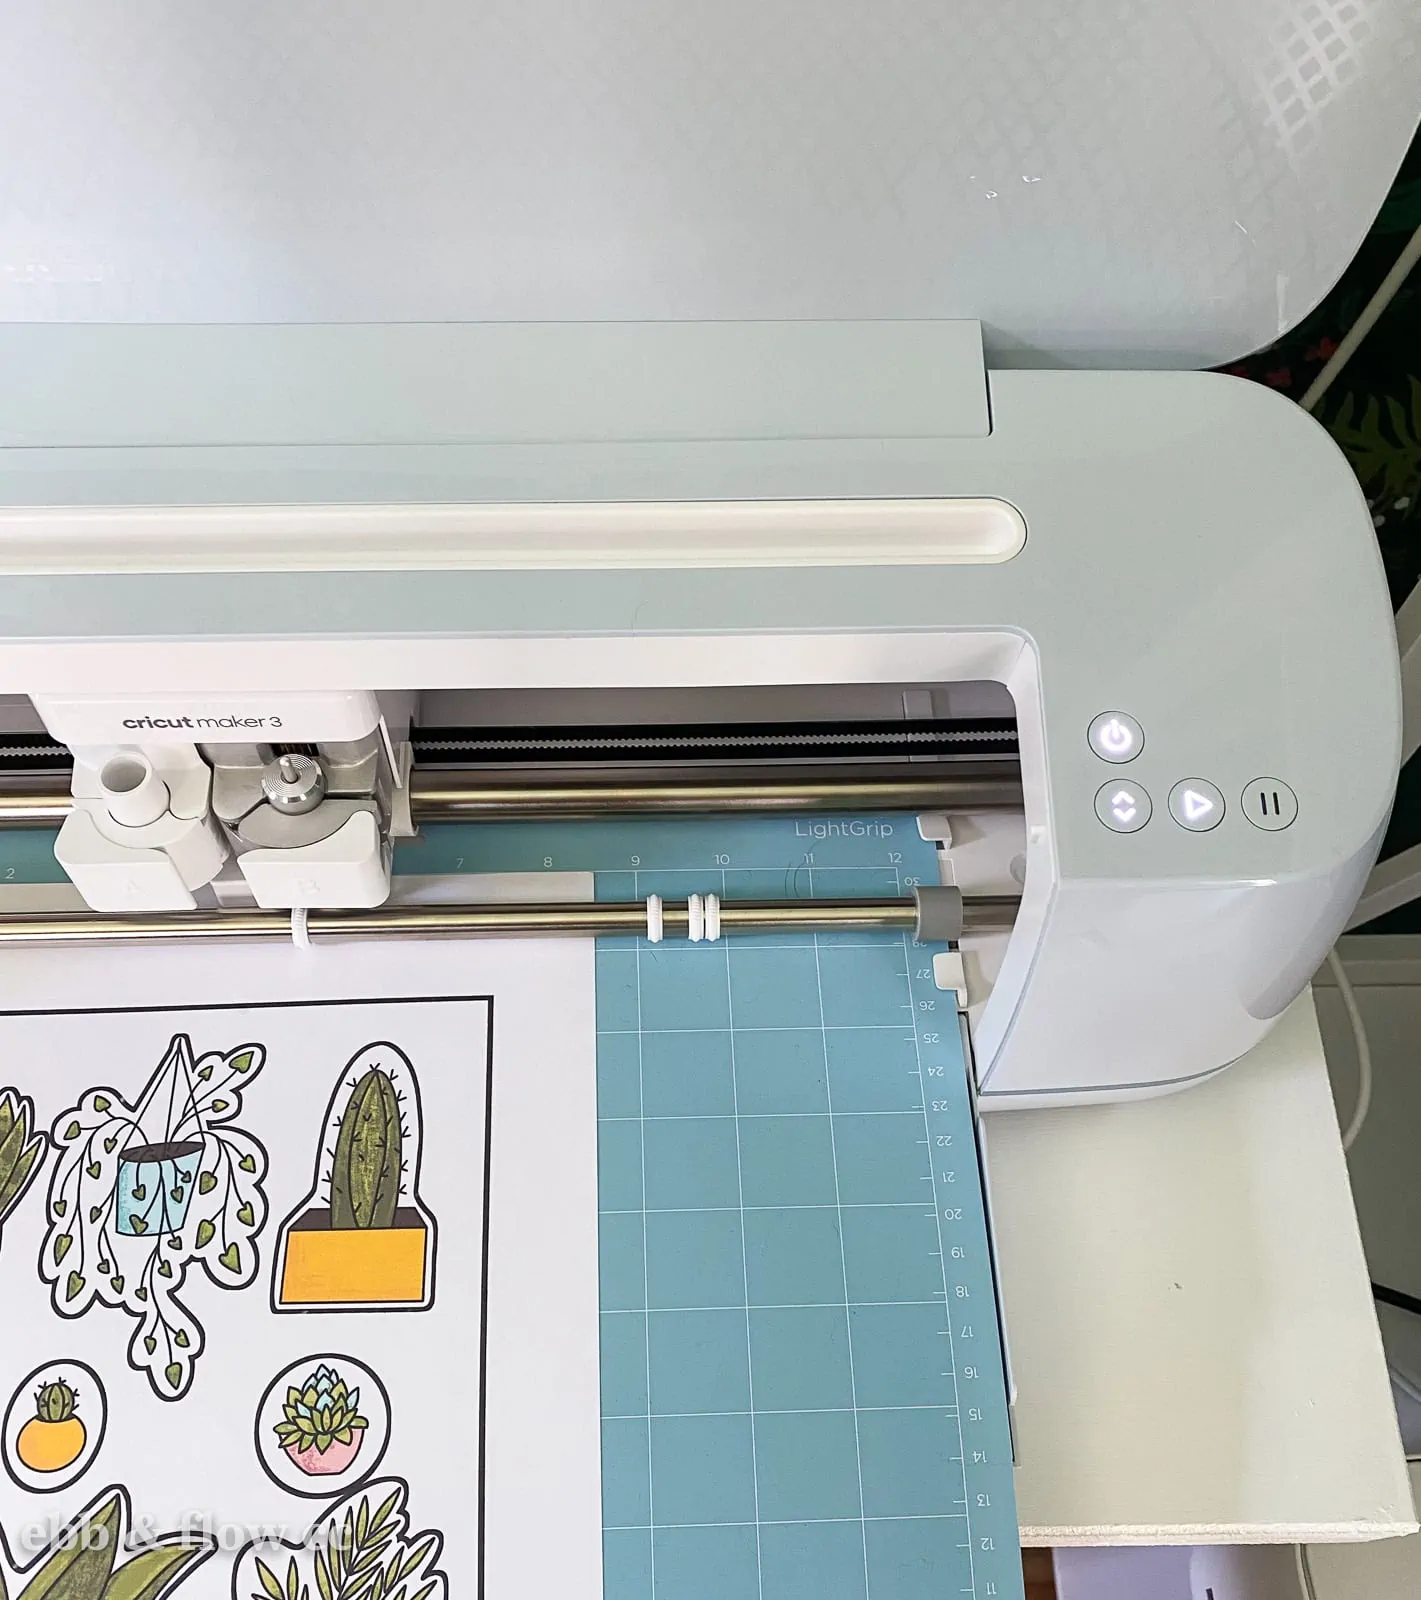
I’m using a Cricut Maker 3, so the instructions may vary a bit if you have a different machine.
Kiss-Cut Vs. Die Cut
Before cutting your stickers, you have to figure out how you want your stickers cut.
Kiss-cut leaves the stickers on one sheet and allows you to pull off each individual sticker from the page.
Die-cut refers to cutting all of the stickers individually.
How to Cut Stickers with a Cricut
I have a very in-depth sticker-making tutorial on my other blog if you’re looking for more info.
You will be using the Print then Cut technique in your Cricut software.
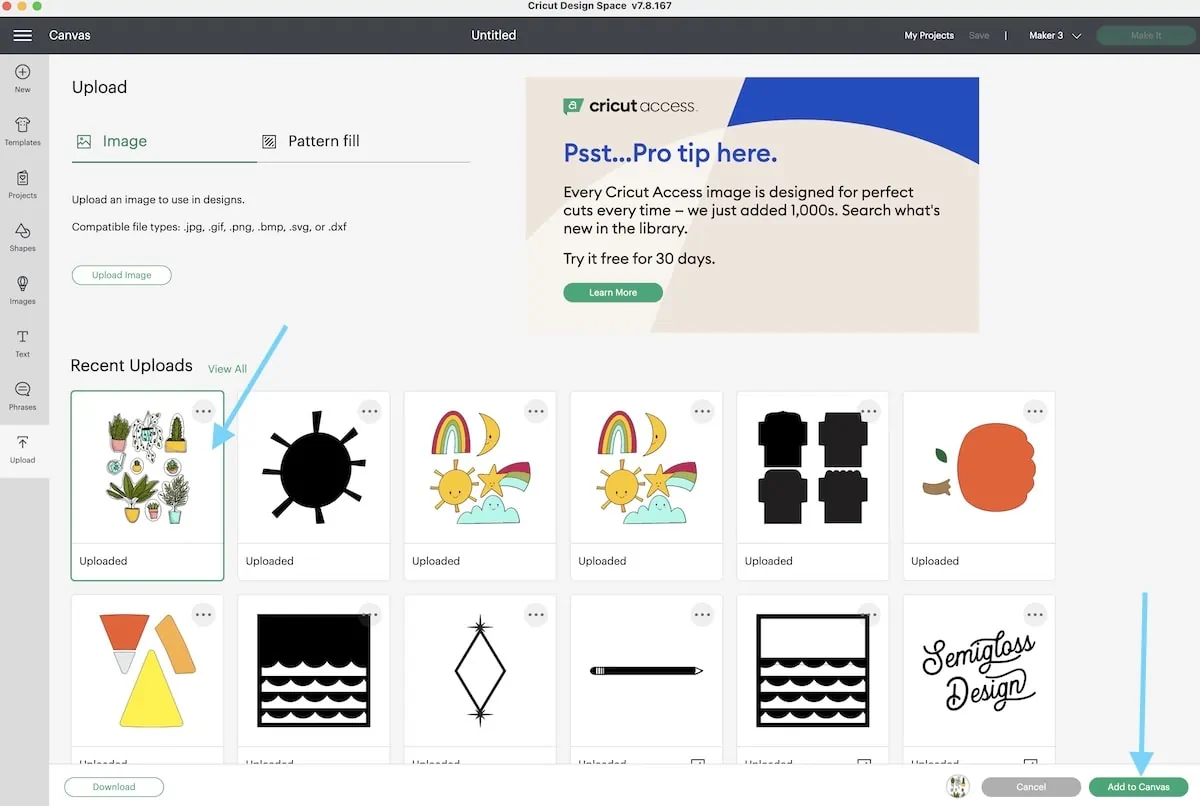
- In the Cricut software, create a new project.

- Upload your design.
- PNG images have a few different options. You can play with the options, but complex generally works the best.

- Make sure your image will be cut correctly by clicking on Cut image preview.

- Select the upload type (print then cut) and then hit upload.

- Select your image by clicking on it and selecting “add to canvas.”

- Resize the image if needed. It will show an error until the design fits within the right size limits.

- Click Make it to get started printing.
- The print dialog will come up. If you want die-cut stickers, leave bleed toggled to On.

- Toggle on “system dialog” to change the printing quality to the best available. (If you don’t see anything, minimize the Cricut window.)
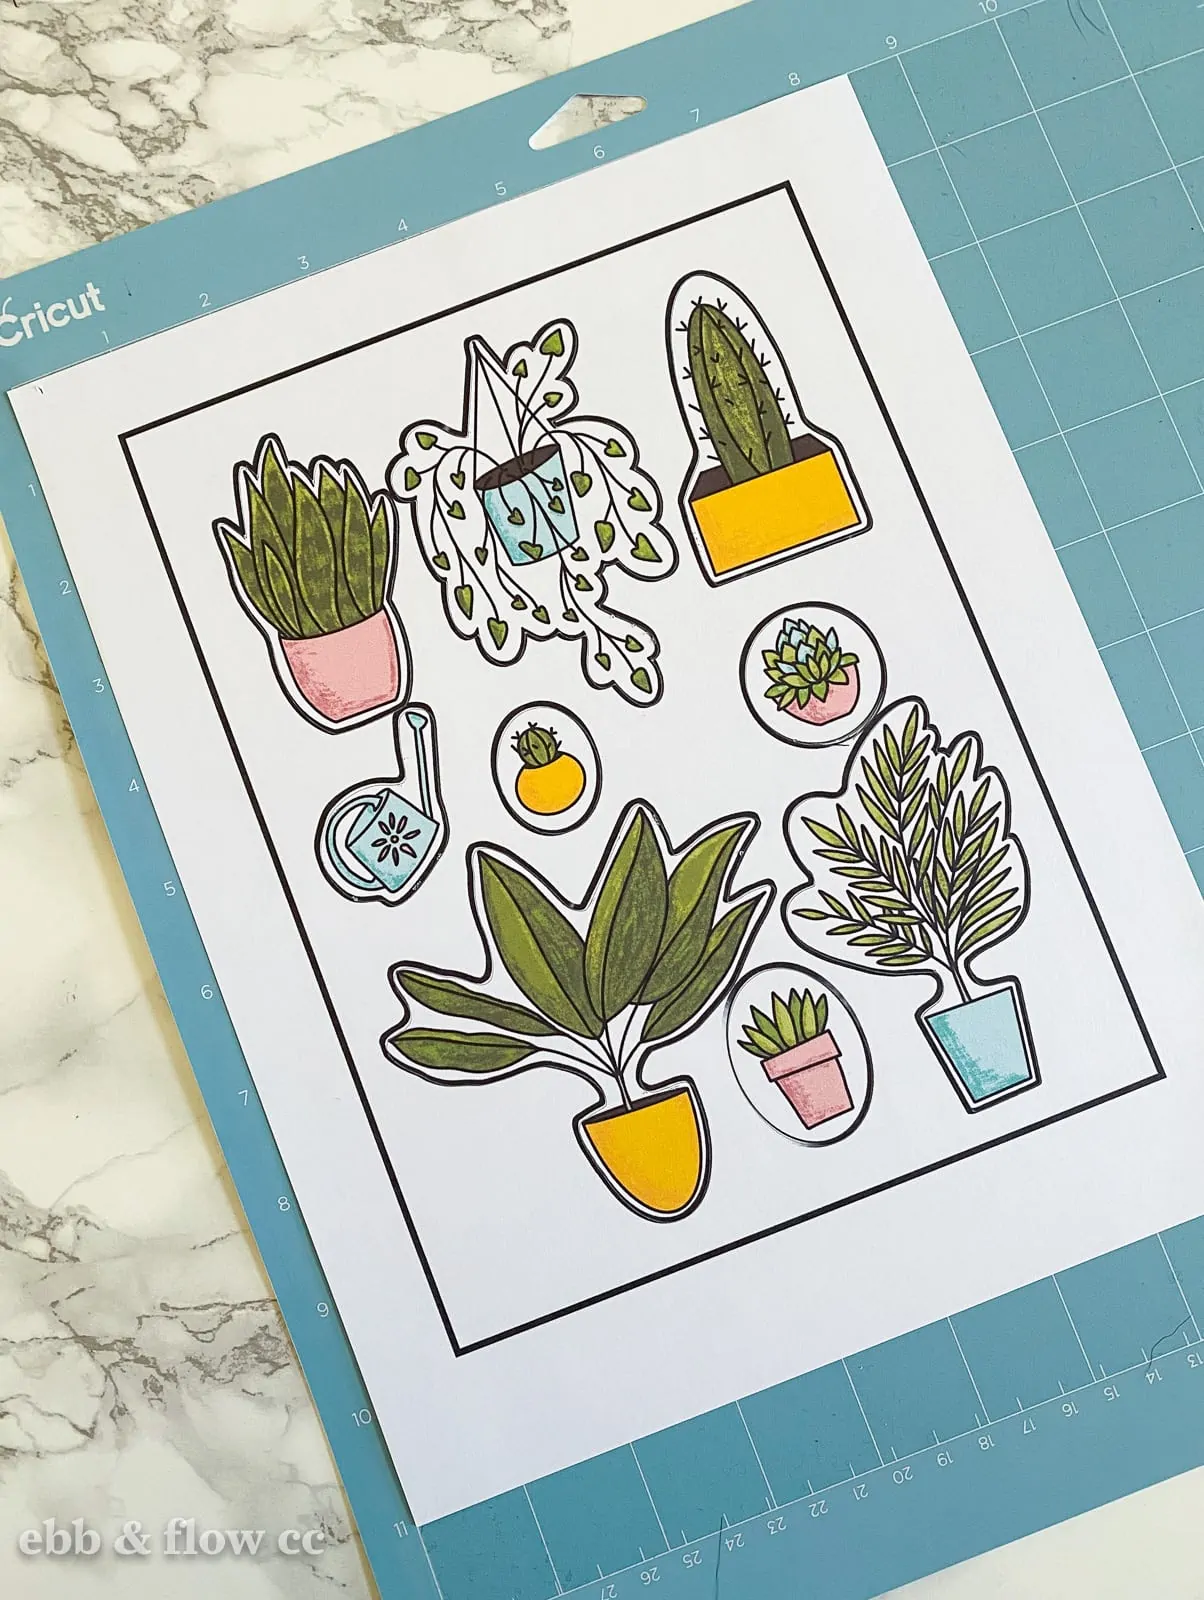
- After the image prints, it has a black line around it to help Cricut read it.
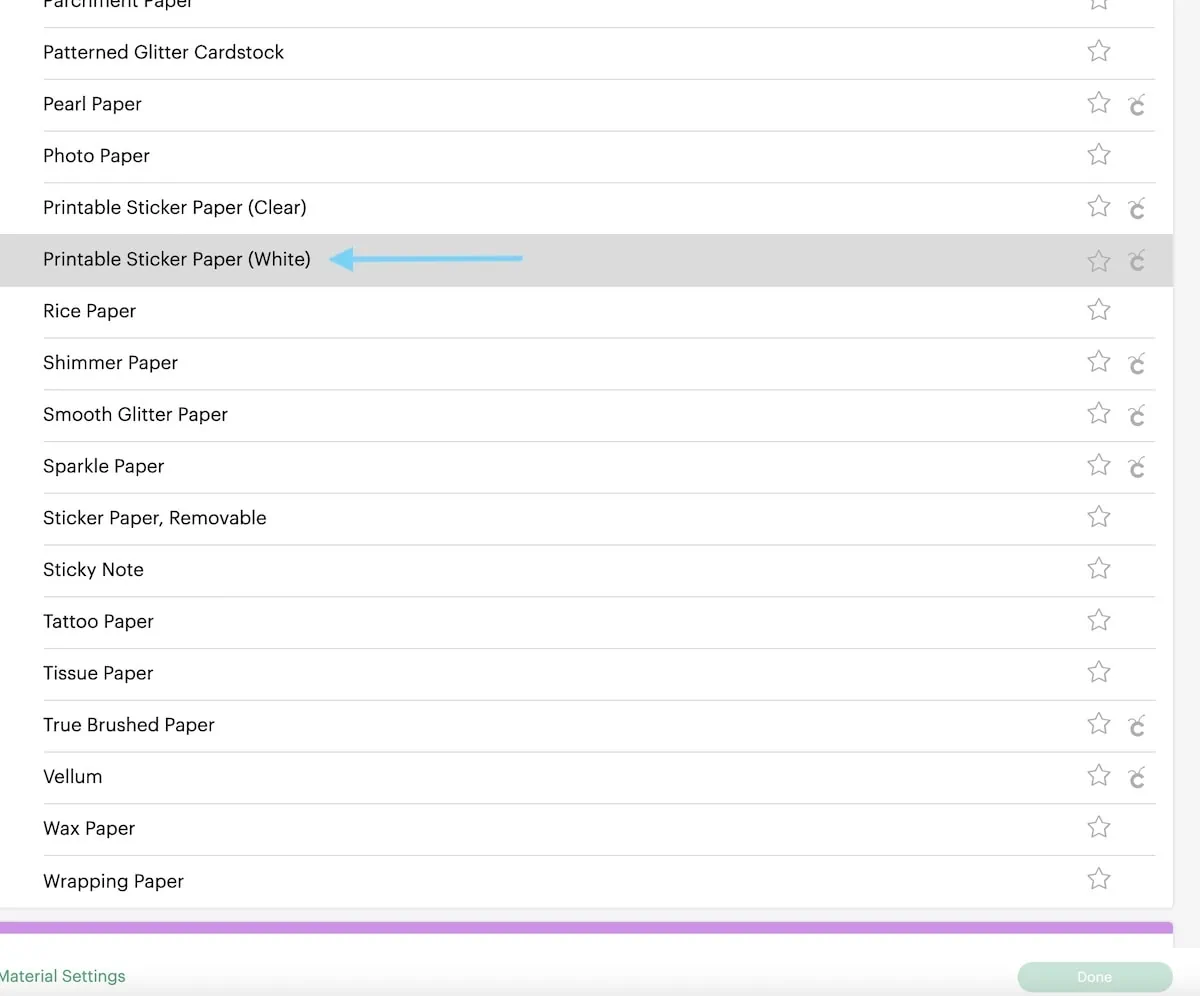
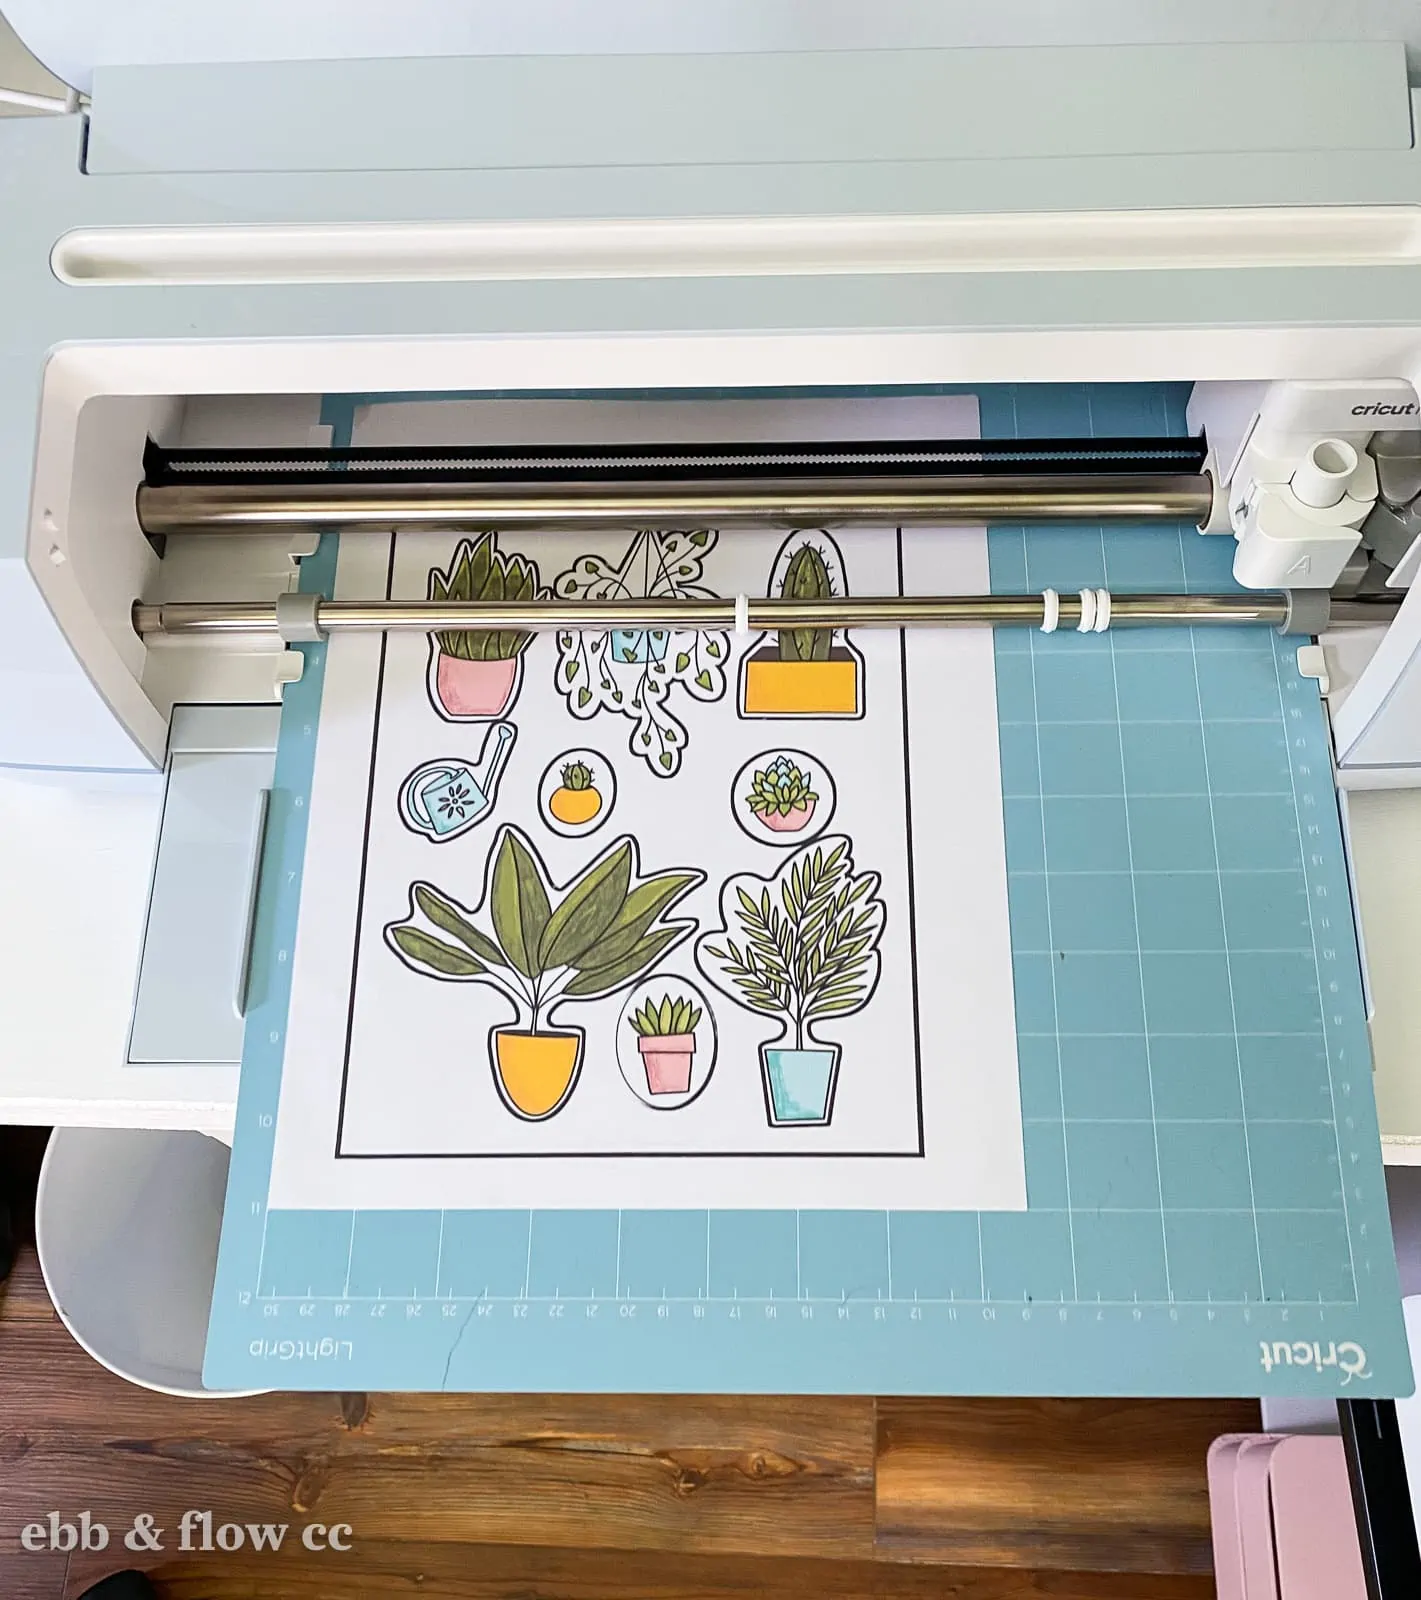
- Apply the sticker paper to the lightgrip mat.
- Select the materials (white sticker paper for die-cut or washi-tape for kiss-cut.)

- Load the mat.

- Press the blinking Cricut button to start cutting.
- When it’s done cutting, make sure that it cut through the paper before removing it from the mat.
- Unload the mat.

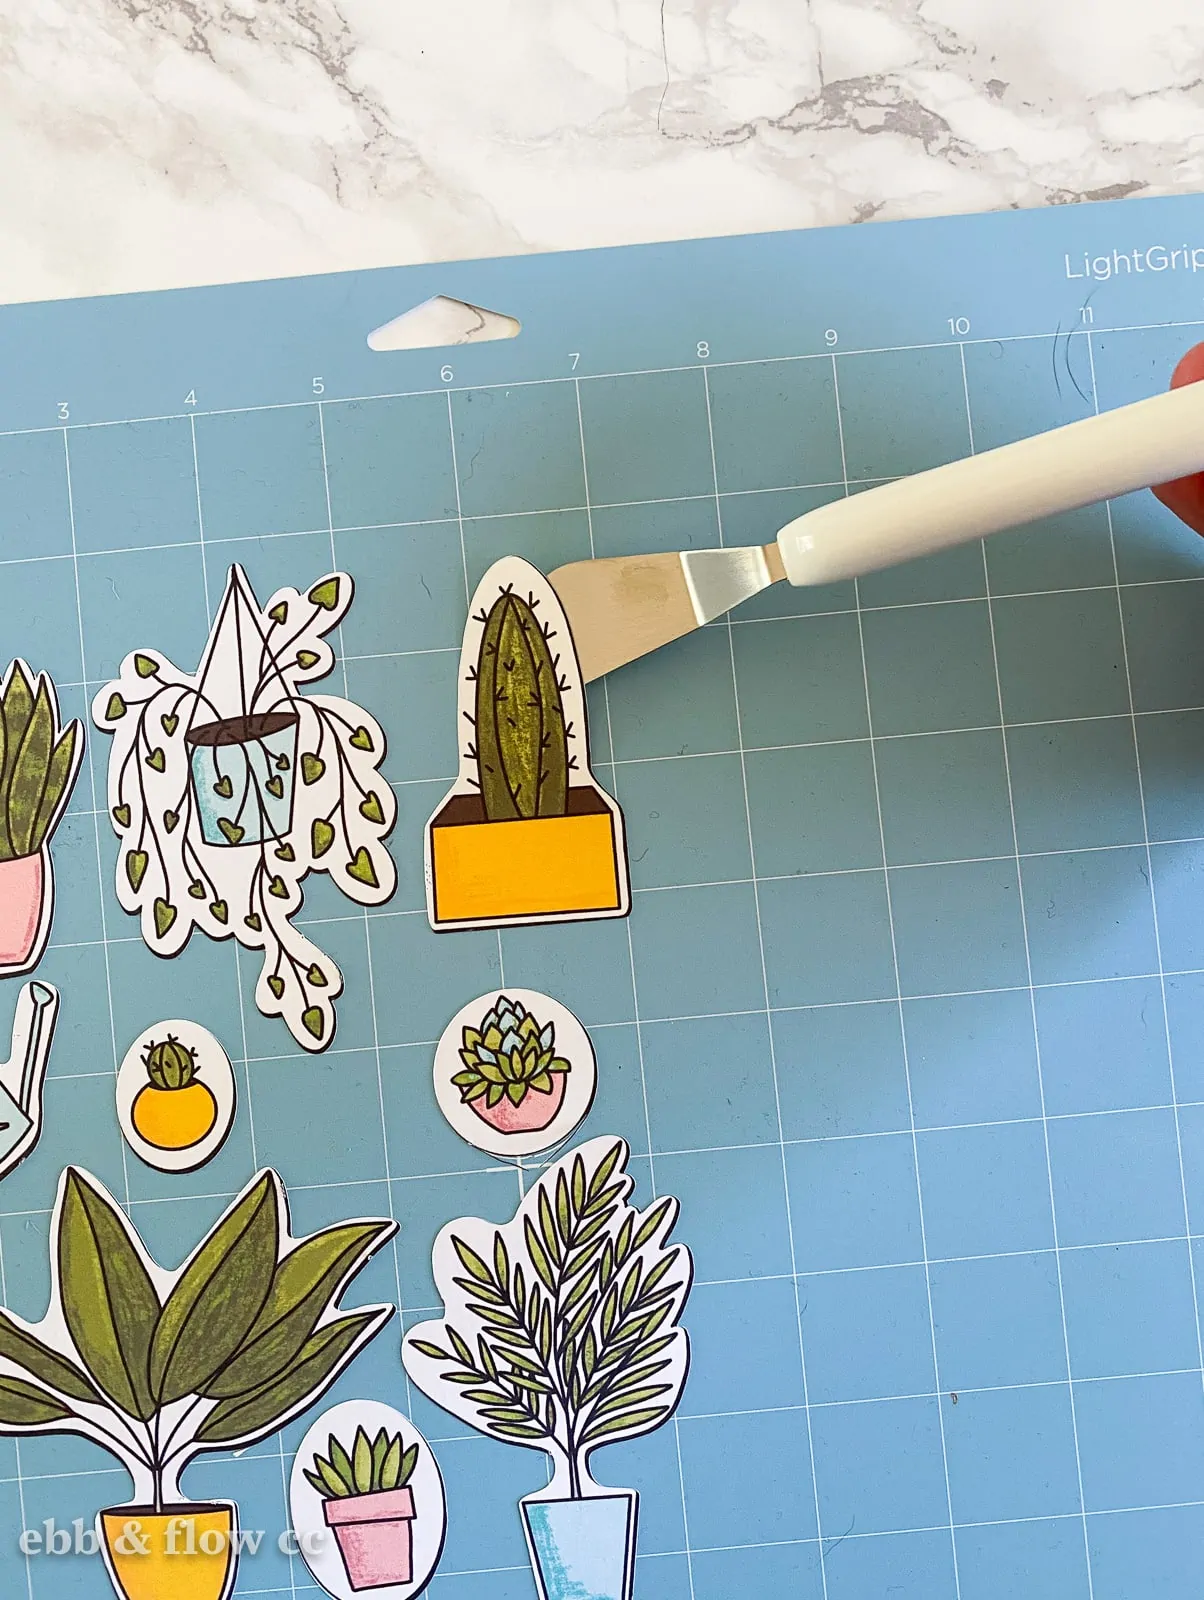
- Flip the mat over on a clean surface and peel the mat away from the paper. (This prevents the paper from curling.)
- Die-cut stickers can be removed with the spatula tool.


Congrats! You used made stickers with Procreate art.
Tips for Using Print then Cut on Cricut
I picked a really bad day to write this because a major update had been made to the Cricut software so I had a lot of problems.
This type of software is notorious for being frustrating to use. Don’t let it scare you though. It’s just paper.
Here are a few tips that I did to make it finally work.
- Update your software before making the design. It usually prompts you to do this anyway, but make sure that it’s updated. (Turning your machine on and making sure that it syncs typically does this.)
- I had trouble with the print size being correct, so I chose the other option (A4) and it finally printed. If you resort to this, move the design down a little on the page. Make sure that it’s aligned to a guideline in case you mess up later.
- If you’re having a lot of problems and getting errors, shut everything down and restart the whole process. It sucks, but it will save you some frustration.
You Might Also Like:
Pin for Later!