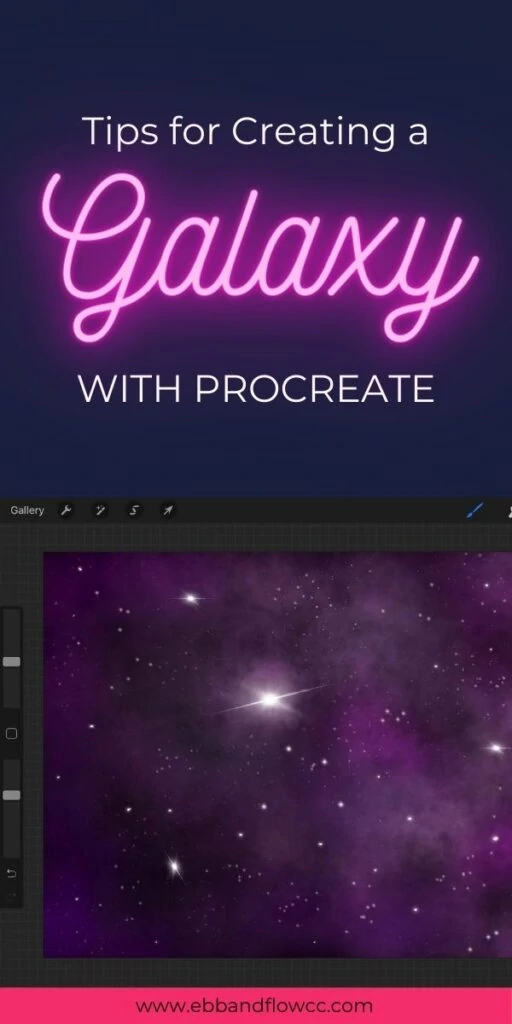
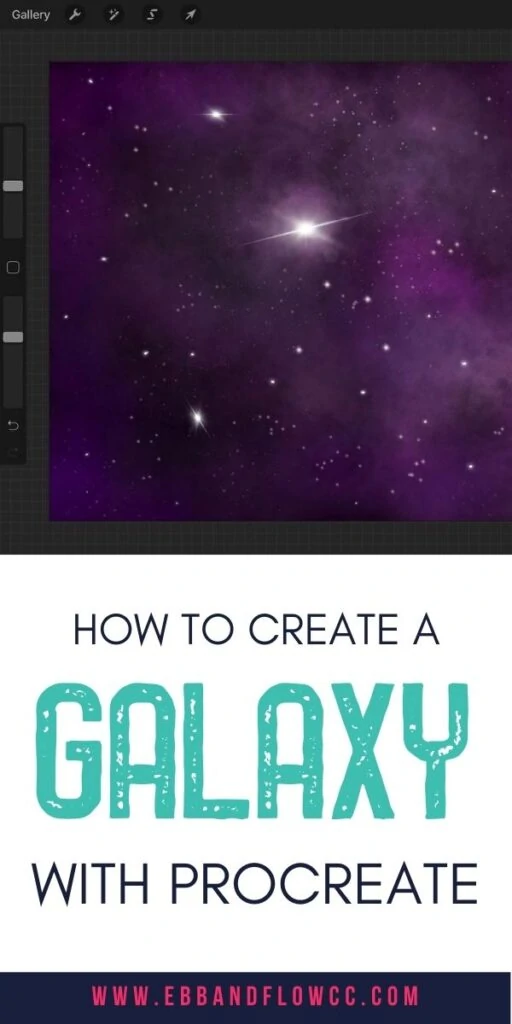
Procreate Galaxy Tutorial

I’m a self-taught artist who loves sharing tips and tutorials for painting with watercolor and gouache, and using the Procreate app on the iPad.
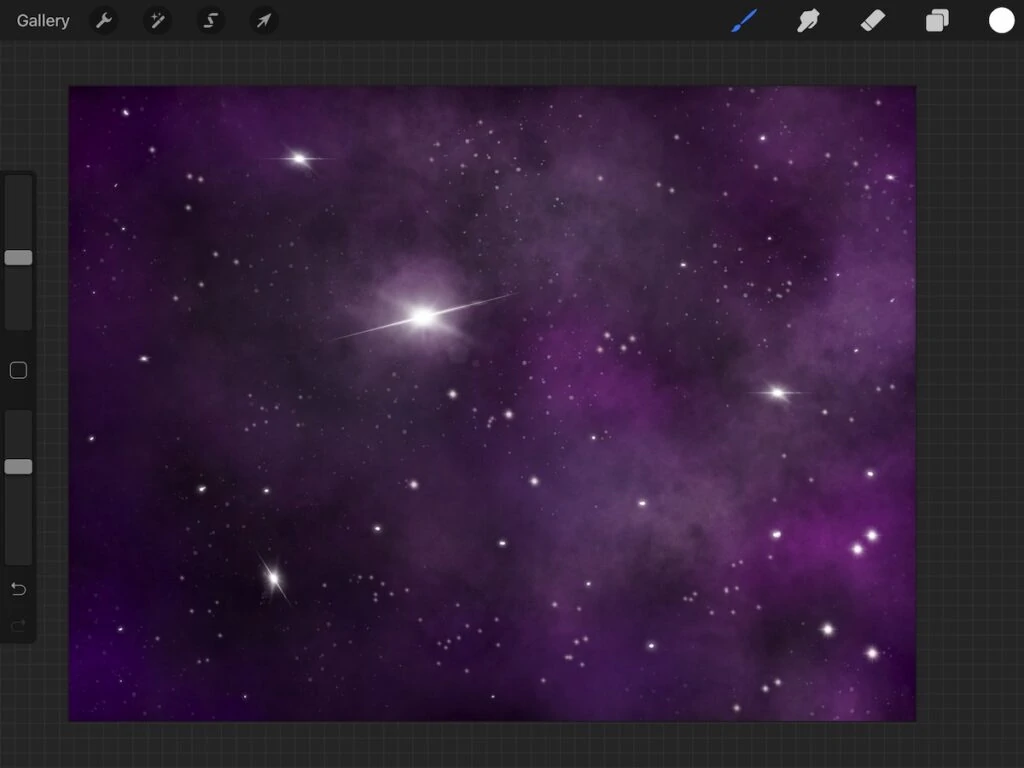
This Procreate galaxy tutorial shows you how easy it is to create a galaxy. This tutorial uses brushes that come default with the Procreate app.
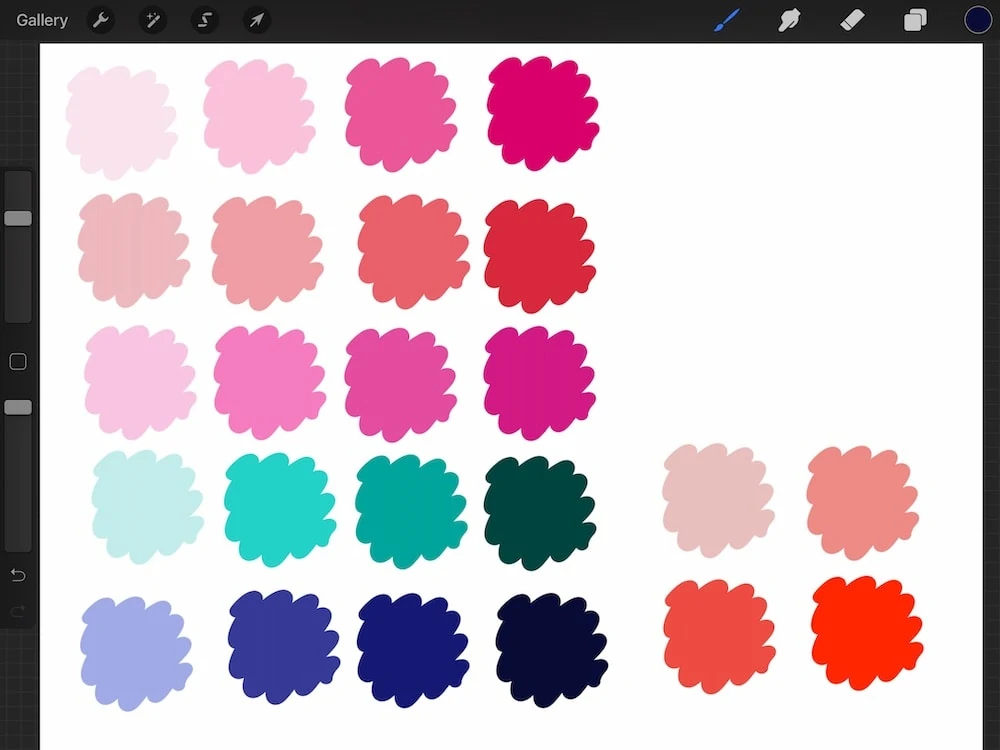
You might also like this galaxy color palette.
This post contains affiliate links. By purchasing an item through an affiliate link, I earn a small commission at no extra cost to you. As an Amazon Associate I earn from qualifying purchases.
I was shocked at how easy it is to create a galaxy painting with Procreate! The default brushes used for this tutorial are perfection!
Procreate Galaxy Tutorial
Tips for Making Galaxy Art
- Use colors in the same family for the most cohesive galaxy.
- Use the stars sparingly, especially the flare stars.
- You can edit the brushes to work how you want.
- Use both light and dark shades.
- Place stars in the lighter areas to make them look like they’re glowing in the night sky.
- Make the nebula brush big for the best results.
Click here to download my galaxy color palette for Procreate!
I made an updated, stylized version with fun star brushes that you can download and use. Check it out.

How to Create a Galaxy in Procreate
Learn how to create a galaxy painting using Procreate. This easy to follow tutorial will have you making night sky art in no time!
Materials
- Procreate
Tools
- iPad
- Apple Pencil
Instructions
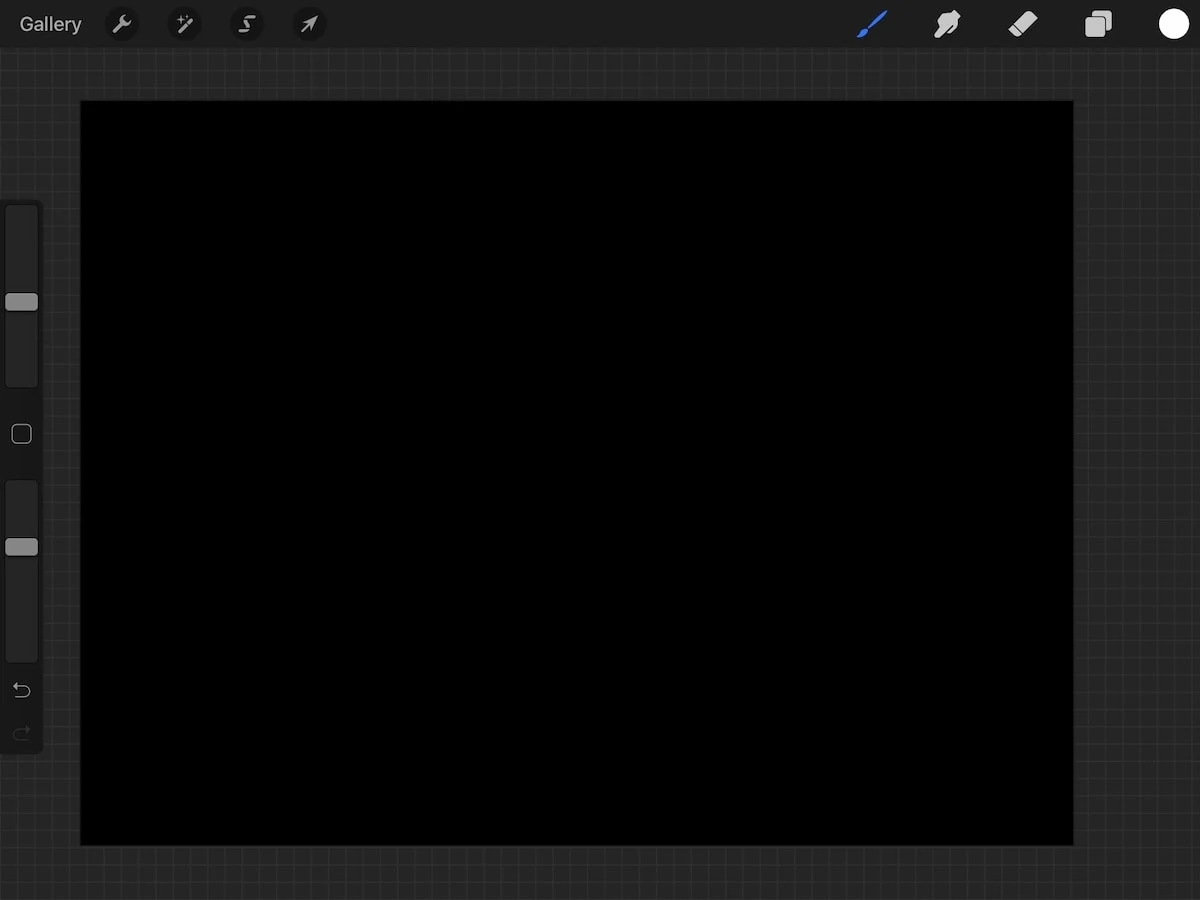
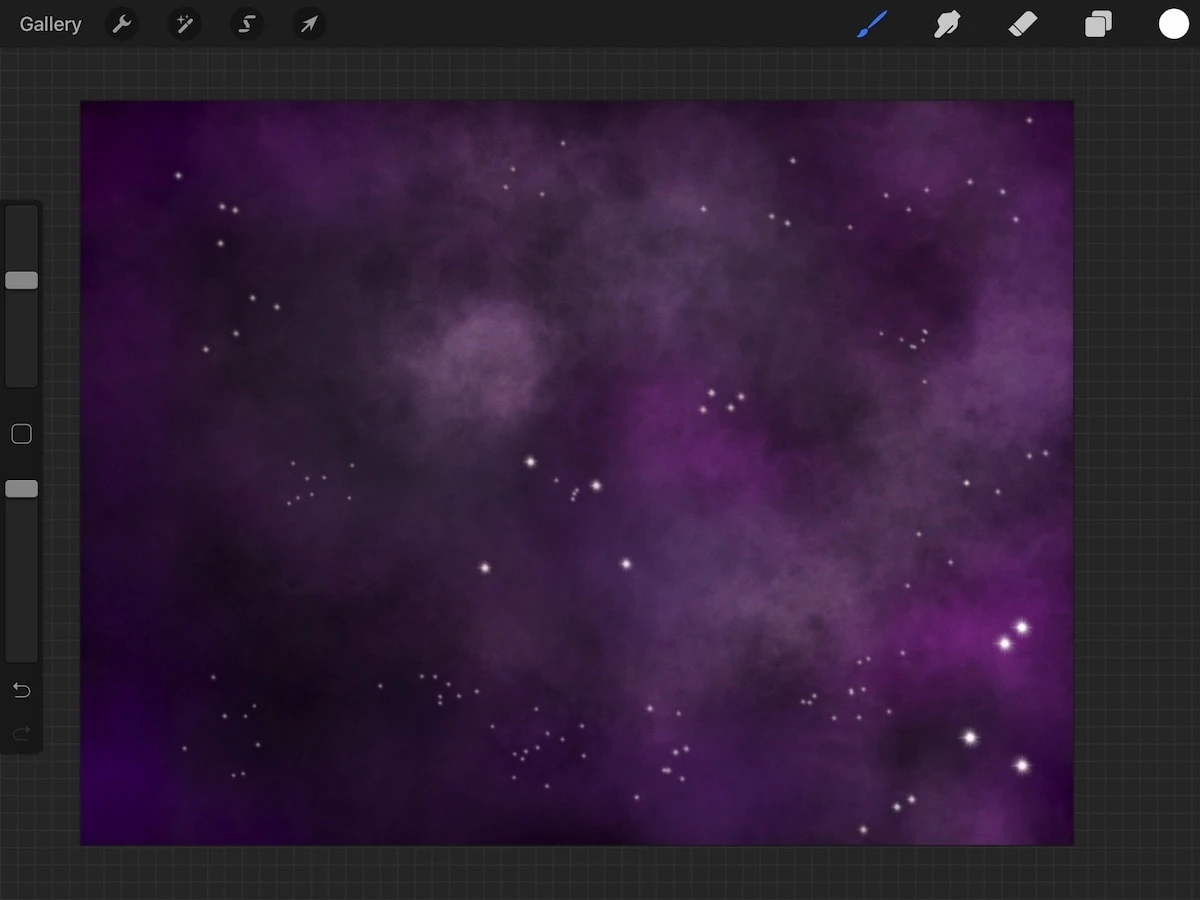
- Fill the background with black.

- Create a new layer for the galaxy color.
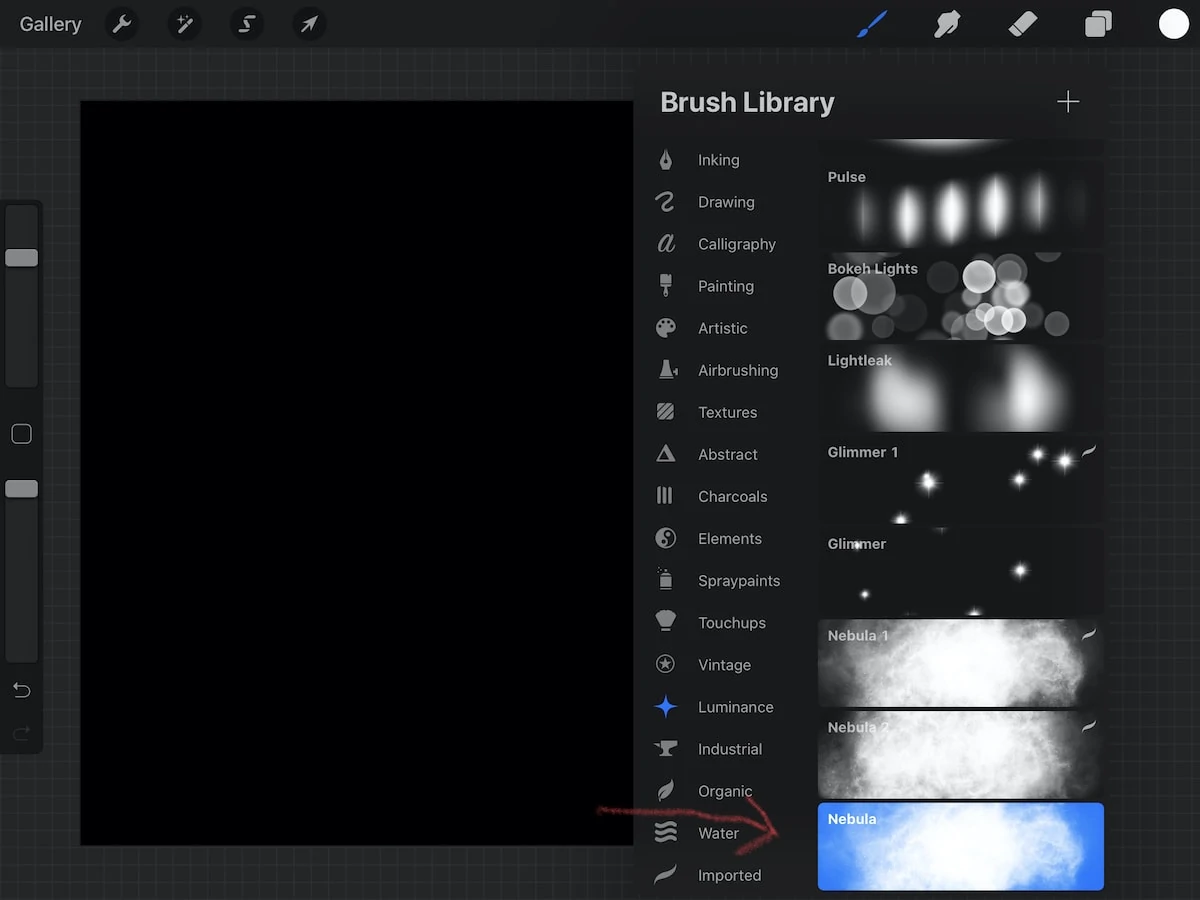
- Select the nebula brush in the Luminance brush folder.
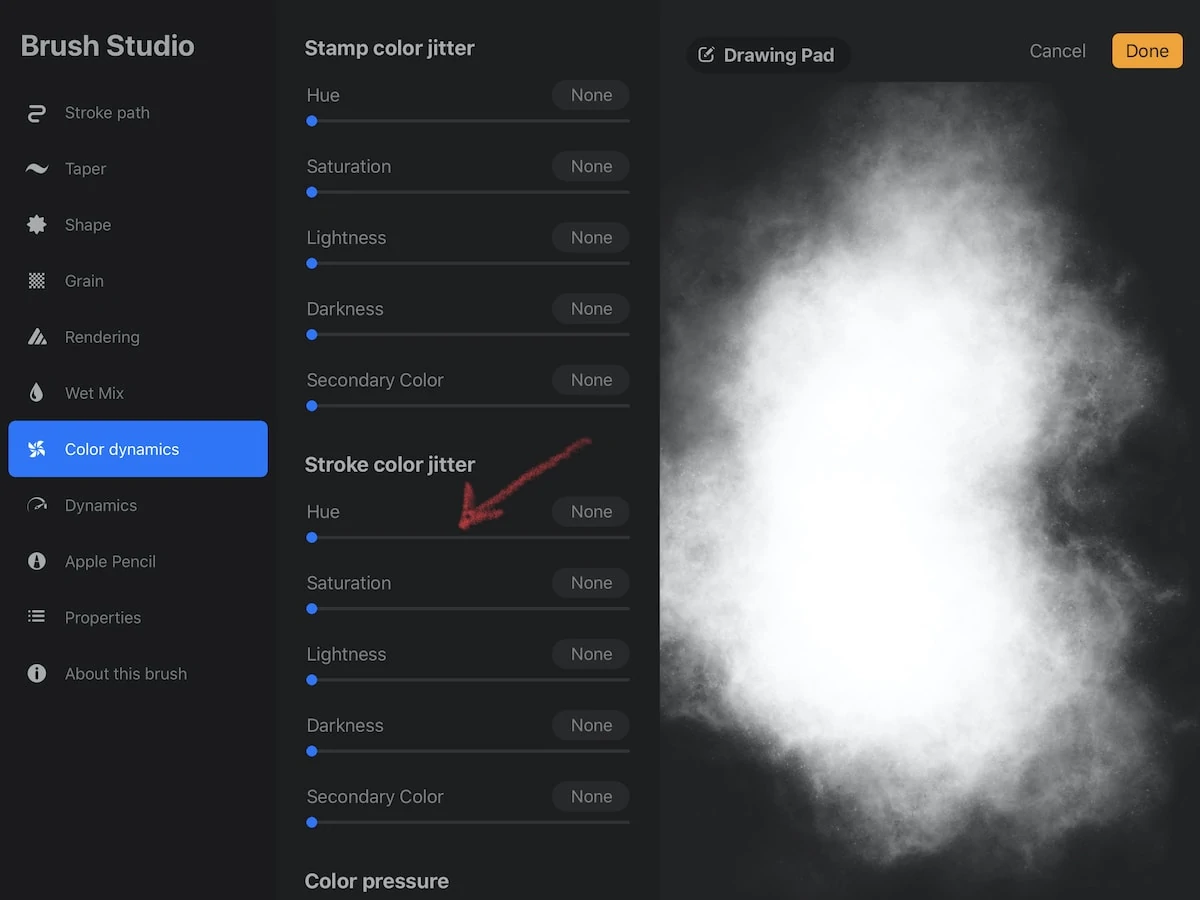
- This brush has color-changing qualities, which means that it changes colors as you draw. Use this if you don't want to switch colors.
- To create a brush without this effect, duplicate the brush and change the color dynamics settings. Set the stamp color jitter settings to none.
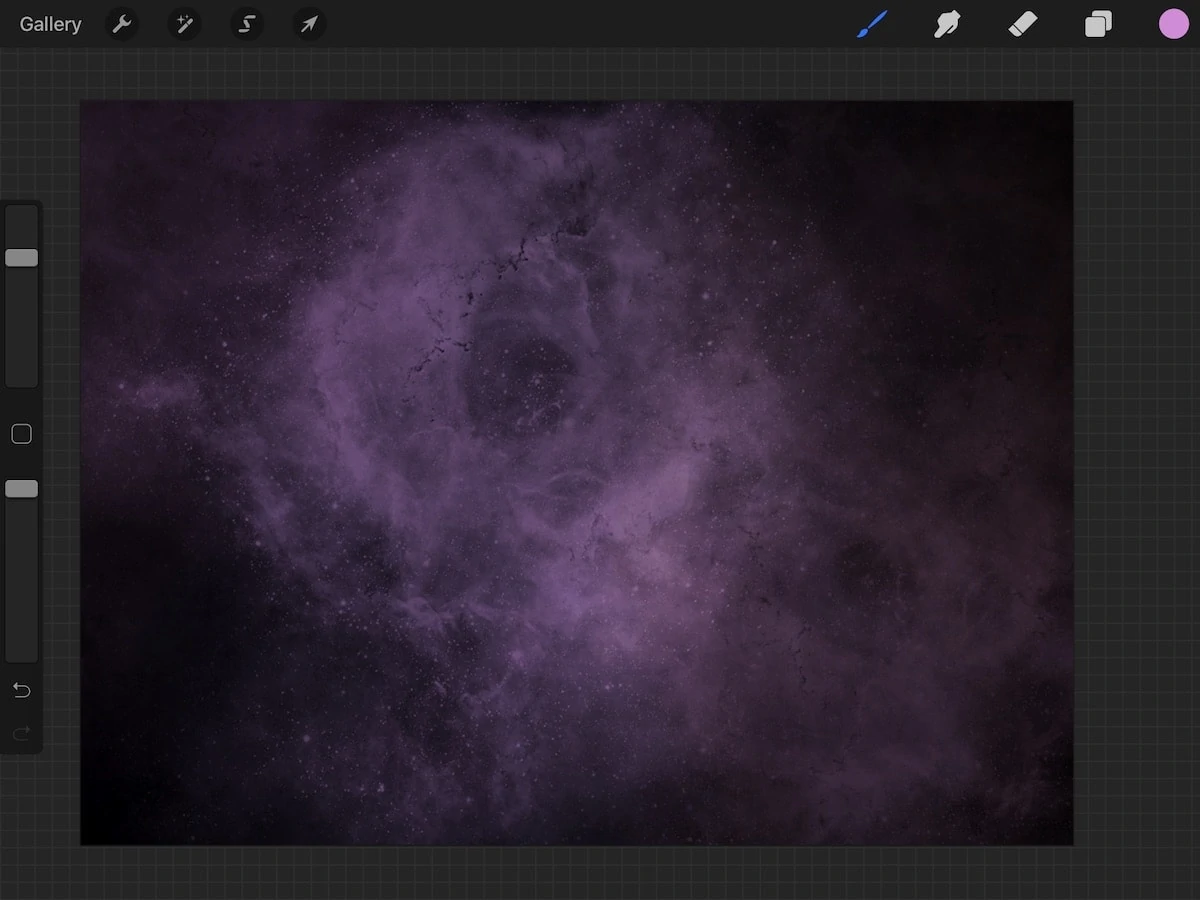
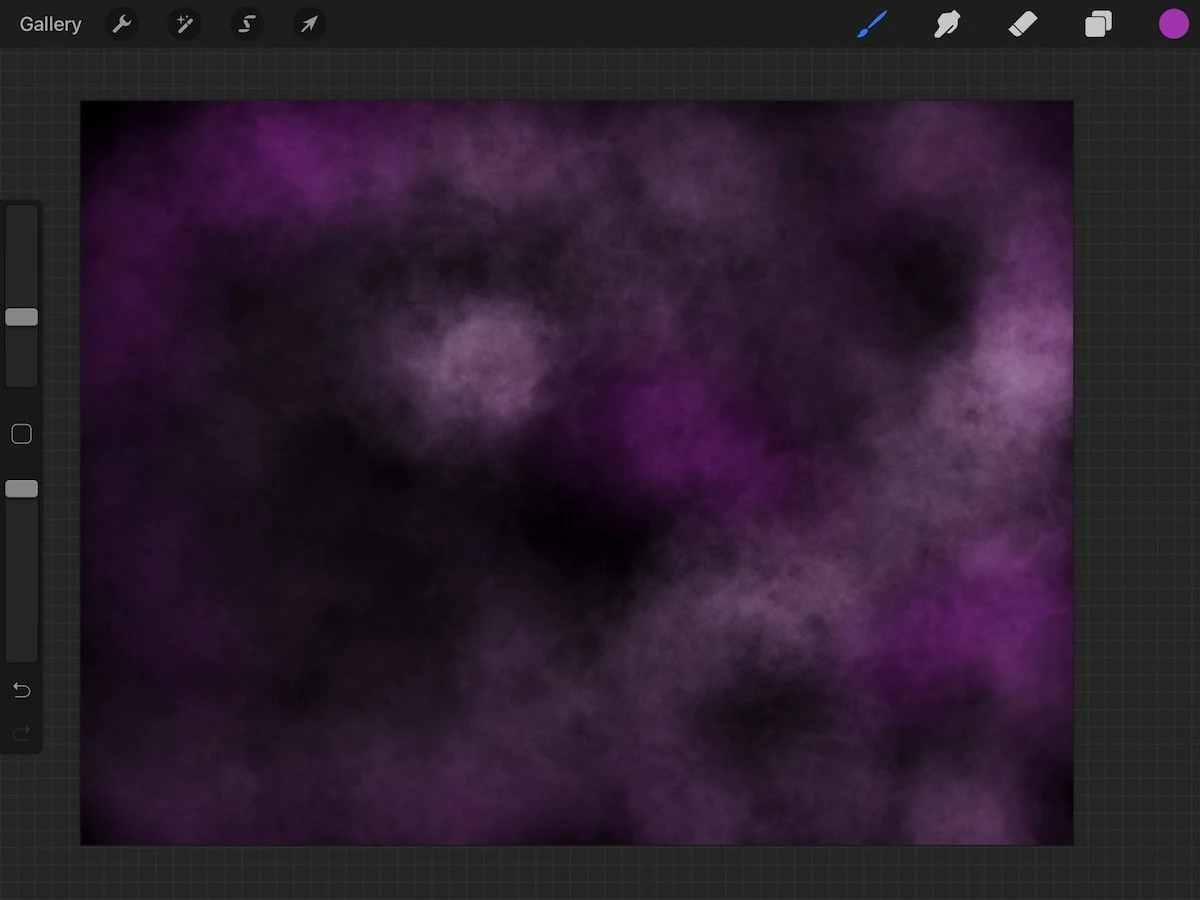
- Choose a color and draw around the edges with the nebula brush. Use a light touch to avoid a spotty look. Try varying the size to see what you like.
- Add more colors as desired. Use dark colors on the edges and lighter colors in the center.
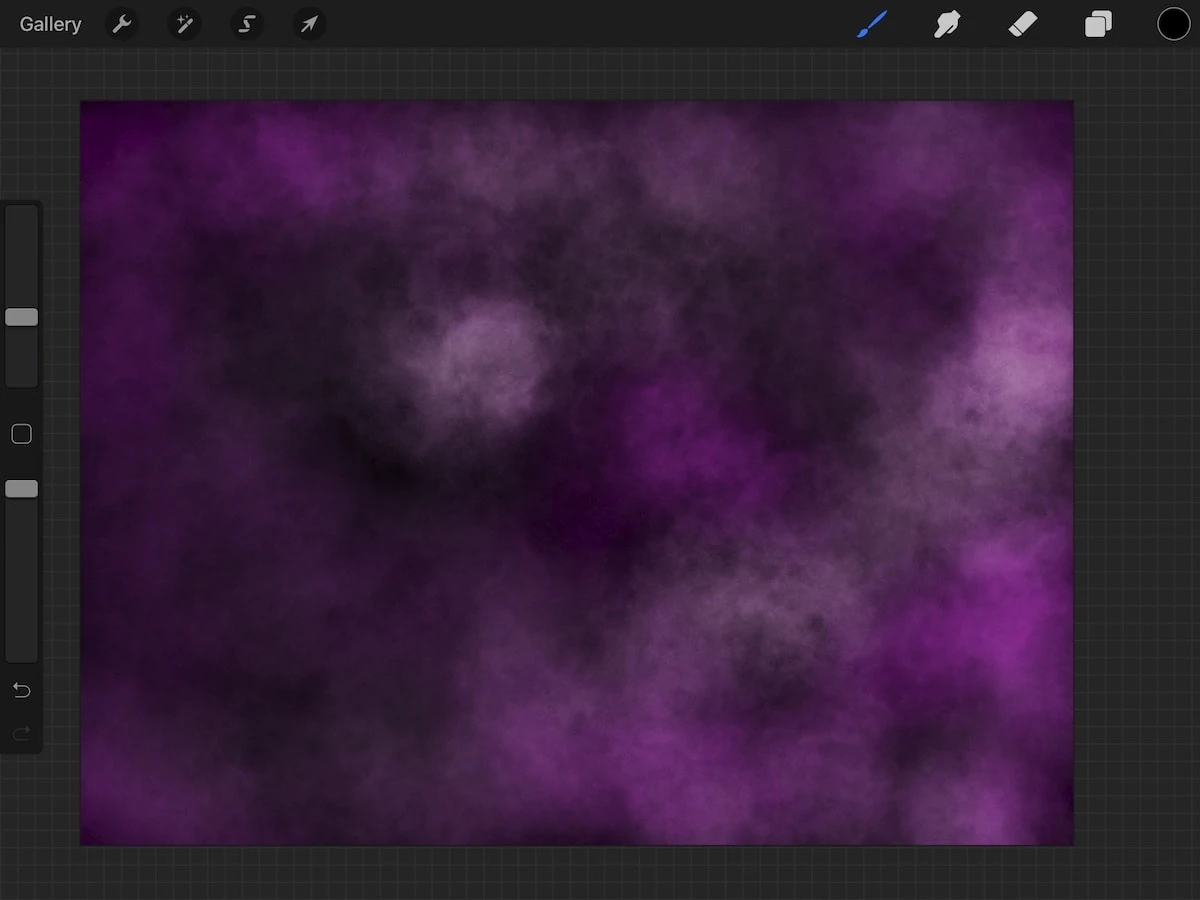
- If your art is too bright, create another layer and draw over it with black. (You have to use another layer because the black will just make the color brighter when it's on the same layer.)
- Add lighter colors as well, especially in the center.
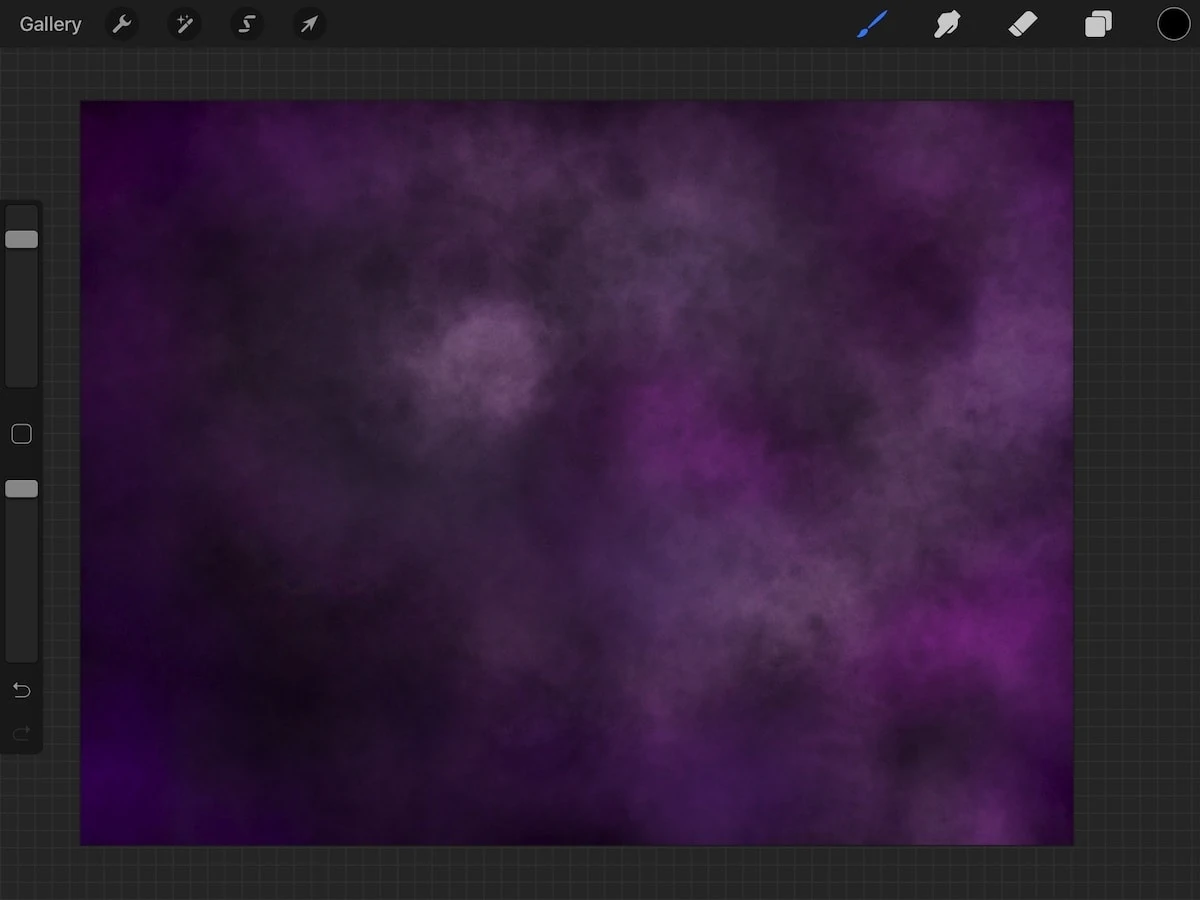
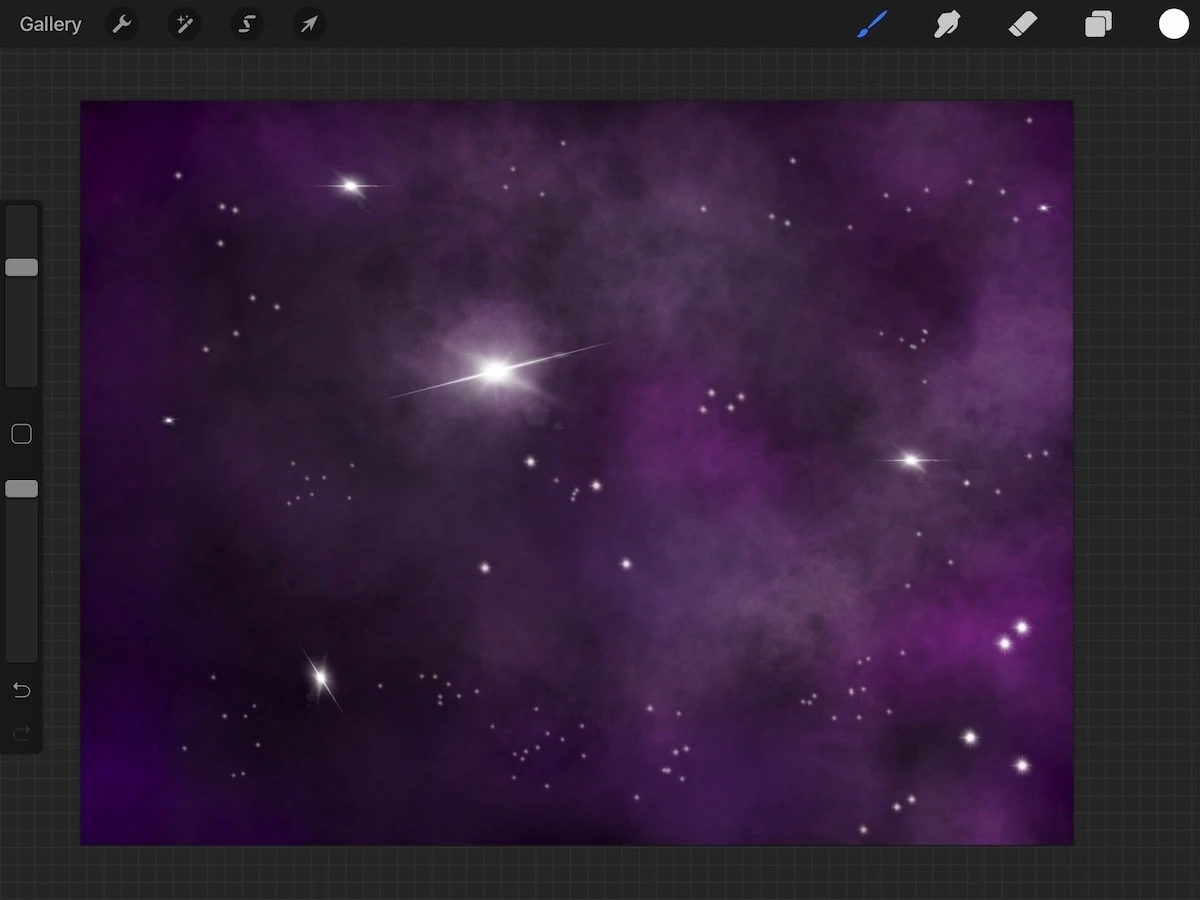
- When you're satisfied with the background, it's time to add stars. Select the glimmer brush in the luminance brush folder. This brush is set to be closely spaced, so increase the spacing in the stroke path settings in the brush studio.
- Add a few shining stars with the flare brush. They look the best in the lighter spots.
- You can also add a few single stars by drawing dots with the lightpen brush.
- To add depth, I like adding some faint stars in the background using my watercolor splatter brush. The effect is subtle, but I love it.

Recommended Products
As an Amazon Associate and member of other affiliate programs, I earn from qualifying purchases.


You Might Also Like:
- How to Paint a Galaxy with Watercolors
- How to Import Color Palettes in Procreate
- Create Brushes for Procreate
Pin for Later!