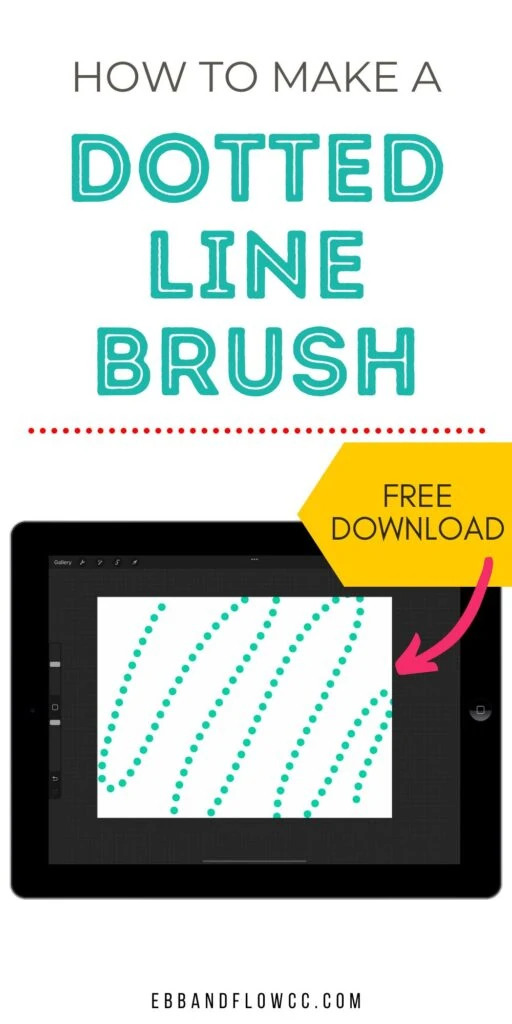
How to Make a Dotted Line Brush for Procreate
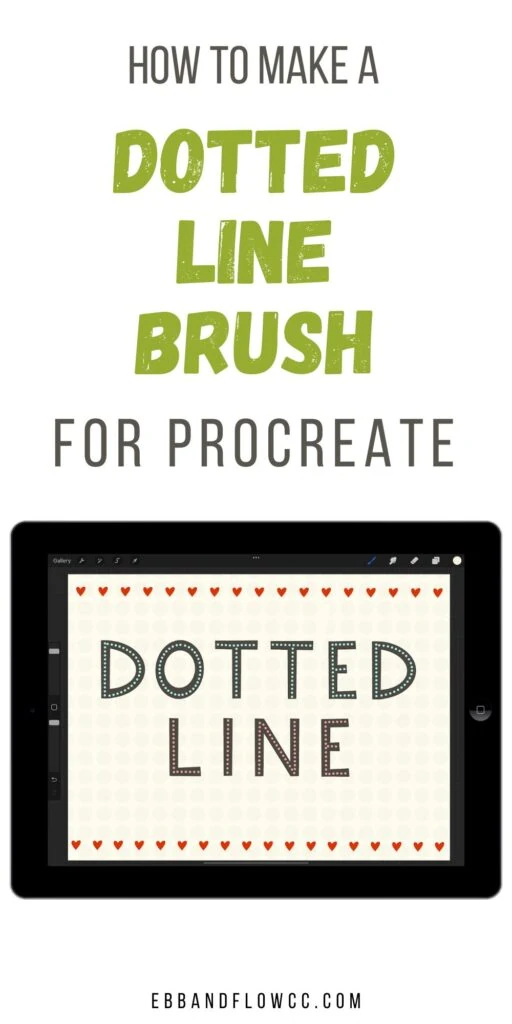
Learn how to make a dotted brush for Procreate. This easy-to-make brush is perfect for adding detail to illustrations and lettering. Plus, learn how to make variations of this simple brush.
You might also like these other Procreate brush tutorials.
This post contains affiliate links. By purchasing an item through an affiliate link, I earn a small commission at no extra cost to you. As an Amazon Associate I earn from qualifying purchases.
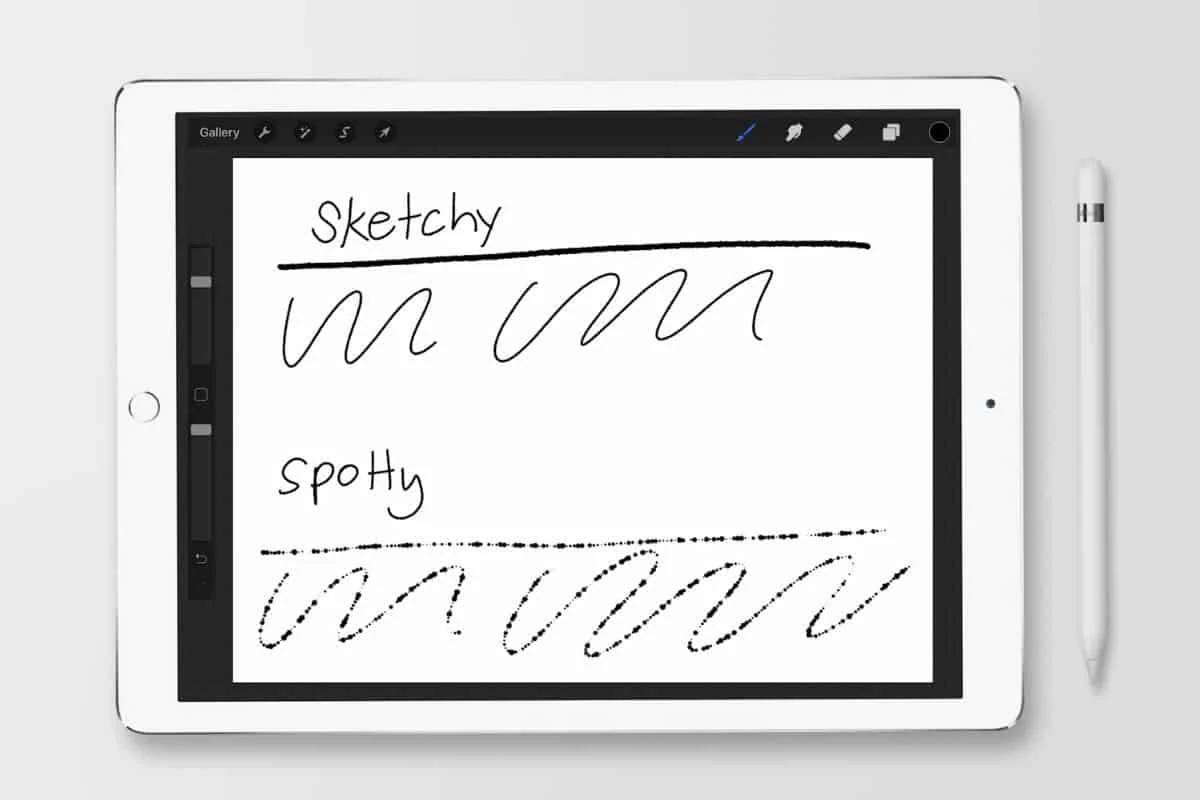
A dotted line brush can be a handy brush to have in your Procreate brush menu. Like the dashed line brush, it’s great for adding simple details to an illustration, but I also love it for hand lettering.
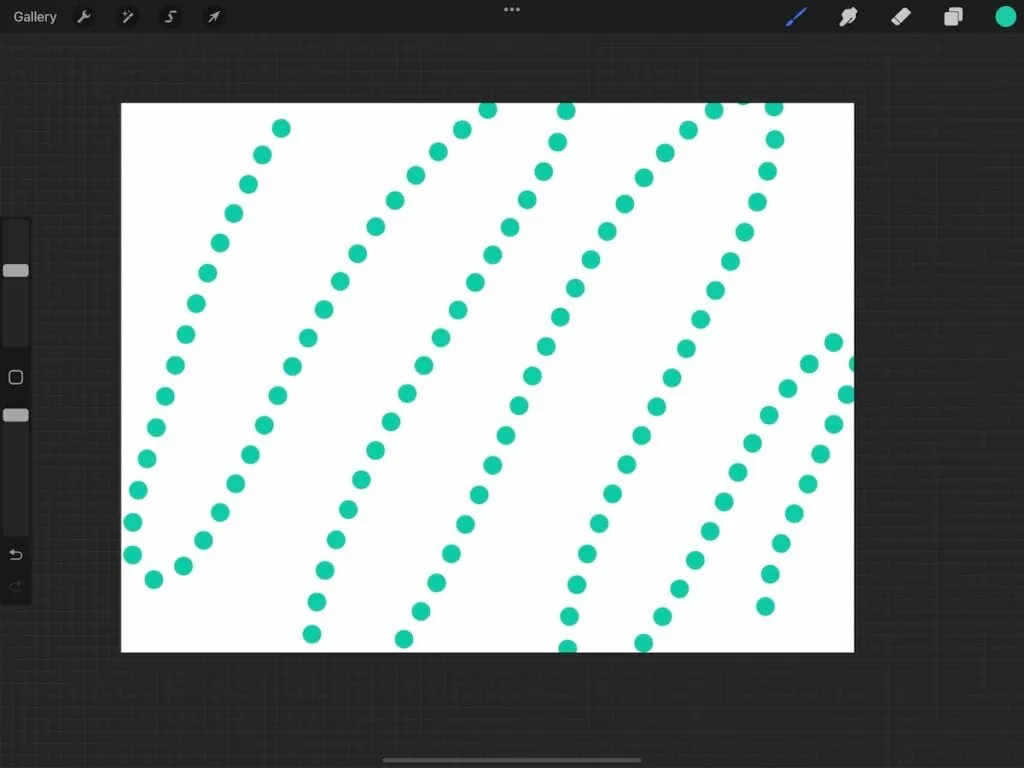
How to Make a Dotted Line Brush for Procreate
The dotted line brush is probably the easier brush to make!
- Make a new brush in the brush menu.
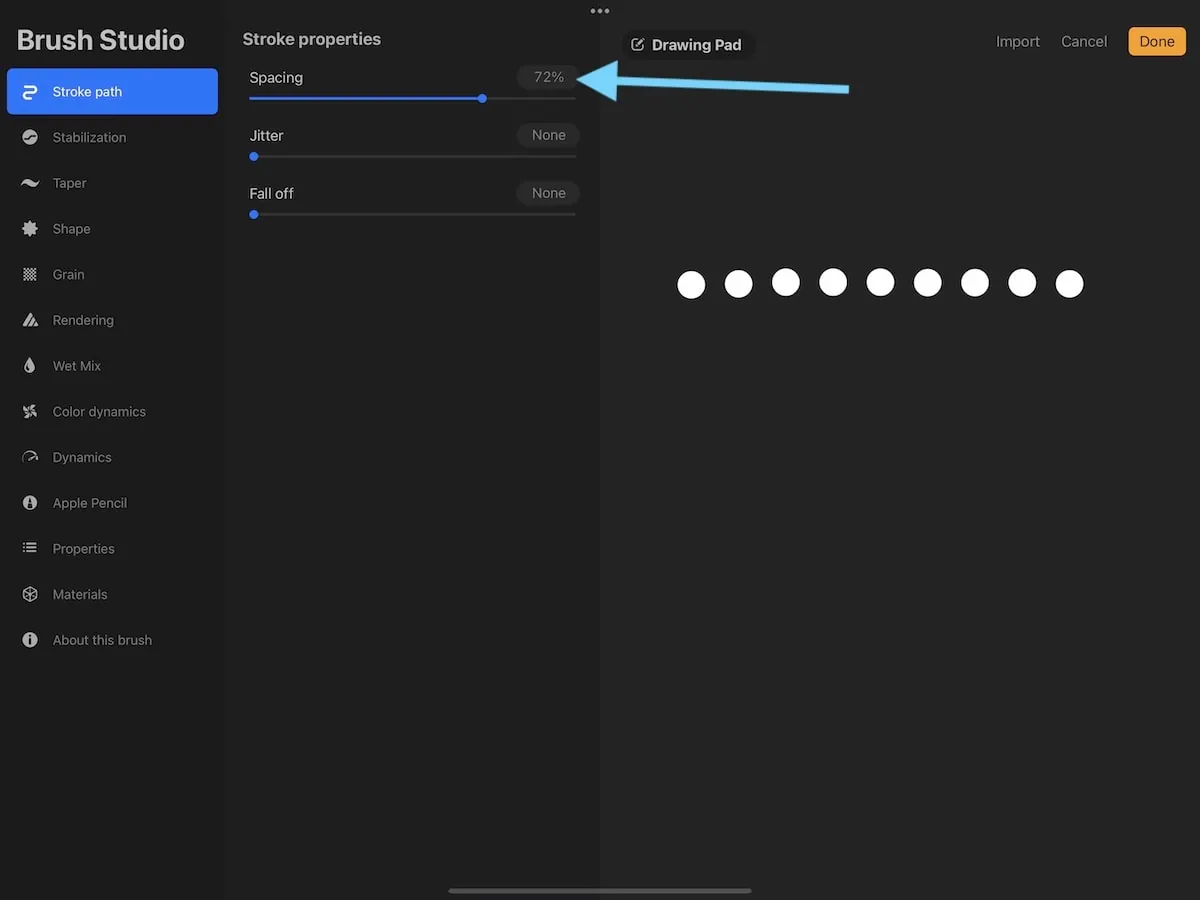
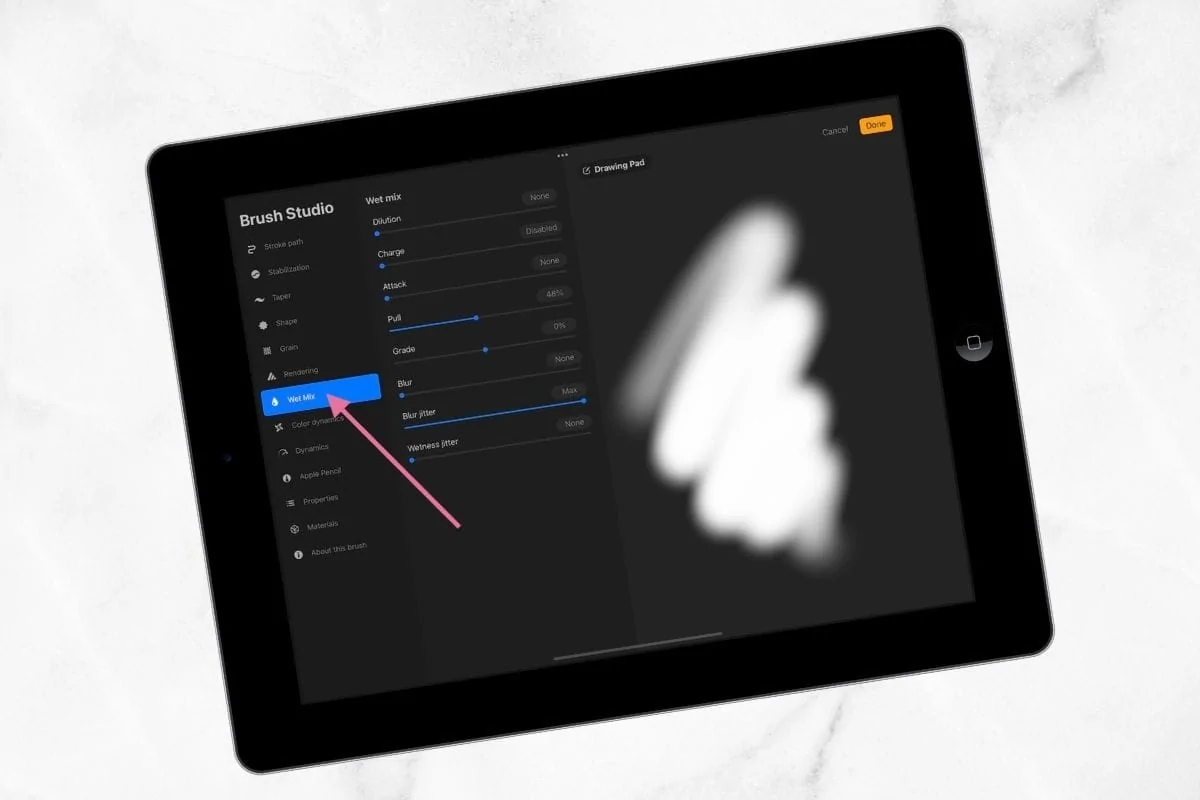
- Under stroke path, increase the spacing. (You can test the spacing by drawing a straight line in the drawing pad area.
- In the Apple pencil menu, set the opacity to none. This makes the dots opaque when using the Apple pencil.
- In “About this brush,” you can name the brush and create a new reset point so that if you change the settings, it’s easy to get back to the original brush.
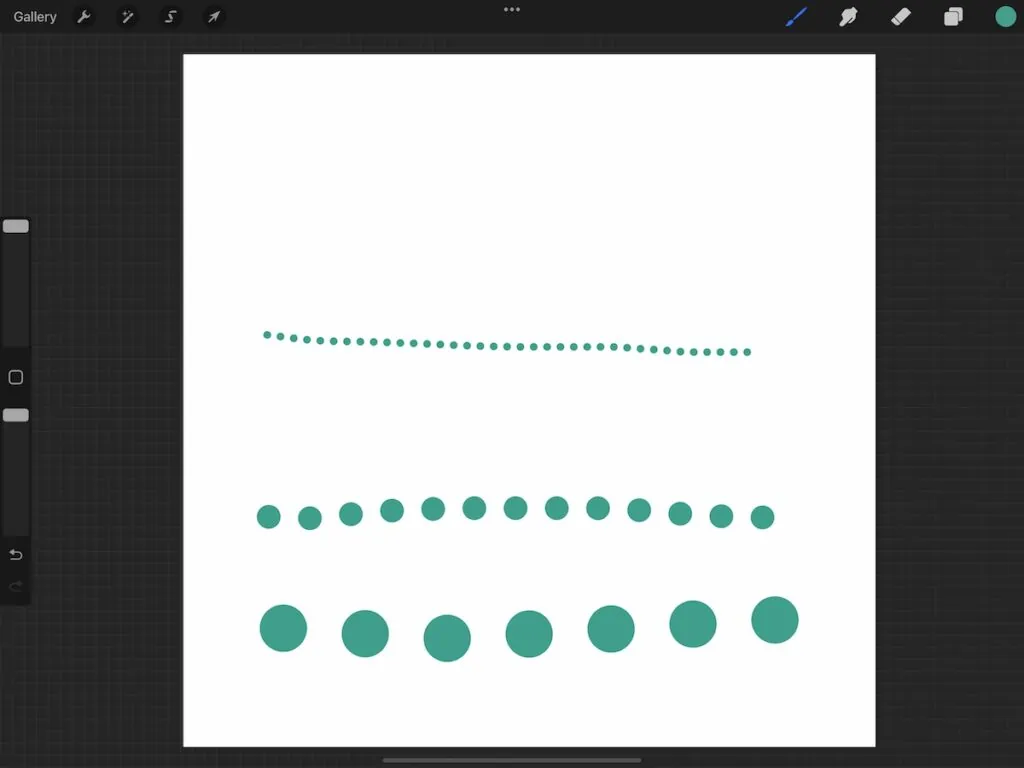
Dotted Line Brush Variations
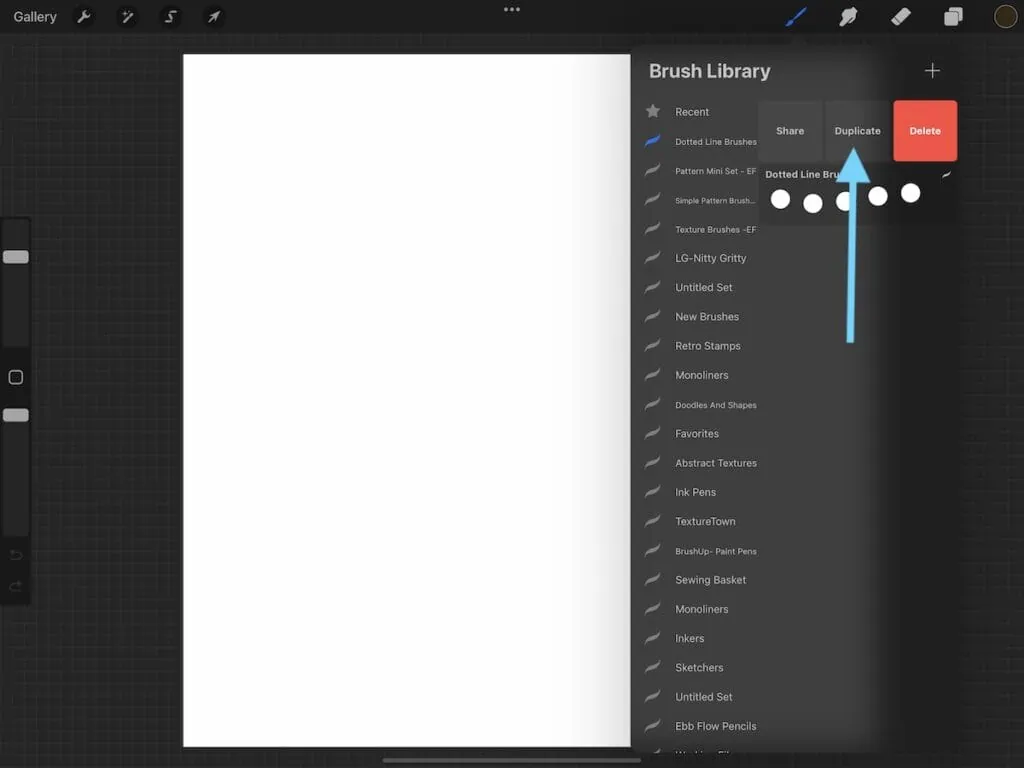
Since this brush is so easy to make, I figured I would add a few simple variations. To make things even easier, duplicate the brush before making changes. Then click on the copy to make the new changes.
Soft Edge Circle Brush
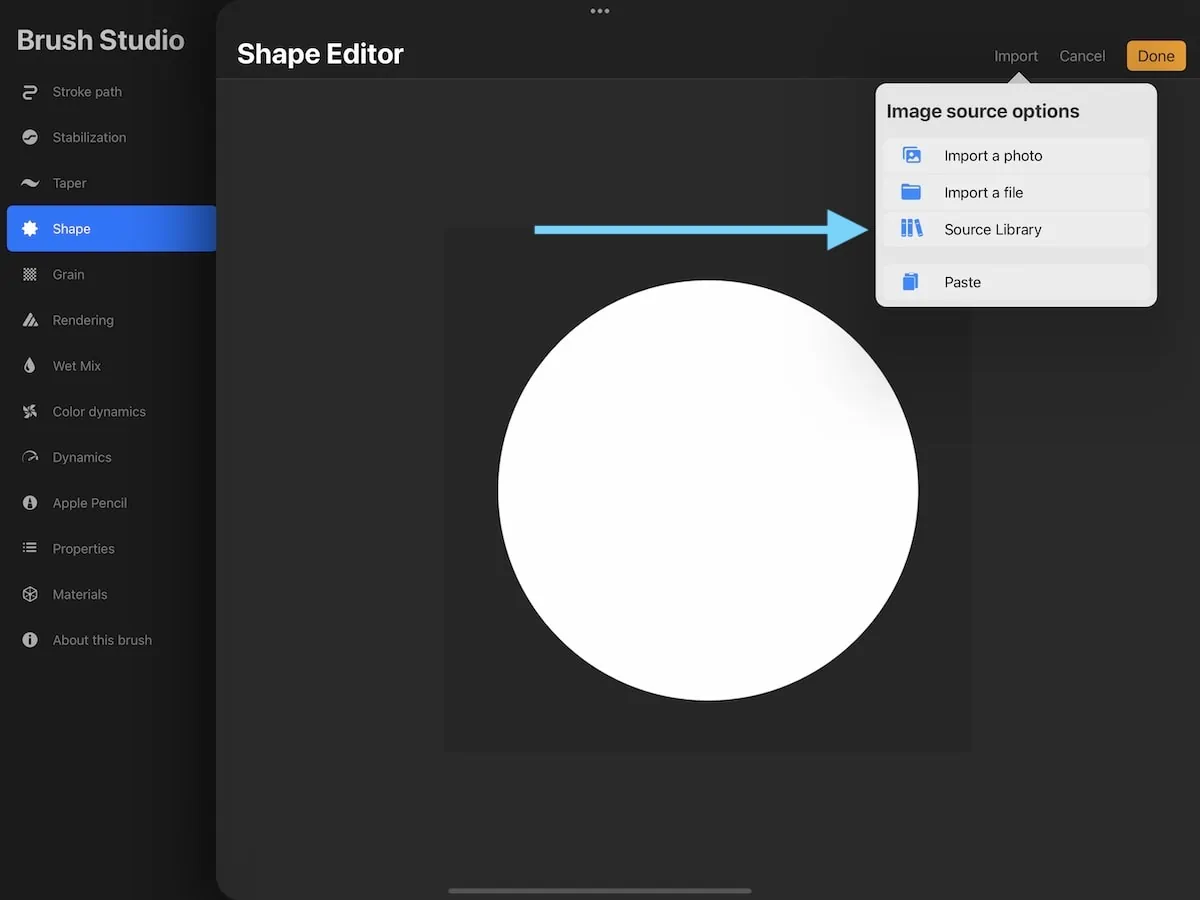
- In the shape menu, click edit to change the shape source.
- Click import to access the source library.
- Scroll down and choose one of the softer circles. I chose the medium-hard.
- Click done.
- Rename the brush and set a new reset point.
Alternatively, you can choose any of the other source shapes.
Rainbow Dotted Line Brush
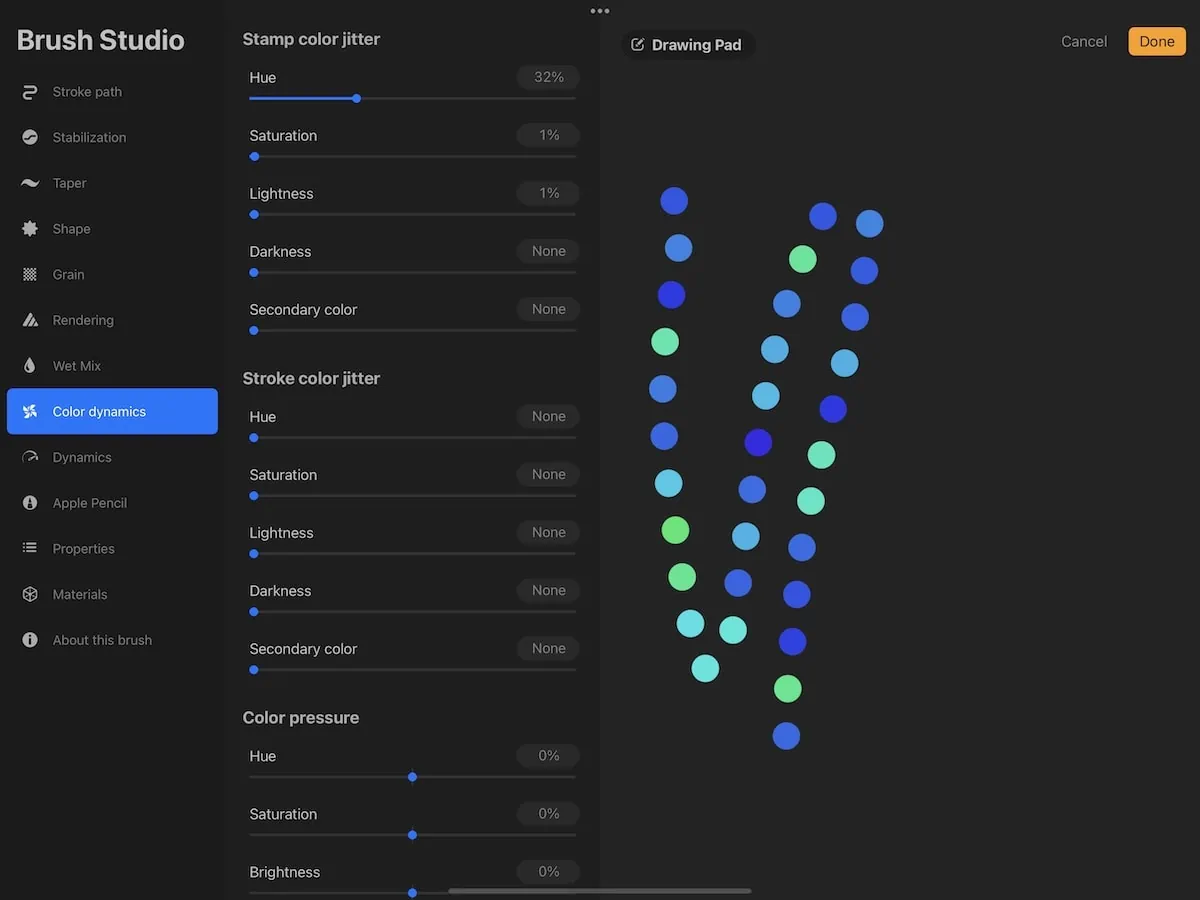
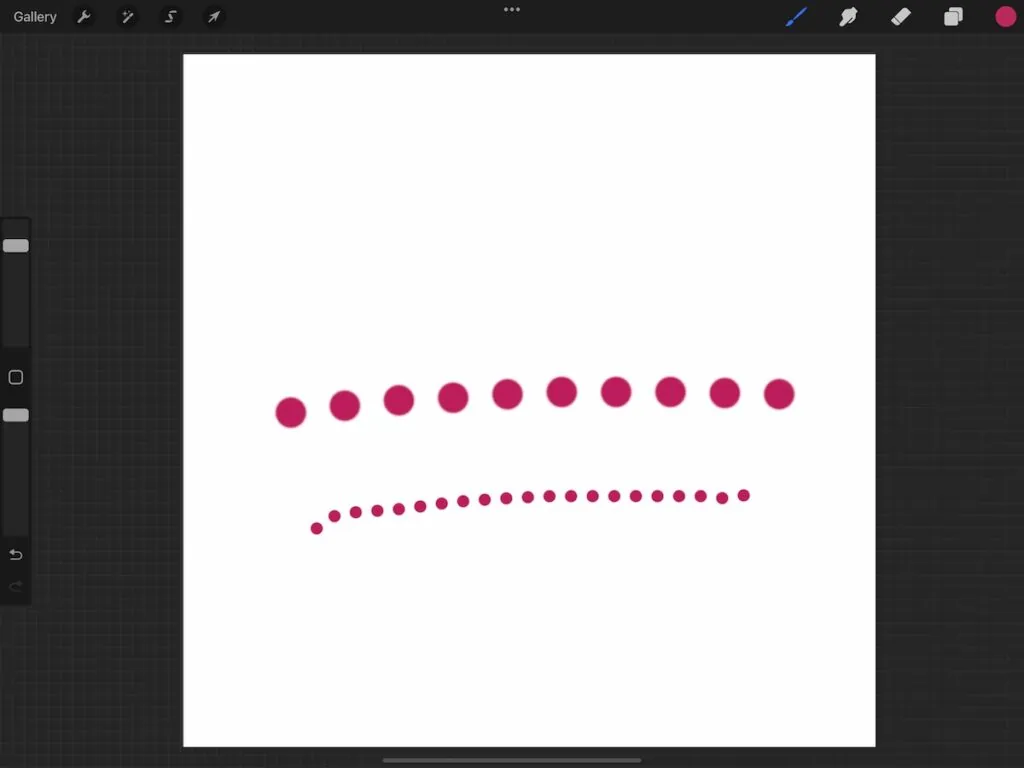
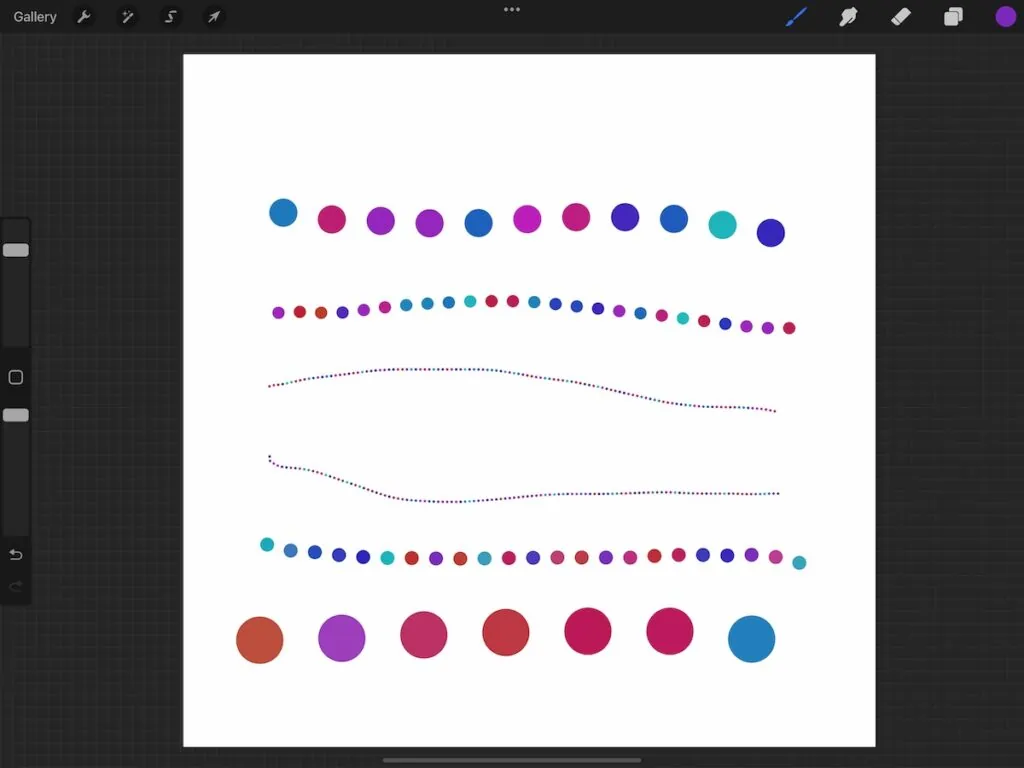
This brush combines the dotted line brush with the color dynamics brush features to create a brush that changes color as you draw.
- Duplicate the first brush again.
- In the color dynamics menu, increase the hue under stamp color jitter.
- A lower percentage changes the color a little.
- A higher percentage changes the color more. Max changes it the most into random colors.
- You can play with the other settings and see what you like.
- Don’t forget to rename the brush and set a new reset point.
Heart Brush
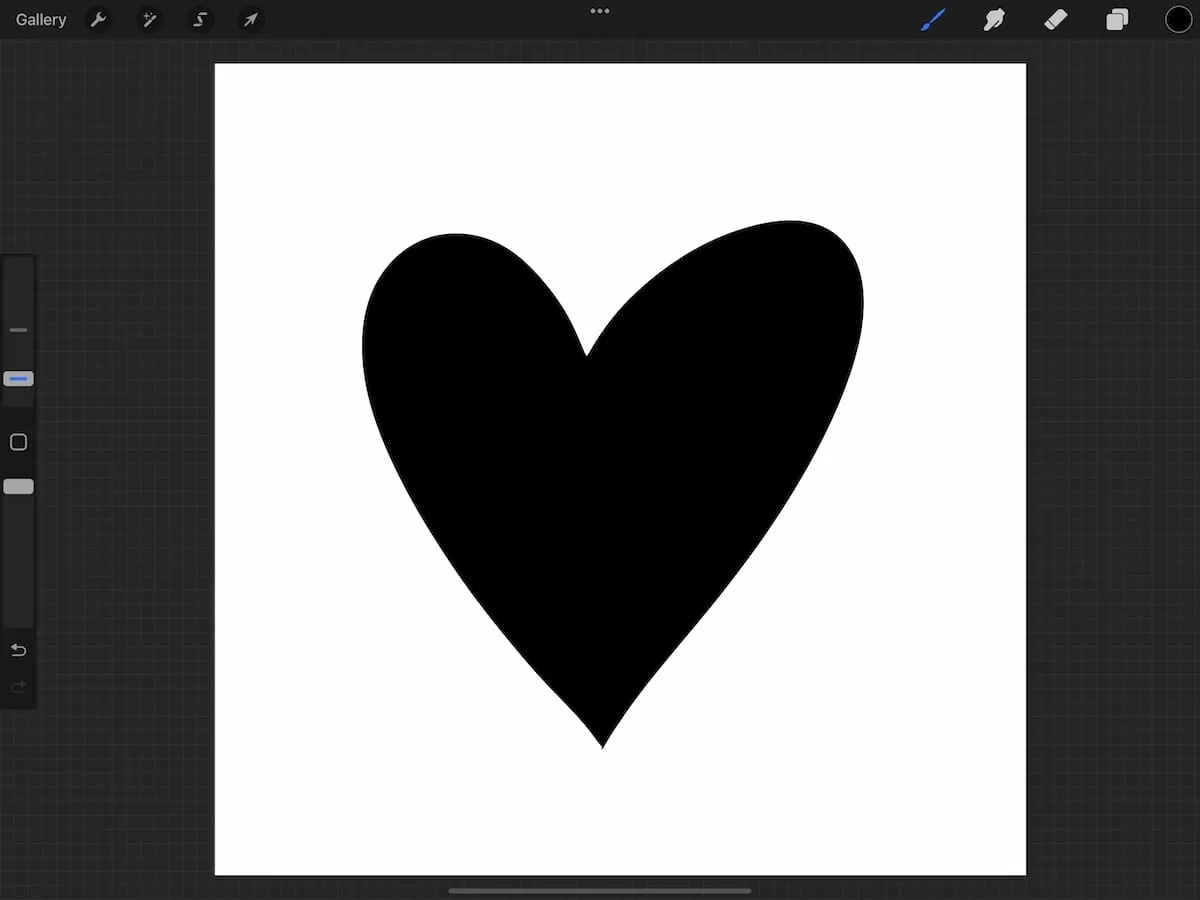
- Start with a square canvas.
- Draw a heart and fill it in with black.
- Select copy canvas under add in the actions panel.
- Duplicate the dotted brush.
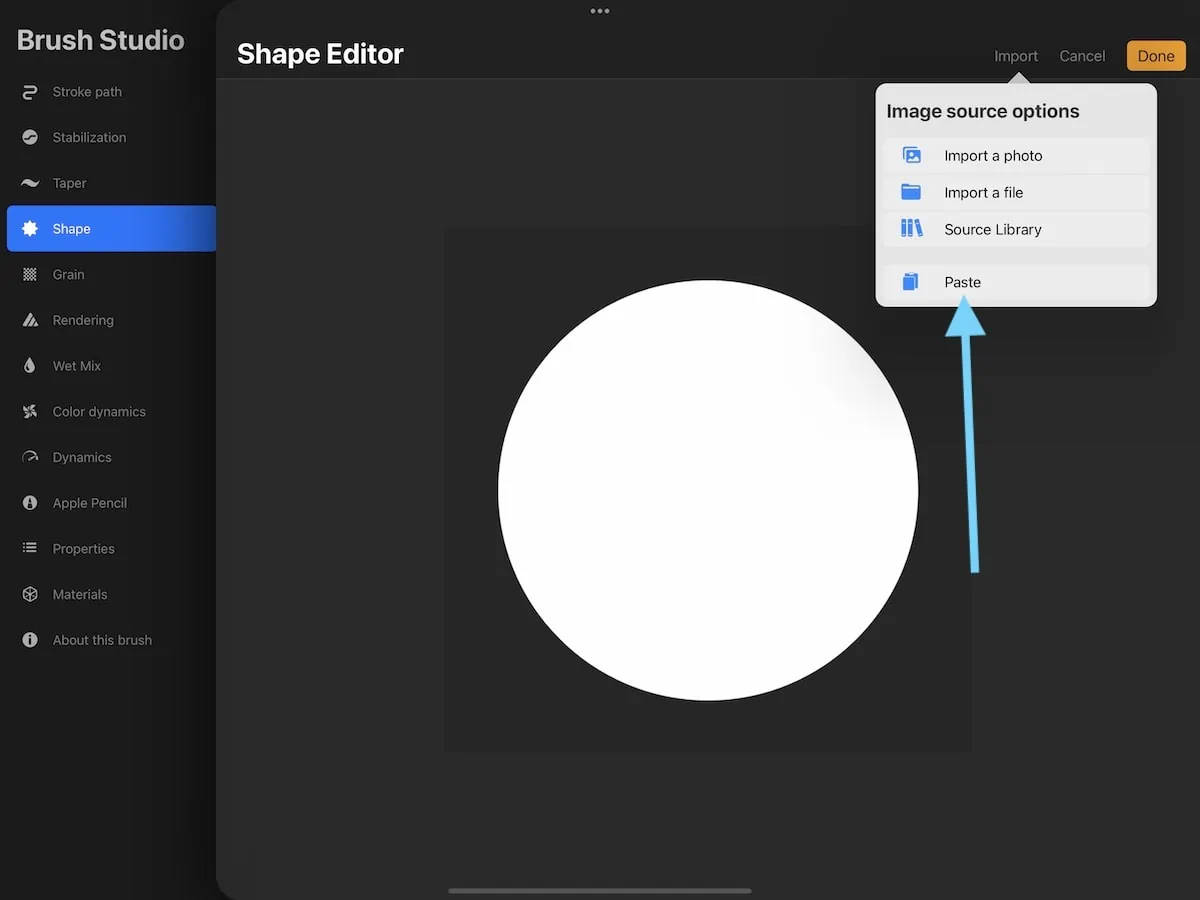
- In the shape menu, click edit.
- Click import and select paste.
- Use 2 fingers to tap and invert the shape.
- Click done.
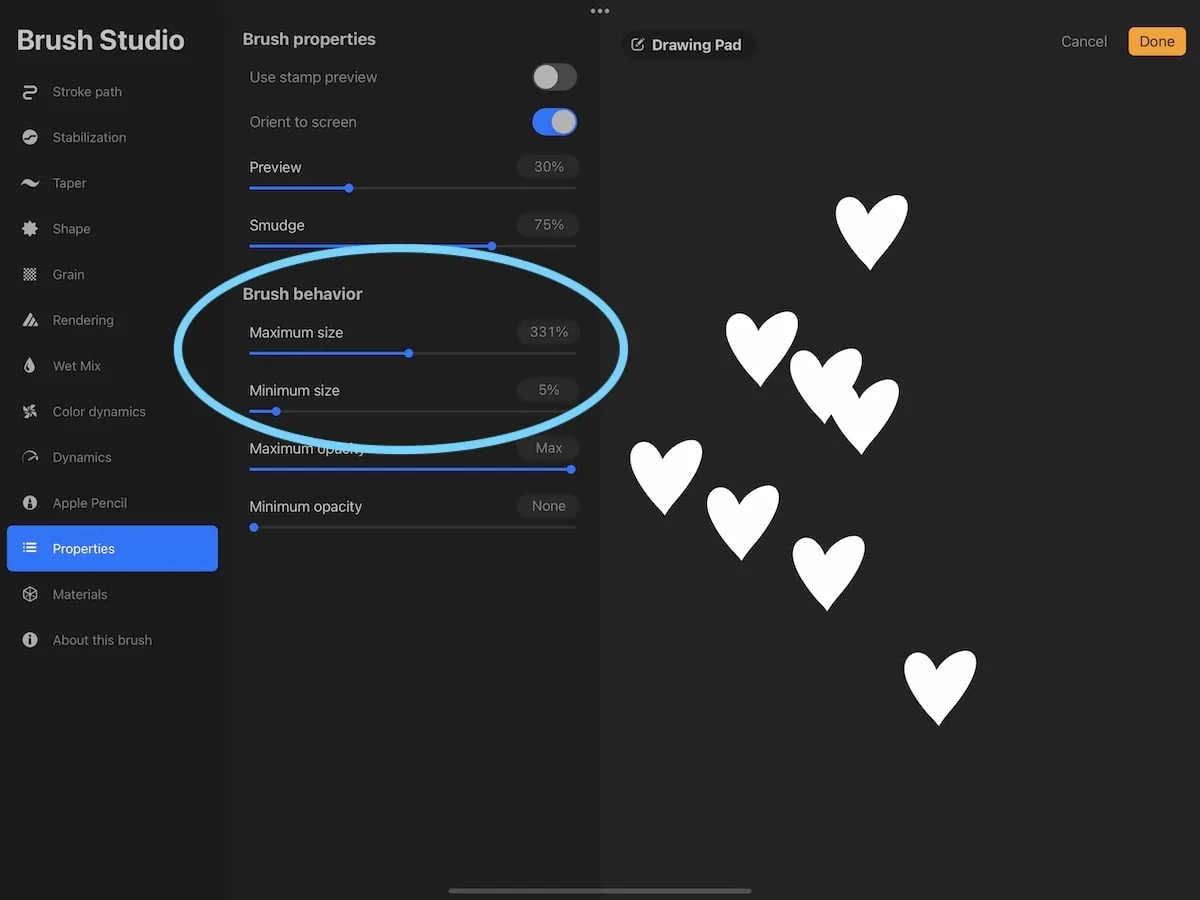
- If desired, you can change the minimum and maximum sizes in the properties panel.
- Rename the brush and set a new reset point.
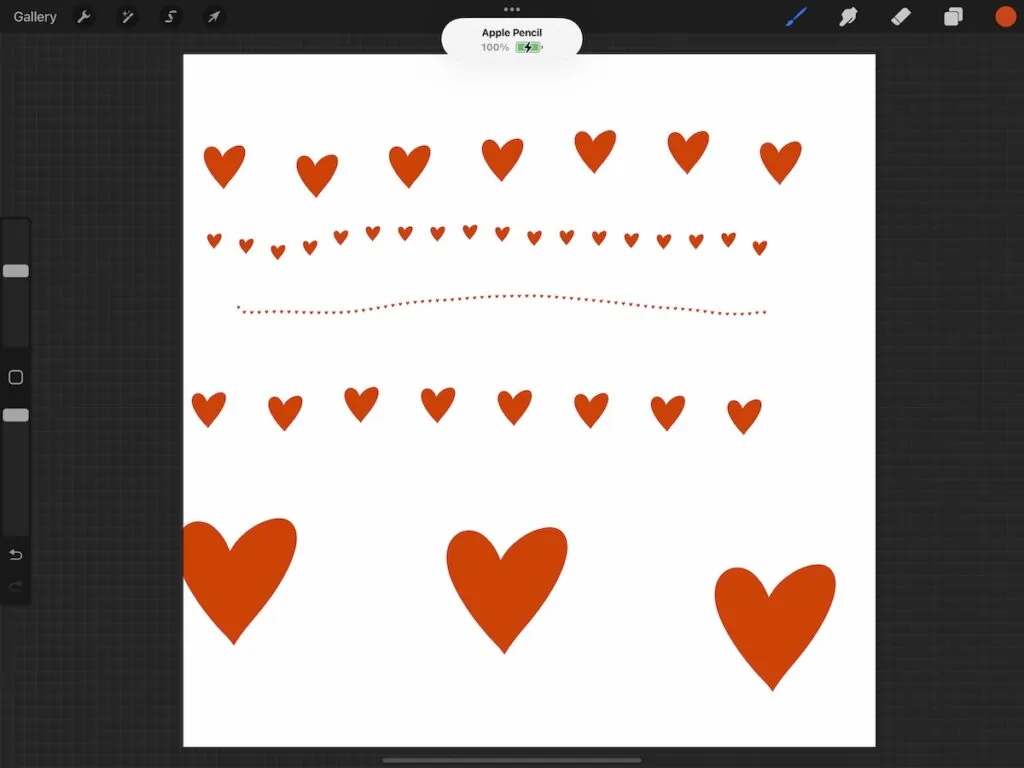
Any shape can be used. How cute would a star brush be?
You Might Also Like:
Download a Dotted Line Brush
This link allows you to download the 1st dotted brush that we made.
These downloads are for personal use only. Please do not redistribute or sell.
Dear teachers and students: this download will not work if you try to access it when logged into your school email account. Try a personal email account instead.
Download the Dotted Line Brush Here
Here’s how to install Procreate brushes.
Pin for Later!
