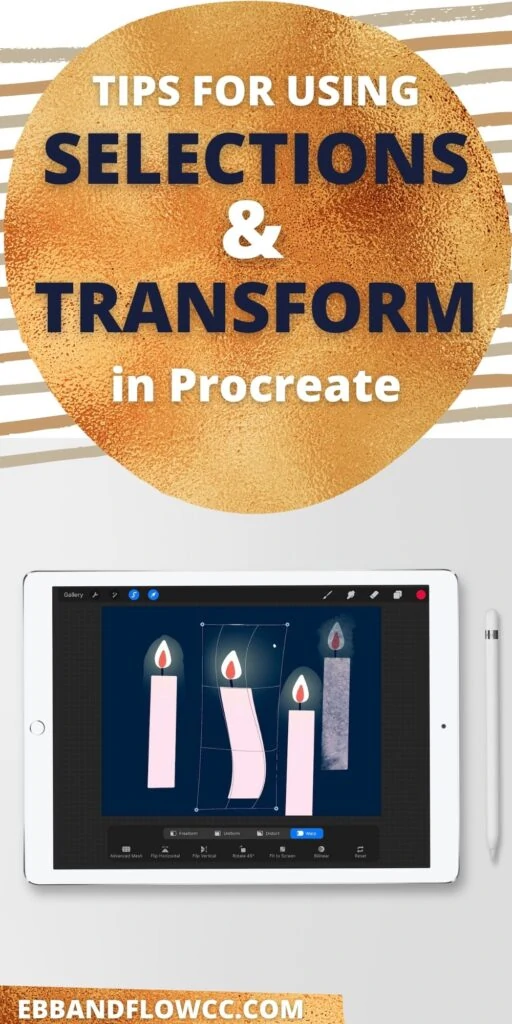
Using Selection and Transform in Procreate

I’m a self-taught artist who loves sharing tips and tutorials for painting with watercolor and gouache, and using the Procreate app on the iPad.
Learn how to use the selection and transform tools in Procreate.
This post is part of my series on how to use Procreate.

This post contains affiliate links. By purchasing an item through an affiliate link, I earn a small commission at no extra cost to you. As an Amazon Associate I earn from qualifying purchases.
The selection and transform tools are useful for editing your artwork. It’s easy to select an item to change it. Transform allows you to move the item, as well as transform it in other ways.
Using Selections in Procreate
This tool allows you to select parts of your art to edit. It can be accessed by clicking on the curly ribbon looking icon in the top left of the screen.
(BTW, is there a better name for that icon than “curly ribbon?” Let me know.)
Selection Modes
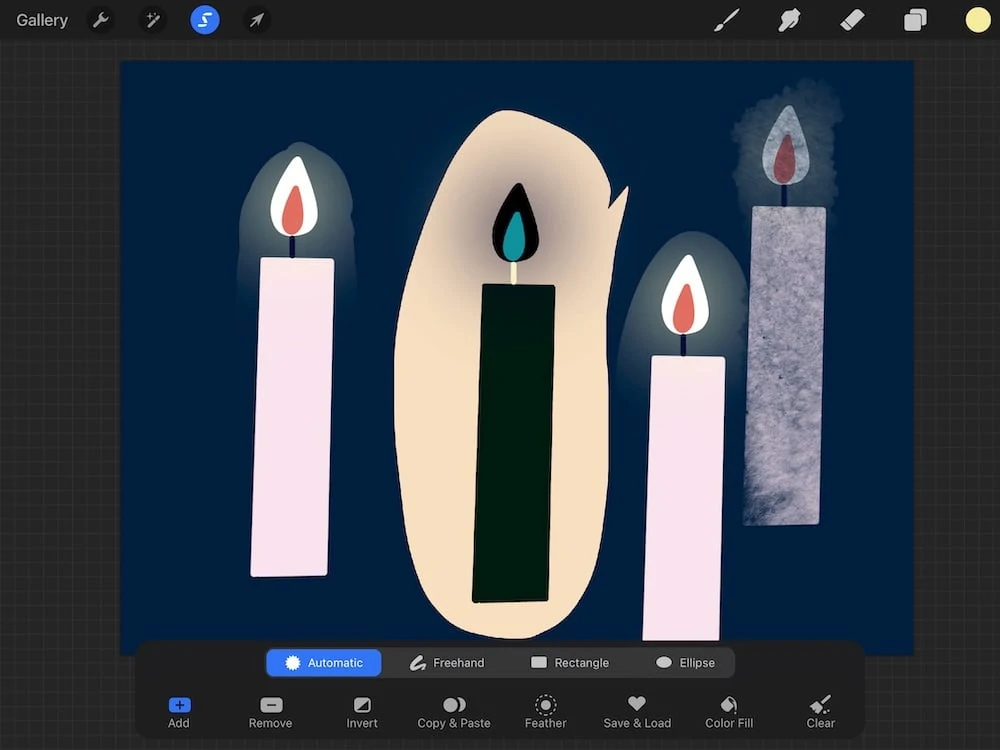
Automatic
This option selects everything, but you can change the threshold of what it selects by dragging your finger across the screen.

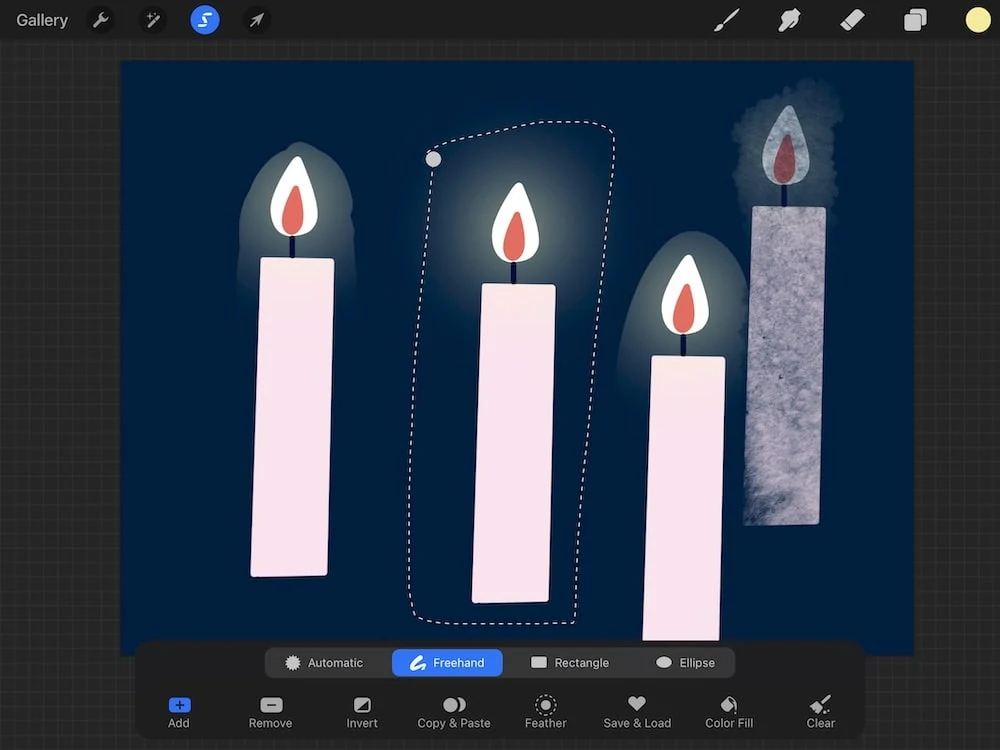
Freehand
This allows you to draw your selection, which is nice for complicated shapes or when you just want part of a layer.
Rectangle and Ellipse
This option allows you to drag a rectangle or ellipse selection around an object.
Options
Add
This option allows you to add to your existing selections. In Freehand, tap Add a 2nd time to close open loops.
Remove
Use this option to remove items from the selection. This is helpful for correcting selection shapes.
Invert
This inverts the selection. If you’ve selected an item, clicking on invert will deselect the item and instead select the background.
Copy and Paste
This is a quick way to copy and paste your selection to another layer.
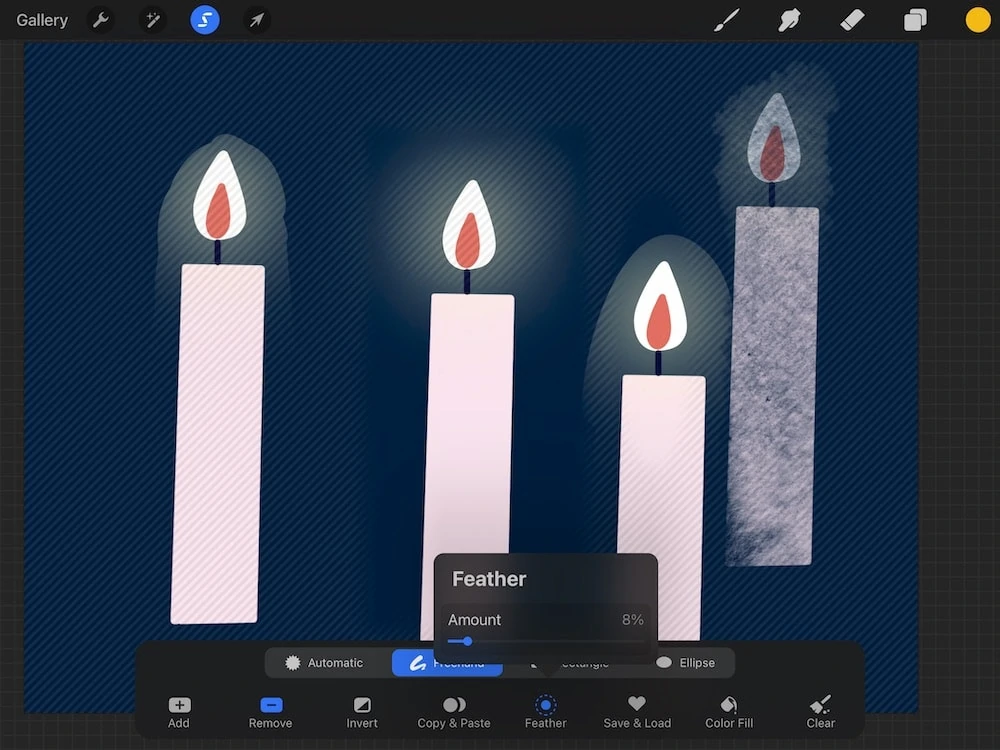
Feather
This softens the edges of the selection. A slider will appear that allows you to increase or decrease the amount of feathering.
Save and Load
This allows you to save the actions that you use the most.
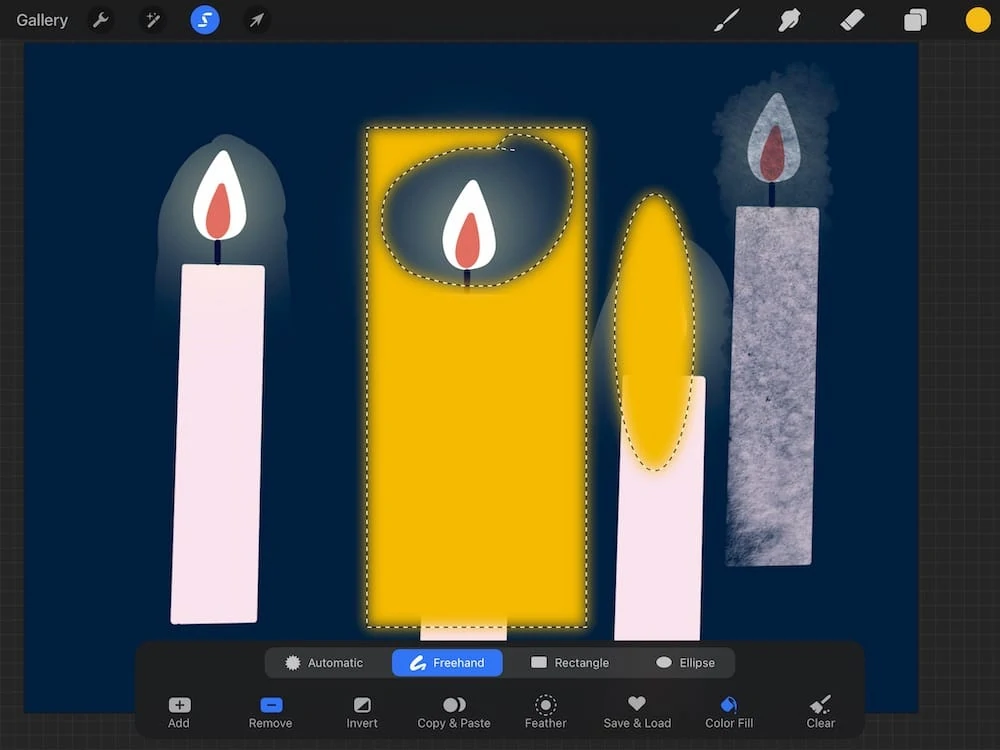
Color Fill
This fills a selection with color. To use tap the color fill icon until it turns blue. Then choose a selection mode to fill with color.
If you already have areas selected, they will be filled with the current color. You can change the color anytime while working in this menu.
Clear
This clears all of the selections.
Using Transform in Procreate
This area allows you to further edit your selection. I use this option a lot to resize and move items in my art.
Transform can be access by clicking the area at the top left of the screen. If you don’t have an object selected, it will select the entire layer.
Transform Interface
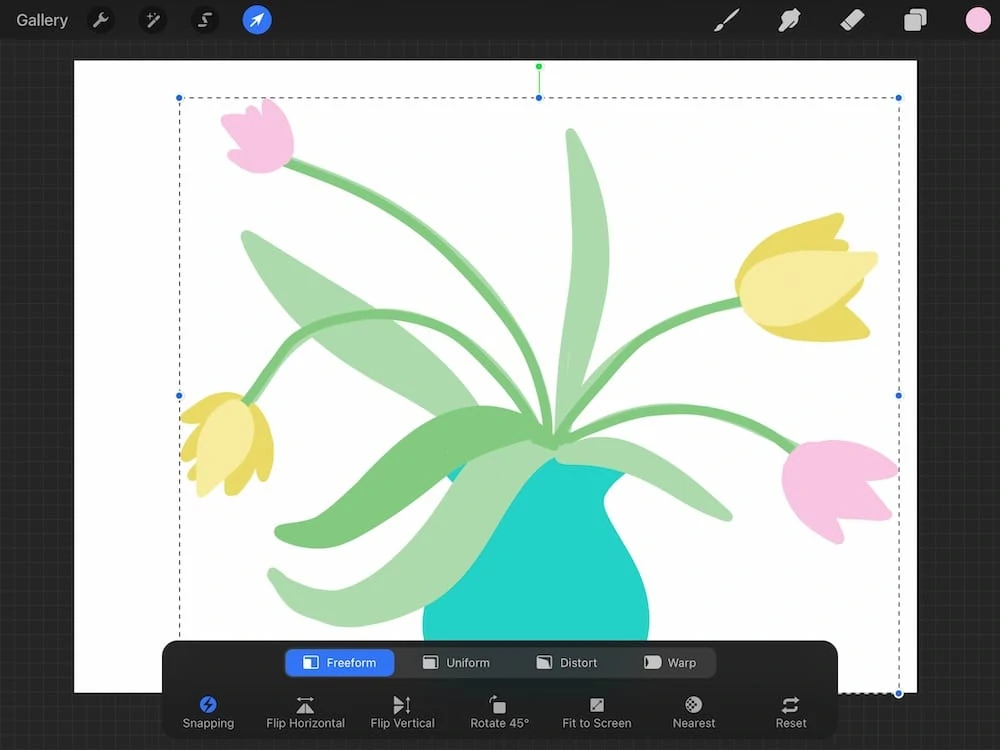
Bounding Box
Your selection will show up in a rectangular bounding box with moving lines. The selection can be moved now by dragging it around.
If you’re having trouble moving it without altering the shape, I usually “nudge” it instead by tapping in the direction that I want it to go.
This is useful for small movements, but not so much when moving it far away. My biggest tip is to drag outside of your selection to avoid altering it.
Transformation Nodes
The blue dots around the bounding box allow you to change the size of your selection.
When set to freeform, you can change the shape however you want, independently of the other settings. If it’s set to uniform, the selection will change uniformly.
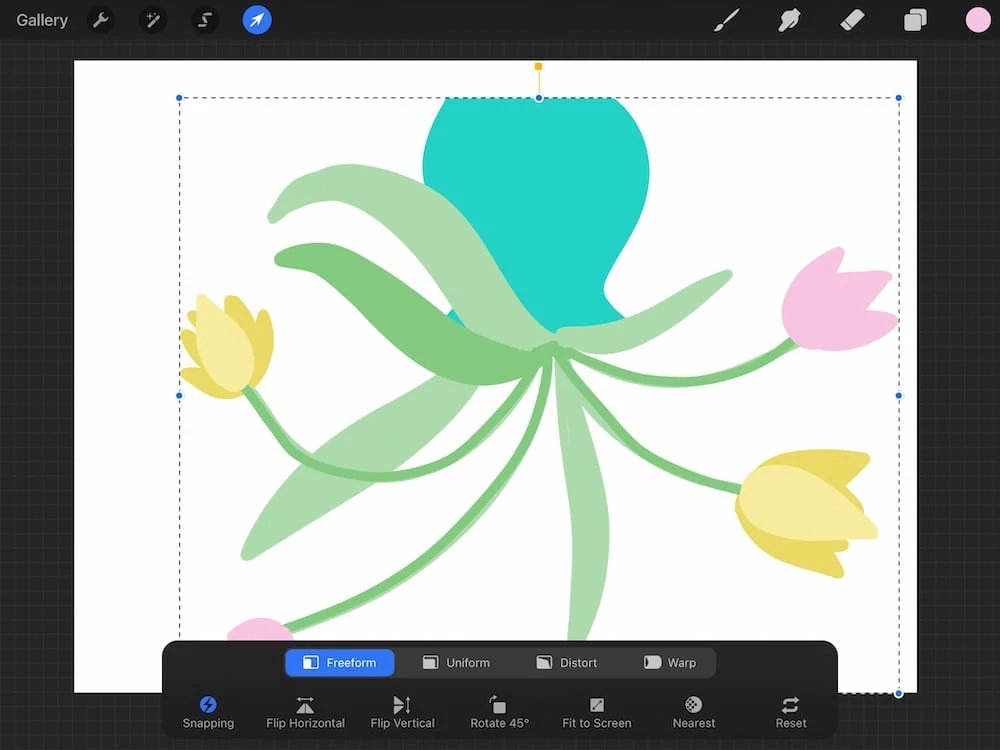
Bounding Box Adjust Node
If you rotate your shape, the bounding box will be slanted and might drive you crazy. You can reset the bounding box by dragging the yellow square at the bottom of the box.
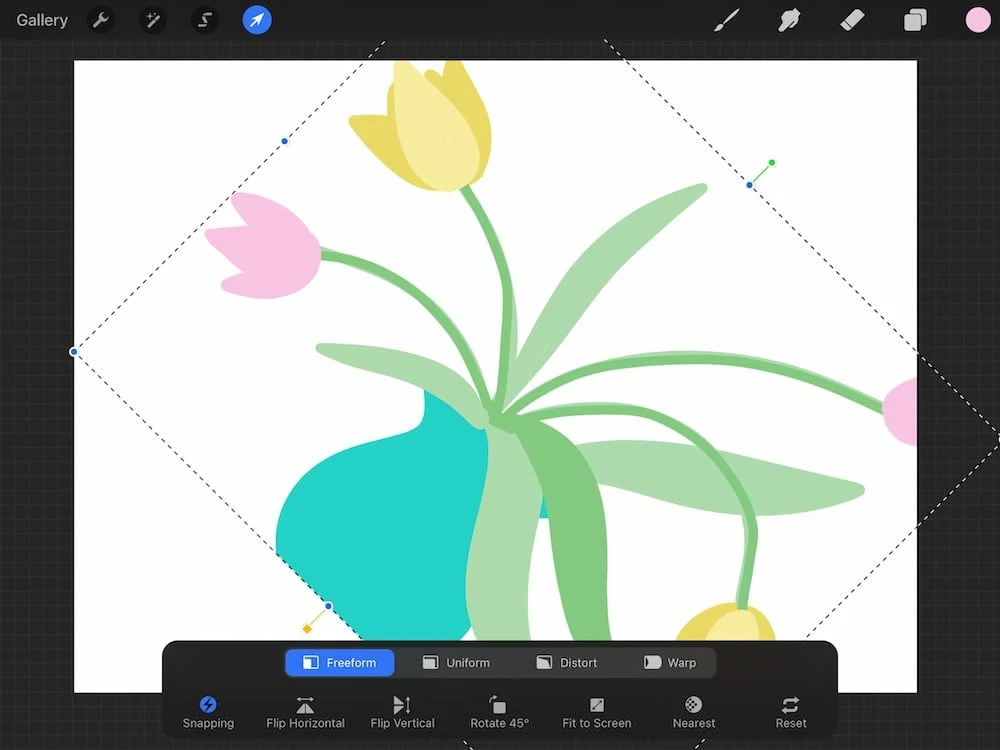
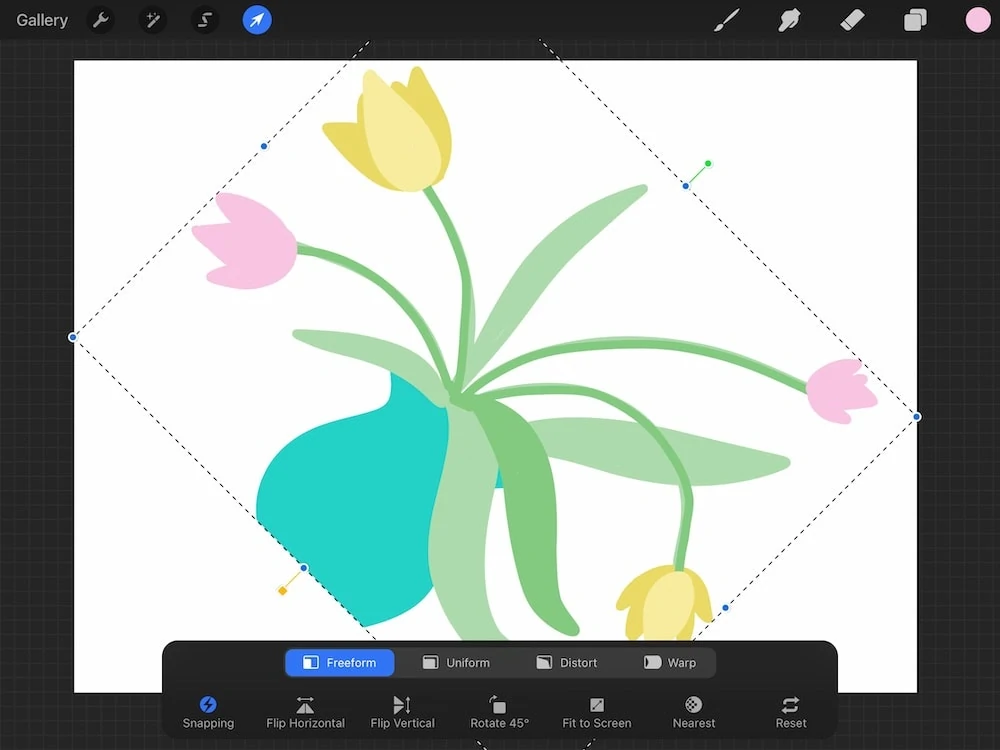
Rotation Nodes
The green circle at the top of the bounding box will allow you to rotate the selection.
Transformation Methods
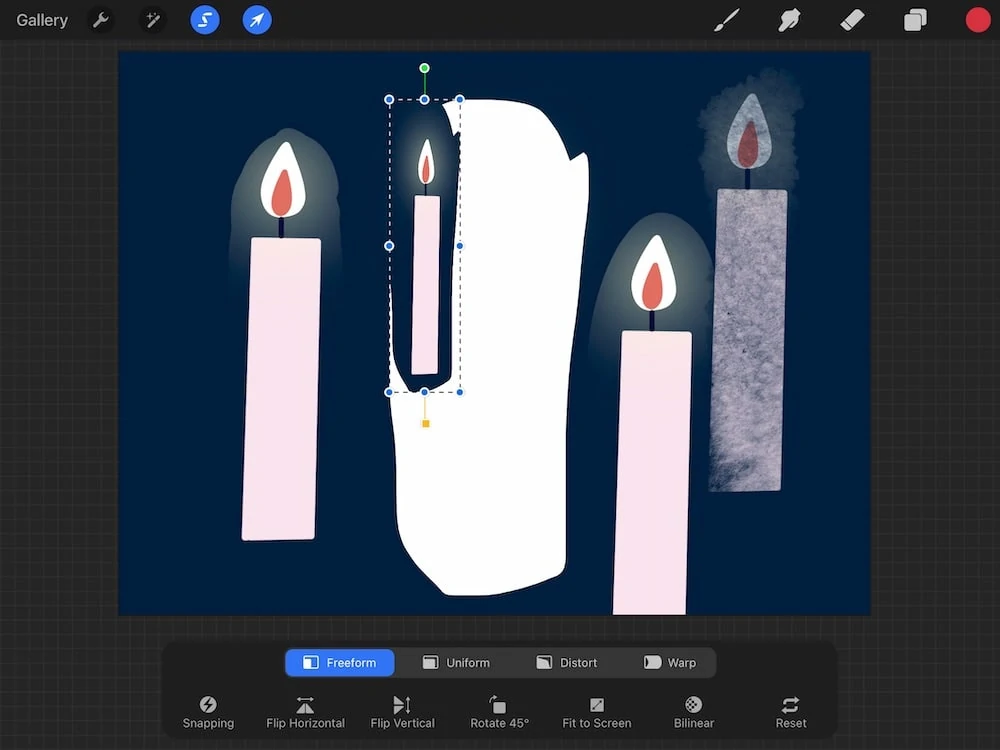
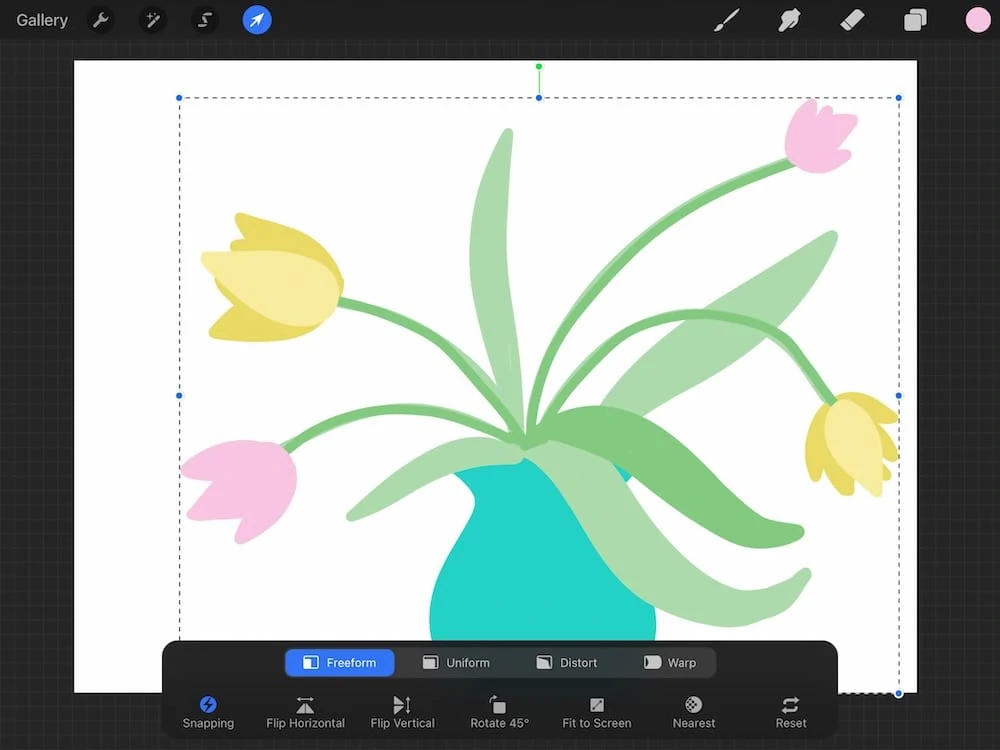
Freeform
This option allows you to change the width or the height of a selection independently of each other.
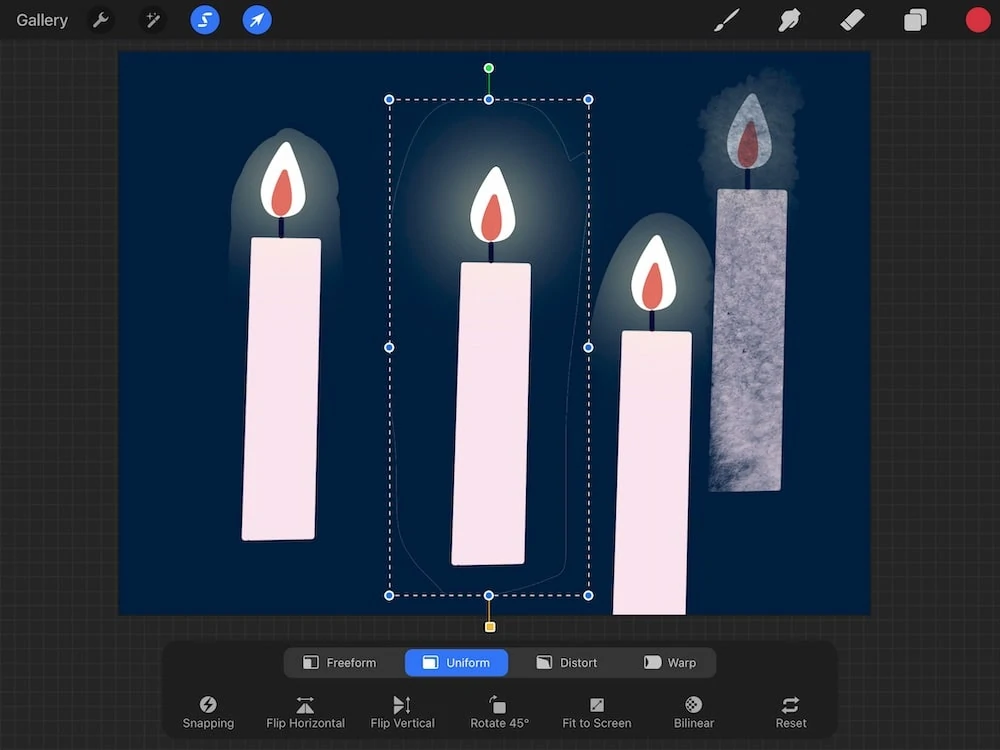
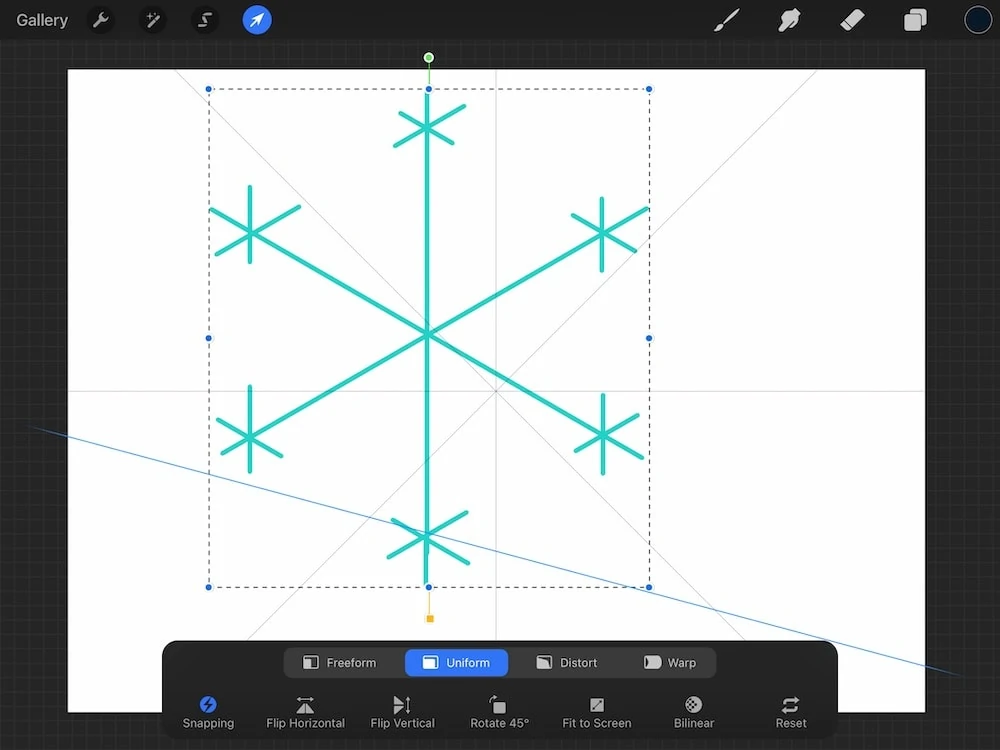
Uniform
This option changes both the width and height of a selection at the same time to avoid distortion.
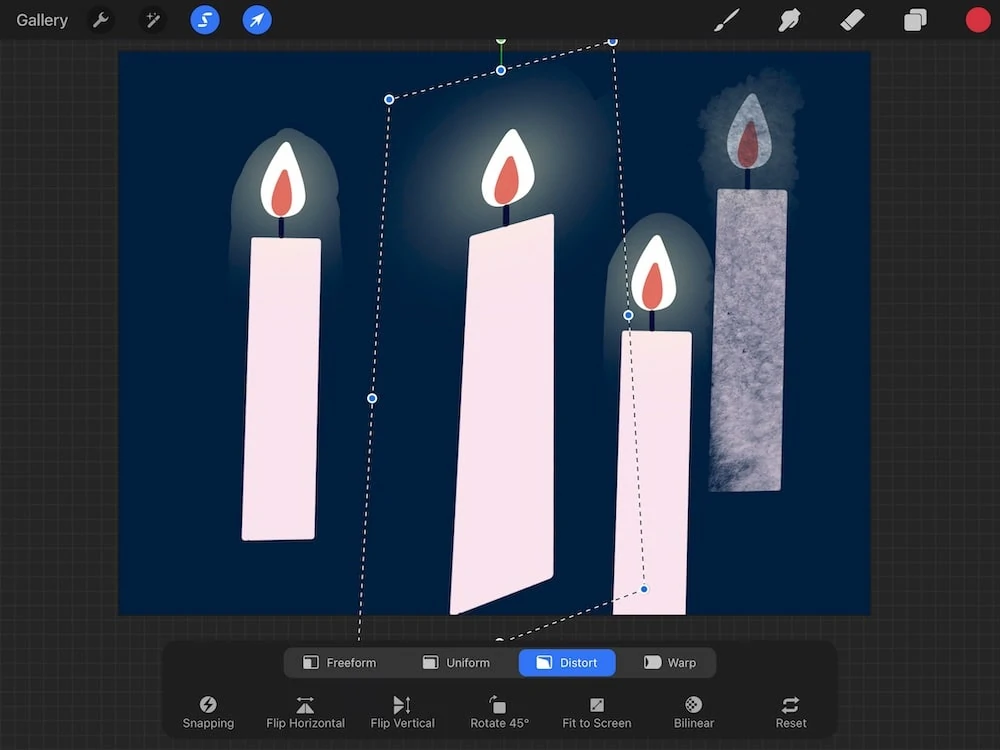
Distort
This option allows you to change the angles of items to create 3D effects. I often use this option to correct wonky lines.
Drag the blue nodes to transform areas of your selection.
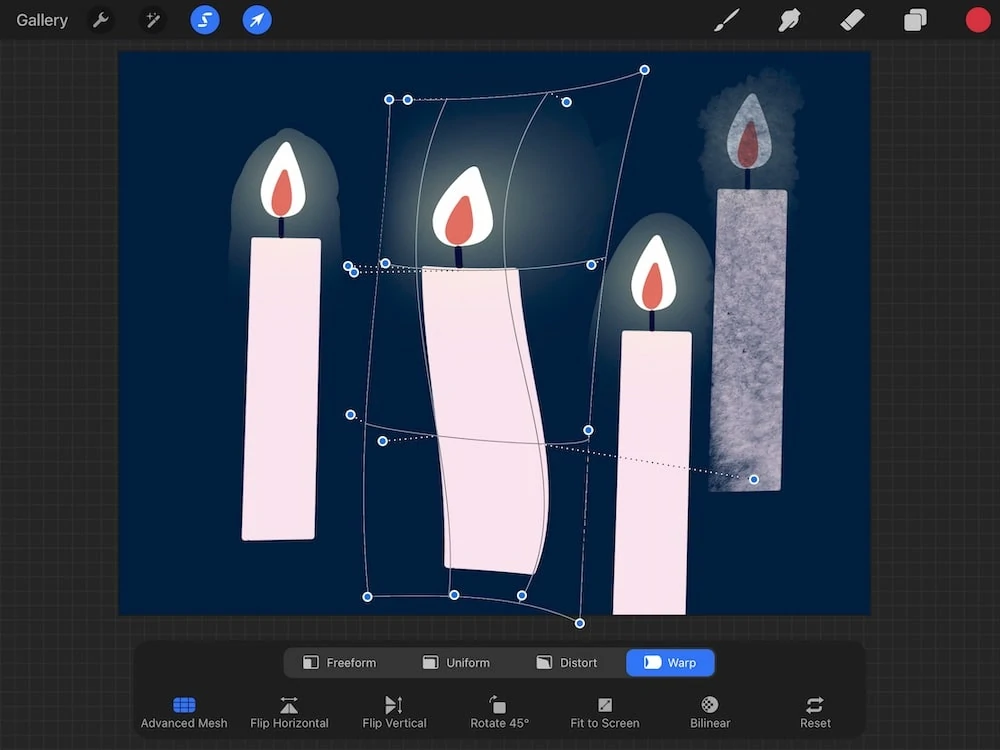
Warp
This option displays a grid over your art that can be dragged around to transform your art.
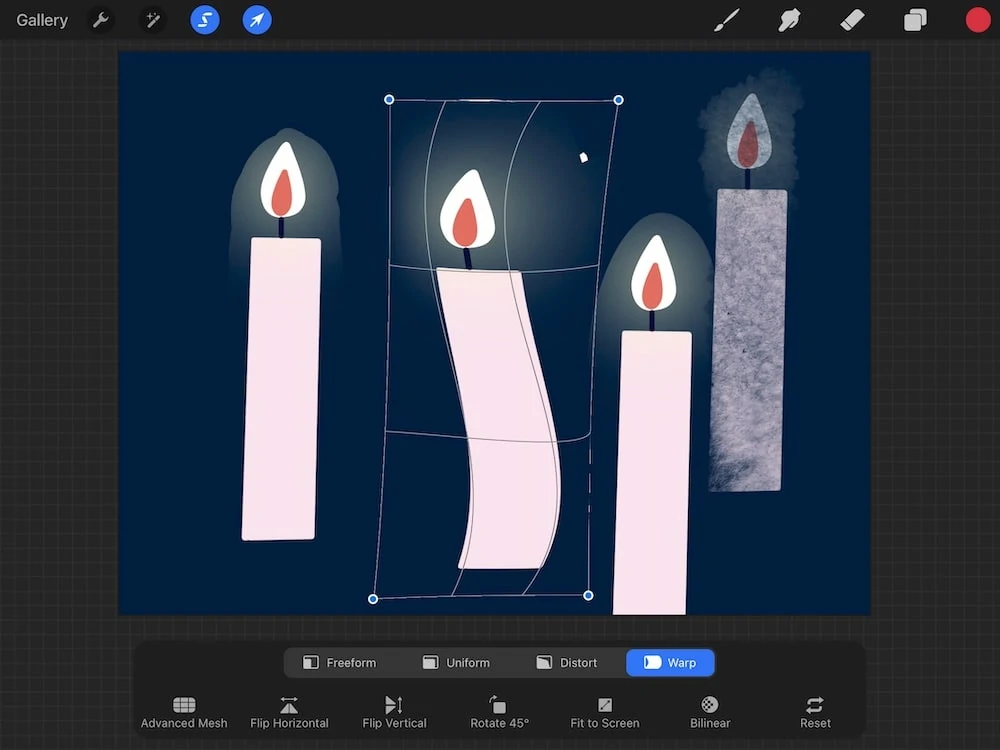
You also have the option to use the Advanced Mesh in the toolbar at the bottom. This option gives you more nodes to move around.
Options
Snapping
Snapping assists in alignment when moving objects, as well as when re-sizing objects.
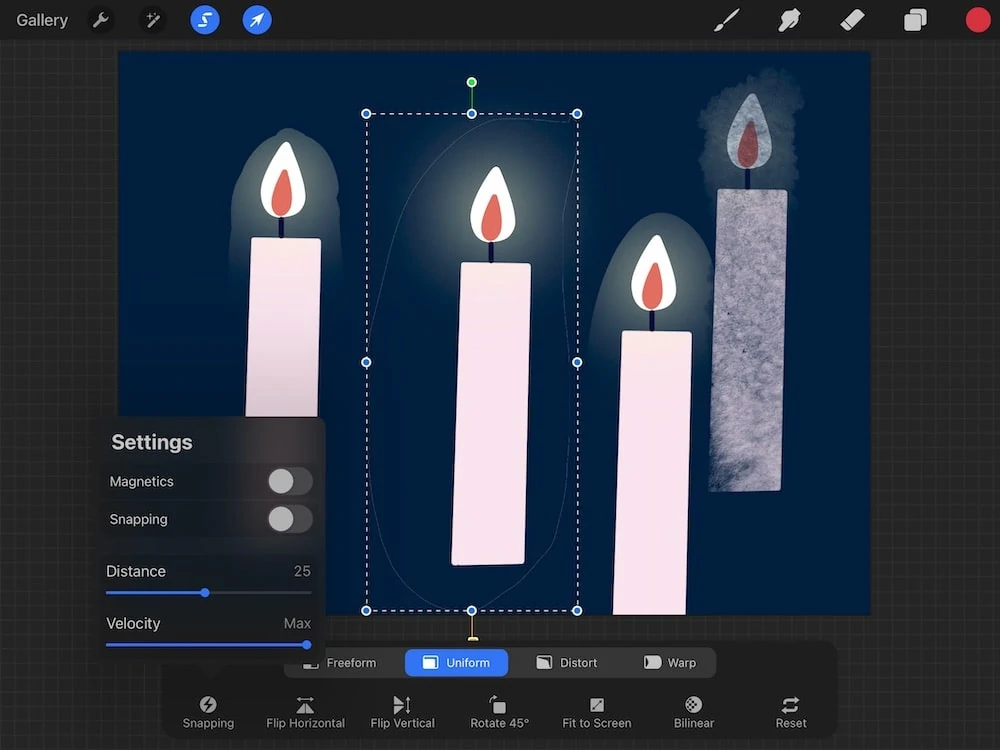
It can be helpful for centering items on the canvas.
This is a toggle that can be turned on or off. The screen will show blue lines when snapping is turned on.
Magnetics
Blue lines appear when using this option. These lines help you align the selected object to the blue lines.
Distance
Distance refers to how close your object needs to be to the guidelines before snapping into place.
Distance ranges from 1 to 50 pixels. A setting of 1 pixel means that your object has to be very close (1 pixel away) from the guideline before snapping to place.
A setting of 50 pixels will result in the object snapping into place when further away from the guidelines.
Velocity
Velocity refers to the speed the object is moving before it snaps to a guide line.
A setting of 0 will let you move the object around without snapping. A max setting will snap the object to the line unless you are moving it around very fast.
Flip Horizontal and Vertical
This option flips the selection horizontally or vertically.
Rotate 45º
This option rotates the selection in increments of 45º.
Fit to Screen
This option fits the selection to screen without changing the ratio. If magnetics is on, however, it can result in a cropped image.
Bilinear
This opens the interpolation options, which refers to altering the pixels during transformation to keep the image as clear as possible.
If you zoom in really close to a drawing, you can see that each edge of a line consists of many pixels. Interpolation deals with these pixels to get a smoother look when transforming them.
Nearest Neighbor
This simple option for interpolation uses the pixel along each side of the edge. Although this option is fast, it can result in a jagged look. Use it for simple transformations.
Bilinear
This option uses a 2×2 pixel grid along the edge, which results in a smoother look. It can take longer to process than nearest neighbor.
Bicubic
This option uses a the 16 pixels surrounding the edge, which results in the smoothest look. However, it can take even longer to process.
Reset
This resets the image.
You Might Also Like:
- Using Adjustments in Procreate
- How to Import Brushes in Procreate
- How to Install Color Palettes in Procreate
- Using Drawing Guides in Procreate
- Using Blend Modes in Procreate
- How to Animate with Procreate
- Adding Text to Procreate
Pin for Later!