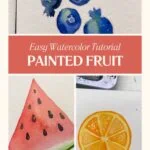
How to Paint Fruit with Watercolor Paint

I’m a self-taught artist who loves sharing tips and tutorials for painting with watercolor and gouache, and using the Procreate app on the iPad.
Learn how to paint fruit with watercolor paint. This easy tutorial includes a printable template so that you can learn to paint even if you can’t draw. It’s perfect for beginners who are new to painting.
Fruit is one of my favorite things to paint with watercolors. No matter the season, I love filling a sketchbook spread with colorful fruit illustrations. They’re just so happy looking, and they’re very easy to paint.

This post contains affiliate links. By purchasing an item through an affiliate link, I earn a small commission at no extra cost to you. As an Amazon Associate I earn from qualifying purchases.
Watercolor Fruit Tutorial
Here’s how I paint fruit with watercolors. I’ve tried to simplify the process and shapes so that everyone can do this tutorial.
Supplies Needed:
- Watercolor Paint
- Watercolor Paper
- Round Paintbrushes
- Mixing Palette
- White pen (or white gouache)
- ColErase Pencils (these pencils blend better with watercolor)
- Kneaded Erasers
Tips to Get Started
- Use more than one color to create depth. I’ve noted the colors I used in each tutorial.
- Utilize the wet-on-wet technique to add more color.
- Work light to dark, leaving white areas as needed. Shiny fruits will have more intense white highlights. Softer fruits will have more subtle highlights.
- As you paint, leave an area with less paint to create a subtle highlight. The edges of the fruit should be a bit darker. Use your brush to move the paint where you need it.
- You can use a brush to remove excess paint.
- Add highlights with a white pen (or white gouache).
- Paint age spots to create realism.
- Add shadows at the bottom of each fruit.
- Embrace the imperfections. Fruit isn’t perfect. Neither is watercolor. I love illustrations with a painterly feel rather than a realistic look.
Shadows and Highlights – A Quick Overview
Since we use a lot of highlights for painting fruit, it’s good to know where to add them.
Pick a spot for the light source. I don’t know why, but I like to pretend my light is coming from the top right corner.
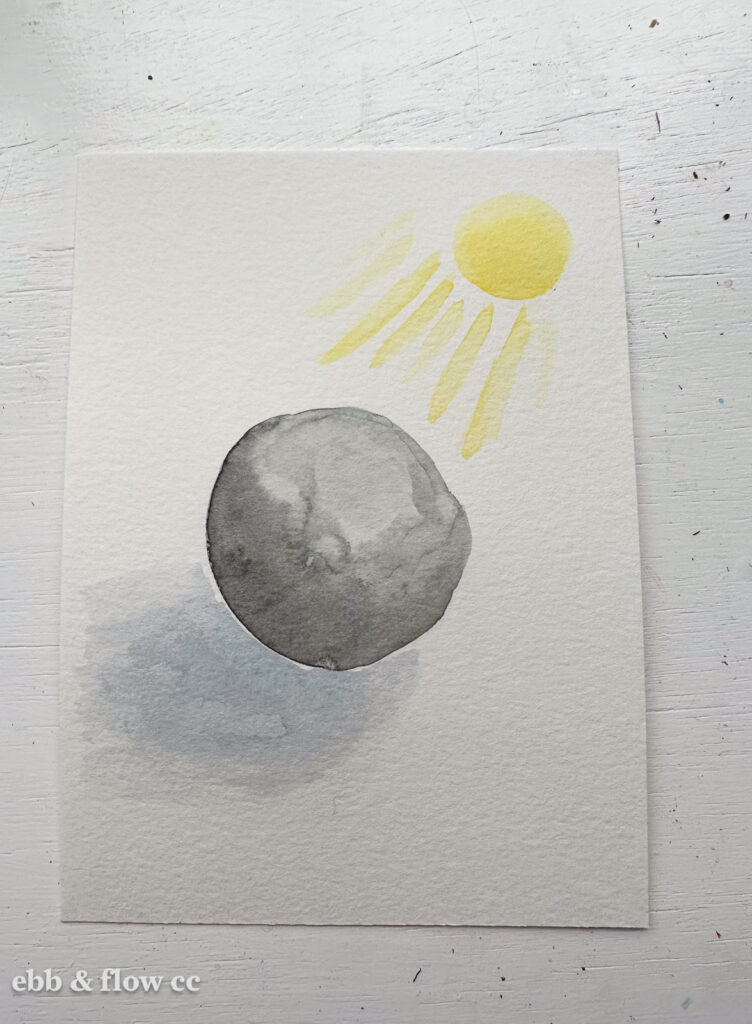
That area where the light shines is always a bit lighter.
Add shadows where the fruit blocks the light (the bottom left corner).
I love adding really subtle shadows with very diluted paint. You can dilute black paint or use purple or blue.
A few more things
I’m including a printable template (located at the bottom of the post) so that you can use this tutorial even if you don’t know how to draw. I’ll also include a description of the shape of each fruit.
Draw out your fruit shapes with a ColErase pencil. I like using red because it blends with most of the fruit colors. Regular pencils can smudge and make the paint muddy.
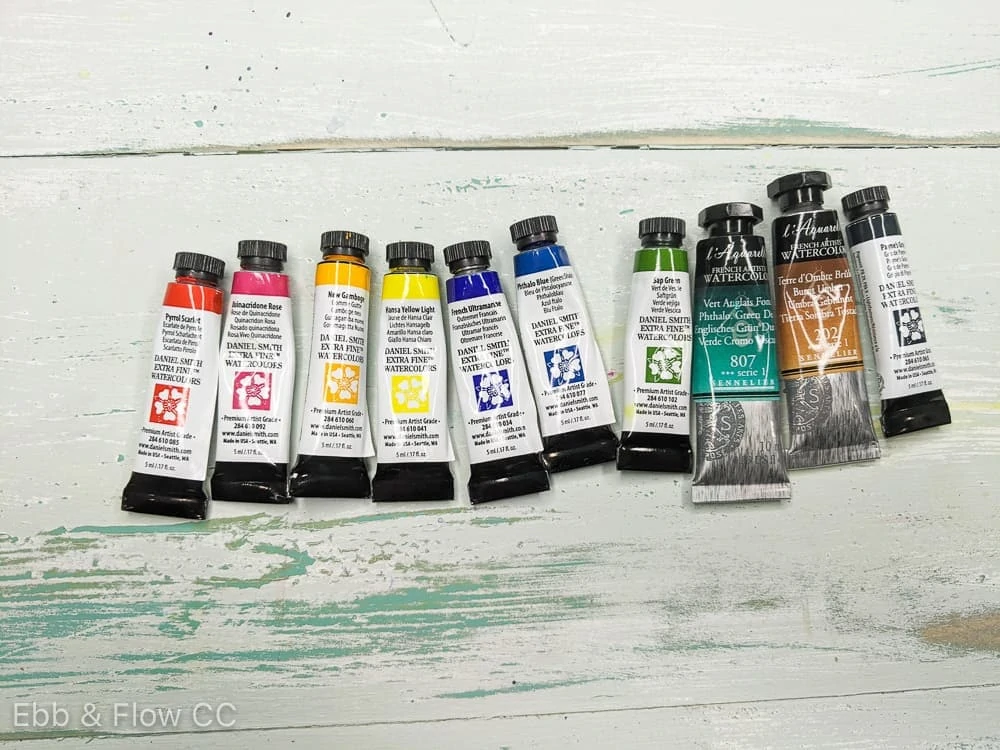
I used my Schminke watercolors, but you can use any paint you want. I’ve included color guides so that you can mix your own colors.
I also use this pastel red liquid watercolor.

It’s my favorite paint to use for creating a pale pink color. If you use liquid watercolor paint, keep in mind that it’s harder to lift. You can also use a warm red watercolor paint that is very diluted.
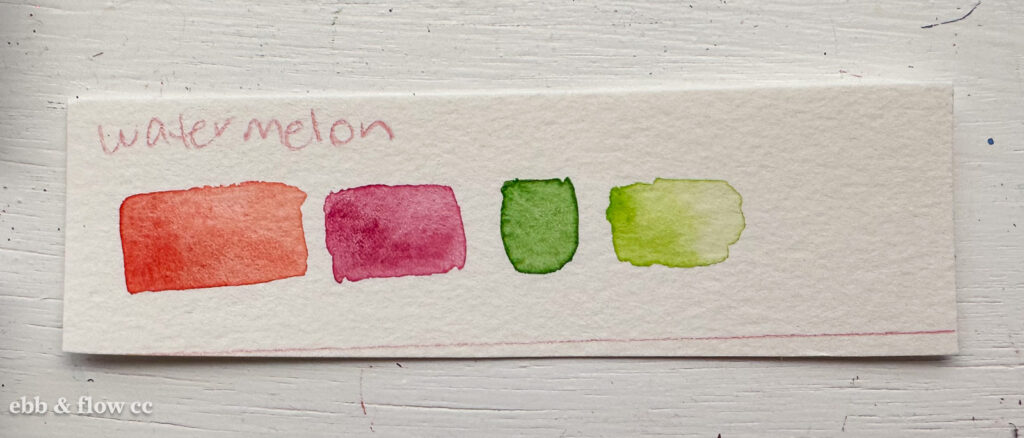
Watermelon
A slice of watermelon is shaped like a triangle with a rounded bottom. The edge is green, and it blends into the pink fruit.
I used pink and red to paint the watermelon. The pink is closer to the bottom, near the white rind. The top part is more of a dark pink or red color.
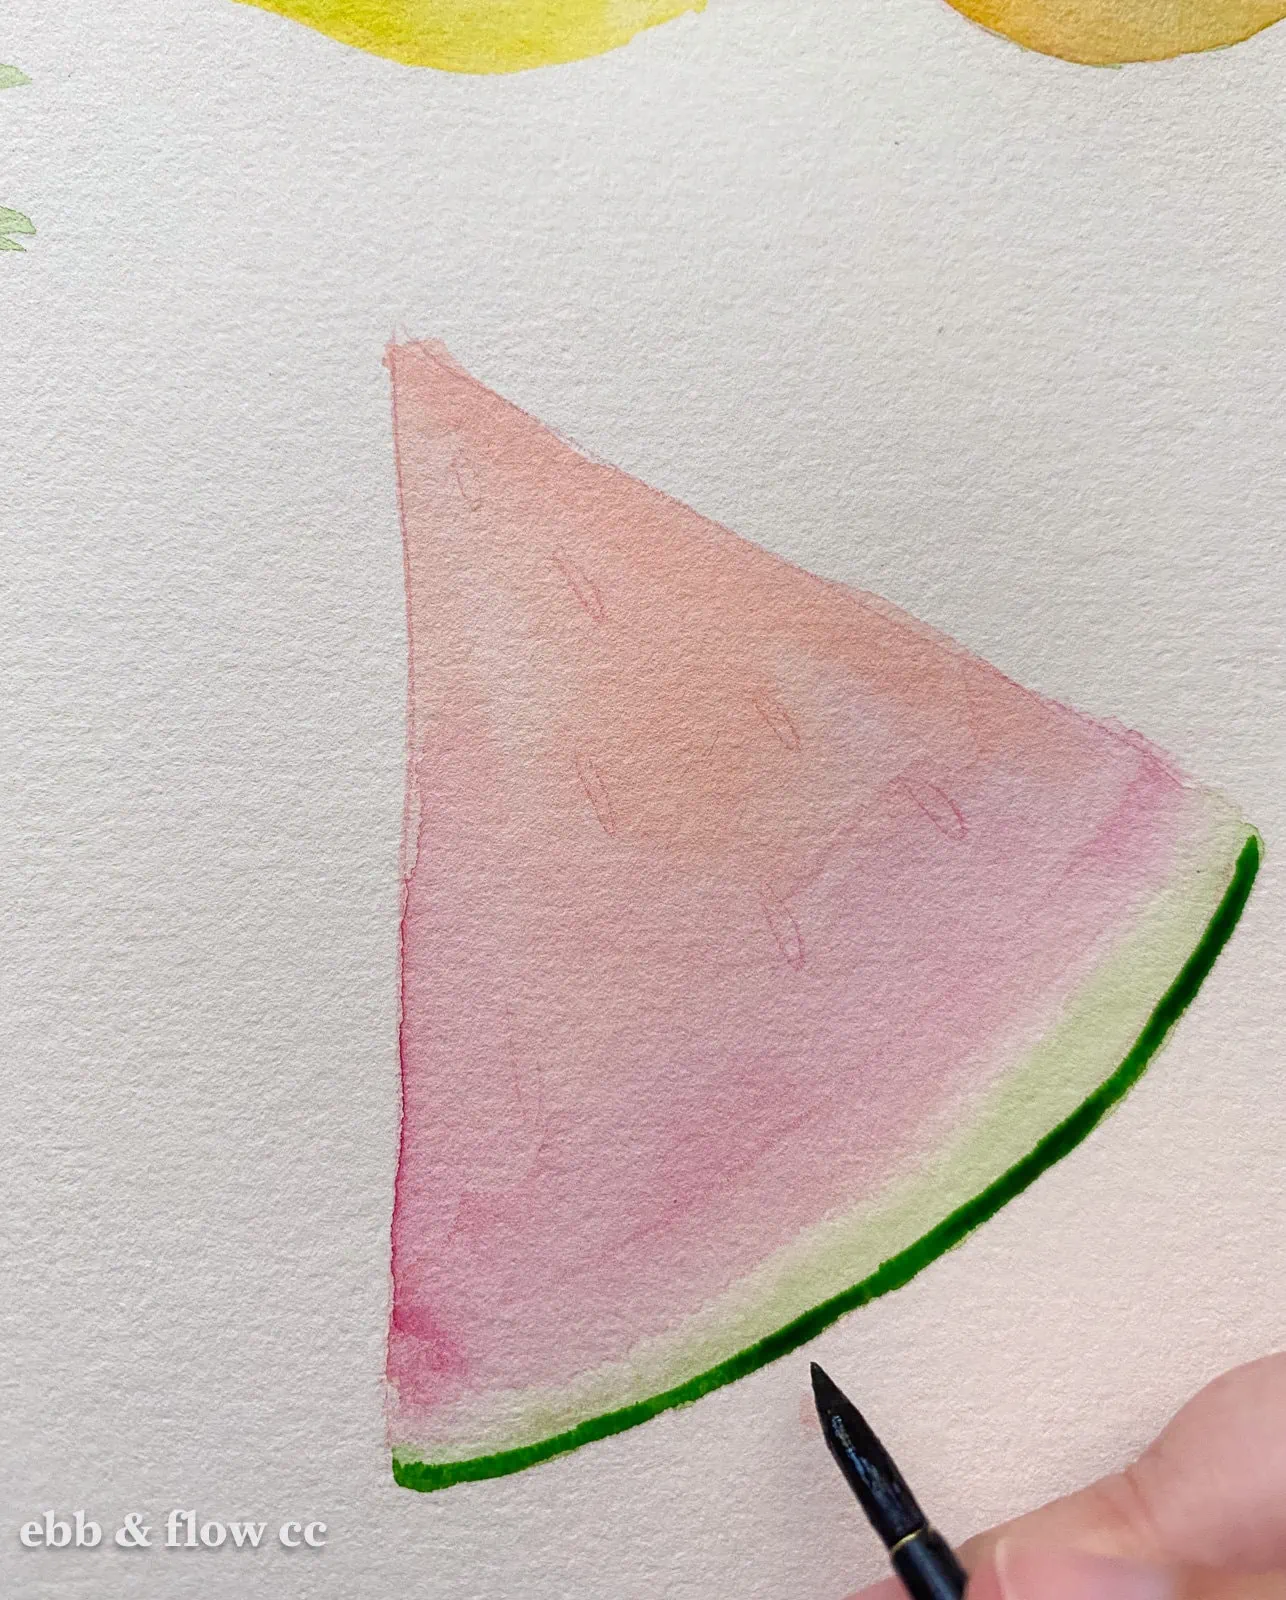
- Paint the top part of the watermelon slice in diluted cool red and warm red. Let the colors mix as you paint.

- Paint a thin green line along the bottom edge of the rind.

- Use water to blend it up to the pink part.
- Let it dry for a few minutes.
- Add a thinner line of dark green to the bottom.

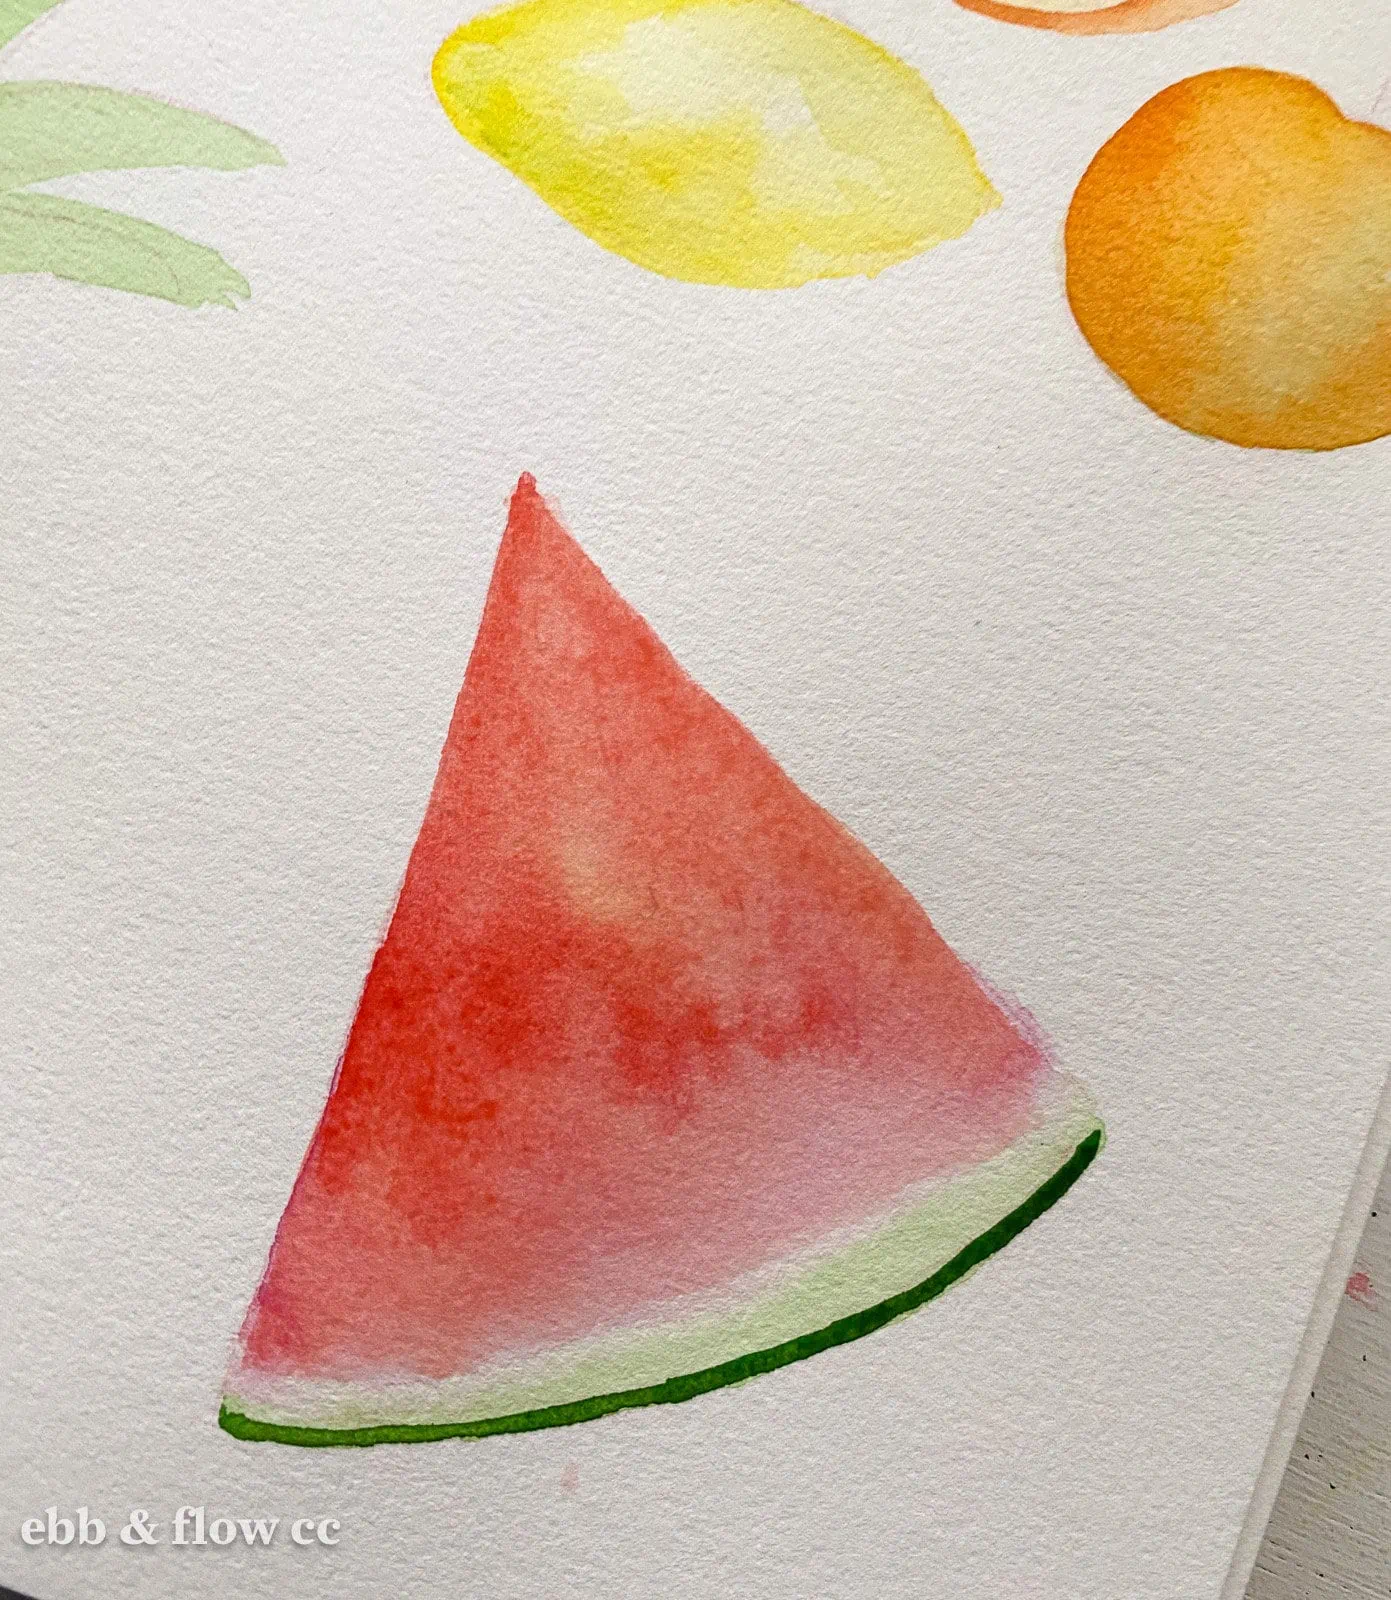
- Paint another coat of diluted warm red over the top part. Drop in less diluted paint into the wet mix and let it blend. This gives it a more realistic texture and color.

- Let the paint dry completely.
- Add seeds with black paint.

- After the paint dries, add highlights to the seeds with a white gel pen.


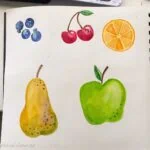
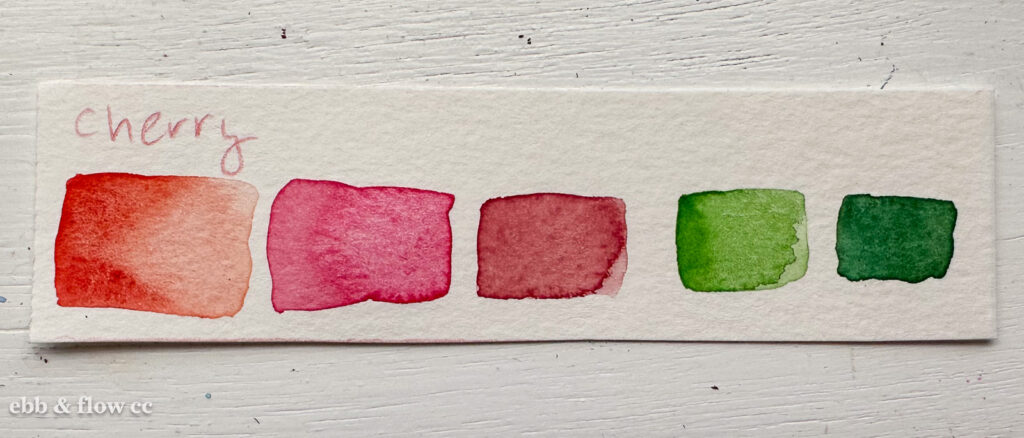
Cherries
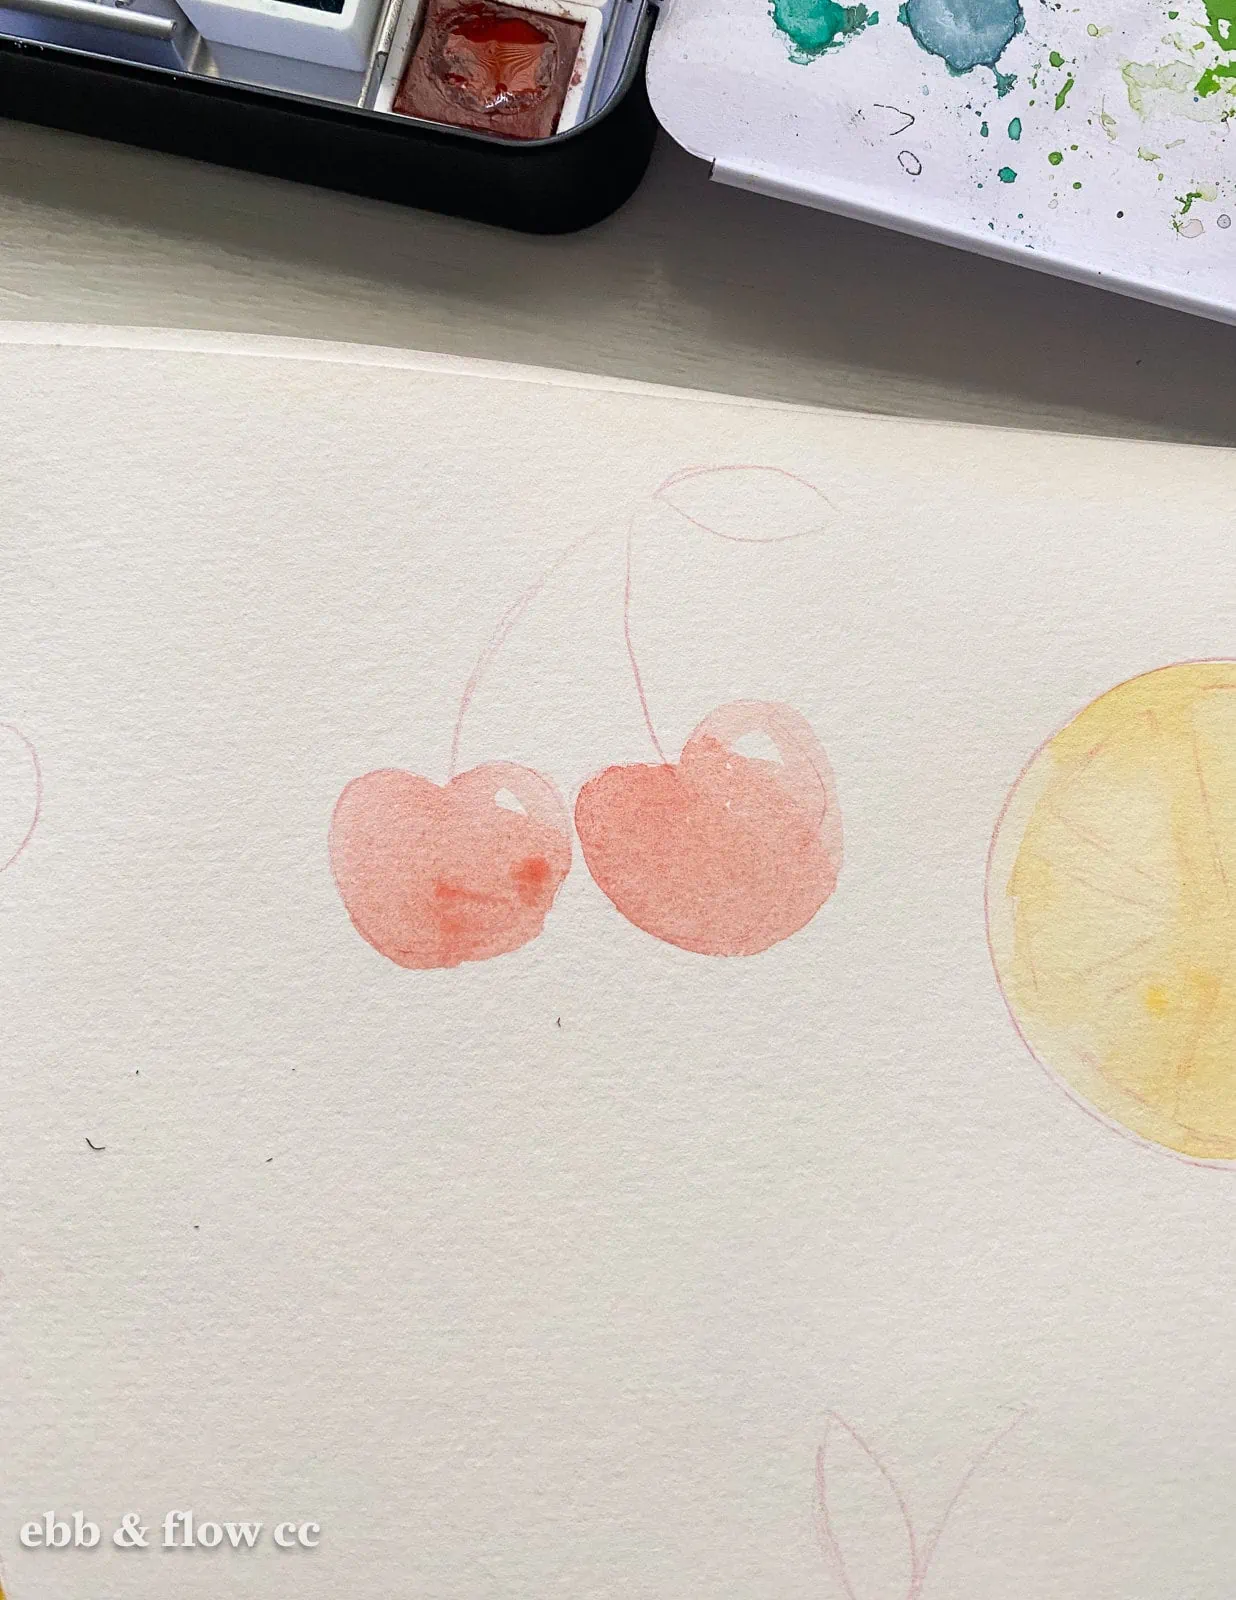
Cherries have a soft, rounded heart shape. The stems are usually curved.
Cherries are painted with pink, red, and dark red. If you don’t have dark red, you can mix red with brown to create the right color.
- Paint a layer with light red for the cherry shape. Leave a spot for the highlight.
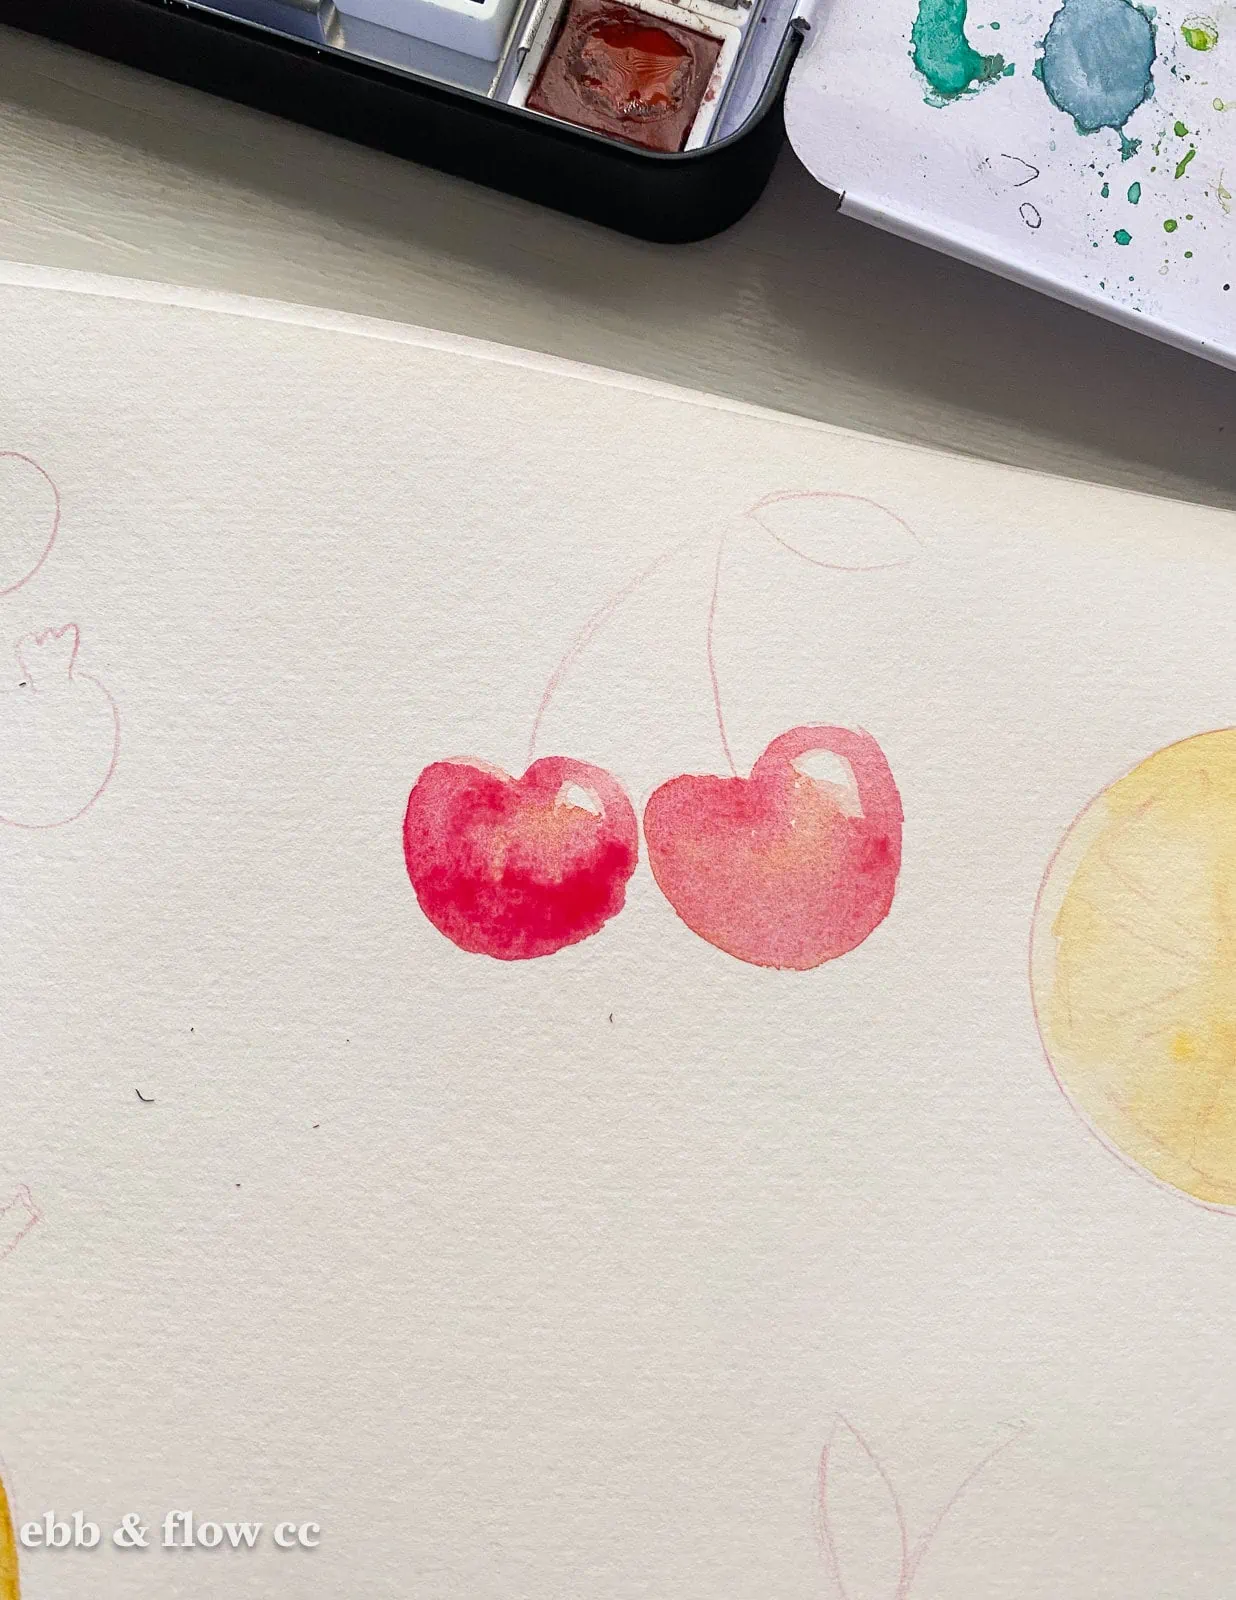
- Add another layer of cool red over the first layer of paint. Let some of the first layer peek through.
- Add dark red to the edges of the cherry.

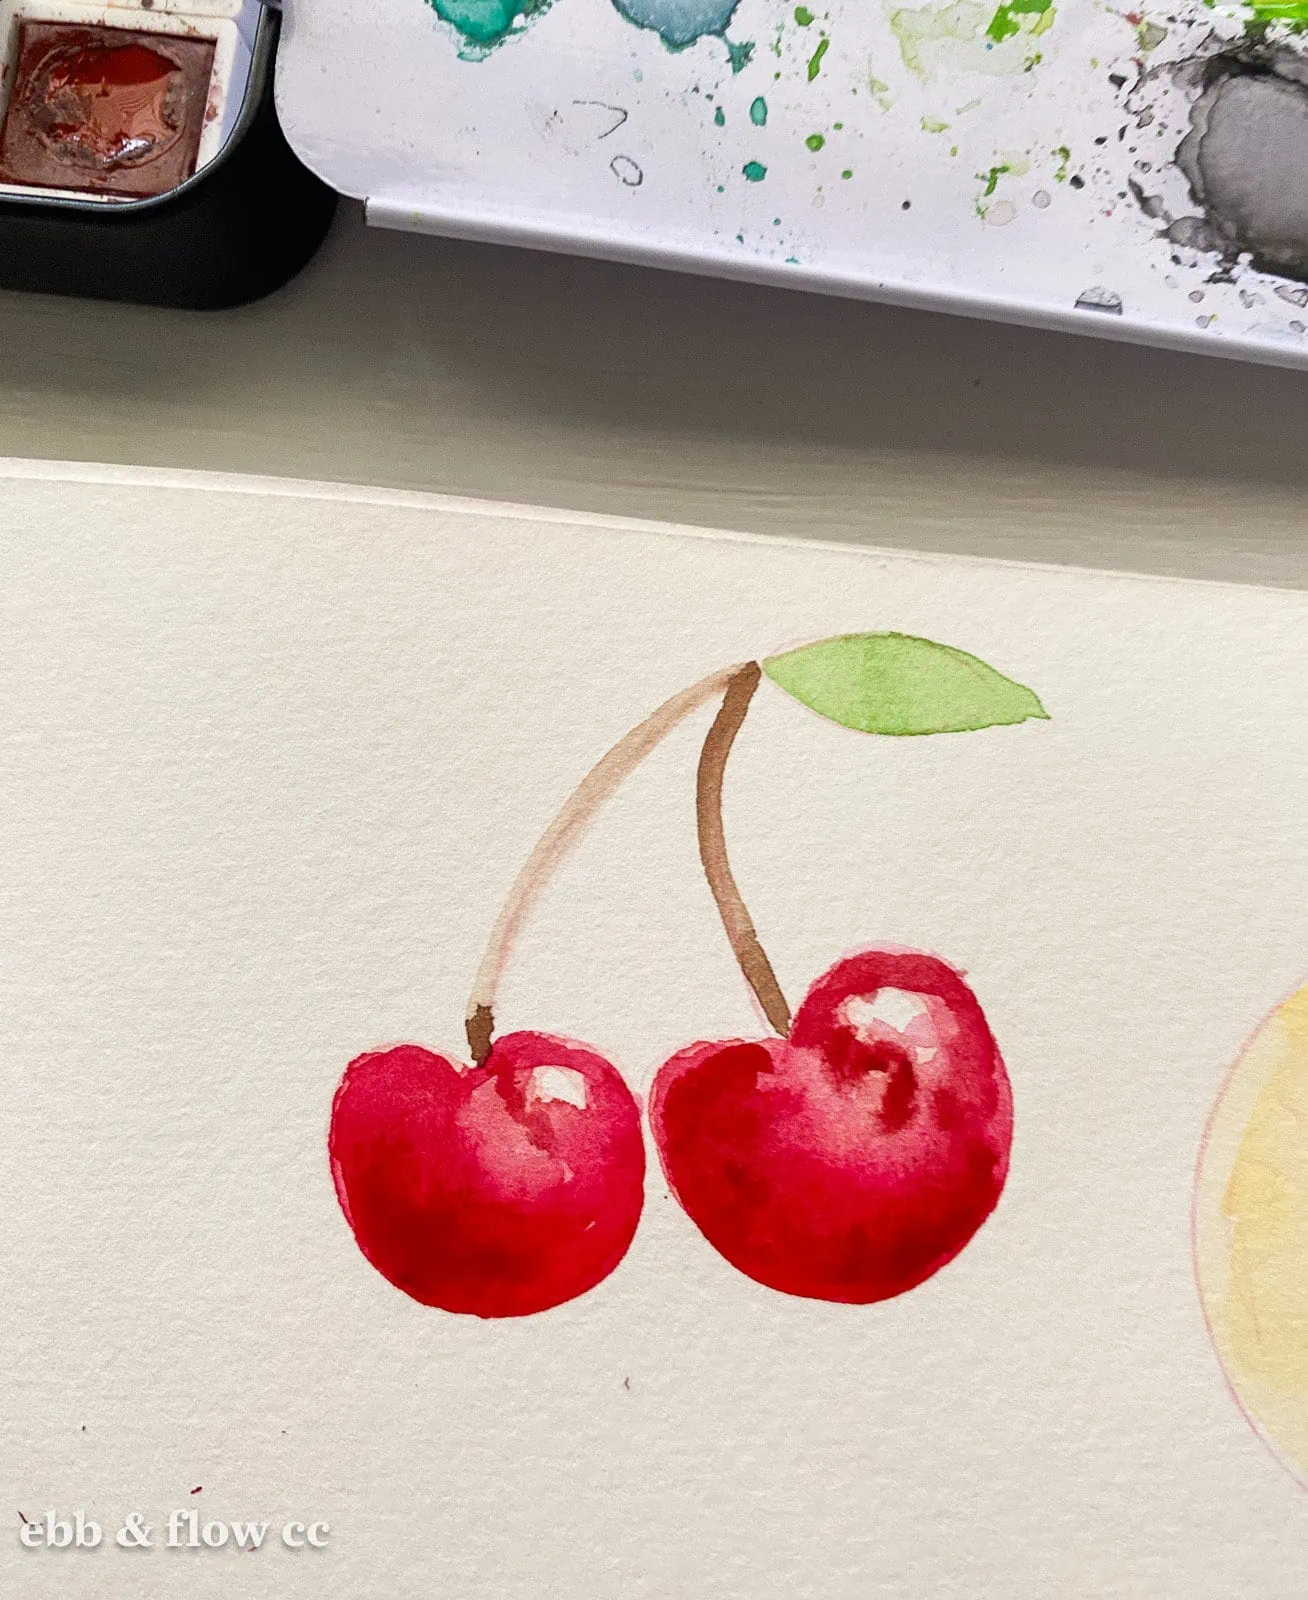
- Paint the stem brown and the leaf a light green color.
- Add a layer of dark green to the leaf.
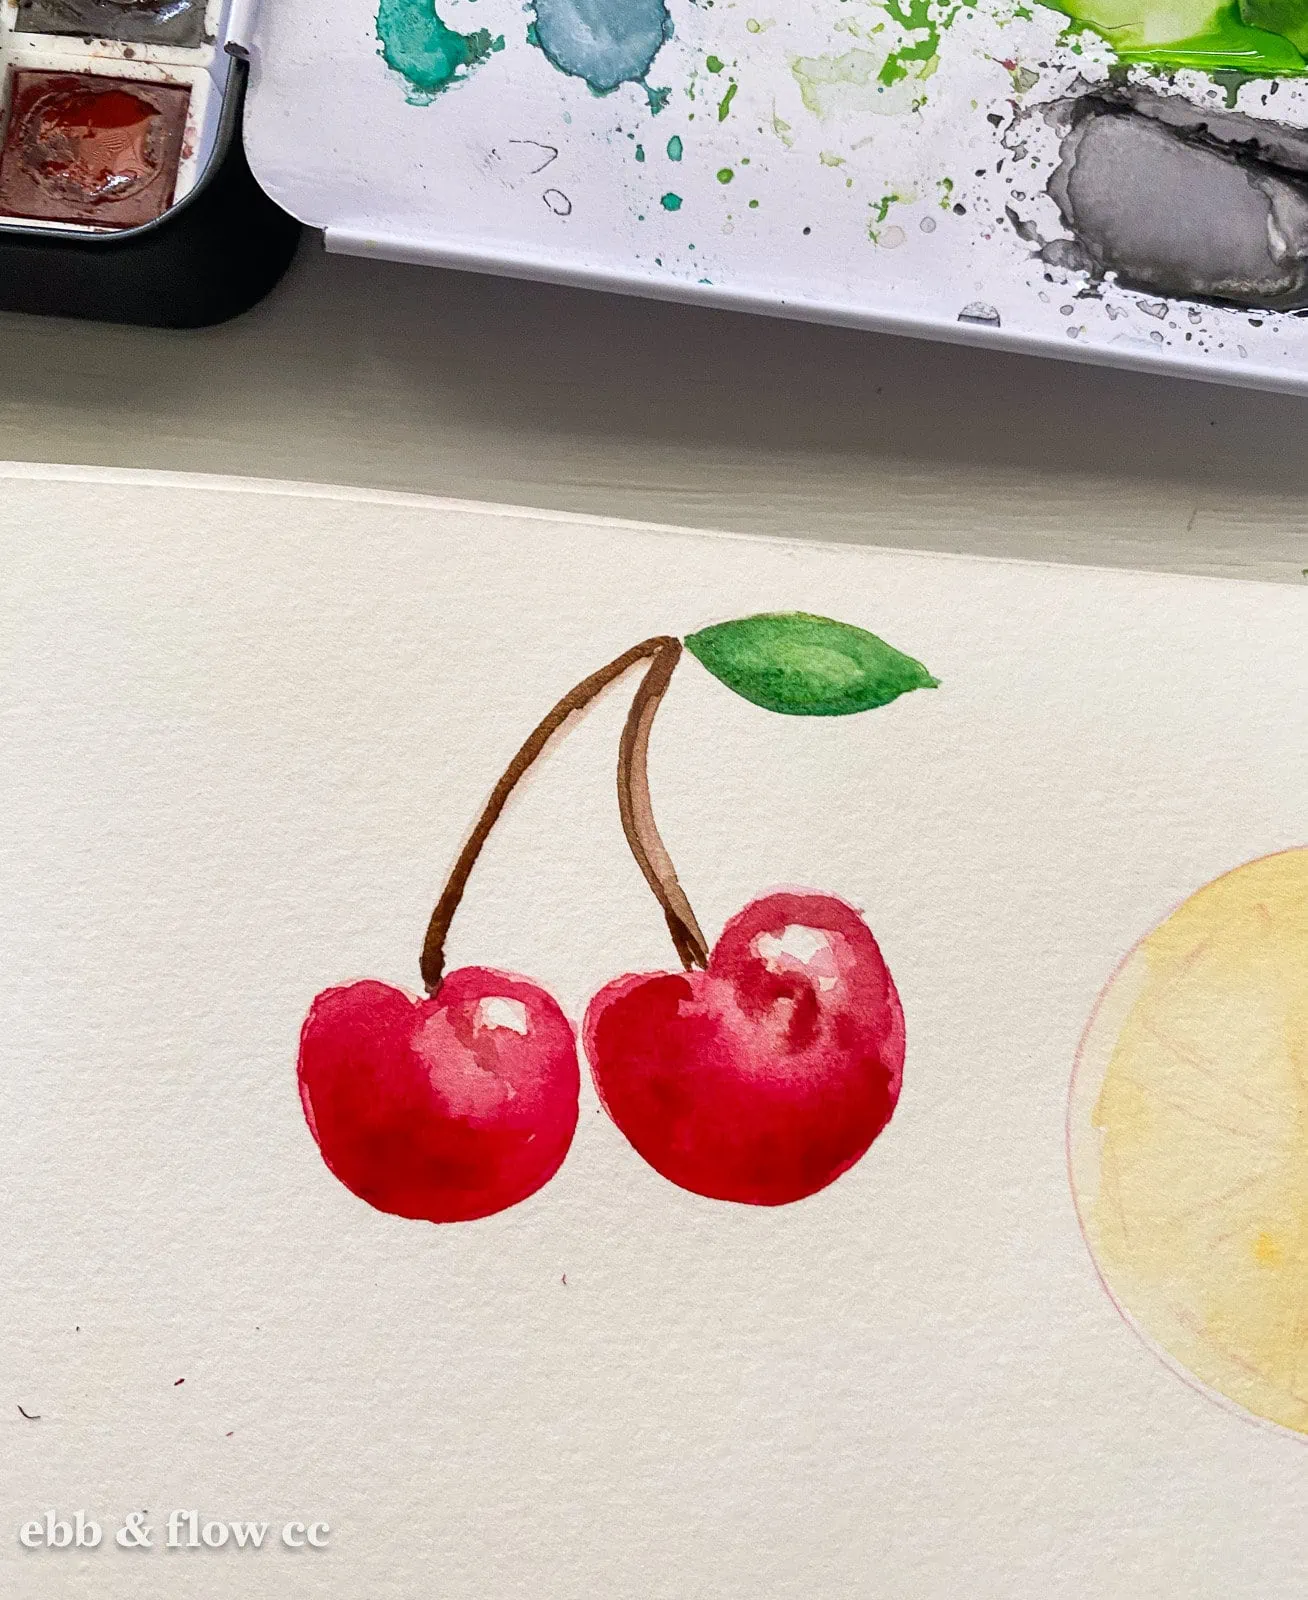
- Paint a thin line of brown paint along one side of the stem.
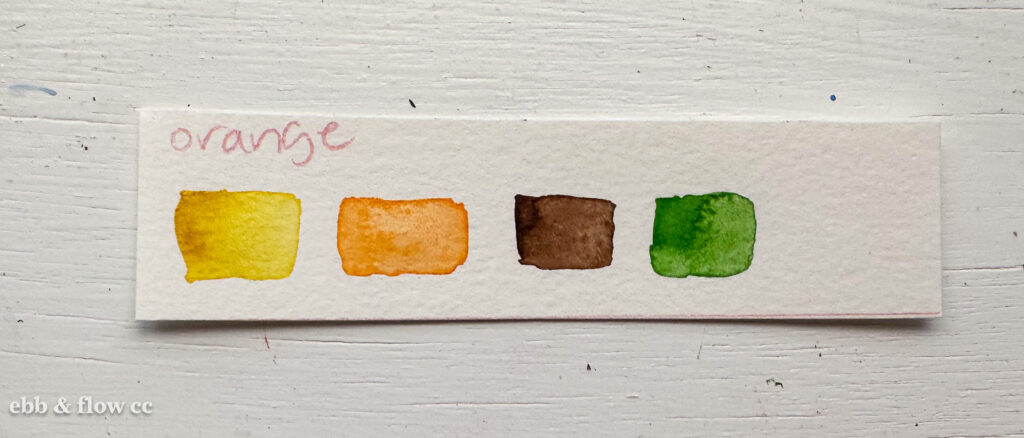
Oranges
Oranges have a soft, rounded shape.
Paint oranges with orange and yellow paint.
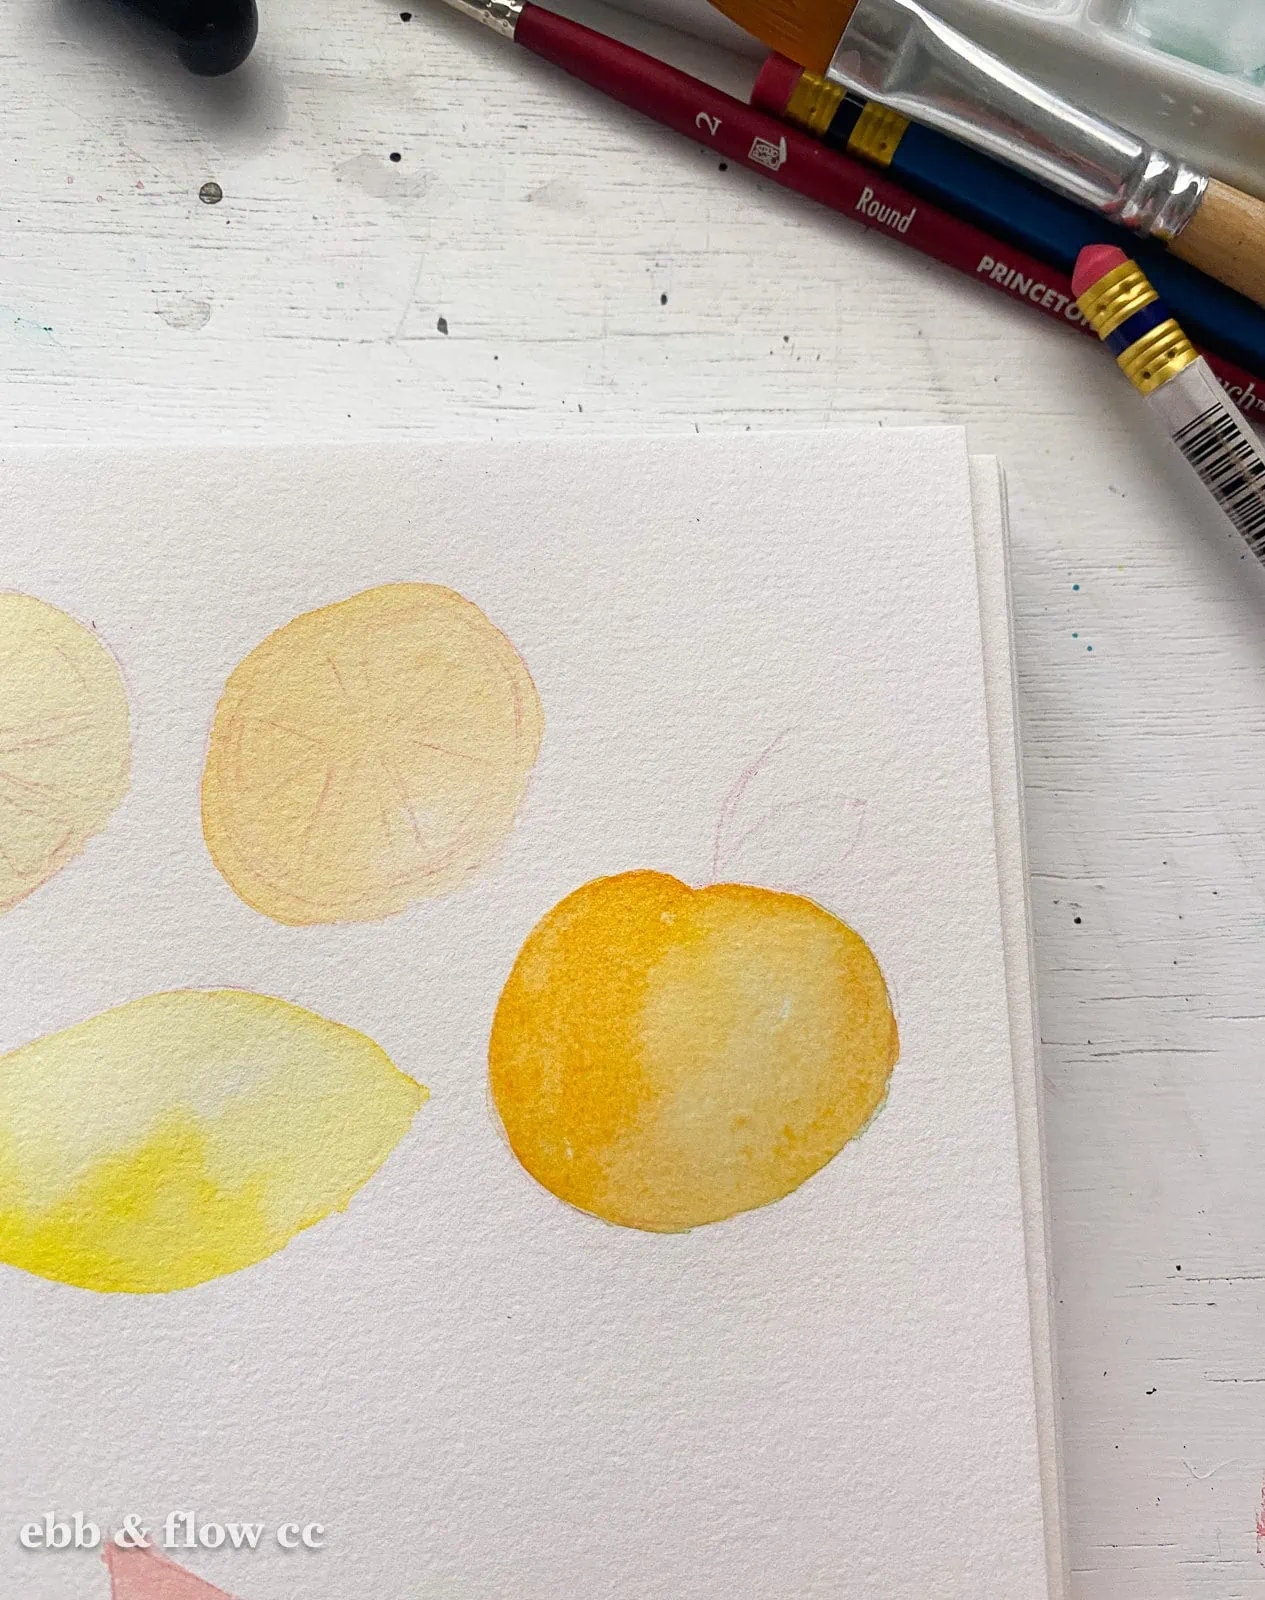
- To paint a whole orange, fill a round shape with orange paint.

- Add a bit of yellow to the highlight area.
- Paint the leaf green.
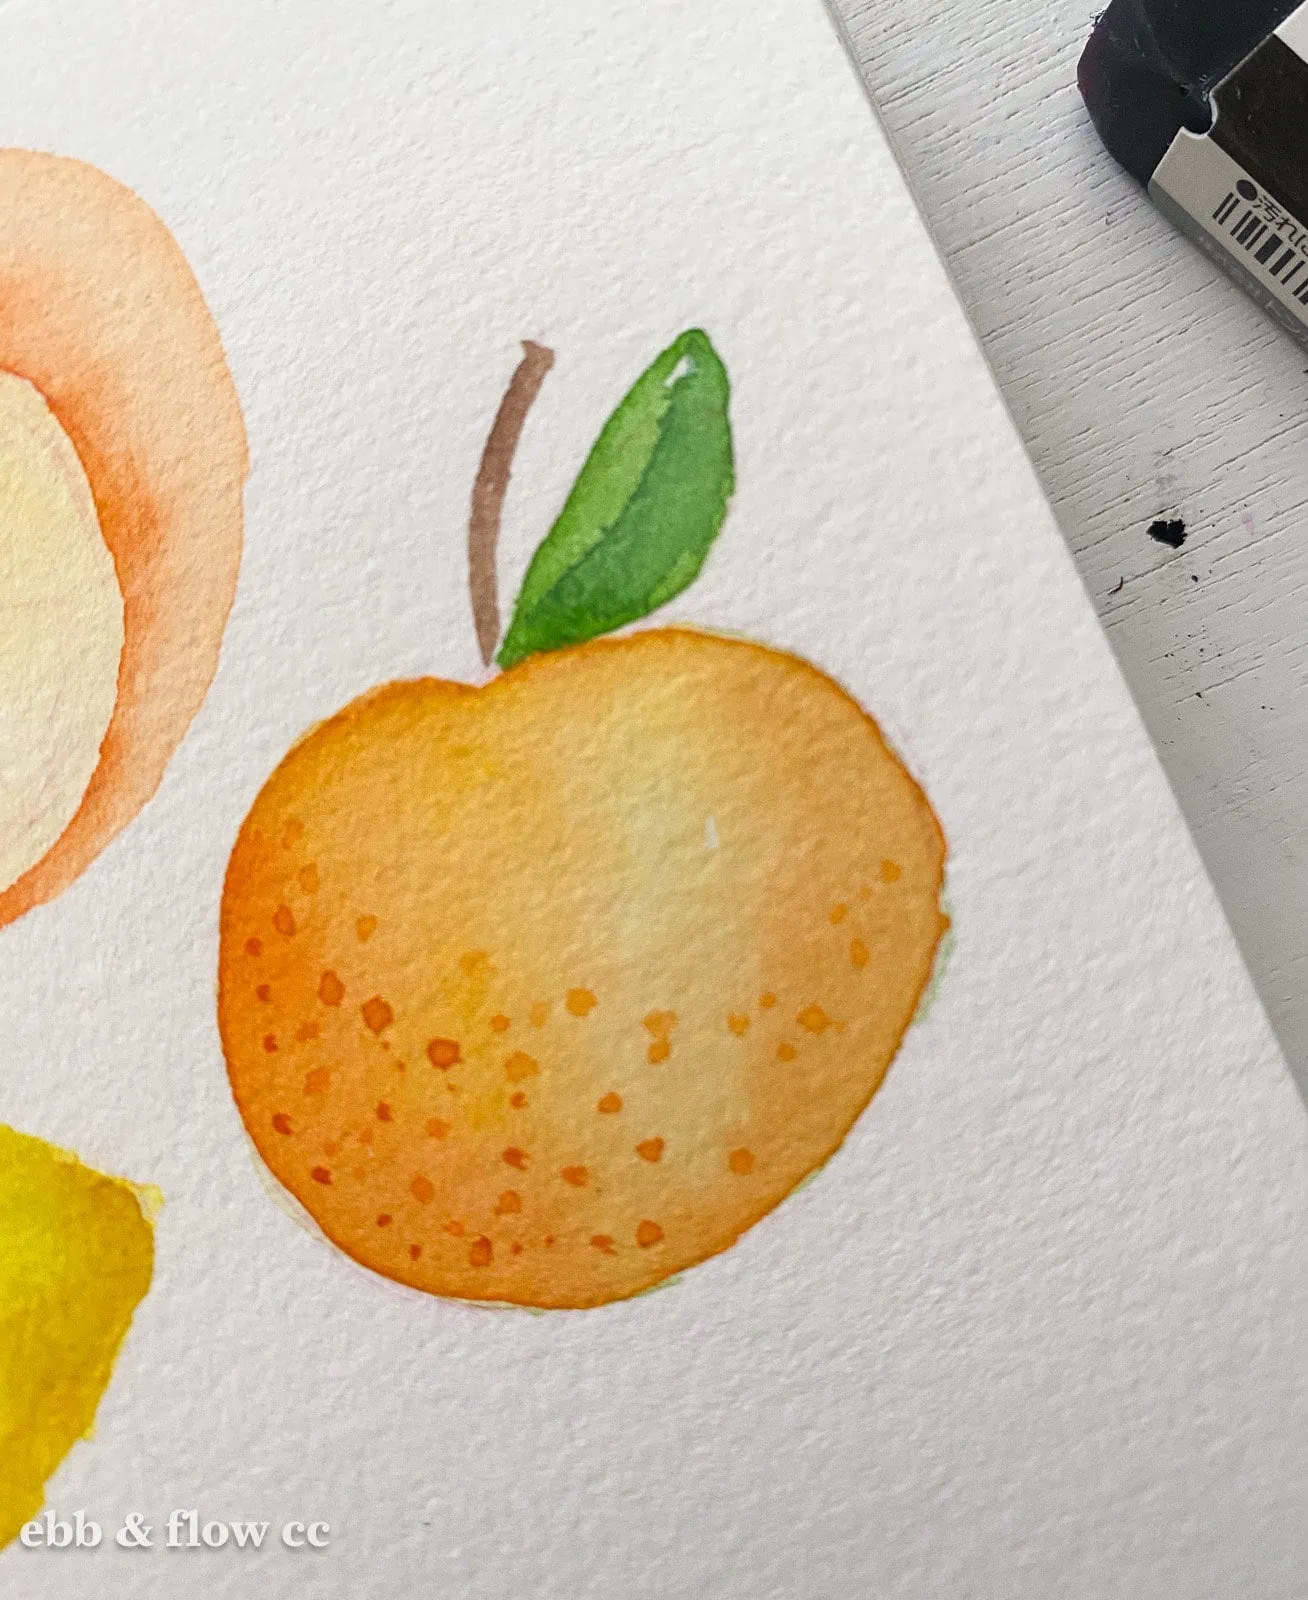
- Add another layer of orange around the outsides of the orange.
- Let the paint dry.
- Add orange spots to the orange to add texture.
- Paint half of the leaf green to create a vein.
- Paint the stem brown.
- Let the paint dry and add white spots to the surface of the orange.


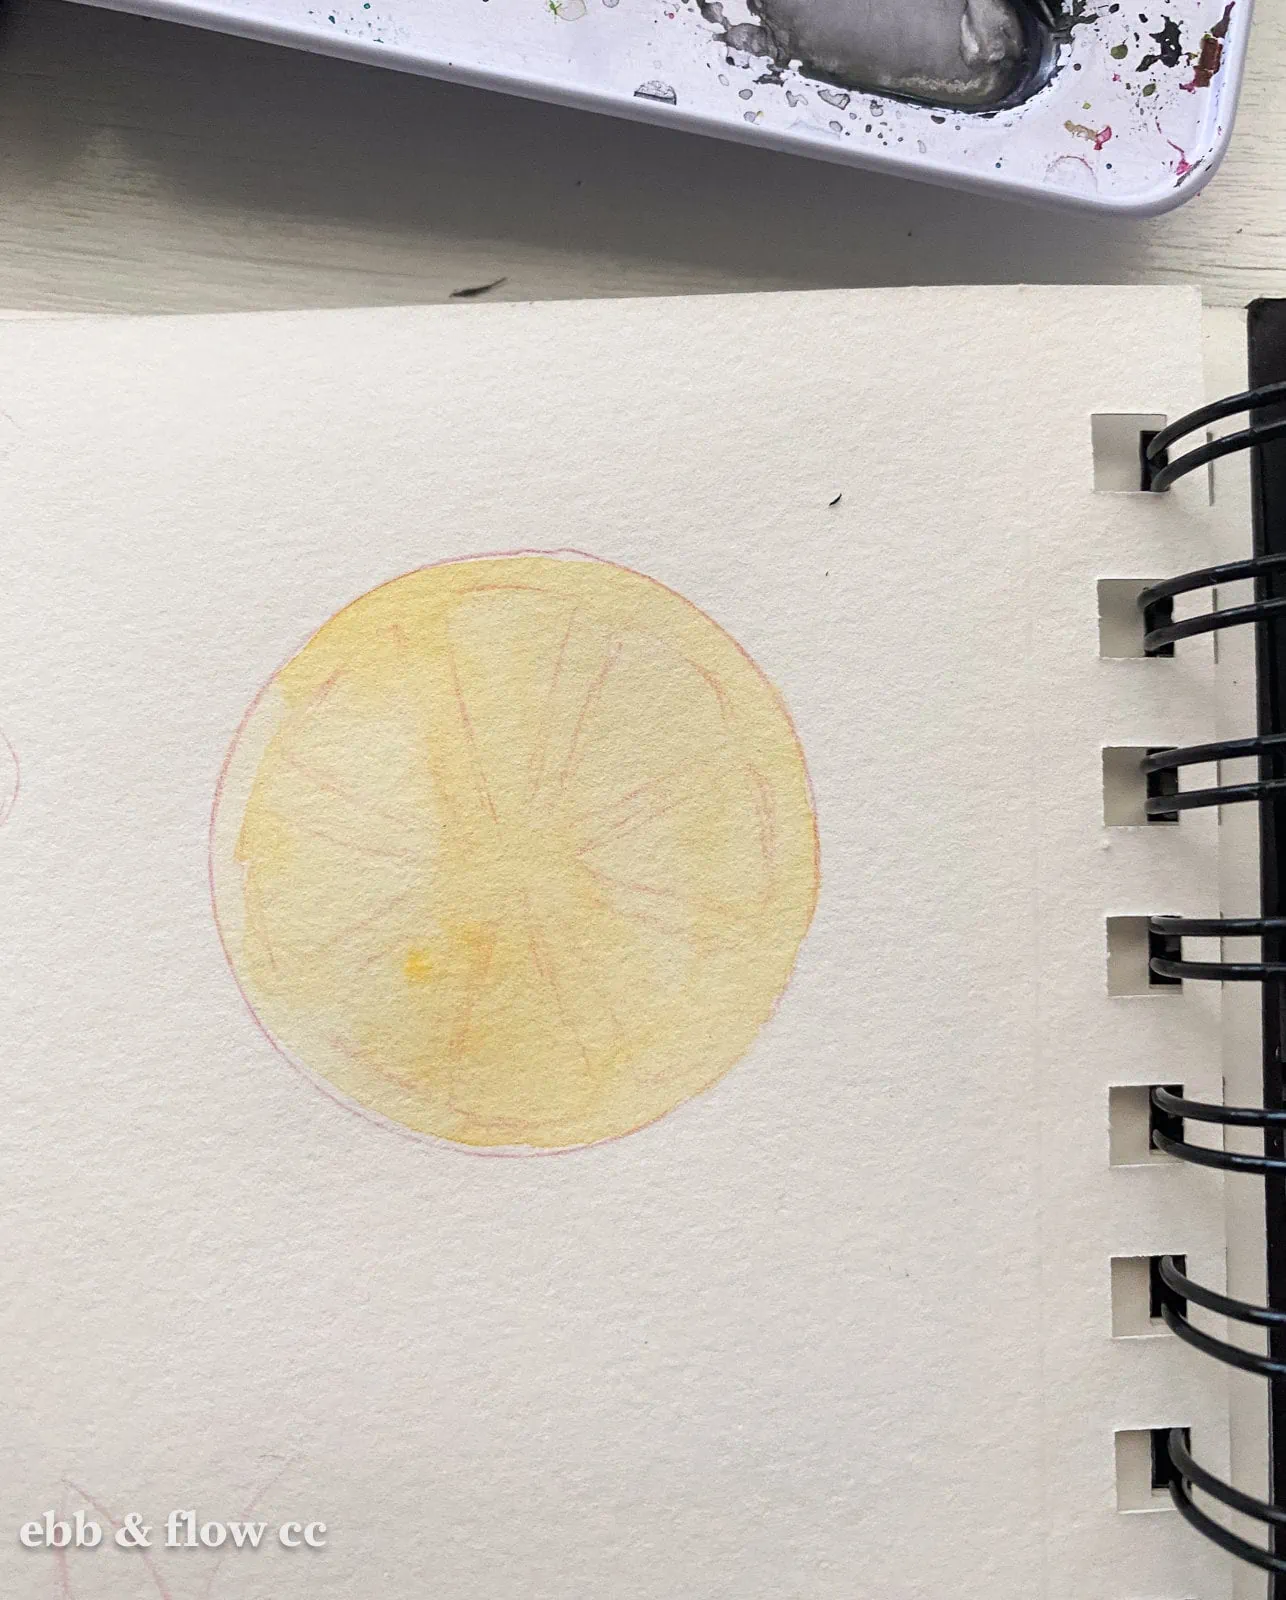
Slices can be created in the same way as directed below for lemons and limes (as explained below). The background color will be yellow. Paint the segments with orange in a stripy motion to add texture.

By the way, oranges generally have 8-10 segments.
Lemons and Limes
Lemons and limes are about the same shape, an oval with soft, pointy ends. Limes are normally a bit smaller.
Lemons are painted yellow, but I like to add a bit of warm green. Limes are painted warm green, but I like to add a bit of yellow.

- A whole lemon or lime is painted similarly to the orange, with a solid color that is darker around the edges. Add dots for texture. You can add leaves if you want.
- To paint a lemon slice, paint the entire shape with a light color (light yellow works for lemons, limes, and oranges.)
- Paint a thin layer around the edge of the slice.
- Fill the segments with a layer of paint in the appropriate color. (Don’t go too dark.)
- Let the paint dry.
- Add a stripey texture to each segment.
- Let the paint dry.
- Add white highlights with a white pen.


Lemons and limes generally have 8-9 segments.
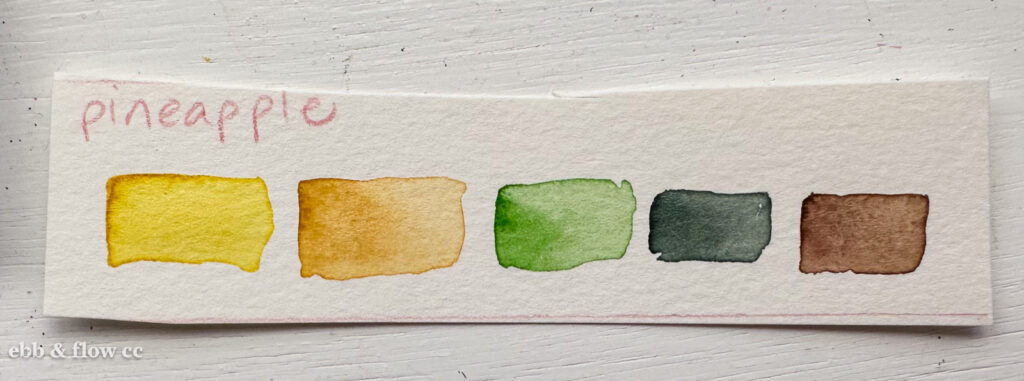
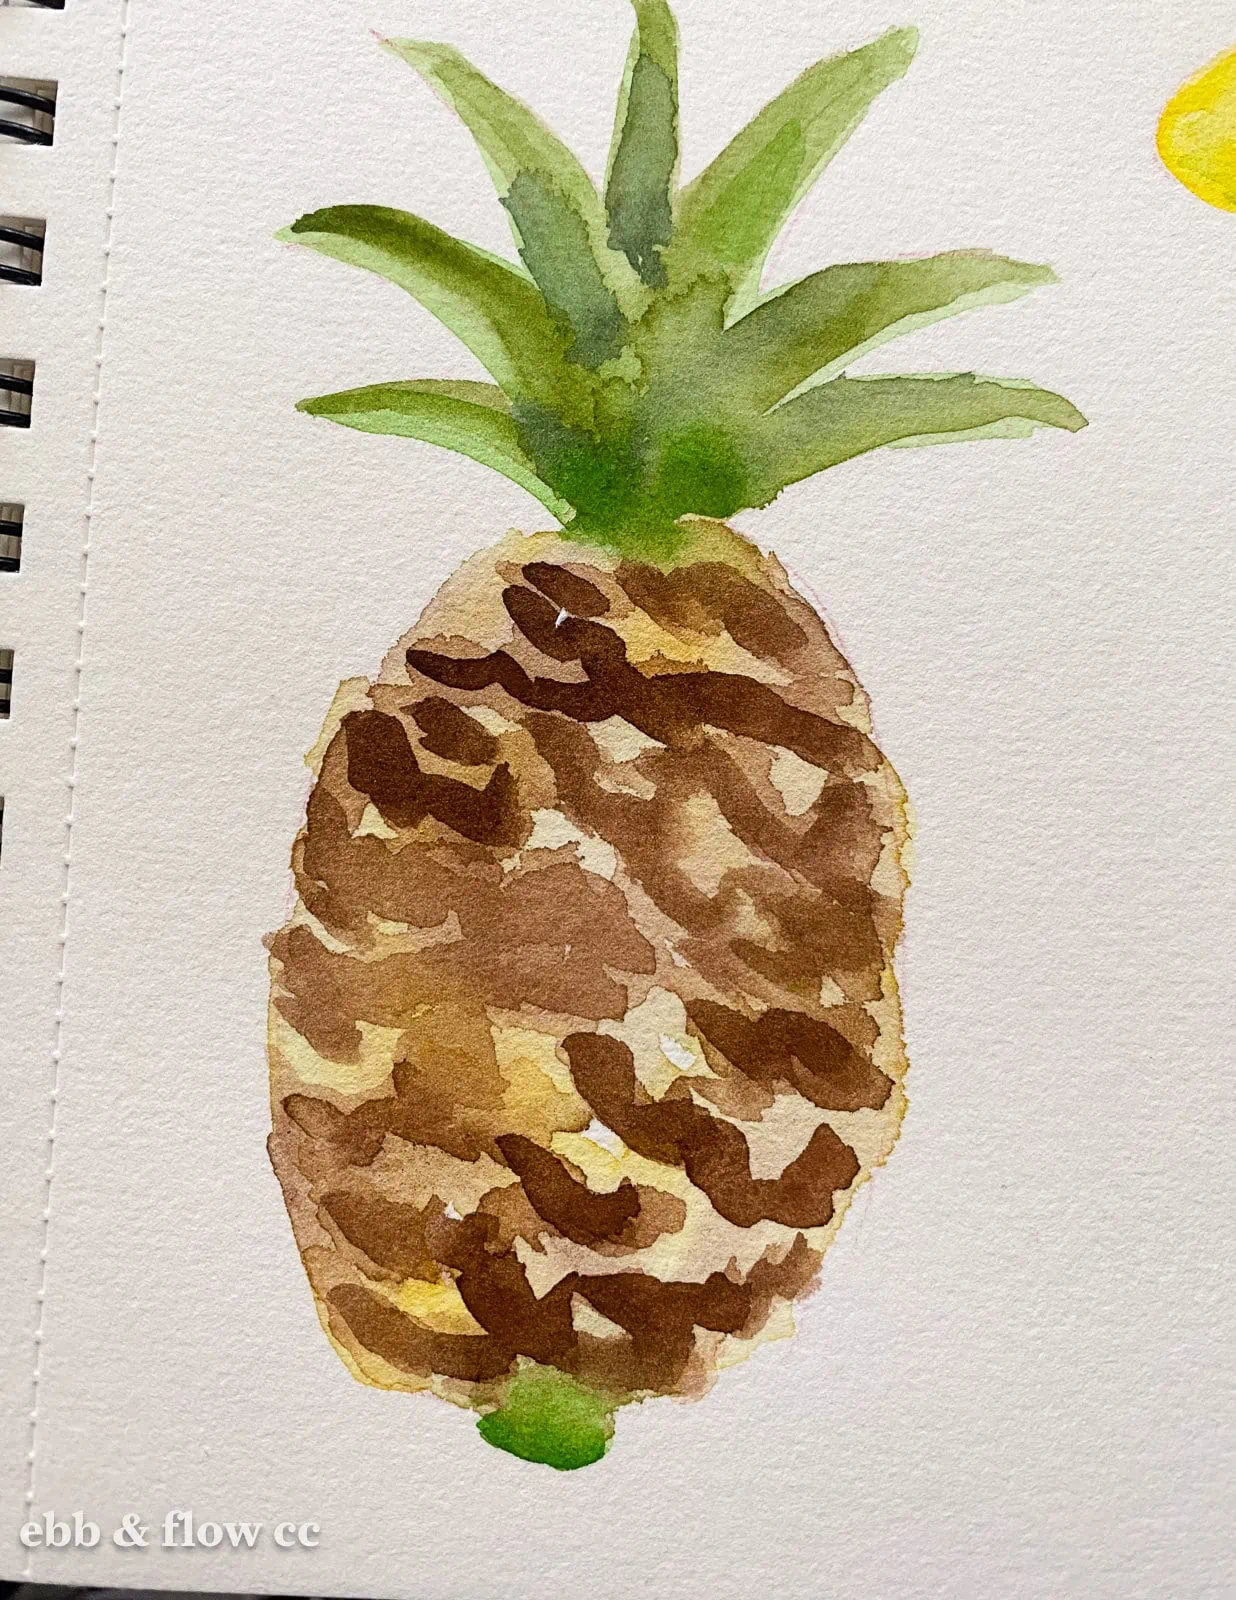
Pineapple
Pineapples have a rounded, oval shape with a leafy, spiky top.
Pineapples are painted with brown and yellow. The leaves are painted with warm green and brown paint.
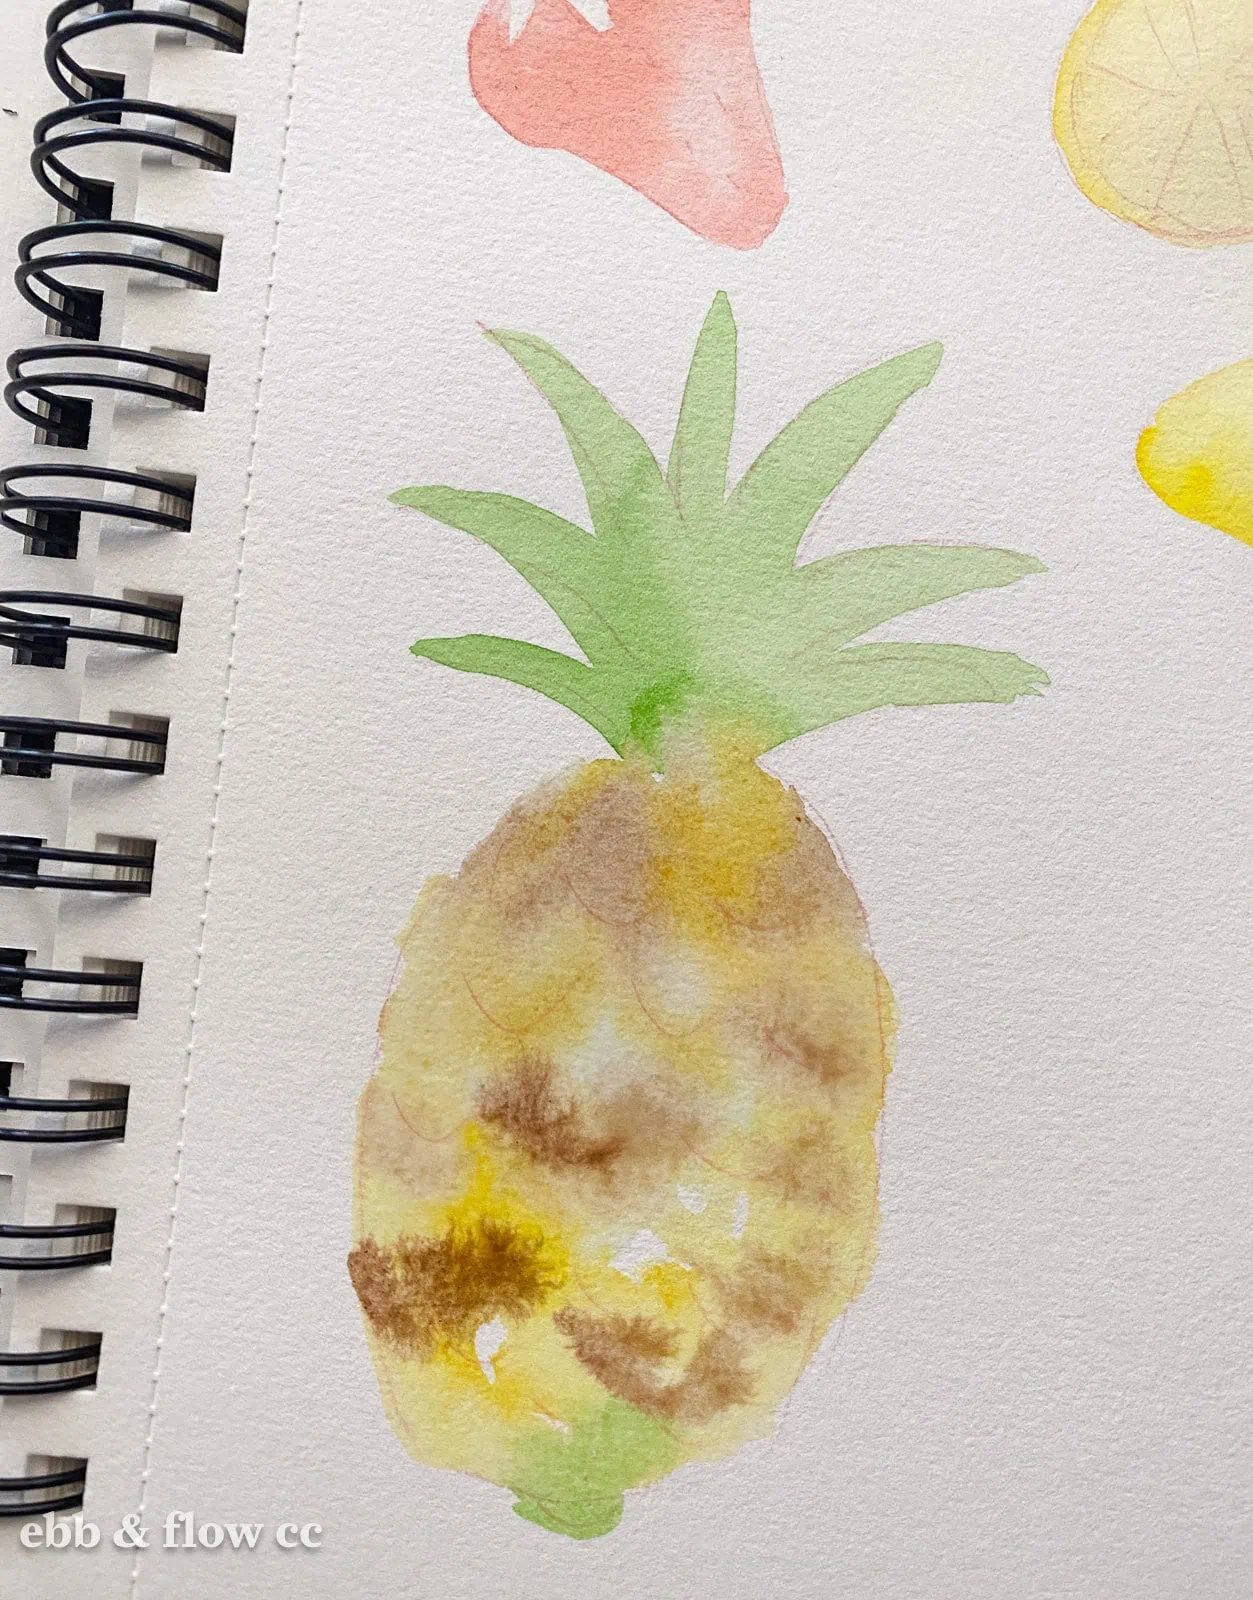
- Paint the pineapple leaves green.
- Add brown paint to the top of the pineapple, letting the paint blend.
- Use a wet-on-wet technique to add yellow and brown spots to the body of the pineapple.

- Add green paint to the bottom of the pineapple. Let the colors blend.
- Allow the paint to dry.
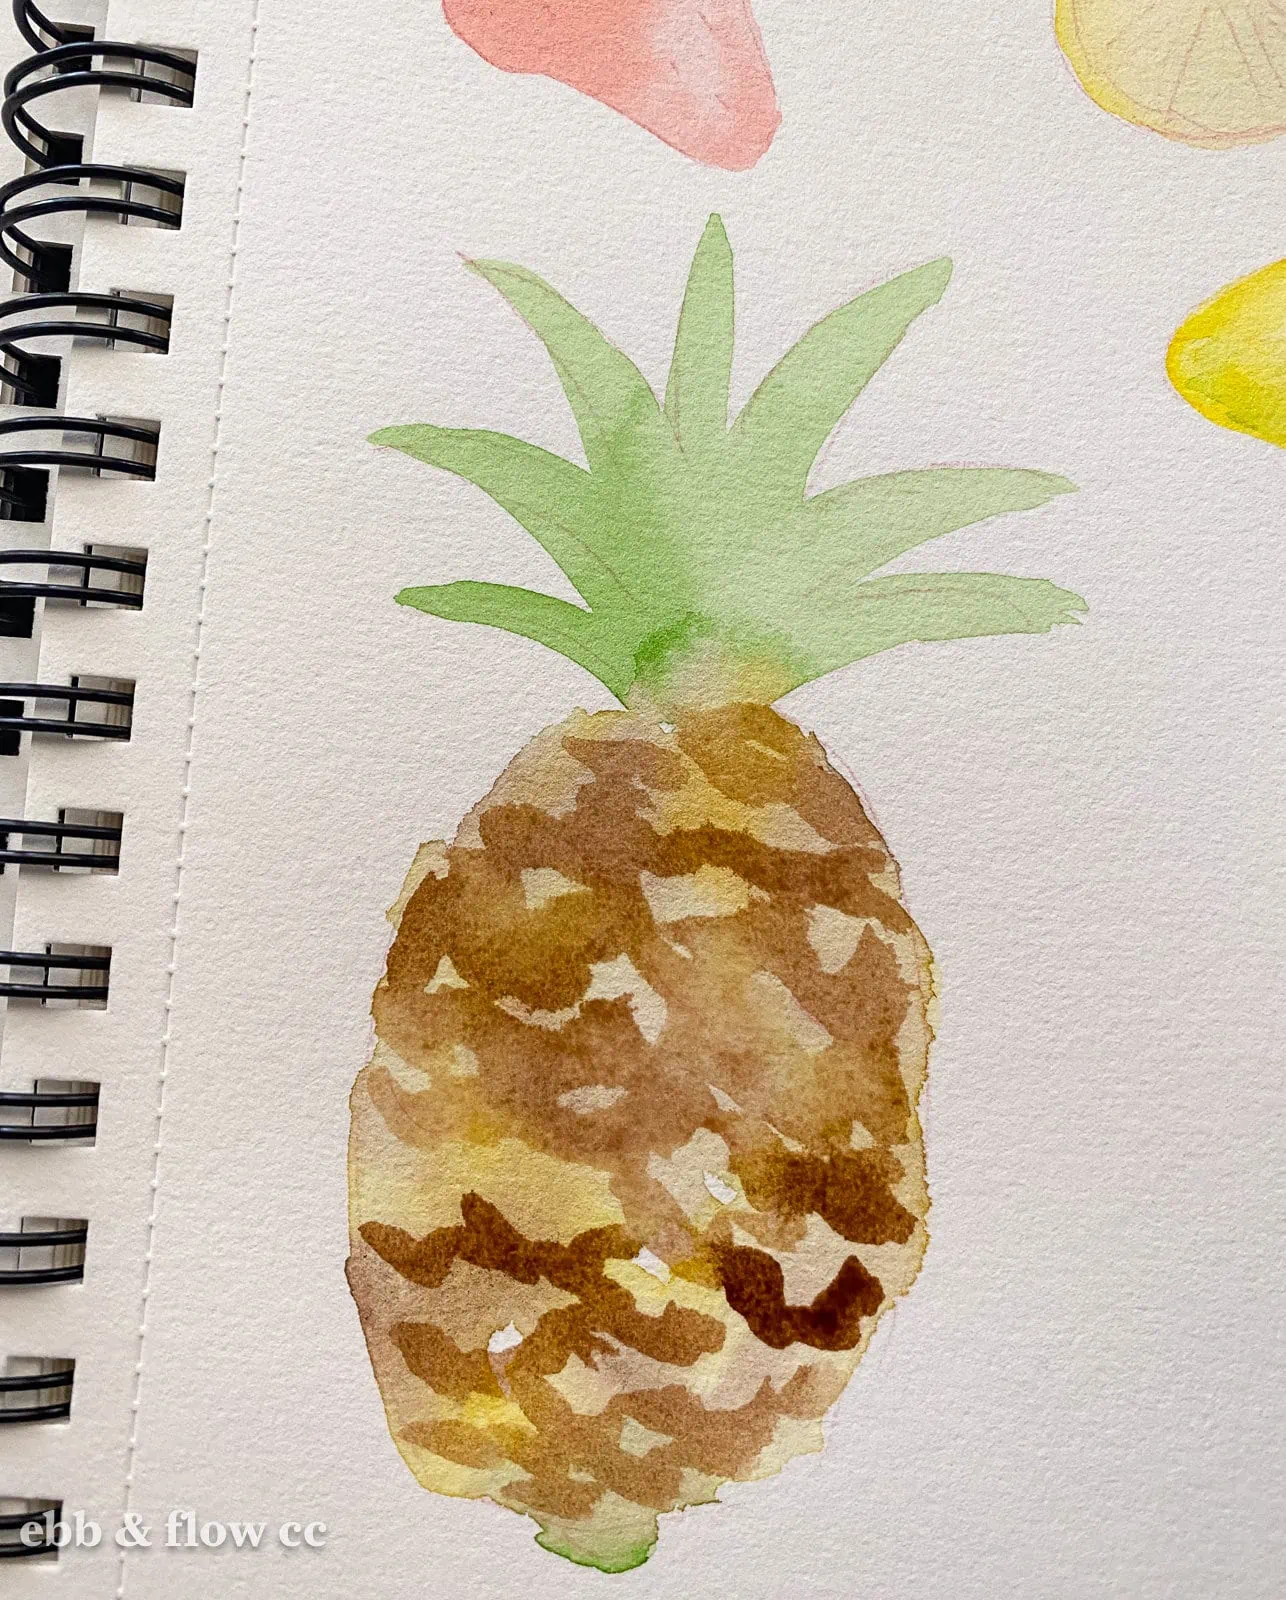
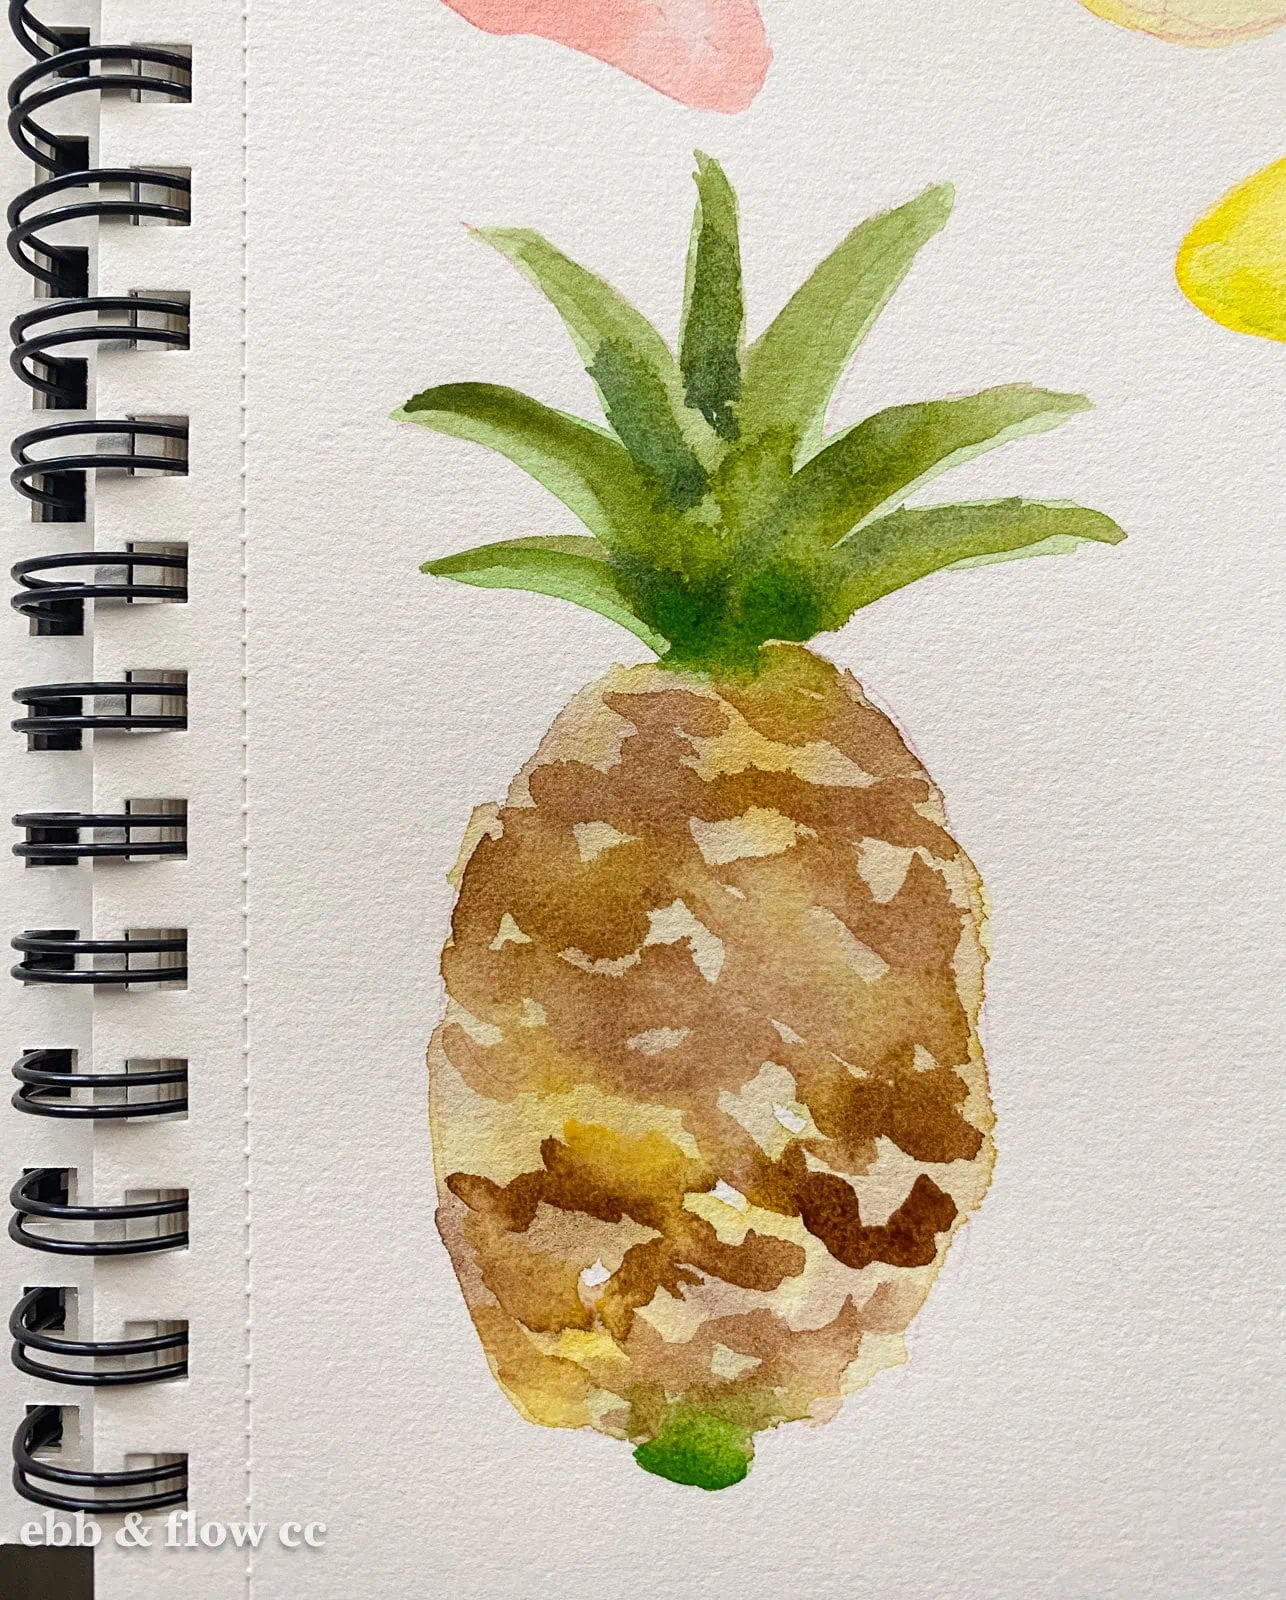
- Add another coat of brown paint to the body. Add wonky curved lines.
- Mix the green with a bit of brown paint to make a darker green. Paint the leaves.
- Let the paint dry.
- Add one more coat of brown curved lines to the pineapple body.

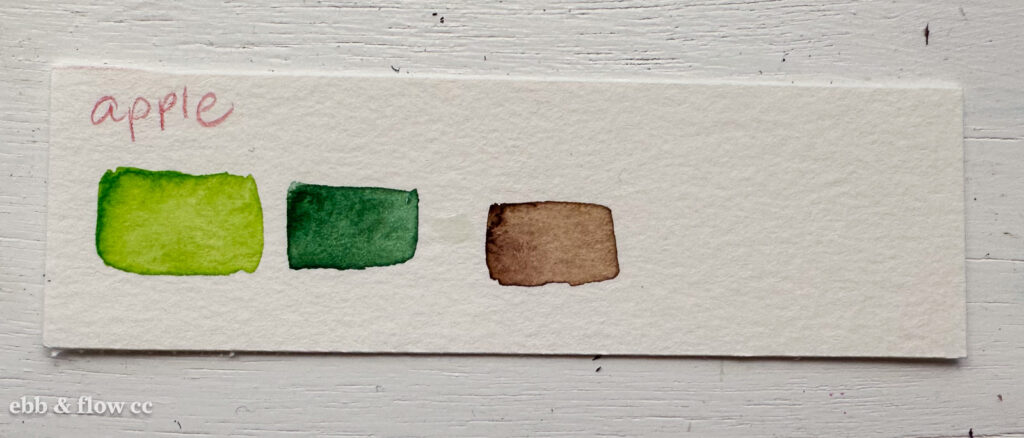
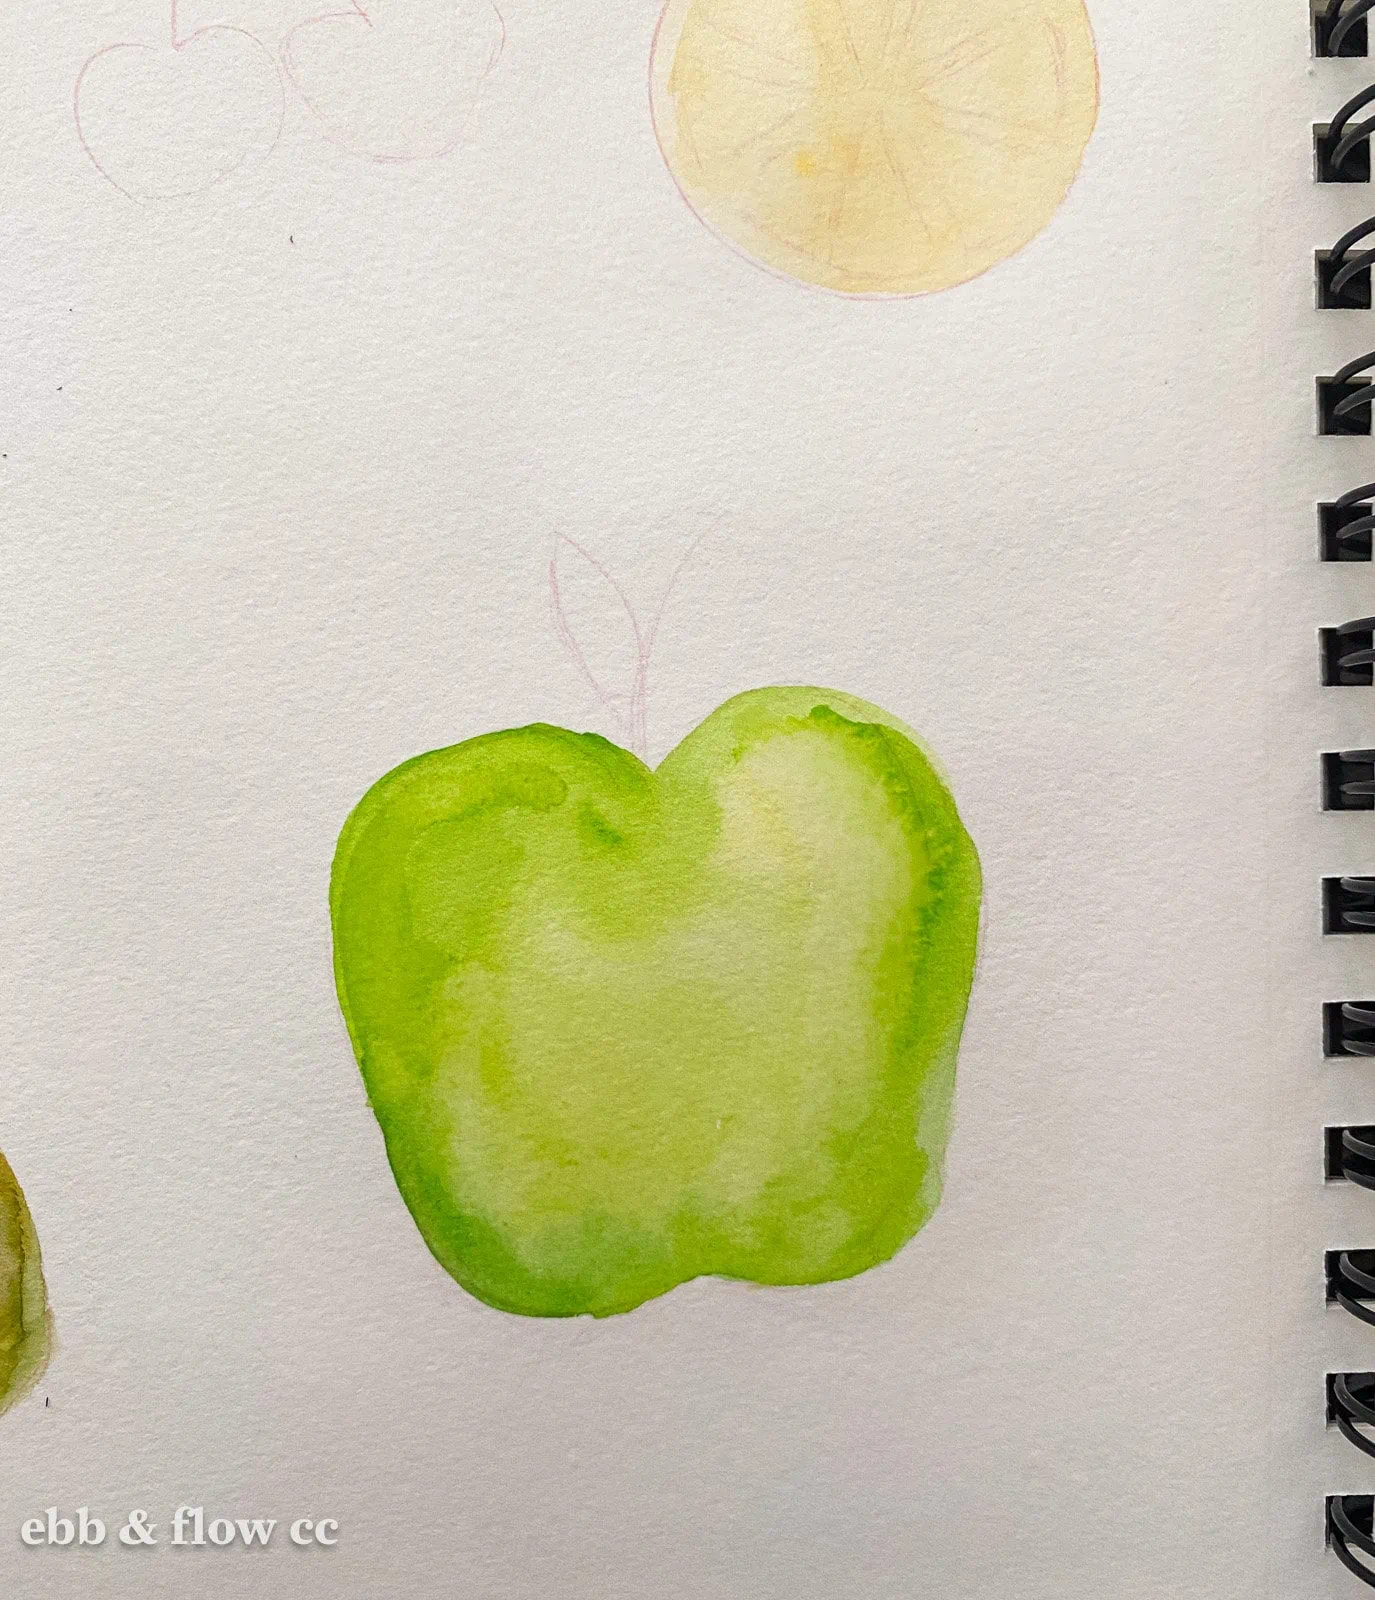
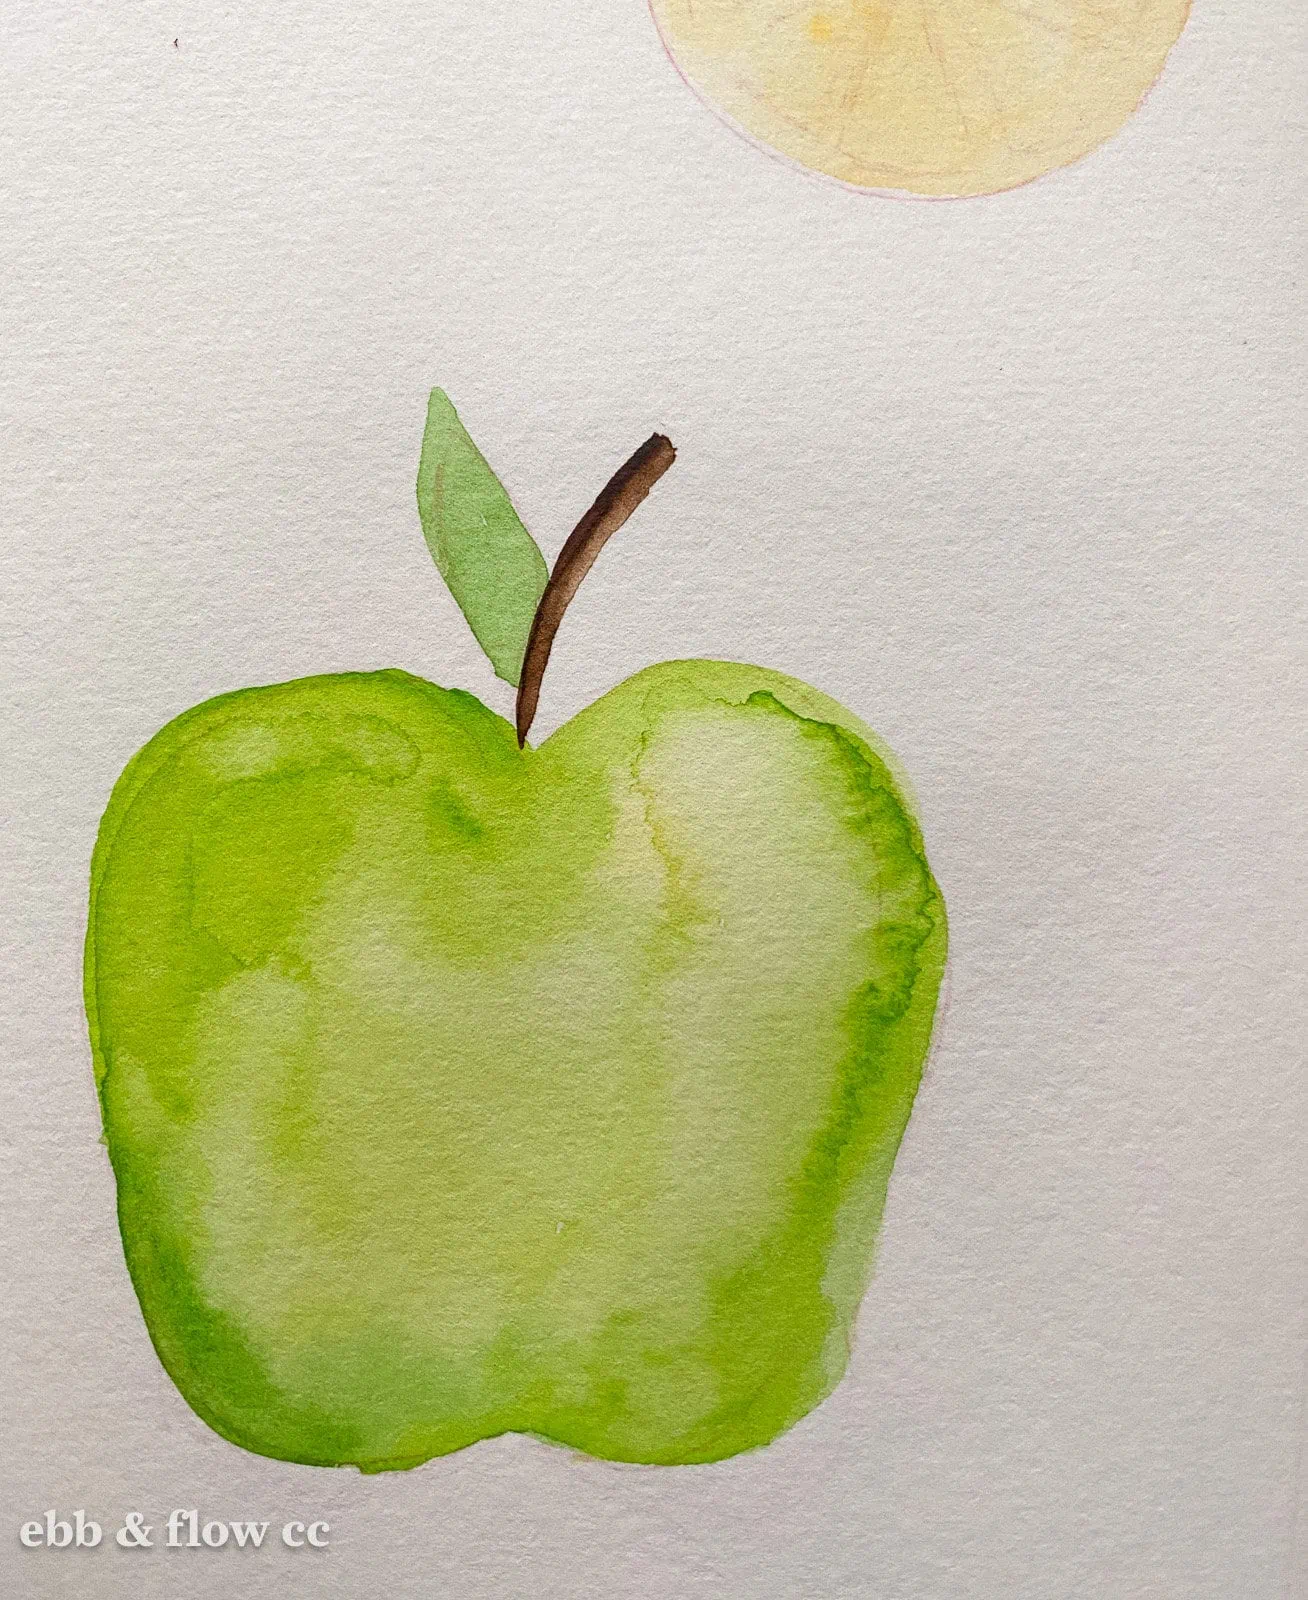
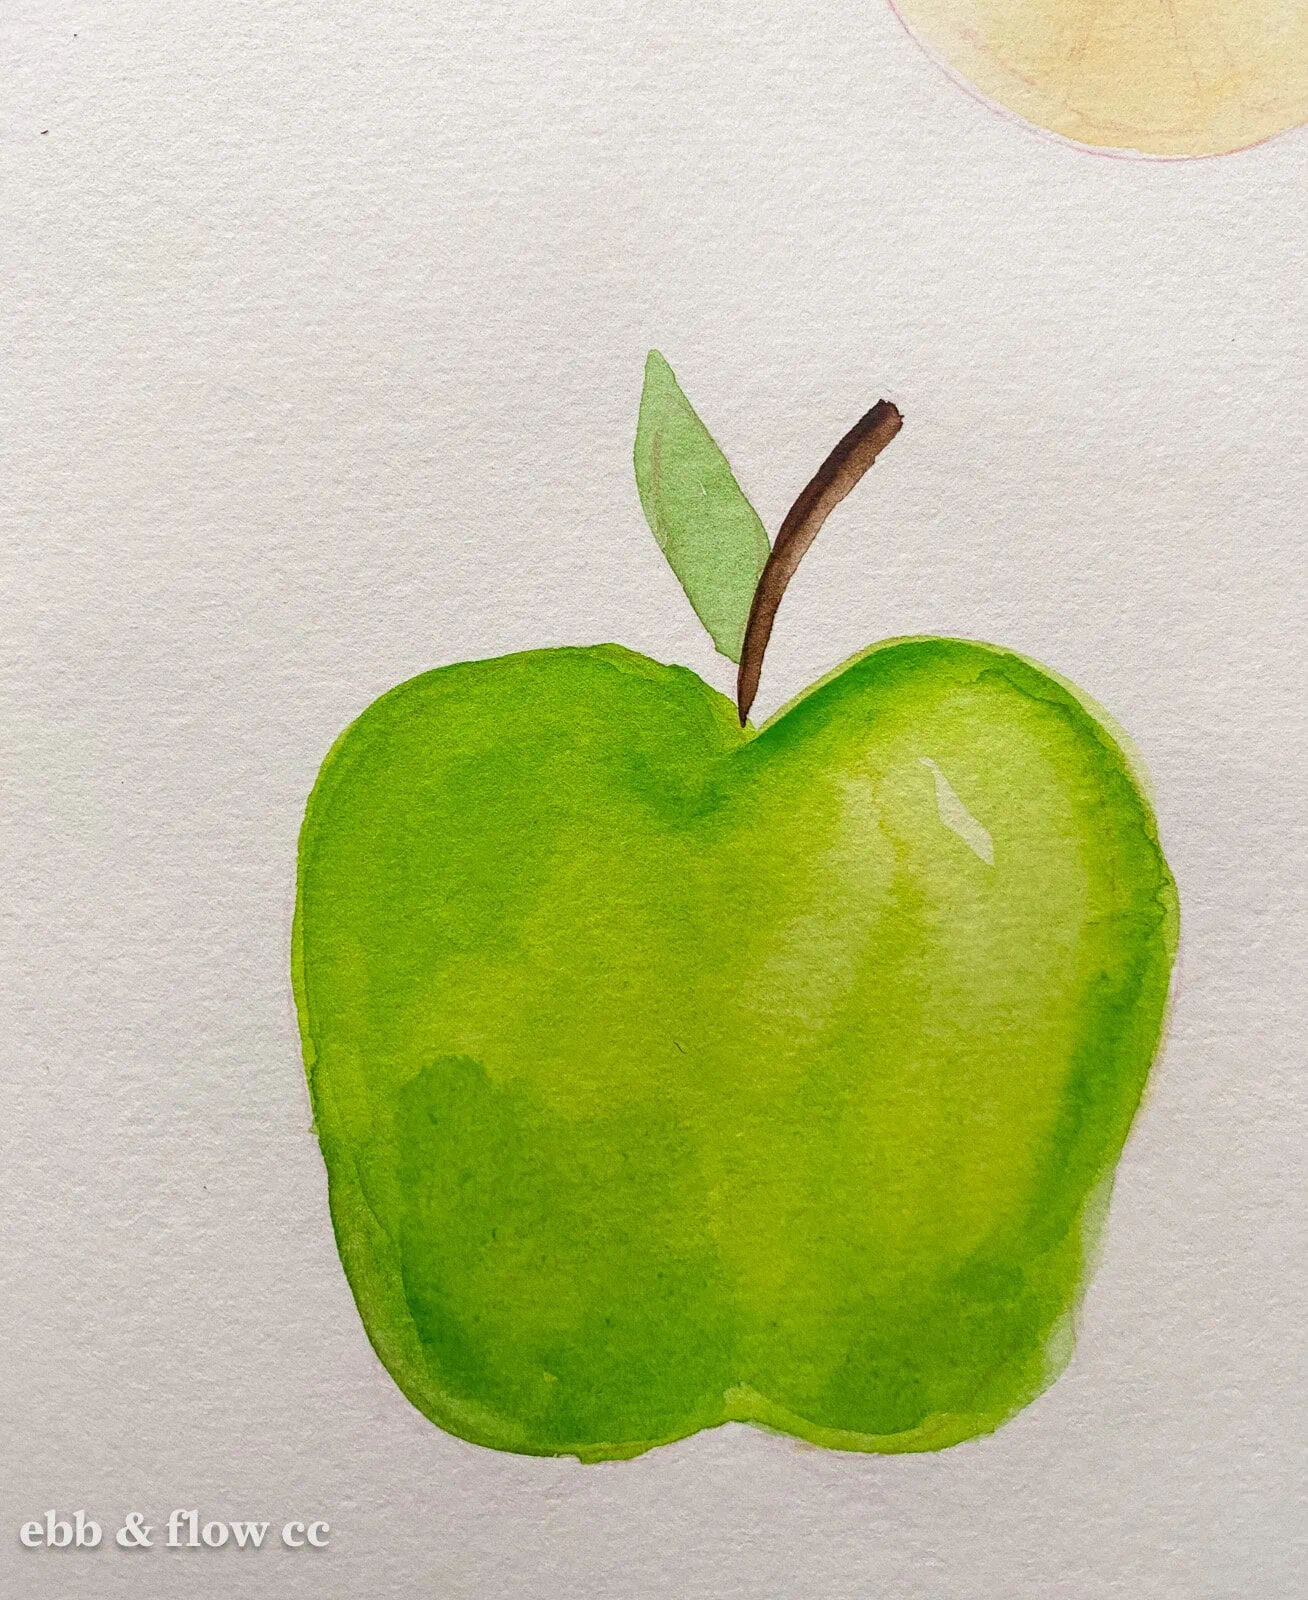
Apple
Apples have a rounded shape with a large dent in the top and a smaller dent in the bottom.
Apples can be red, pink, yellow, or green. Mix a few of the colors to create a nice effect.
- Paint the shape light green, leaving a lighter area in the highlight spot.

- Paint the stem brown and the leaf green.
- Add another layer of green to the apple.
- Paint half of the leaf dark green.
- Add green spots to the apple’s body.

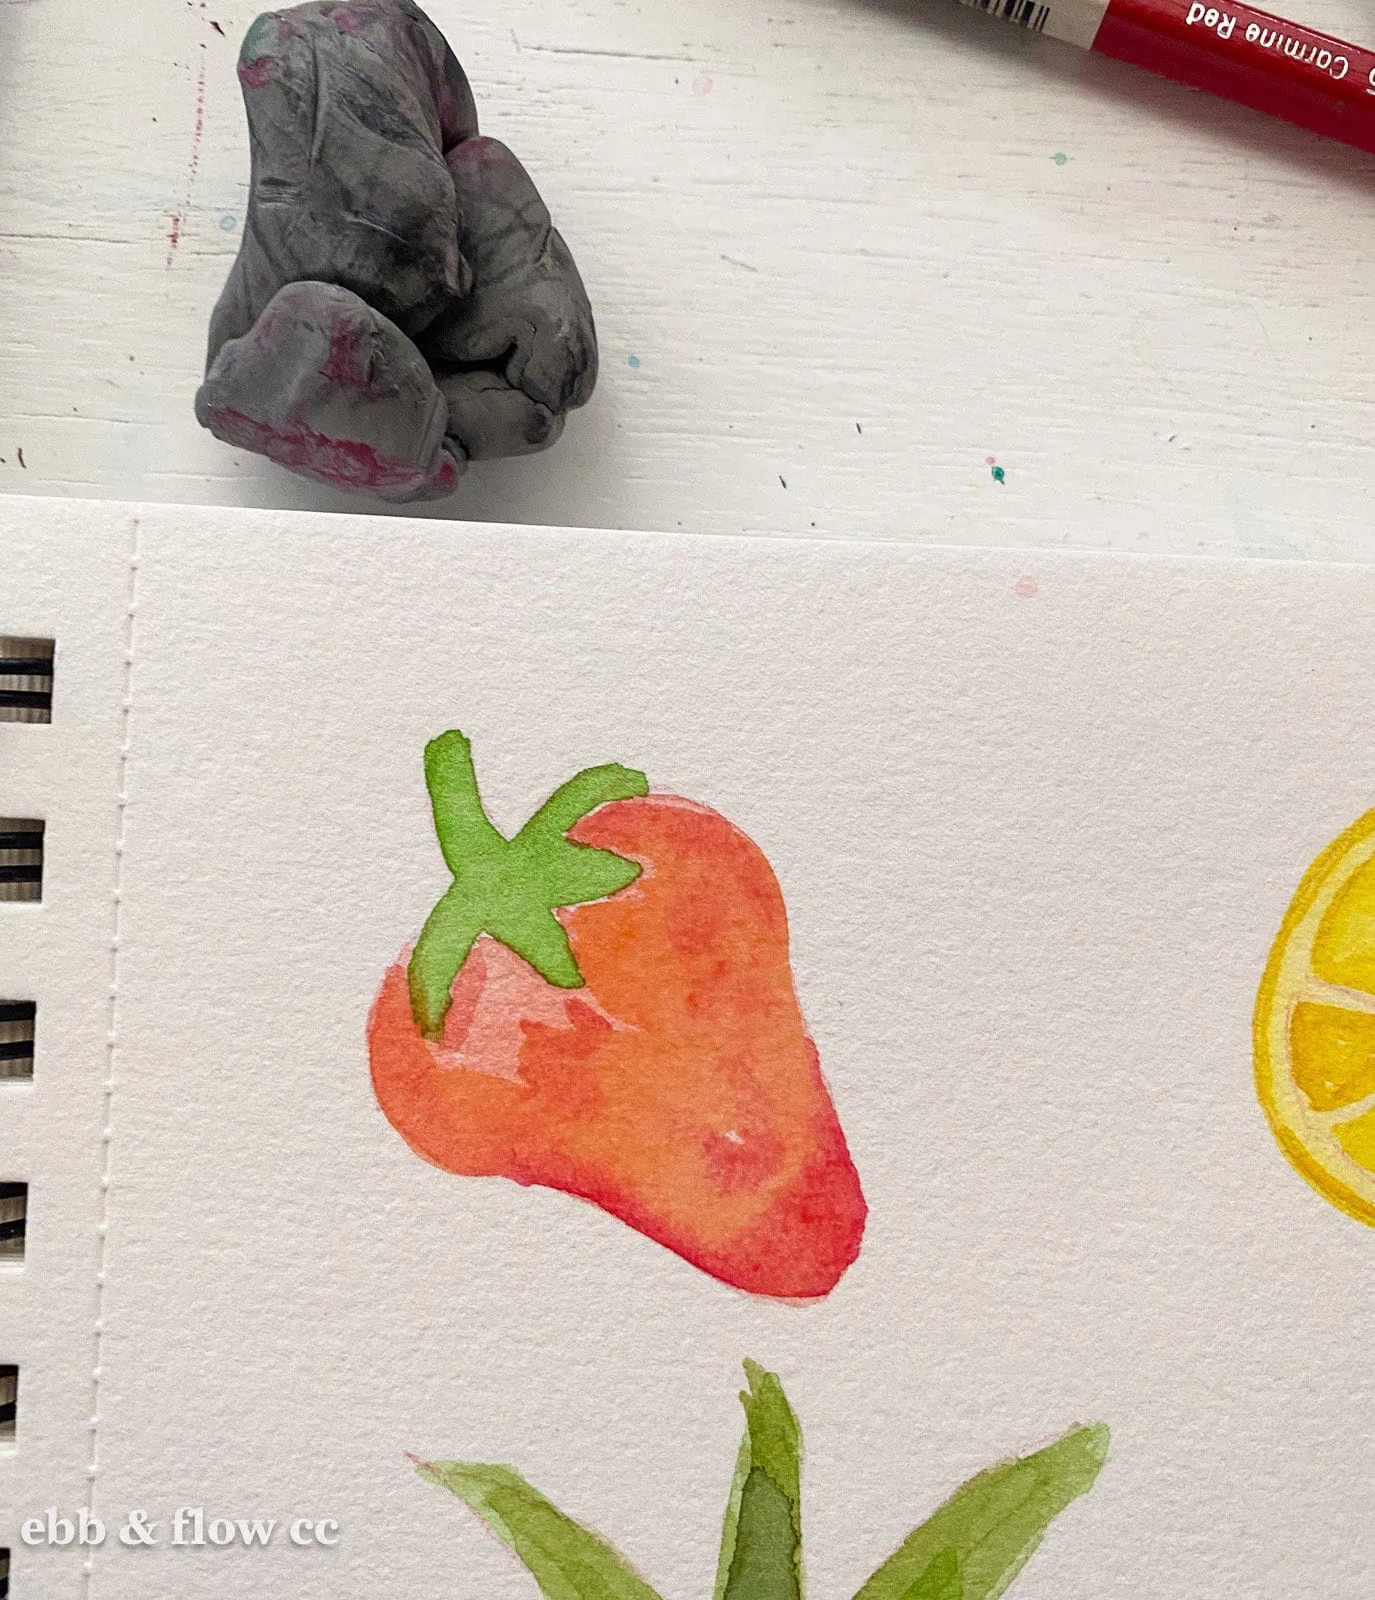
Strawberries
Strawberries have a rounded heart shape with a spiky leaf and stem on top.
Paint strawberries with pink and red with green leaves and stems.

- Use light red to paint the body of the strawberry, leaving room for the leaves.
- Let the paint dry.
- Paint the stem and leaves green.
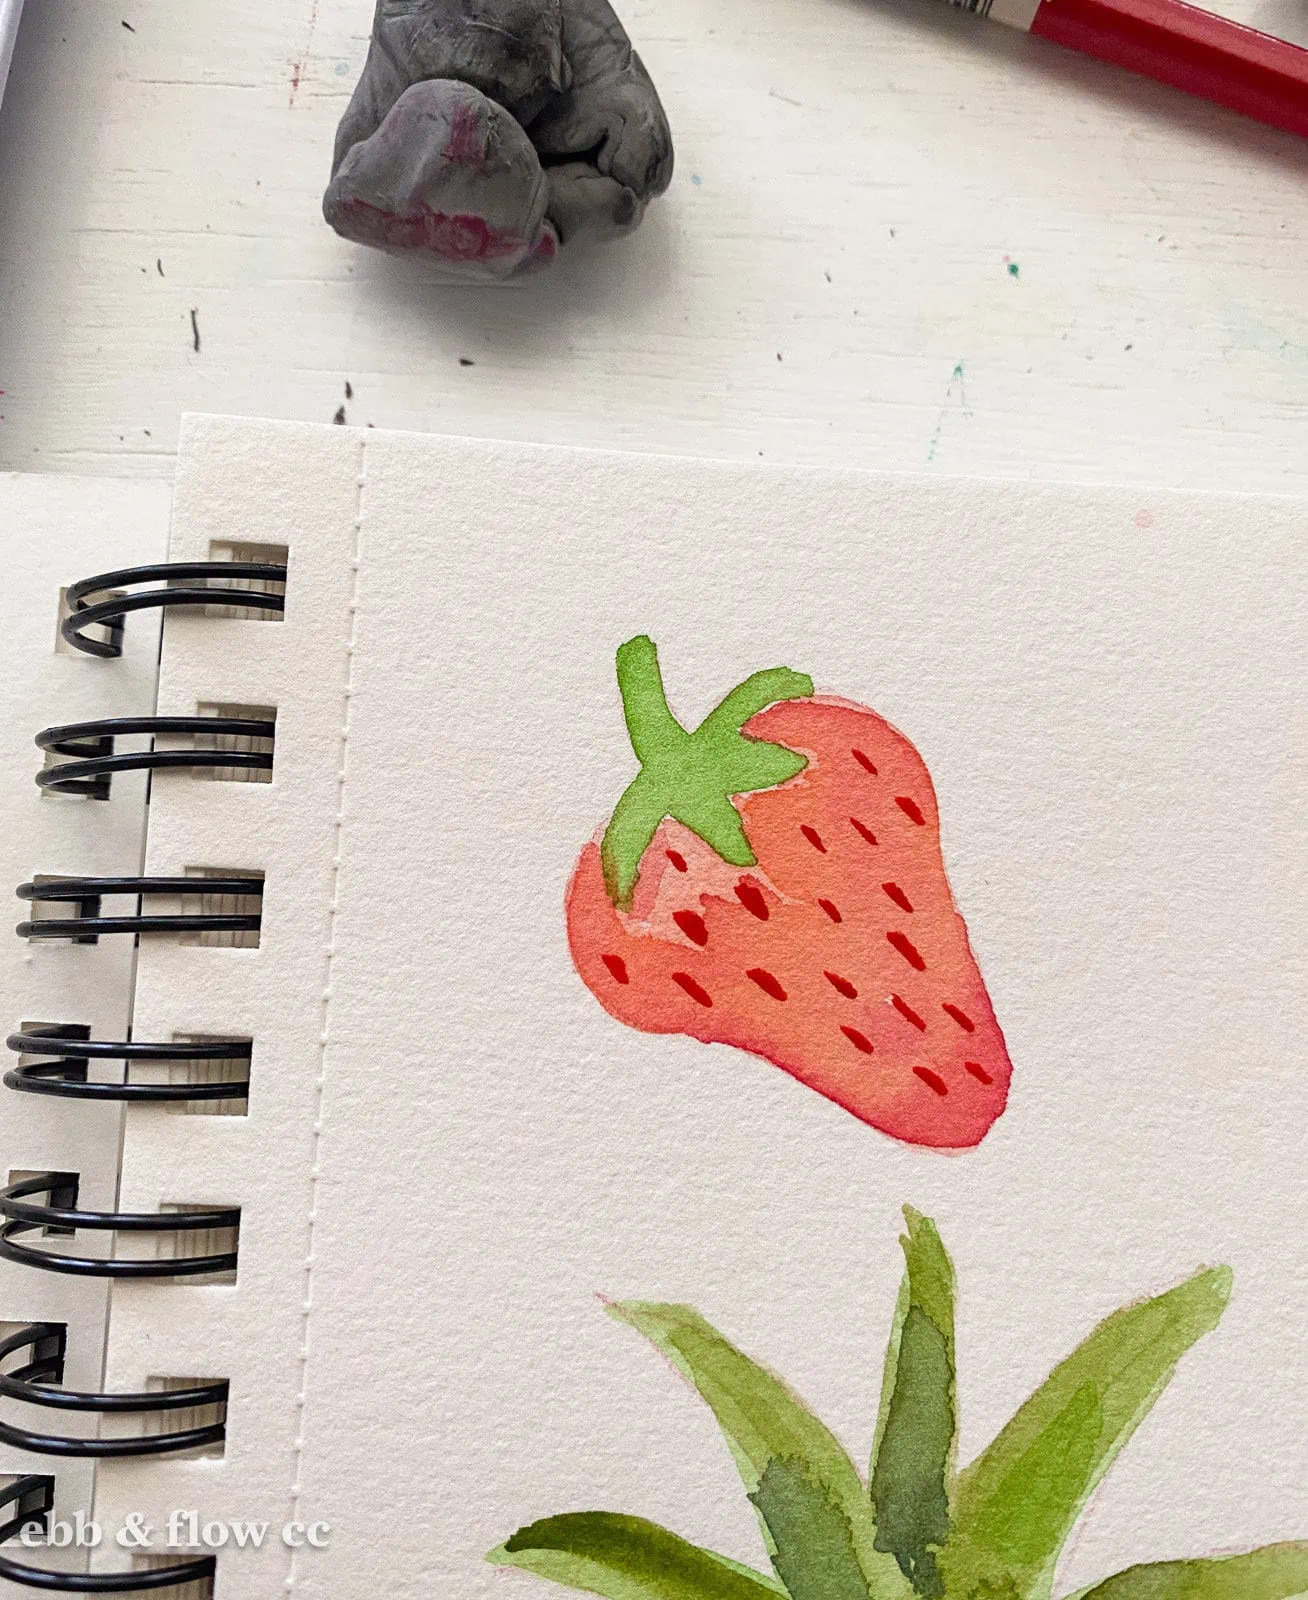
- Add another layer of red paint to the strawberry. You can drop in cool red to add more color.
- Allow the paint to dry.
- Add darker red lines for the seeds.
- Let dry.
- Add another layer of paint to the strawberry to deepen the color and blend the seeds in a bit.
- Add dark green to the leaves and stem.
- Use a white pen to add highlights to the seeds.


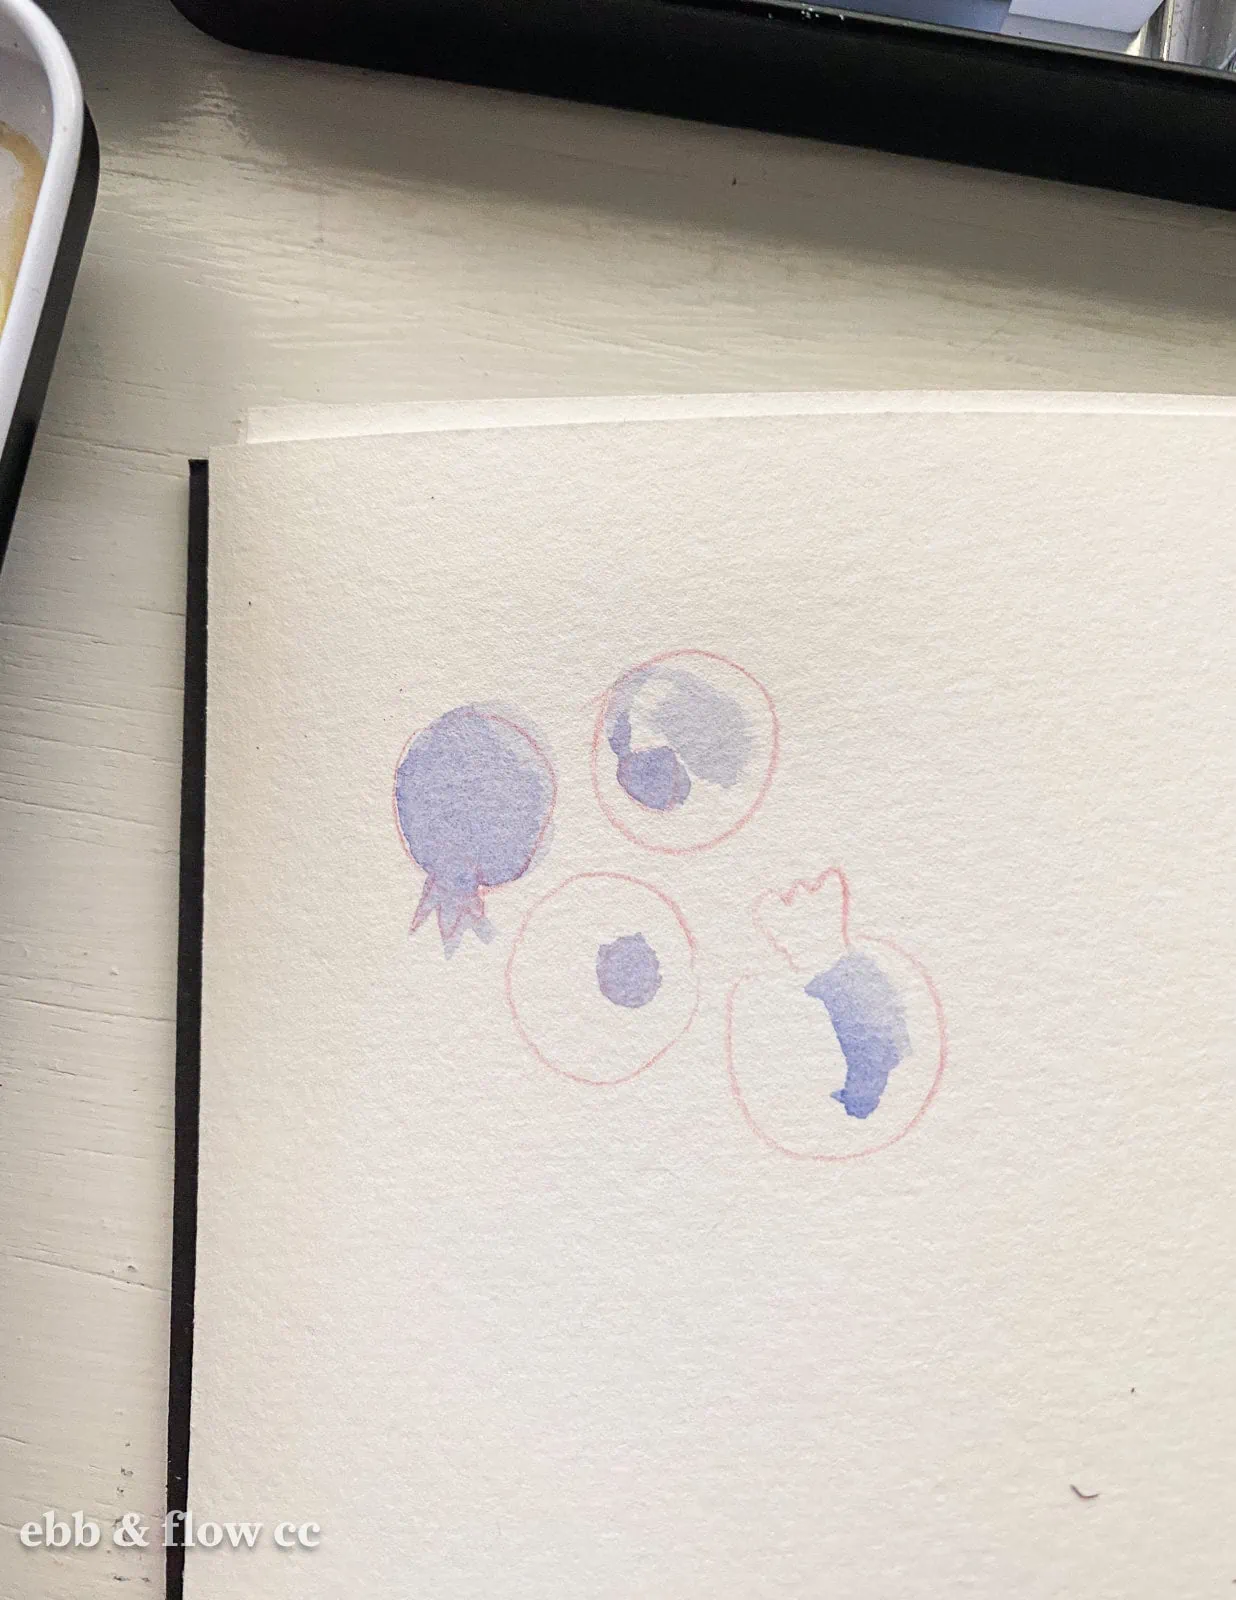
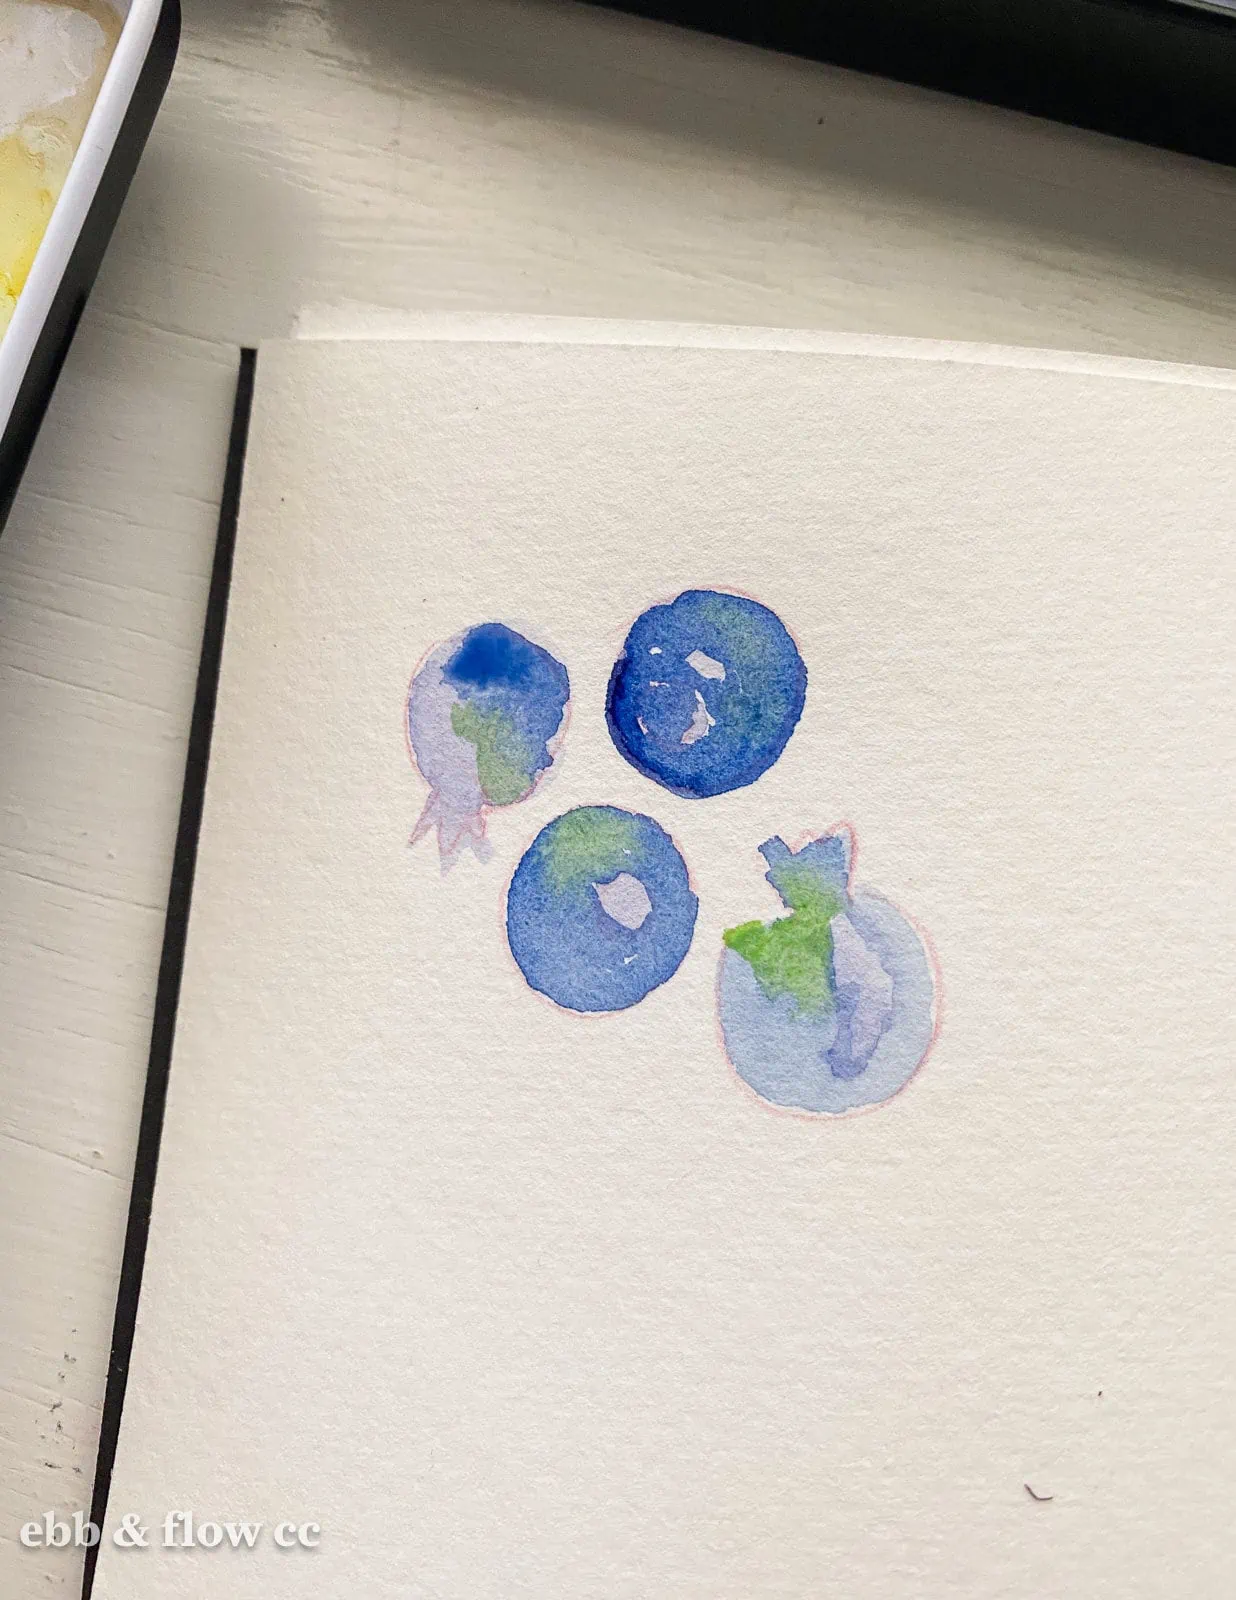
Blueberries
Blueberries are round with a spiky shape.
They are a warm blue color. You can use dark blue or blue-purple to paint them. I like adding a bit of green to some of them.

- Paint the lighter areas with light blue-purple (or diluted blue paint.)
- Add blue paint to the remaining blueberry shapes while the paint is wet. You can add green to a few as well.
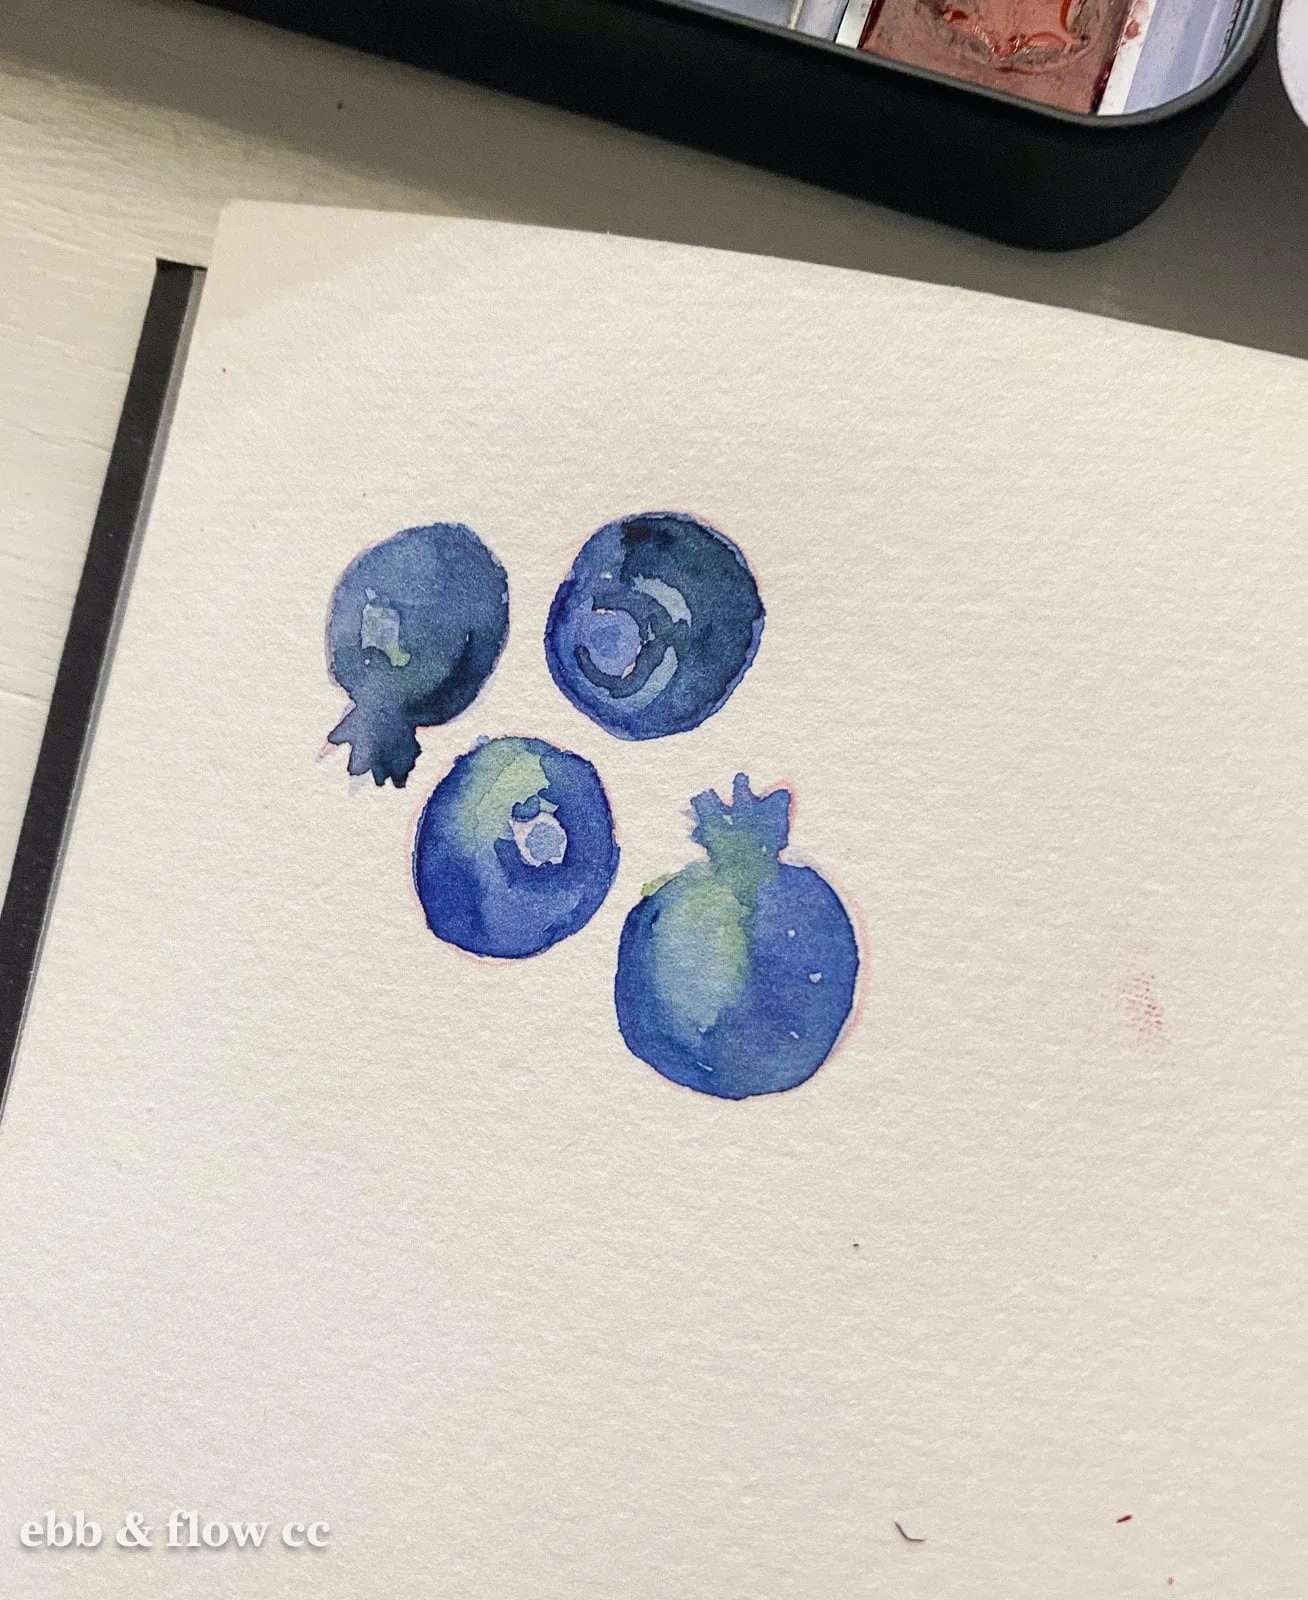
- Let the paint dry.
- Add another layer of indigo to the blueberries, leaving the light spots.
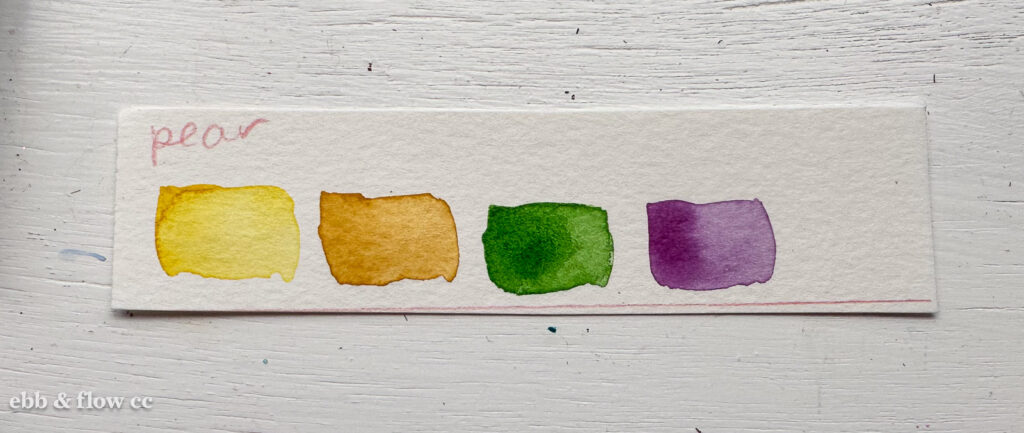
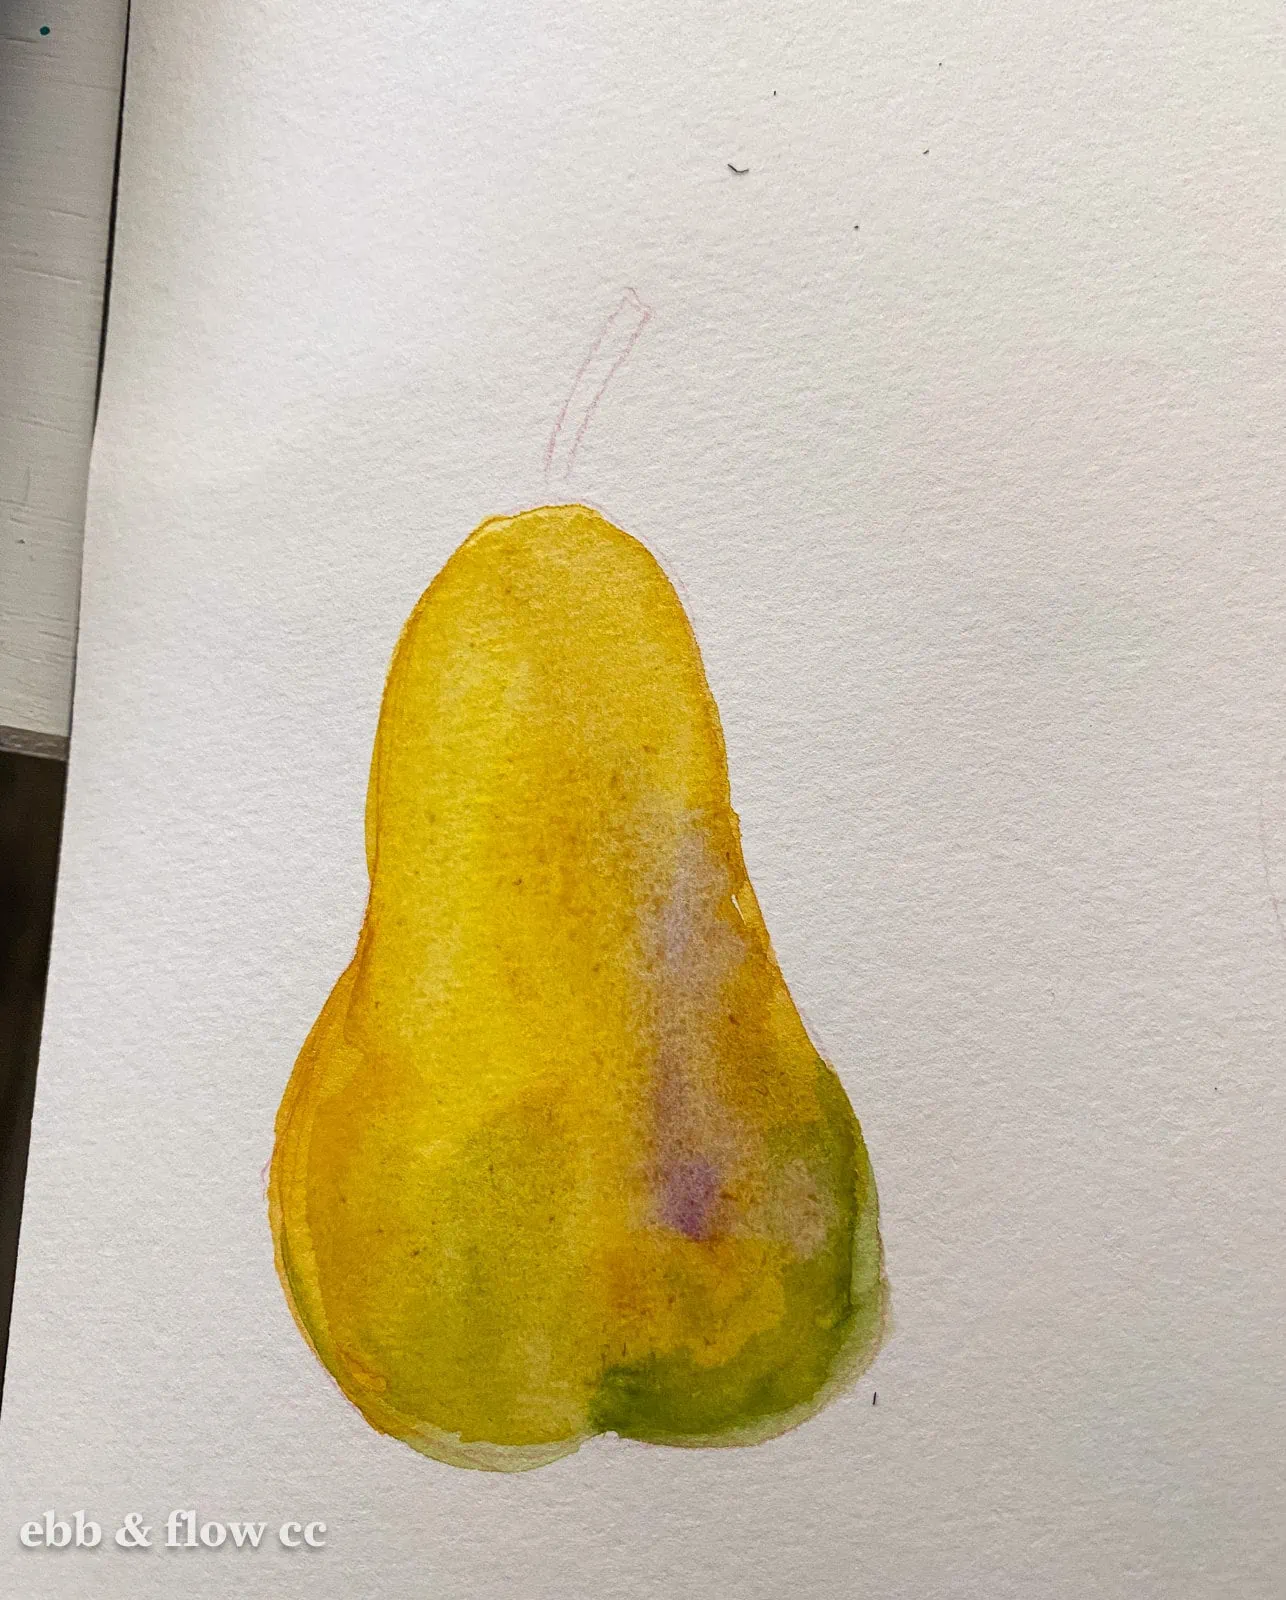
Pear
Pears are an oval shape with a smaller top and a larger bottom.
Pears are usually a warm yellow color with warm green or warm red areas. They can also be a warm red or purple color.
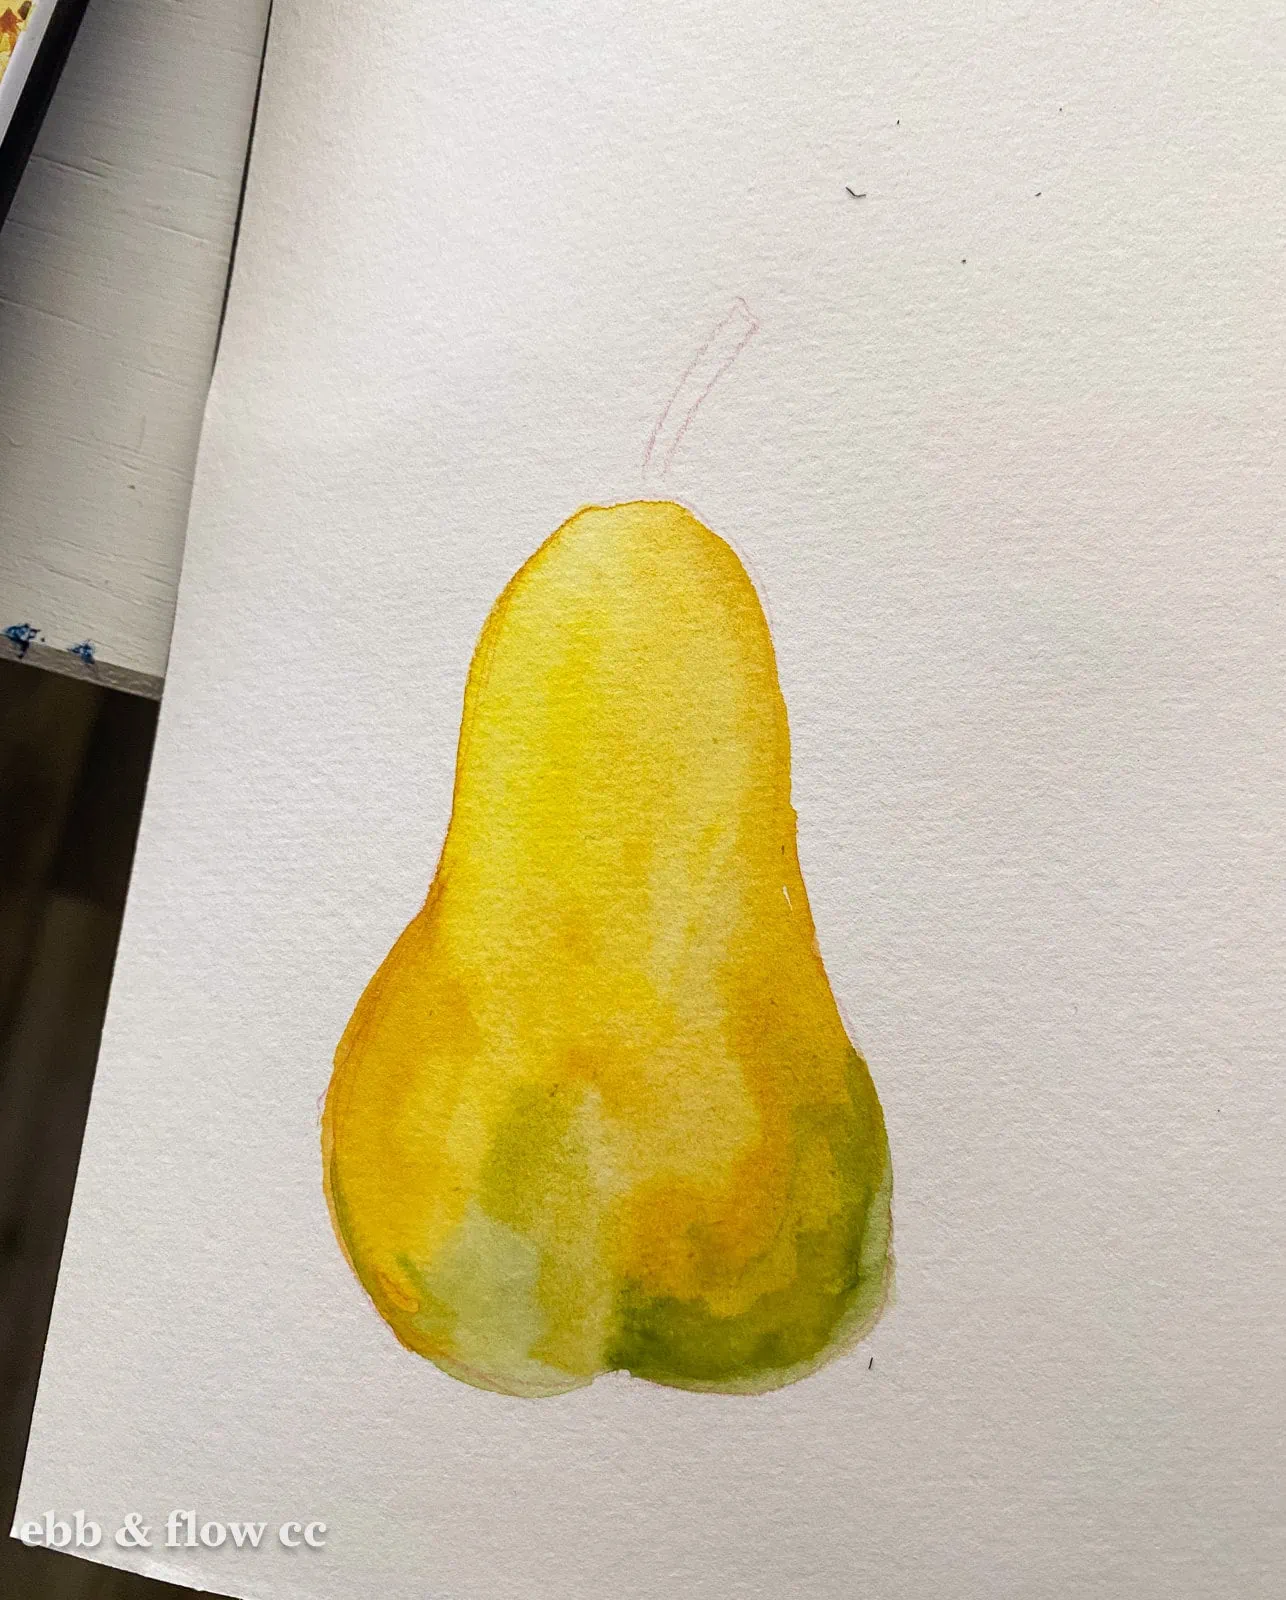
- Paint the top part of the pear warm yellow.
- Add green paint to the bottom part of the pear and let the colors blend.
- Create dimension with yellow ochre paint.
- While the paint is wet, drop in warm red or warm purple.
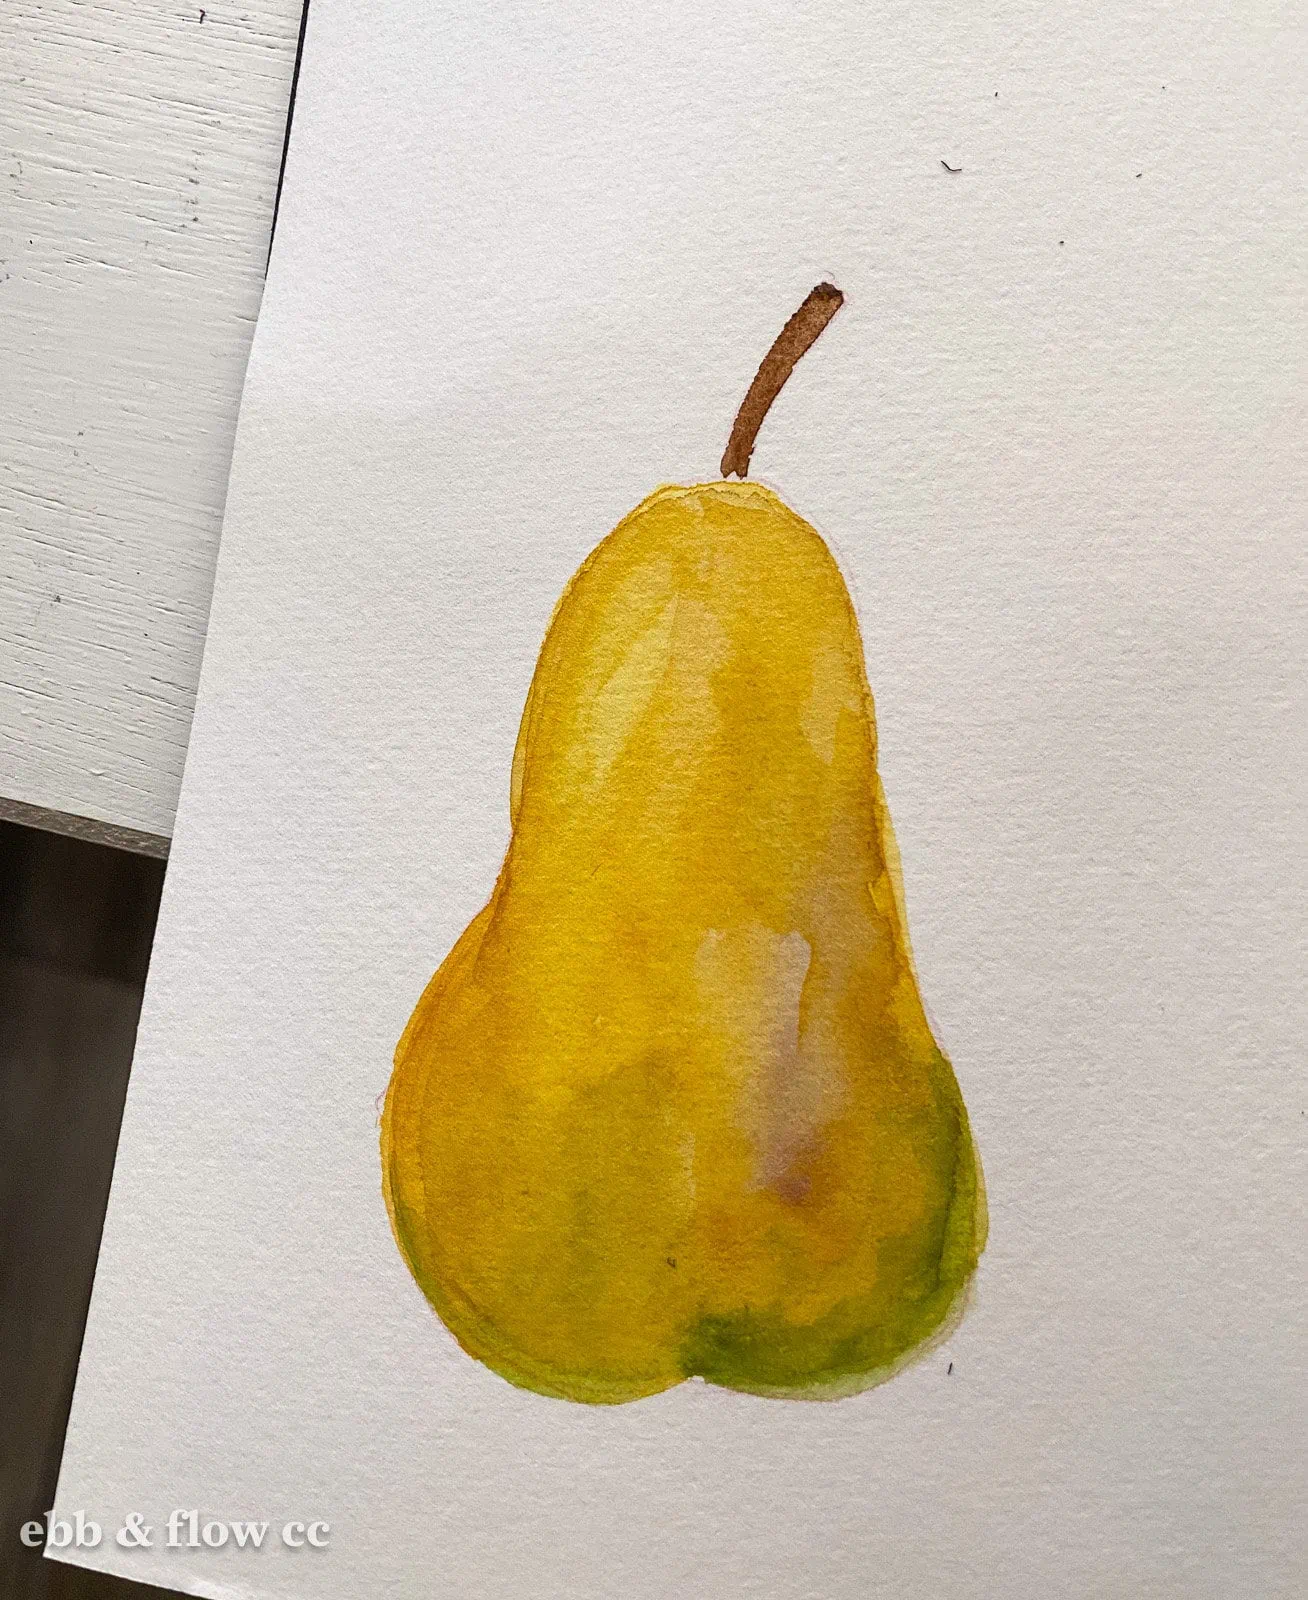
- Paint the stem brown.
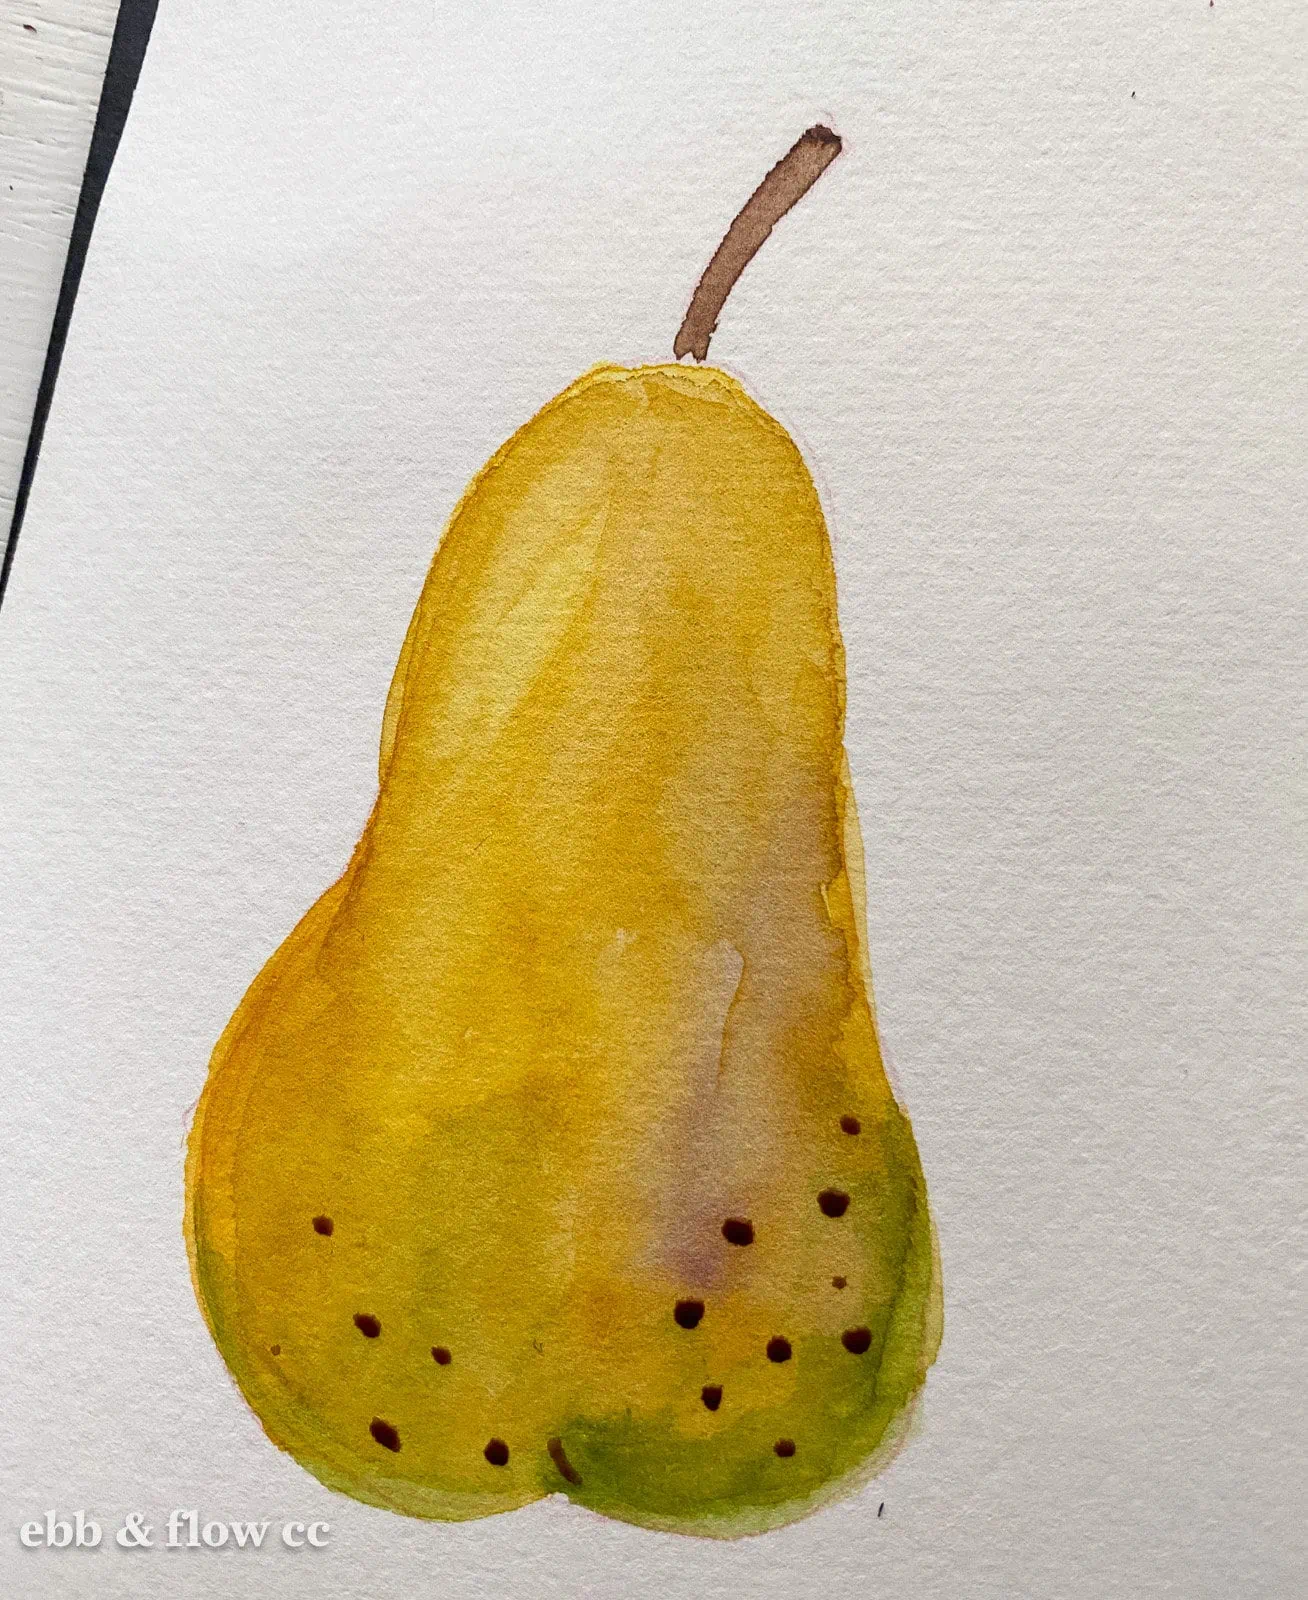
- Add brown dots to the pear.


Download a Fruit Template
These downloads are for personal use only. Please do not redistribute or sell.
Dear teachers and students: this download will not work if you try to access it when logged into your school email account. Try a personal email account instead.
More Easy Watercolor Painting Ideas to Try
I love sharing watercolor painting ideas for beginners. Here are some of my favorites.
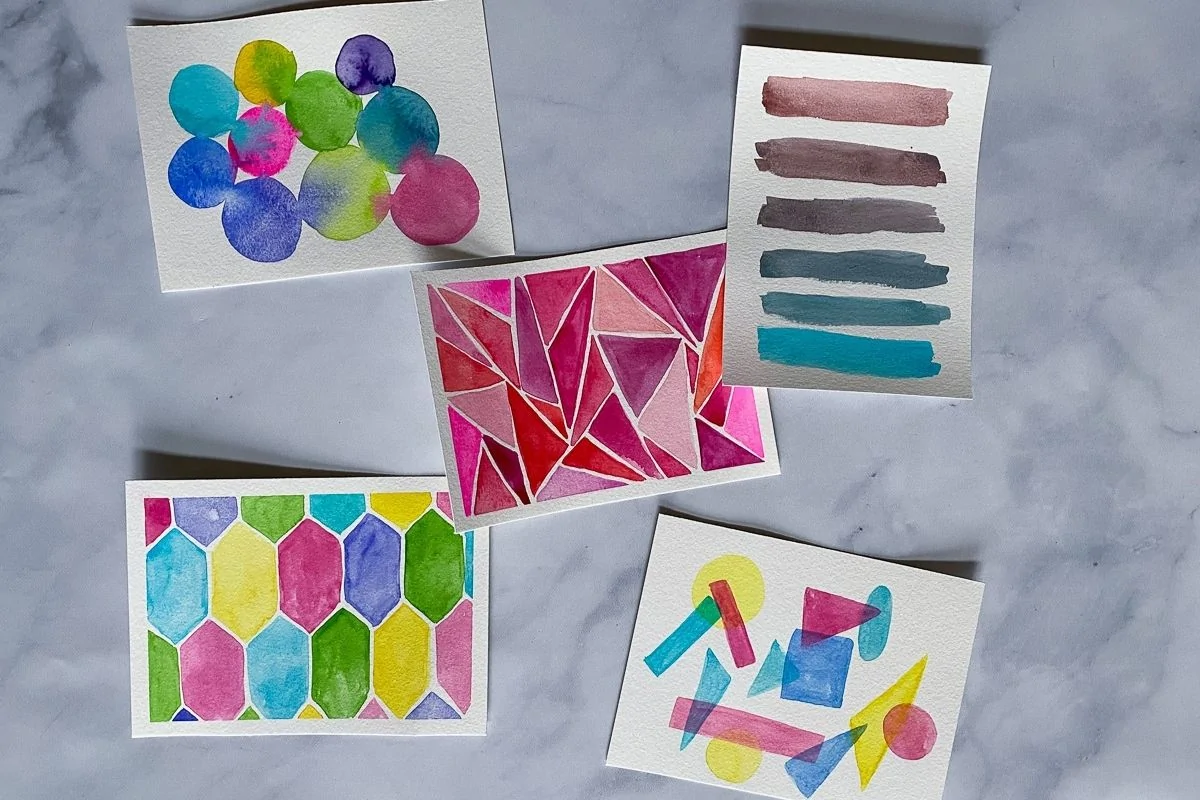
No drawing skills are needed for these easy abstract painting ideas. These fun ideas are a great way to fill a sketchbook spread, by the way.
Why not try these simple landscape painting ideas? They’re fun to make and perfect for beginners.
Having a hard time getting started painting? Try these watercolor warm-up ideas that are sure to get the creative juices flowing.
Add interest to your watercolor art with these fun watercolor techniques to try.
Pin for Later!