How to Transfer Procreate Brushes to a New iPad

I’m a self-taught artist who loves sharing tips and tutorials for painting with watercolor and gouache, and using the Procreate app on the iPad.
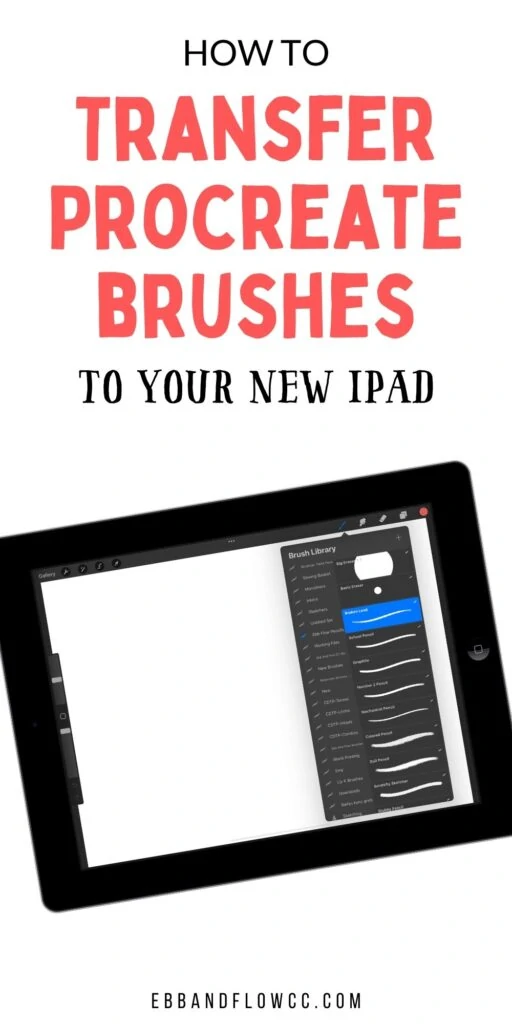
Learn how to transfer Procreate brushes to a new iPad. Read more about the 3 easy ways to move Procreate brushes to your new iPad.
You might also like these other Procreate tutorials.
This post contains affiliate links. By purchasing an item through an affiliate link, I earn a small commission at no extra cost to you. As an Amazon Associate I earn from qualifying purchases.
One of the worst parts about buying new technology is worrying about transferring your old stuff to the new device. (The other part is putting in the passwords.)
I recently upgraded my iPad and I was so concerned about losing all of my Procreate brushes and art.
Luckily, it was a smooth transition. (I’m still working on those passwords though…)
How to Transfer Procreate Brushes to a New iPad
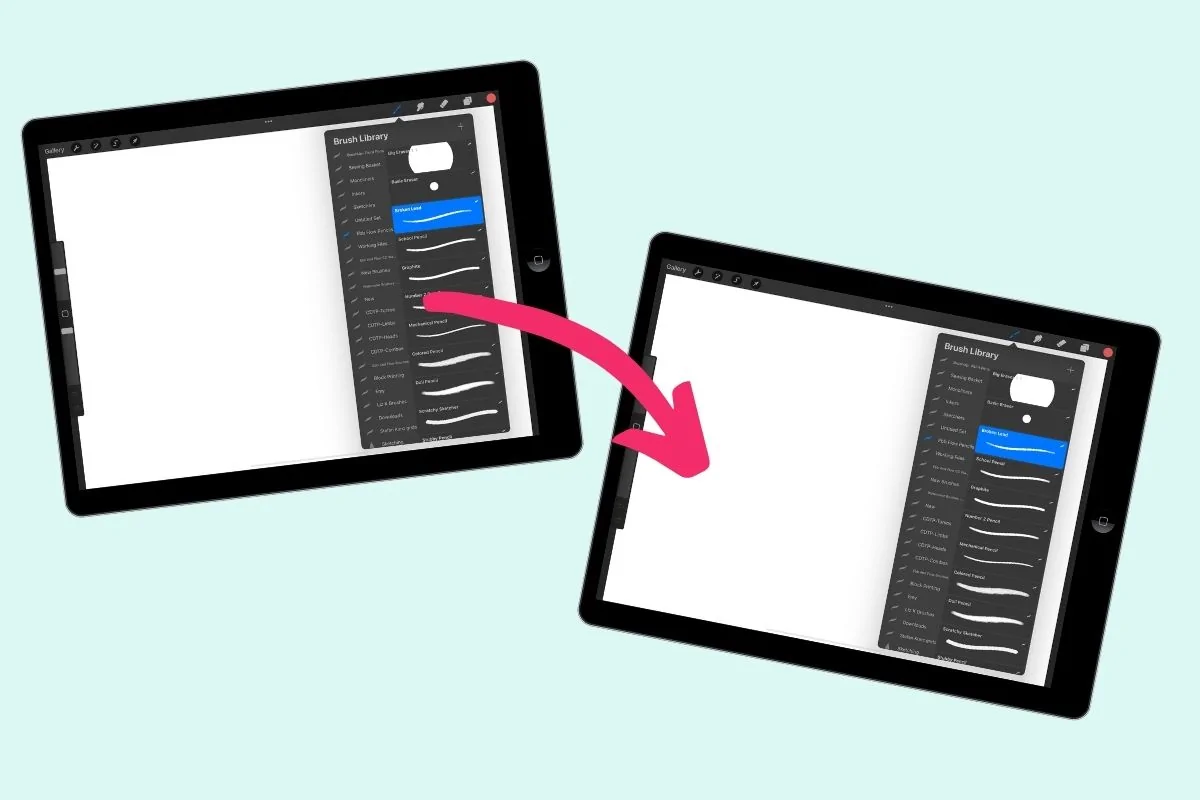
There are a few ways to transfer Procreate brushes to a new iPad. I’m starting with the easiest way, but I’ve added a few alternatives in case that’s not an option for whatever reason.
Automatic Transfer
When you buy a new iPad, you have the option of transferring all of your old stuff to the new one. This moves all of your old apps, photos, and videos from your old iPad to your new iPad.
I did this and it worked beautifully.
This requires your old iPad to be on and nearby. You will be sent a code to enter in the new iPad.
It might take a while to move everything over. When it’s done, you can delete out what you don’t want.
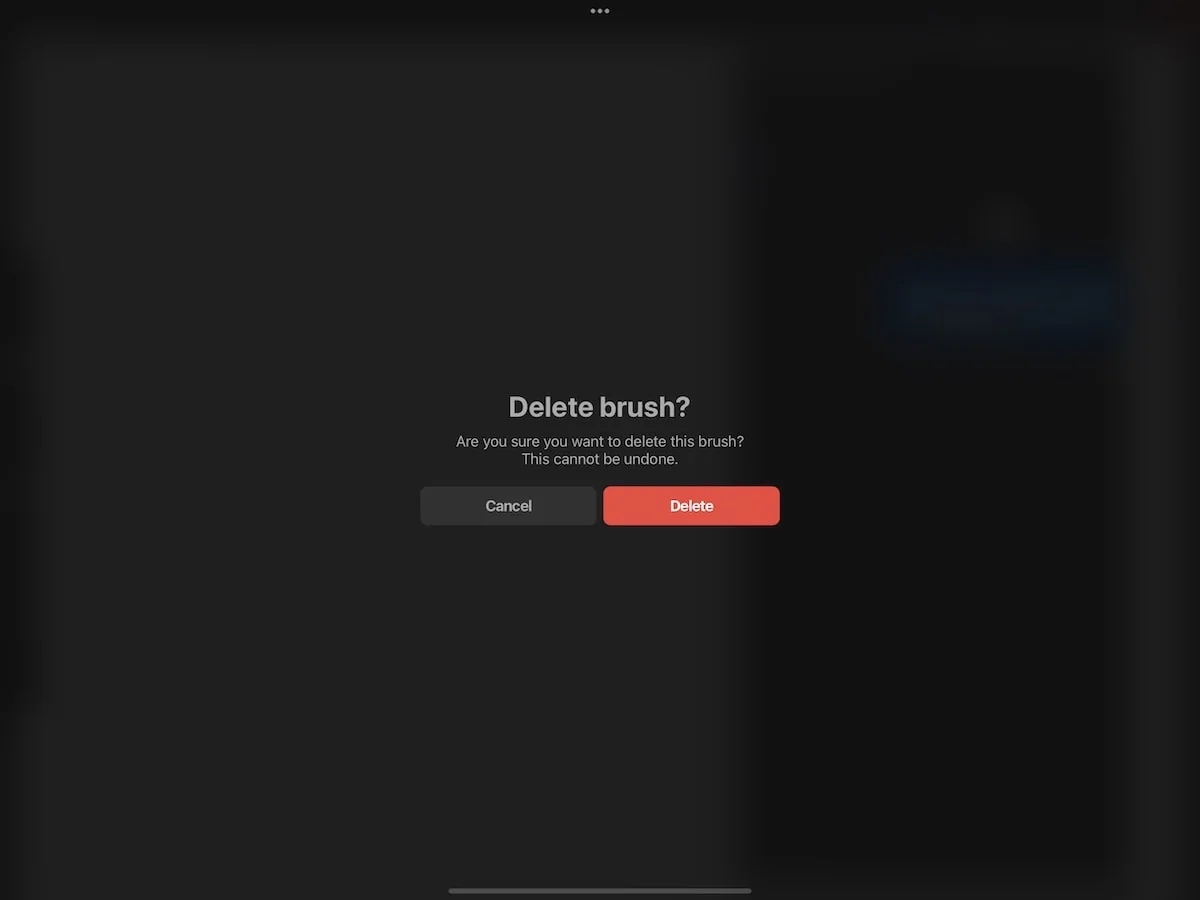
How to Delete Brushes
- Select the brush that you want to delete.
- Swipe to the left to reveal a menu.

- Choose delete.
- Confirm that you do want to delete this brush.
- To delete entire brush sets, tap on the name of the brush set to reveal a menu.
- Select delete.
- Confirm that you want to delete the brush set.

Other Options for Transferring Procreate Brushes
If for some reason you don’t want to use the automatic transfer, here are 2 other ways to move the brushes over.
Air Drop the Brushes
You will need to save the brush sets into a file first.
- If you don’t already have a Procreate brush folder, create a new folder and name it.
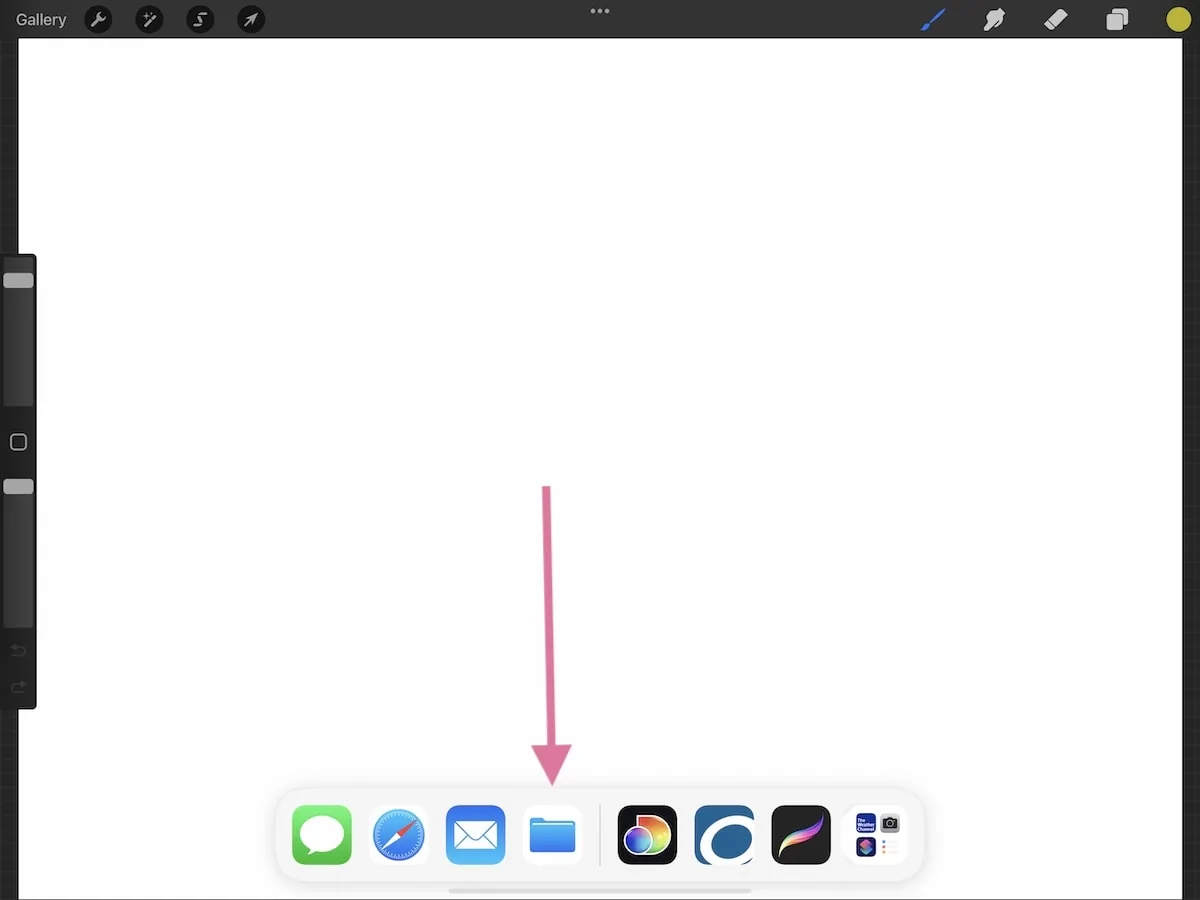
- In Procreate, use a finger to pull up from the bottom center of the screen.
- Chose the file app and drag it onto the Procreate screen. It can be moved around by dragging the top 3 dots in the top of the menu.
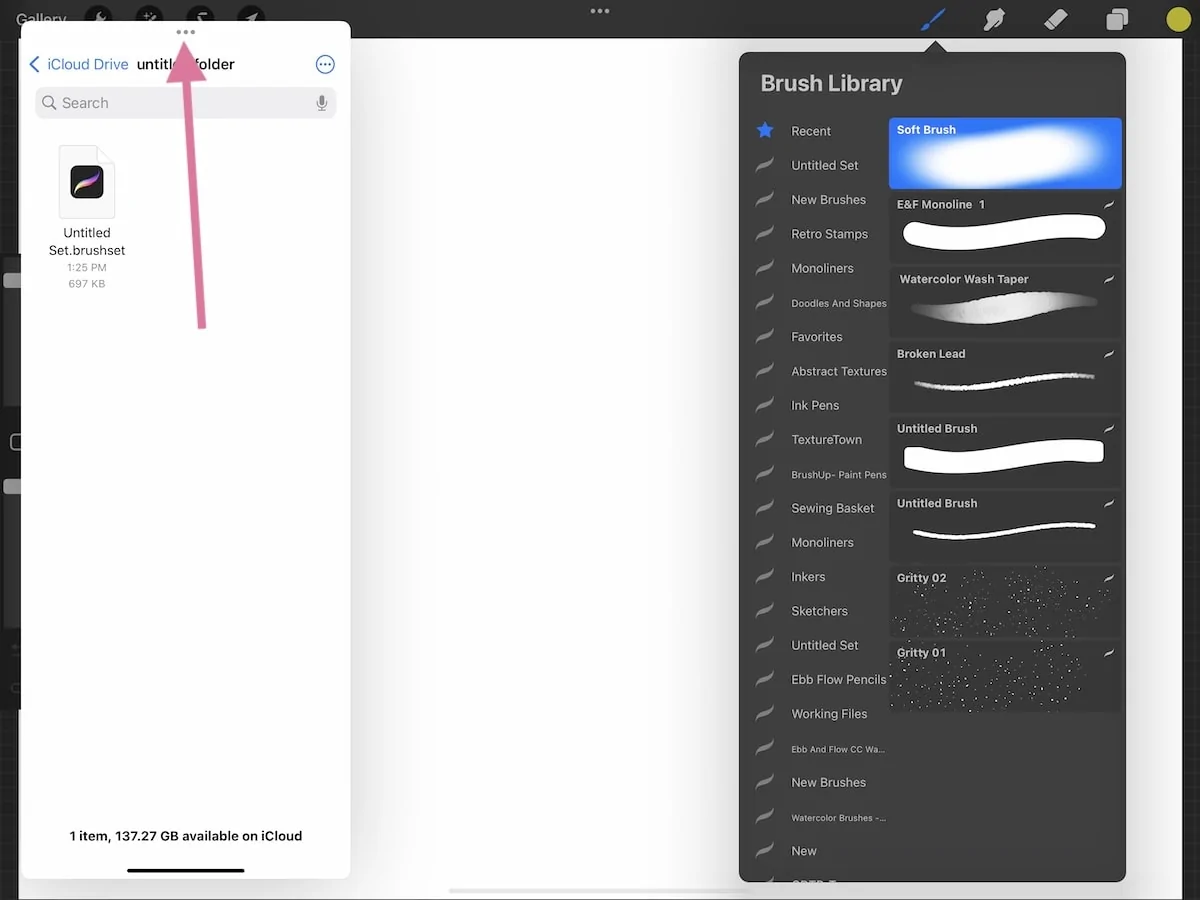
- Open the Procreate brush folder that you created earlier.
- Open the brush menu.
- Drag the brushes that you want to save into the folder.
Save to iCloud and Re-Install the Brushes
Use the same instructions above for saving the brushes into a file. Choose the iCloud for the location to save them.
It’s best practice to save them to a folder titled Procreate Brushes. This helps you stay organized.
Then simply install the Procreate brushes as instructed in this post.
You Might Also Like:
Pin for Later!