How to Make Procreate Brushes

I’m a self-taught artist who loves sharing tips and tutorials for painting with watercolor and gouache, and using the Procreate app on the iPad.
Learning how to make Procreate brushes has made creating art in Procreate even more fun! This easy process can have a huge impact on your art.
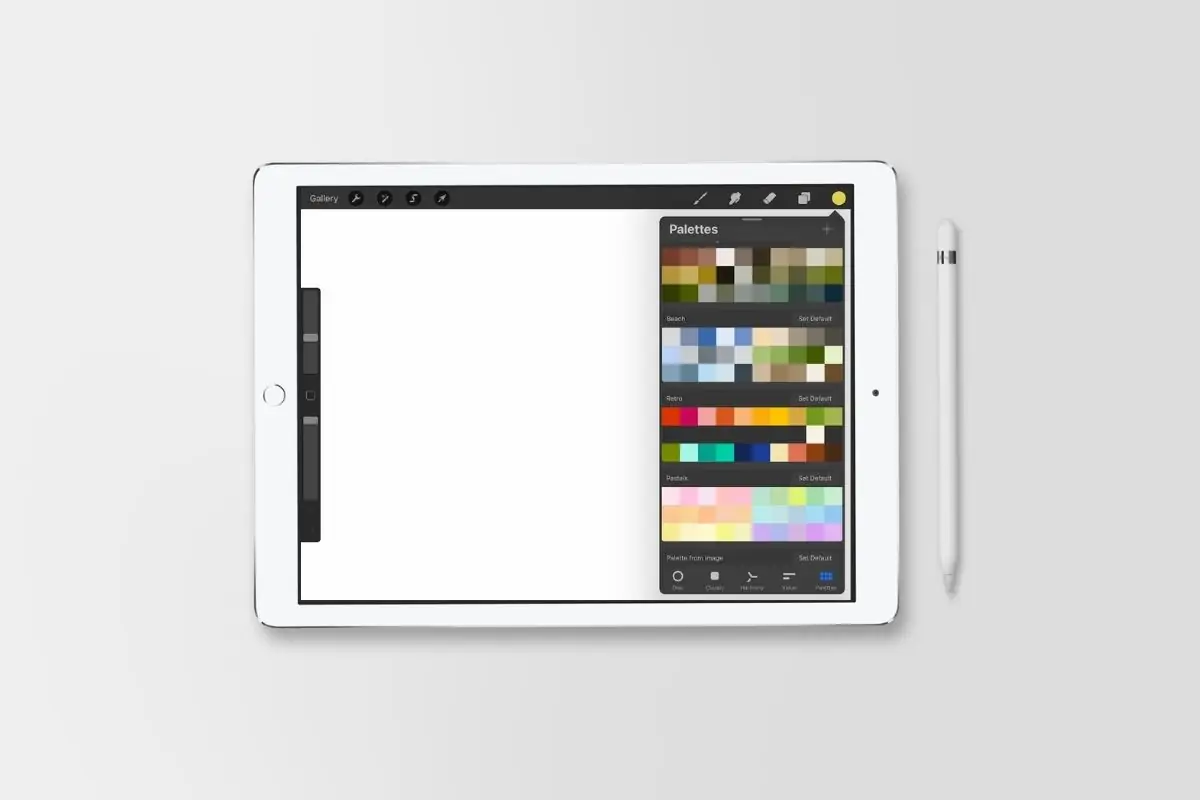
You might also be interested in learning how to import color palettes in Procreate.
This post contains affiliate links. By purchasing an item through an affiliate link, I earn a small commission at no extra cost to you. As an Amazon Associate I earn from qualifying purchases.
It’s no secret that I’m obsessed with making brushes for Procreate. I find the process really fun, like a puzzle. Plus, it allows me to make brushes that work how I want for my art.
You might be interested in learning how to use Procreate.
Creating Brushes for Procreate FAQs
Some of the settings in the Brush studio have changed since the latest update. These are some of the biggest changes that I’ve noticed.
How do you move brushes?
Moving brushes requires you to use your finger. You cannot use the Apple pencil to move them.
Select your brush and hold it until it shakes a little. Drag it to the correct folder. If your folder is higher or lower than your list is currently displaying, hold it at the top or bottom until the list scrolls to where you need it to be.
Your brush will be deleted from its current place. If you want your brush in both folders, duplicate it before moving.
Learn how to move brushes to a new iPad.
How do you name brushes?
In the brush studio menu, locate the menu named “About this brush.” You can change it in this menu by clicking on the current name.
How do you invert the shape source colors?
In the shape source menu, add your shape. Once it has been added, tap with 2 fingers to invert the colors.
How do you turn the shape in the shape source menu?
Use a twisting motion with your finger to rotate the shape source.
How do you make a brush opaque?
In the Apple pencil settings, change the opacity to 0. It’s set to the max by default which gives a transparent beginning and end to each brush.
How to Make Brushes for Procreate
Here’s how to get started making a basic brush. From there, you can explore even more options. There are so many more options in the brush menu, so the brushes you can make are endless.
Make sure that you start with a large square canvas for the highest quality brushes. I recommend at least 3000 x 3000 pixels.
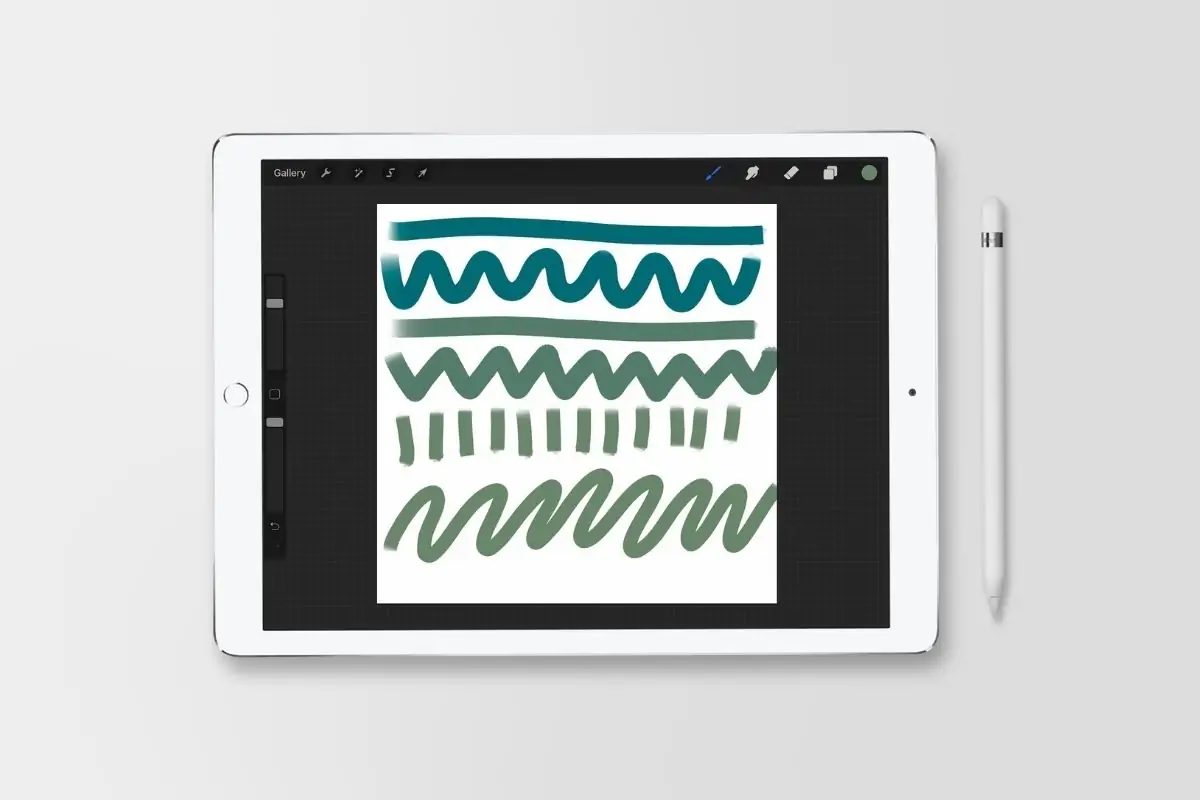
- Start with the “shape source”. You can use one from the source library or import one of your own. You can even scan in a real texture that you’ve painted, photographed, or drawn.
- Select a “grain source”. This will provide the textured background for the brush. For simple brushes, leave this option as is.
- Move to the “stroke path” menu and change the spacing. Less spacing will create a smoother stroke while increasing the spacing creates a stamp-like effect.
- Alter the streamline if desired. Increasing the streamline will make your strokes less shaky if you’re hand isn’t very steady. This is great for lettering and not so great for sketching.
- In the “Apple Pencil” menu, set the opacity to none to remove the transparent beginnings and ends.
- In “properties”, you can change the min and max size and opacity if desired. If you’ve ever wanted a really chubby pencil, this is where you can make that happen.
- In “about this brush”, you can change the name and add your maker info, as well as create a reset point, so that you can keep tweaking the settings.
Quick tip: If there’s a brush that is almost perfect, duplicate it and play with the settings.
This is also a good tip to see how other brushes are made. For instance, viewing the shape source for a watercolor brush may spark your creativity to make a better one!
Procreate Brush Making Tutorials
These tutorials will help you create brushes in Procreate. I’ve noted which of these tutorials have free brush downloads.
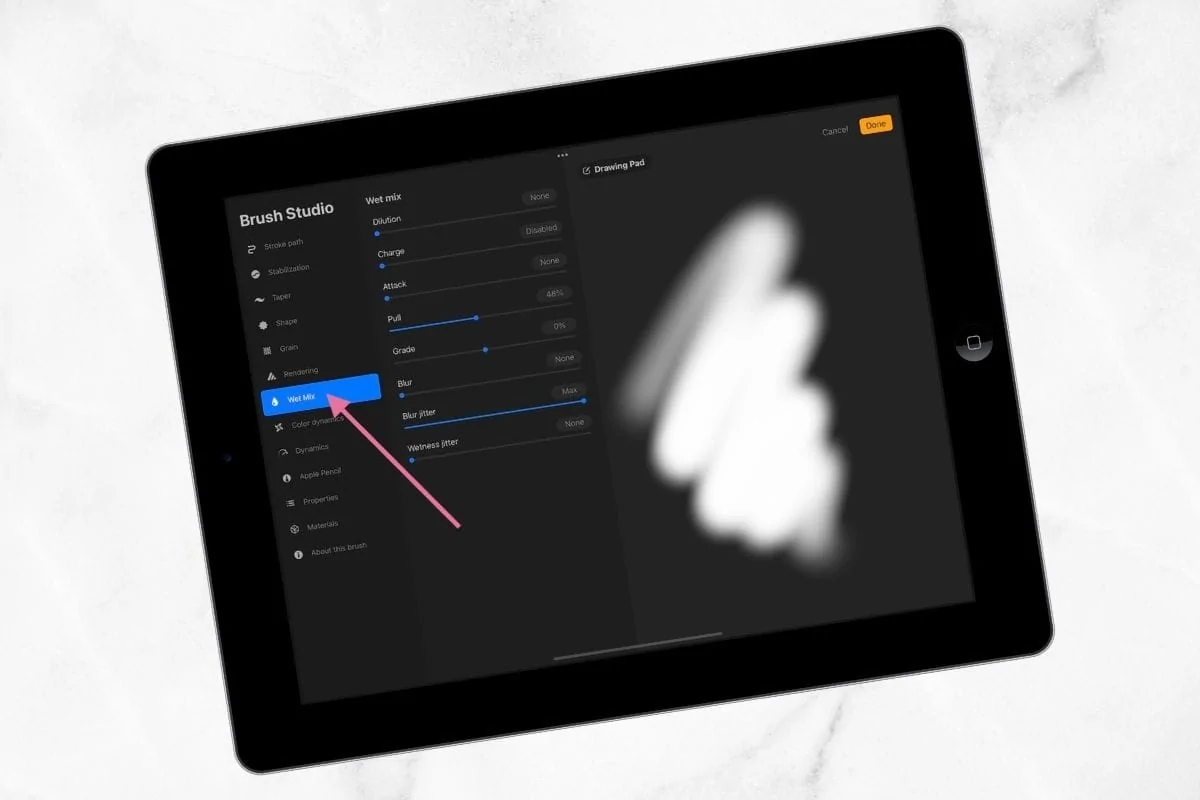
- Brush Studio for Procreate 5 Explained. I walk you through every single setting in the Brush studio and explain what they are for. I also added my commentary on which settings are good for which brush.
- How to Import Brushes in Procreate. This tutorial walks you through importing and exporting brushes and brush sets in Procreate.
- How to Make a Monoline Brush. This easy tutorial walks you through making the easiest brush, the monoline brush. This simple brush is so useful in Procreate, and it’s even better than the one provided! Plus you can make it as big or little as you want. Or you can just download my monoline brush.
- How to Make a Stamp Brush. The stamp brush is also an easy brush to make and is also very useful. I love it for creating shapes that I use often, but it can also be used for decorative items or even textures. Download my star brush.
- How to Make a Lettering Brush. If hand-lettering modern calligraphy has eluded you, try it on Procreate. You still get the muscle memory required for lettering, but you get the magic of the undo button. This tutorial teaches how to make a simple lettering brush that works so well! Plus I’ve explained how to make it slightly different. Download my favorite lettering brush.
- How to Make Watercolor Brushes. Watercolor brushes were the hardest to make so far, but they involved playing with actual watercolor paint, so that’s a win in my book. This tutorial teaches about all the variations that you can make from making a few watercolor splotches and splatters on paper. Plus, you get a 3 pack of brushes to download.
- How to Make a Pencil Brush. Pencil brushes are so useful for sketching when you’re beginning an illustration. Learn how to make the perfect pencil brush! Plus, get a free pencil brush download.
- How to Make Inking Brushes. These brushes are based on pens and are great for sketching and outlining art. This post includes 2 free inking brushes to download.
- How to Make Color-Changing Brushes. Learn all about how to make color gradient brushes. Plus get a free rainbow lettering brush.
- How to Make Brushes from Images. This is a part 2 post for making stamps. This post walks you through making watermarks and using photos for brushes.
- How to Make a Square Monoline Brush. This easy-to-make brush is great for hand lettering and adding marks to drawing. Get a free brush download.
- How to Make Blending Brushes – This simple tutorial shares how to alter existing brushes to have better blending capabilities.
- How to Make a Dashed Line Brush – Learn how to make a brush with dashed lines to create stitching or just a fun detail for art. Free brush download.
- Texture Brushes – This tutorial shares how to take art supplies to make textures and turn them into brush stamps, plus how to use them. Free mini brush set.
- Simple Pattern Brushes – Learn how to make basic pattern brushes, plus get 3 free pattern brushes to use.
- Dotted Line Brush Tutorial – This is a super easy brush to make! Learn a few simple variations, plus get a free brush download.
- Neon Brush Tutorial – Make a brush the glows like a neon light, plus get tips for increasing the glowing effect. Get a free brush download.
Other Procreate Brush Tutorials
- How to Resize Procreate Brushes. Get easy tips for resizing Procreate brushes.
You might also be interested in learning how to sell Procreate brushes.
Pin for Later!