How to a Create Color Dynamics Brush for Procreate
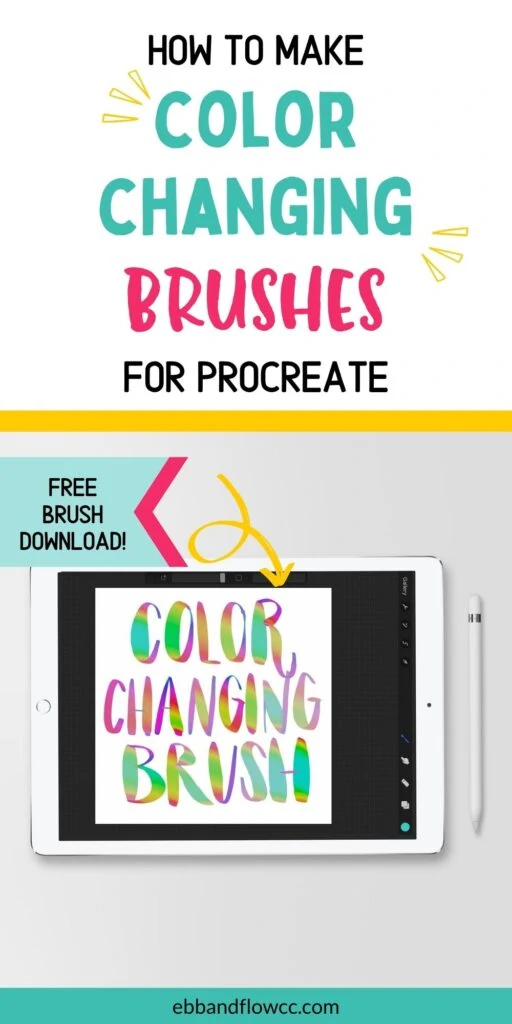
Learn how to create a color dynamics brush for Procreate. These amazing brushes allow you to create color-changing brushes to create rainbow or gradient brushes, depending on the settings.
You might also like this overview on making brushes for Procreate.
Get more tutorials for making Procreate brushes.
Scroll down for a free color-dynamics lettering brush.
This post contains affiliate links. By purchasing an item through an affiliate link, I earn a small commission at no extra cost to you. As an Amazon Associate I earn from qualifying purchases.
Why would you want to create color dynamics brushes?
These brushes are amazing for lettering and illustrating. You can create rainbow brushes that change color as you letter.
For illustrations, color dynamics brushes allow you to add shading and depth to your illustration without changing colors.
You can also make color dynamics stamp brushes, which is a great way to add subtly color changing texture to illustrations.
Adding color dynamics to a brush is also a great way to make it behave and look more like real paint.
How to Make Color Dynamics Brush for Procreate
This tutorial requires an iPad, Apple Pencil and Procreate 5X.
When working with color dynamics, it’s easier to see the changes by leaving the Brush Studio and drawing on a blank canvas.
If you’re having trouble seeing the color changes, change the color. Some changes show up better with dull or dark colors as your chosen color. Play with the color to get different effects.
Directions
It’s easier to start with a brush that is already created. I started with my lettering brush, but you can use any brush you want, even the default brushes that come with Procreate.
Just make sure that you duplicate the brush first!
Stamp Color Jitter
The first section in the Color Dynamics menu relates to stamp brushes. For the sake of brevity, I skipped this part, but it works the same as the stroke color jitter section.
Stroke Color Jitter
This section changes the color of the brush stroke after you lift your brush. Every new brush stroke will be a different color or variation depending on the settings.
Hue
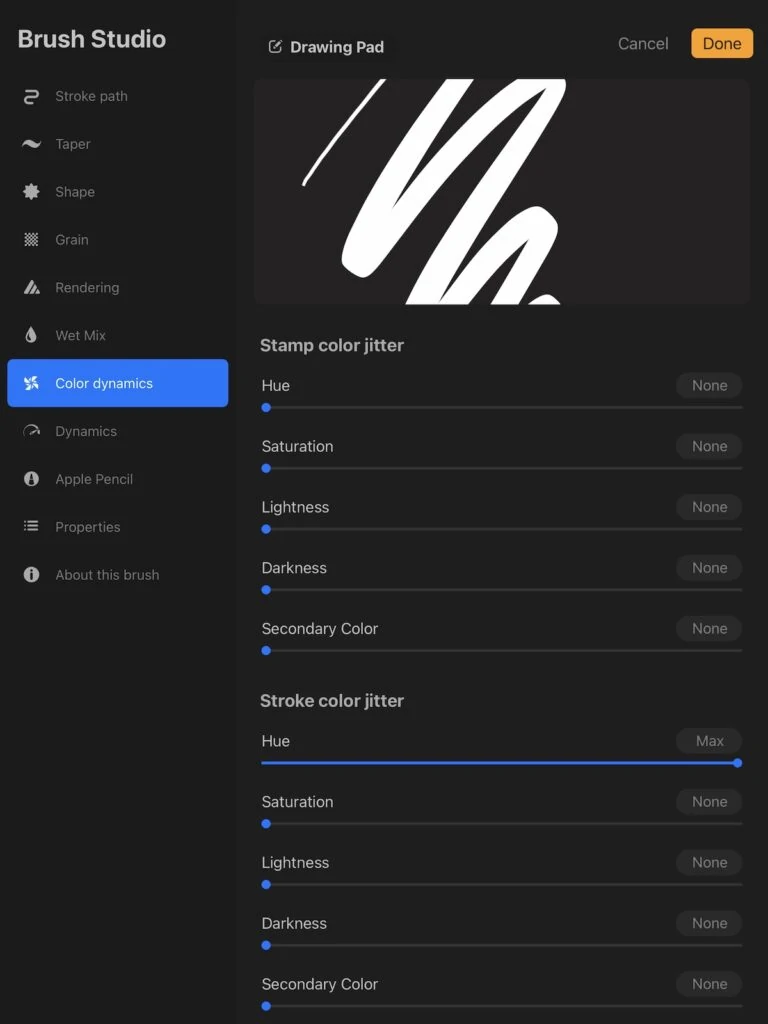
This setting changes the color of the strokes. For this example, I have pink as my chosen color. Darker colors will produce darker variations and lighter colors produce pastels.
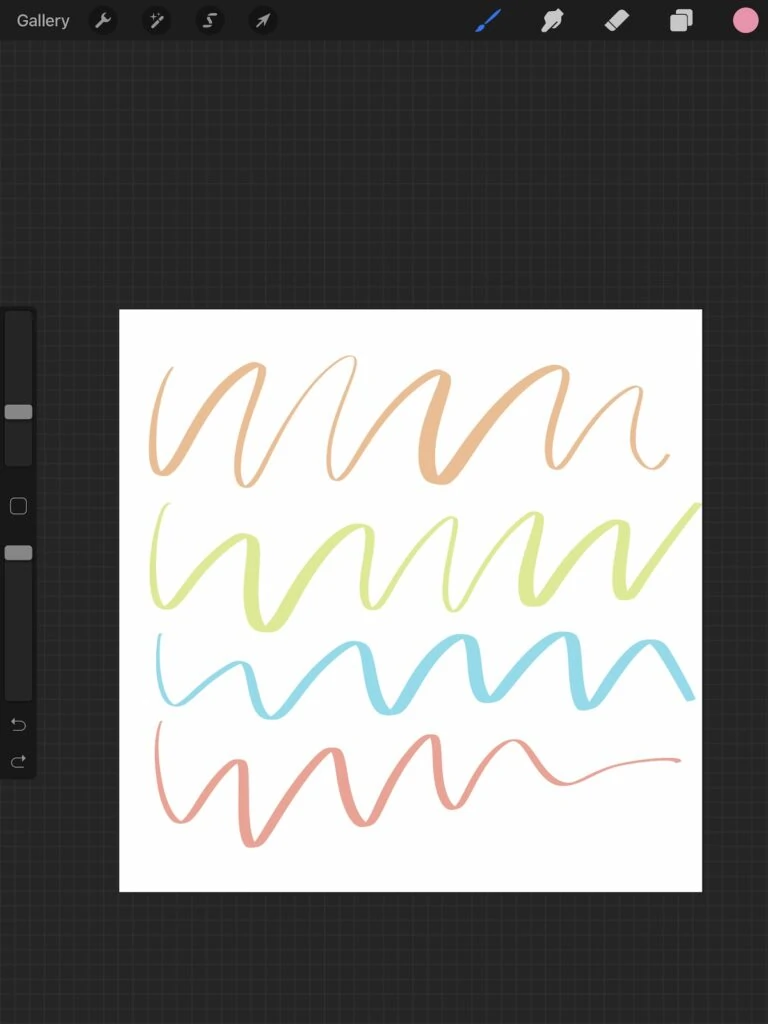
Saturation
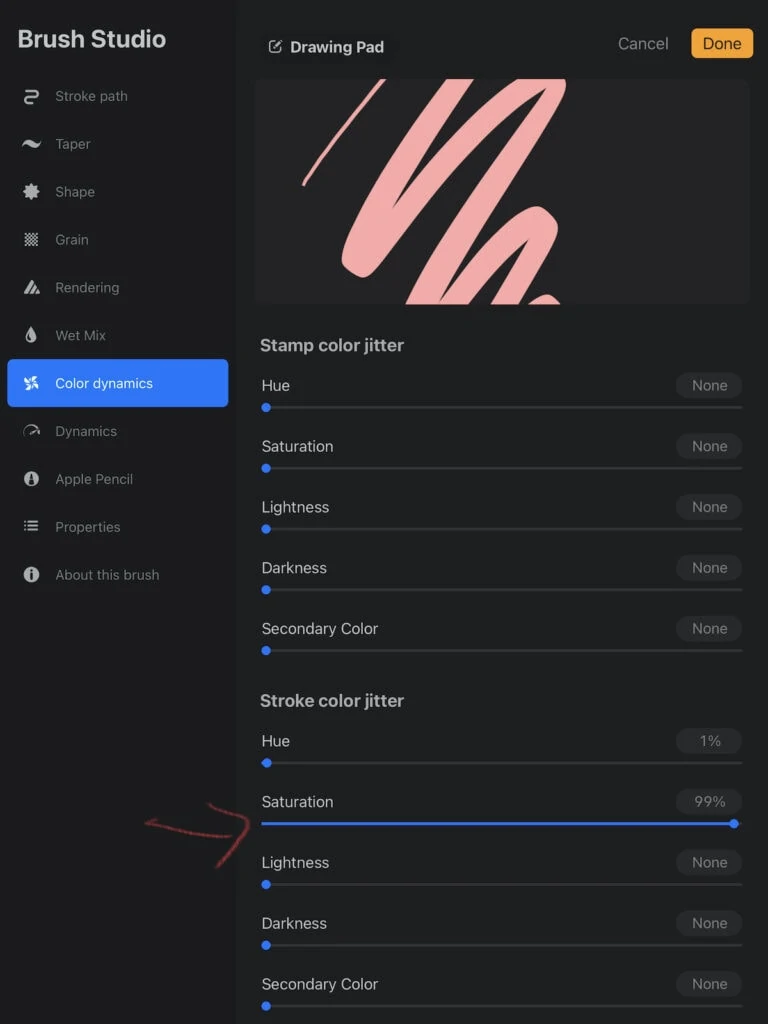
This changes the saturation of each stroke. Lighter colors will produce brighter color variation.
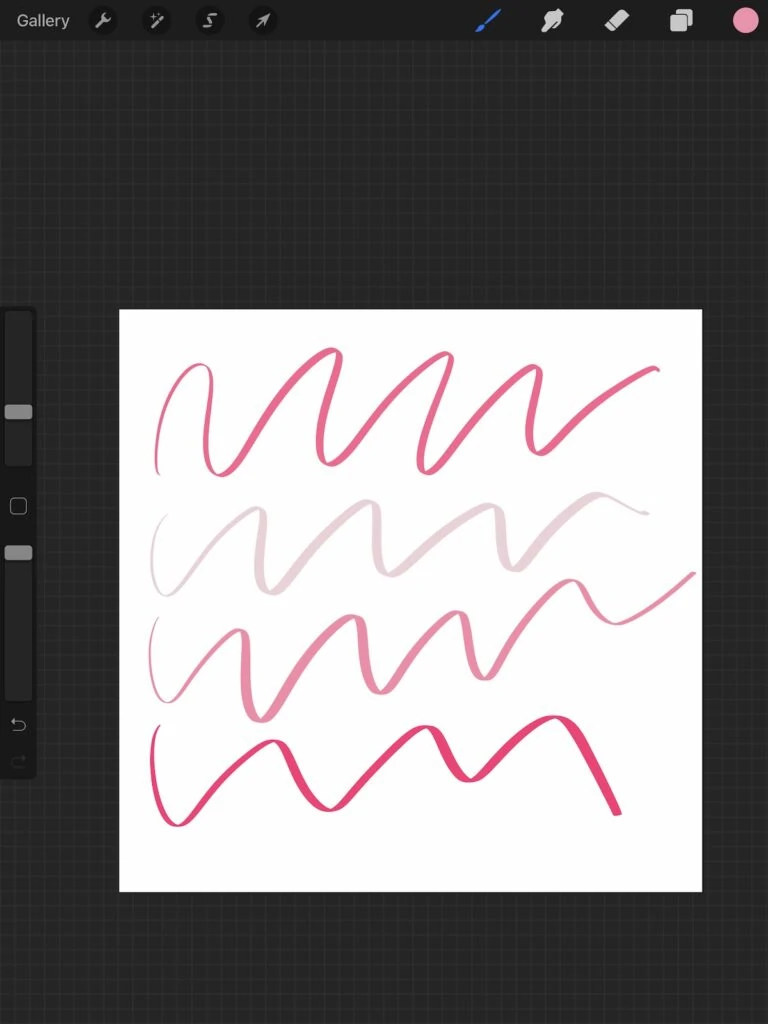
Lightness
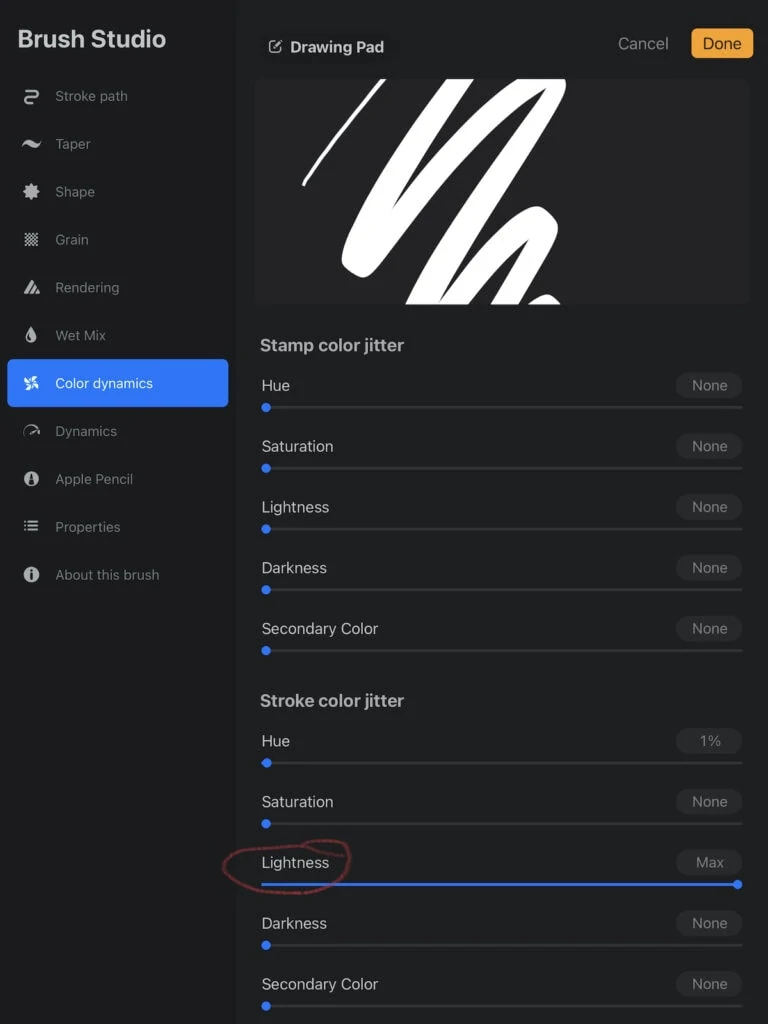
This changes the brightness of the color stokes. This setting works best with darker colors.
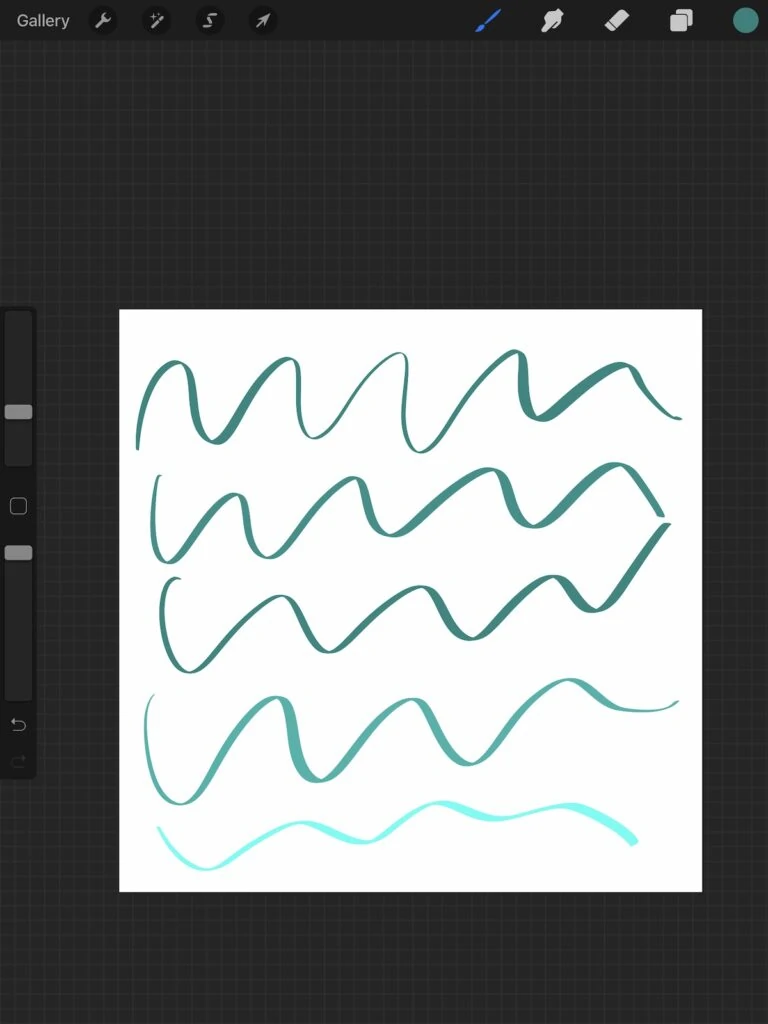
Darkness
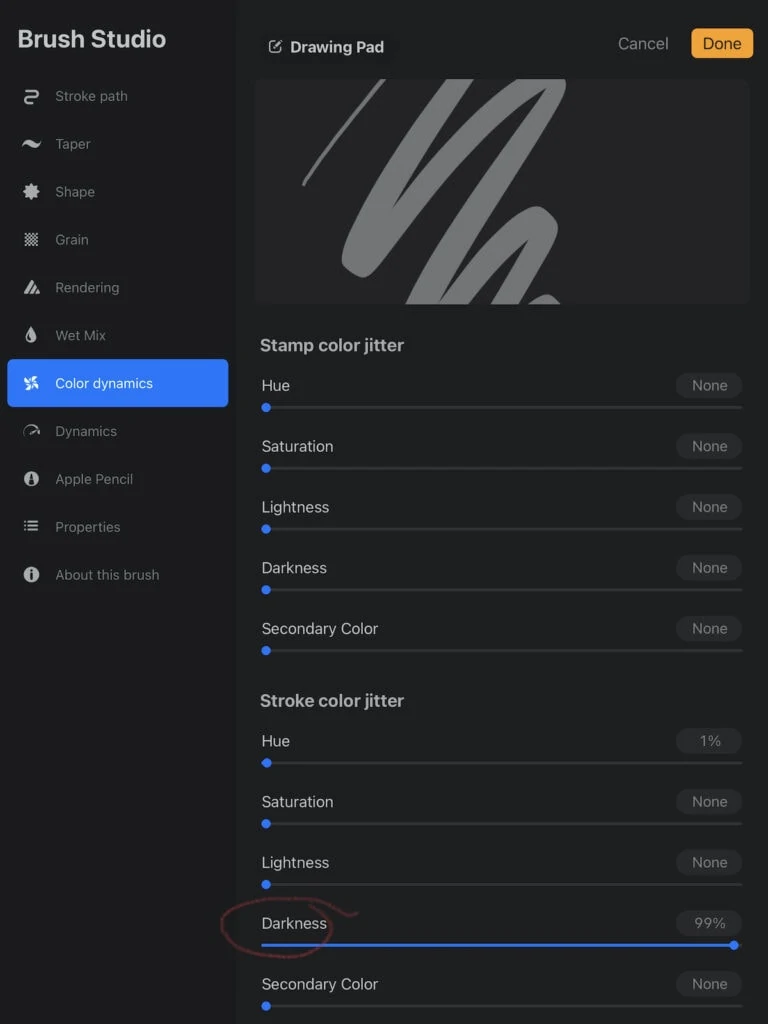
This adjusts the darkness of the color strokes. This works better with lighter and medium toned colors.
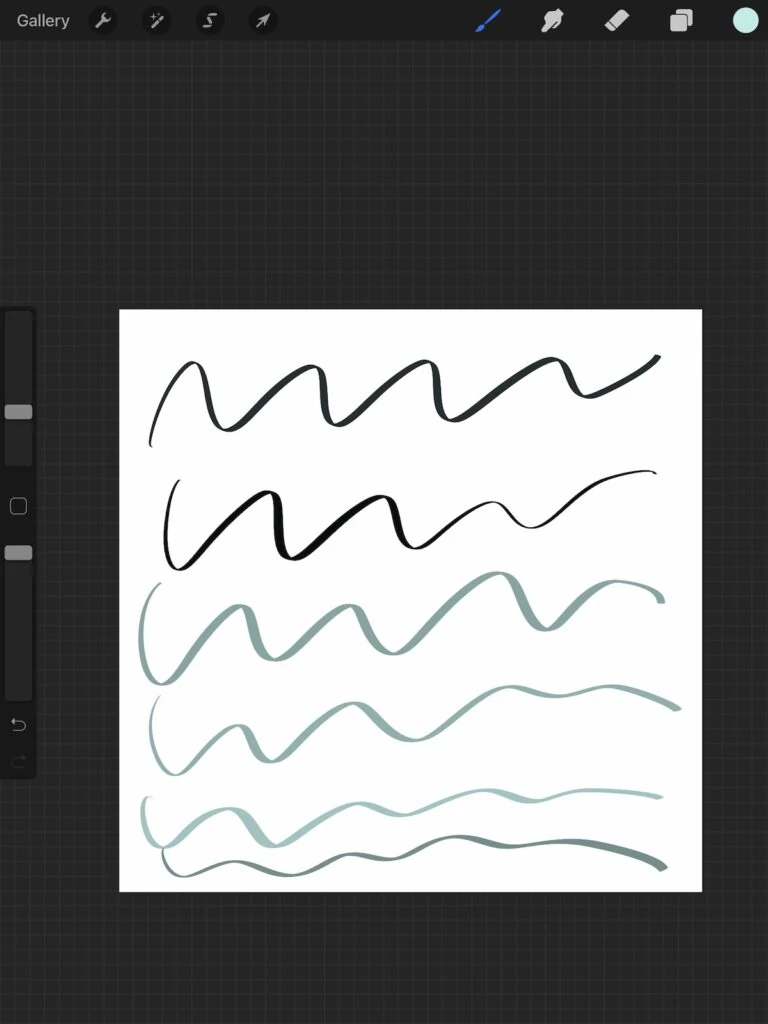
Secondary Color
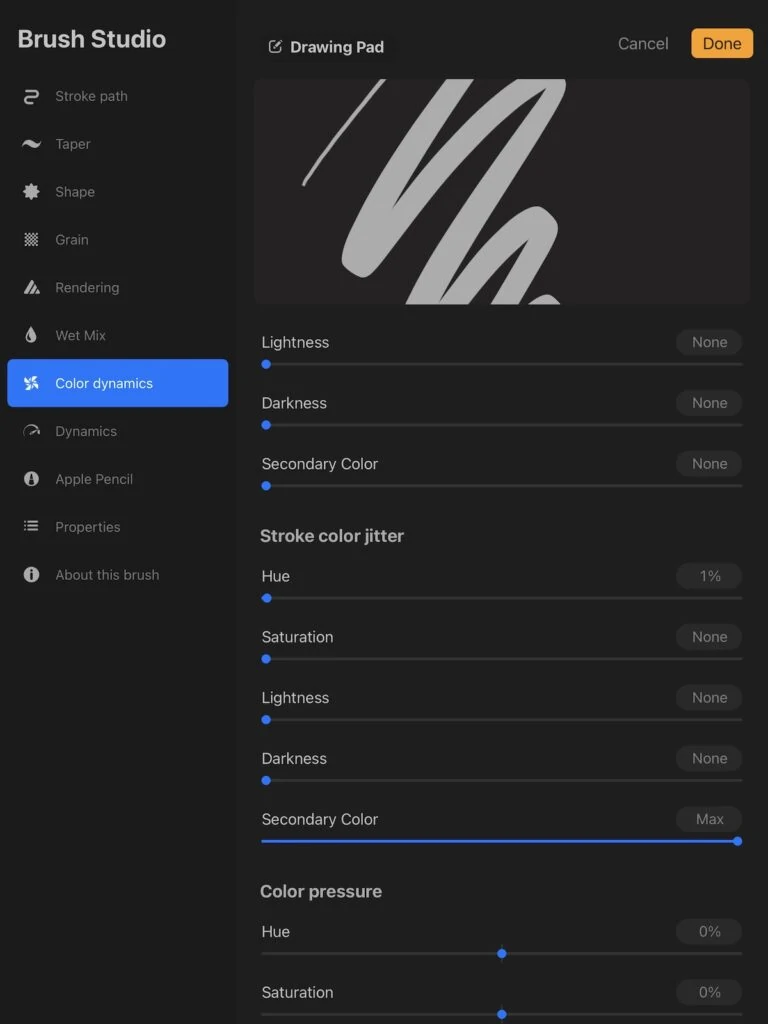
This adds a 2nd color to the stokes. The 2nd color can be chosen in the color menu by clicking on the non-active color choice. This setting works well with all color choices.
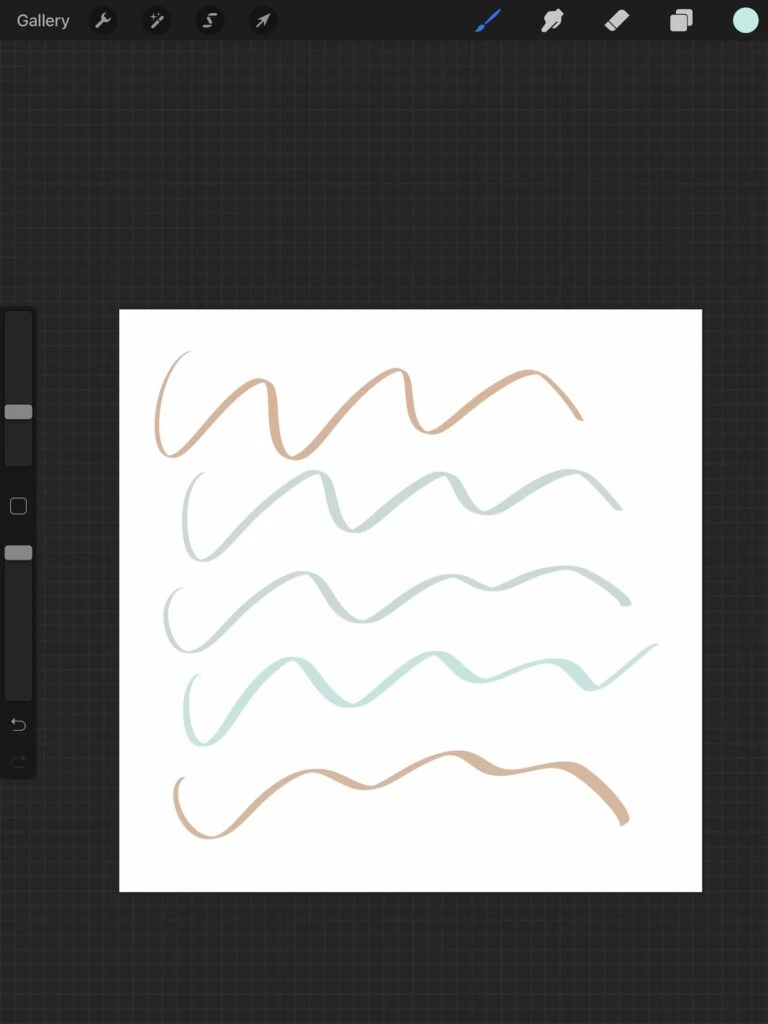
Color Pressure
This section changes color depending on the pressure of the Apple pencil. The color changes during continuous strokes.
Hue (Rainbow Brush)
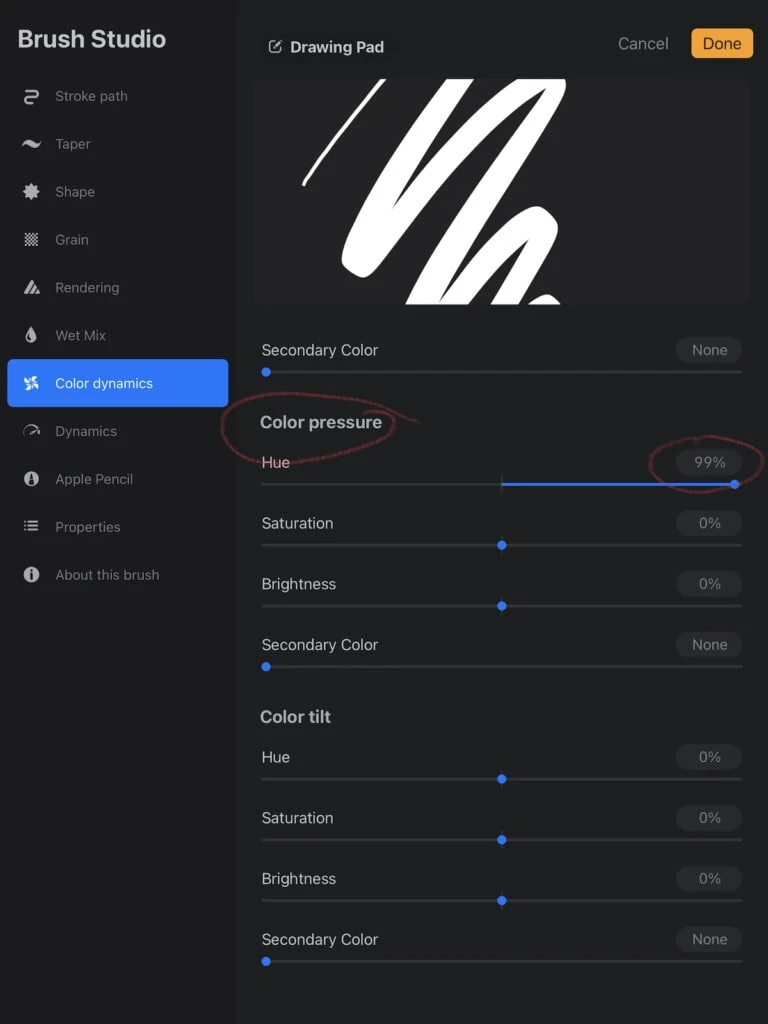
Your chosen color will determine the color of your rainbow gradient. Pastel colors produce pastels and dark colors produce darker rainbow colors.
The chosen color will appear with heavy pressure. A negative setting doesn’t seem to make a difference.
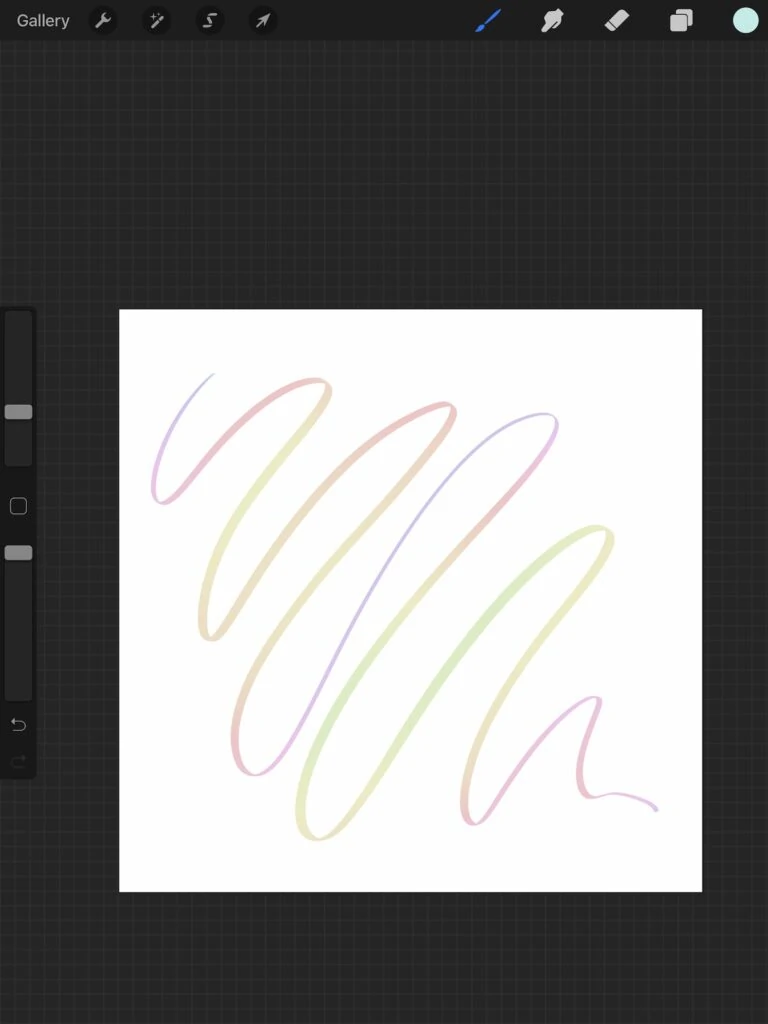
Saturation
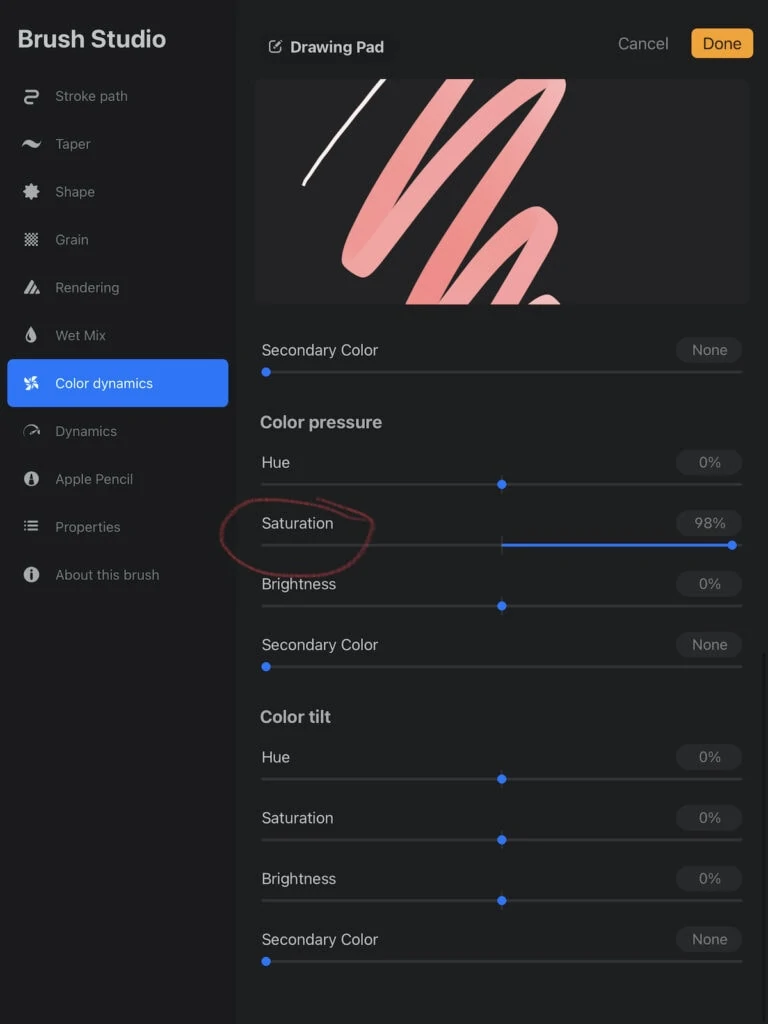
Pastel colors provide the most variation in saturation. However, I also love dull colors in this setting. A negative setting will produce variations to white.
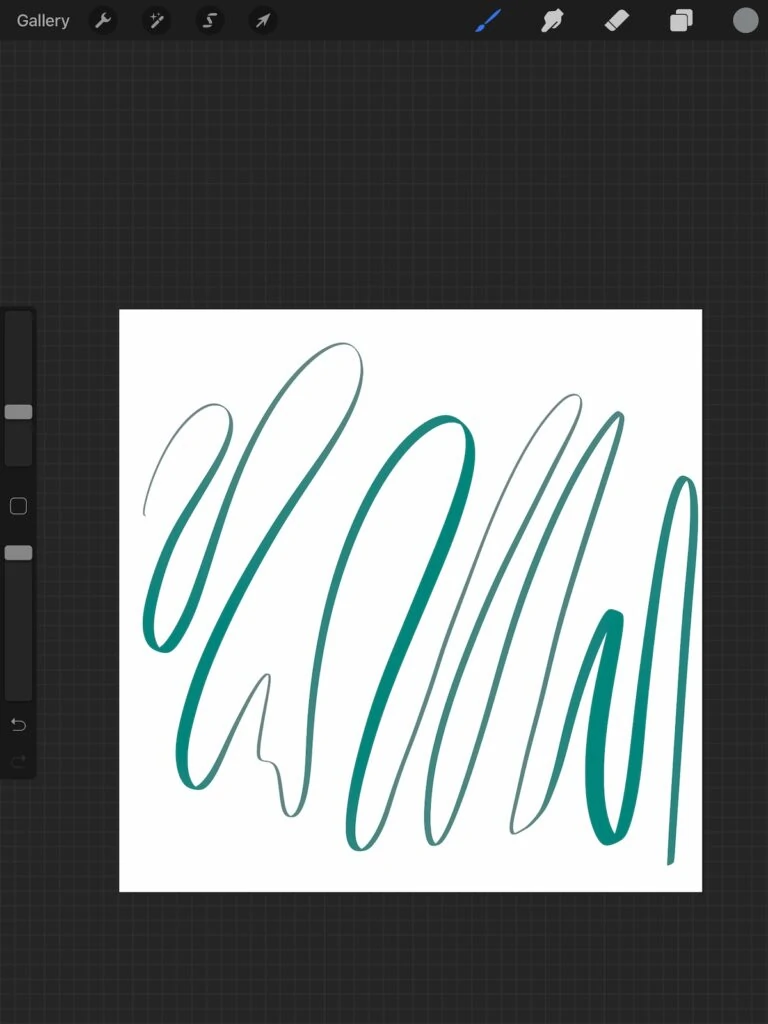
Brightness
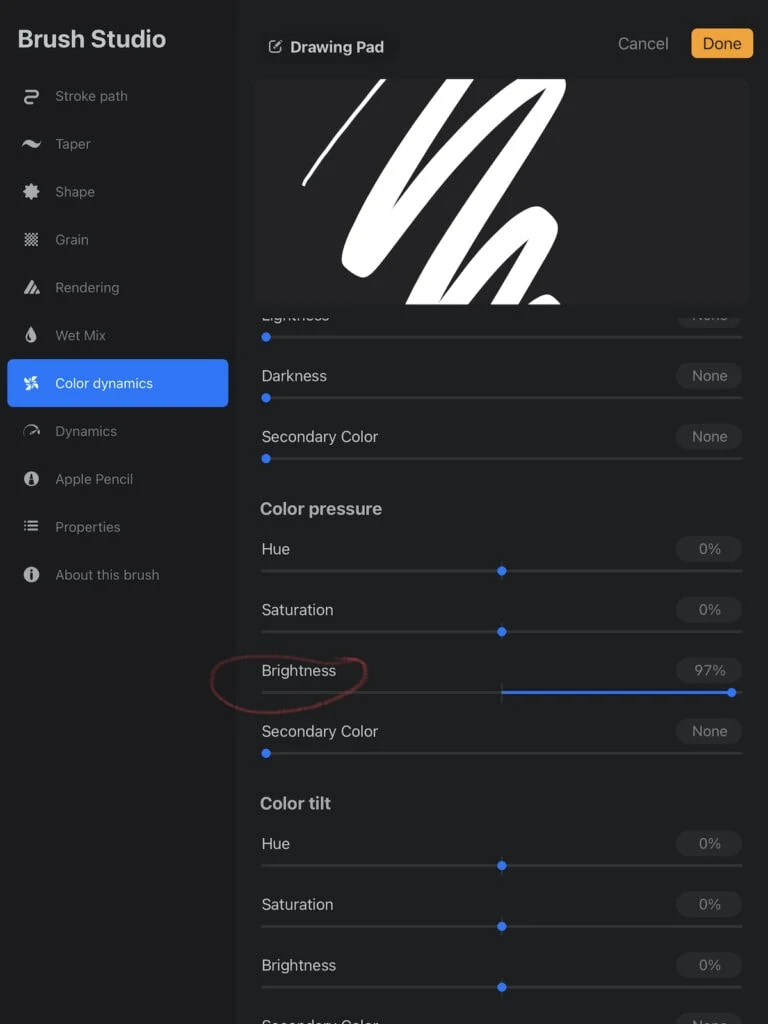
This setting works best with dark or dull colors. Pastels don’t show a big difference. A negative setting will change the brightness to darkness and create a dark color shift.
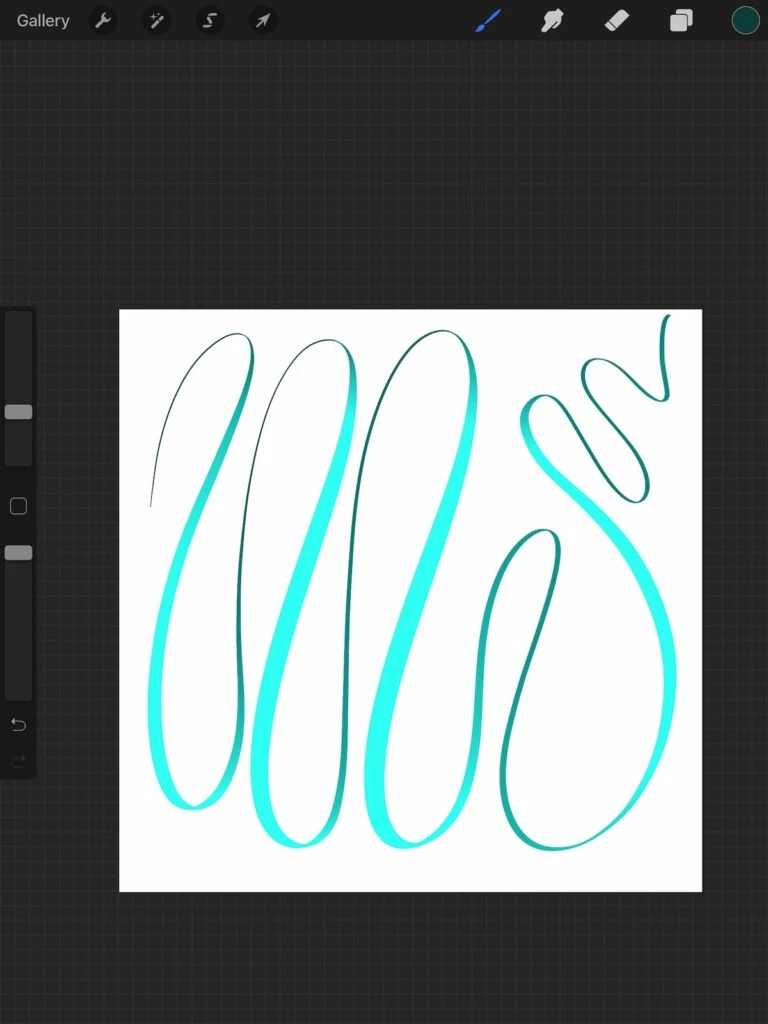
Secondary Color
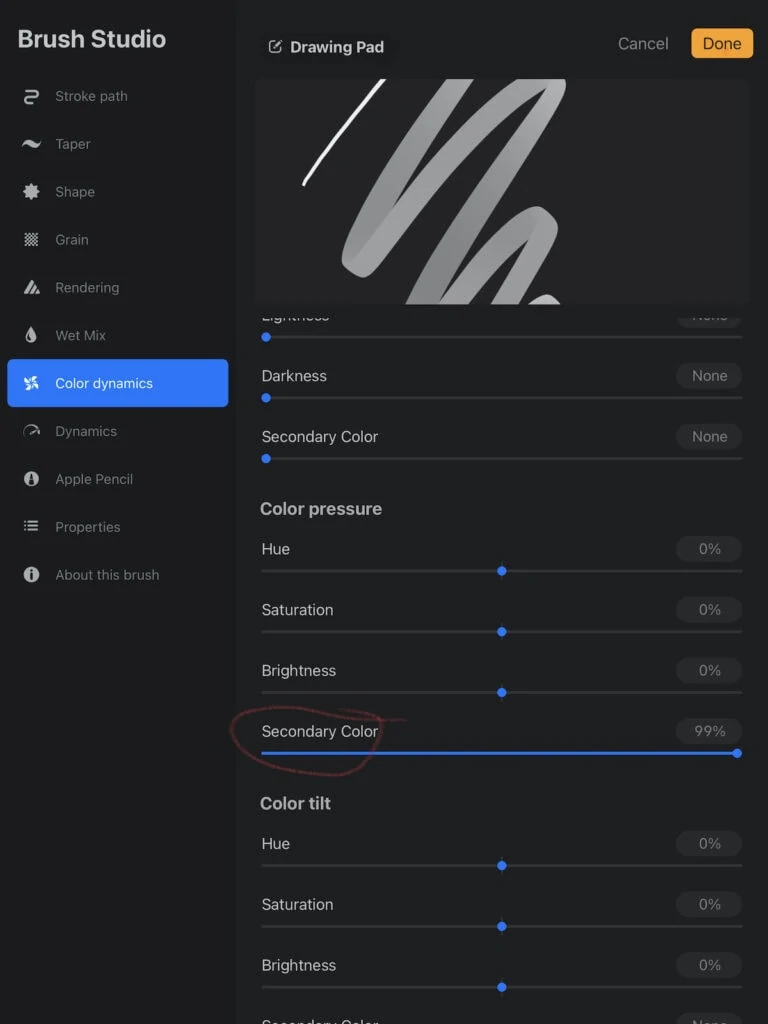
This setting works well with all colors. The 2nd color choice can be found in the color menu.
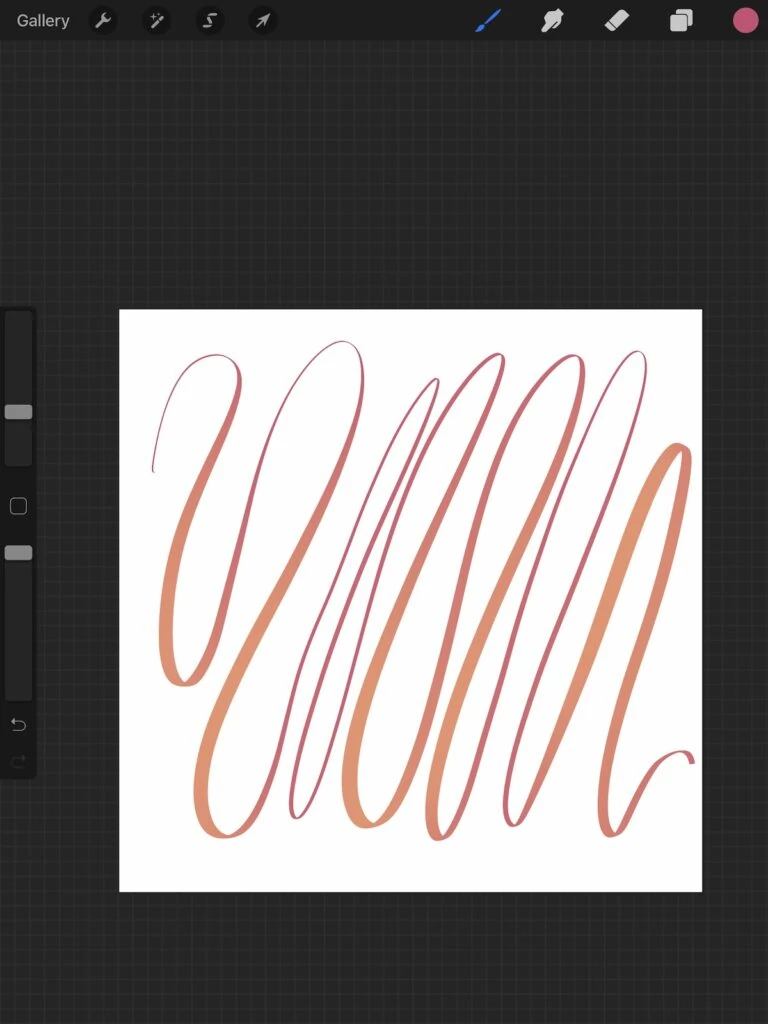
Color Tilt
This section changes color depending on the tilt of the Apple pencil.
Hue
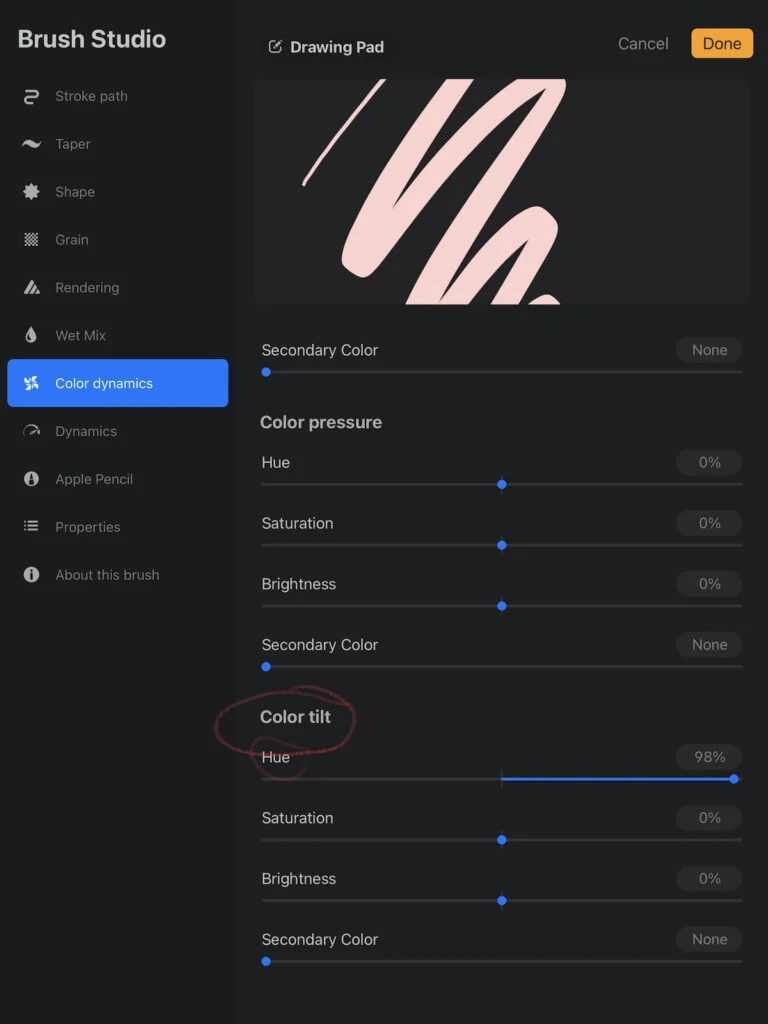
The color changes from hue to hue depending on the tilt of the pencil.
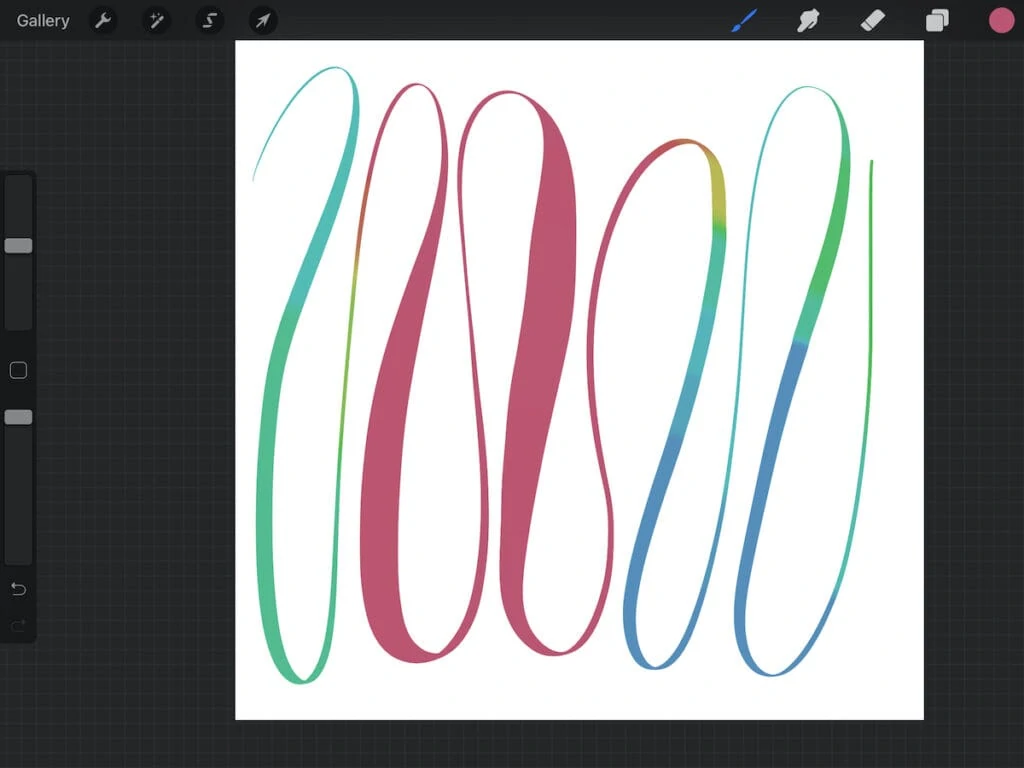
Saturation
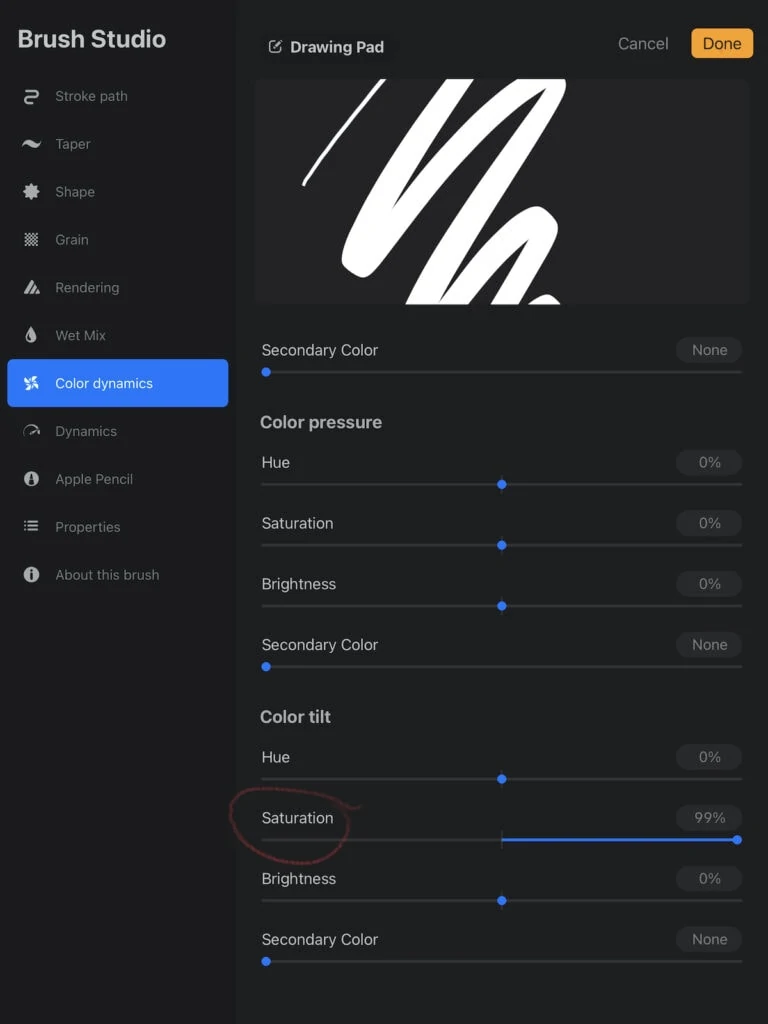
The chosen color will appear in an upright pencil position. This shows up better with light colors. A negative amount will result in the color turning white.
Brightness
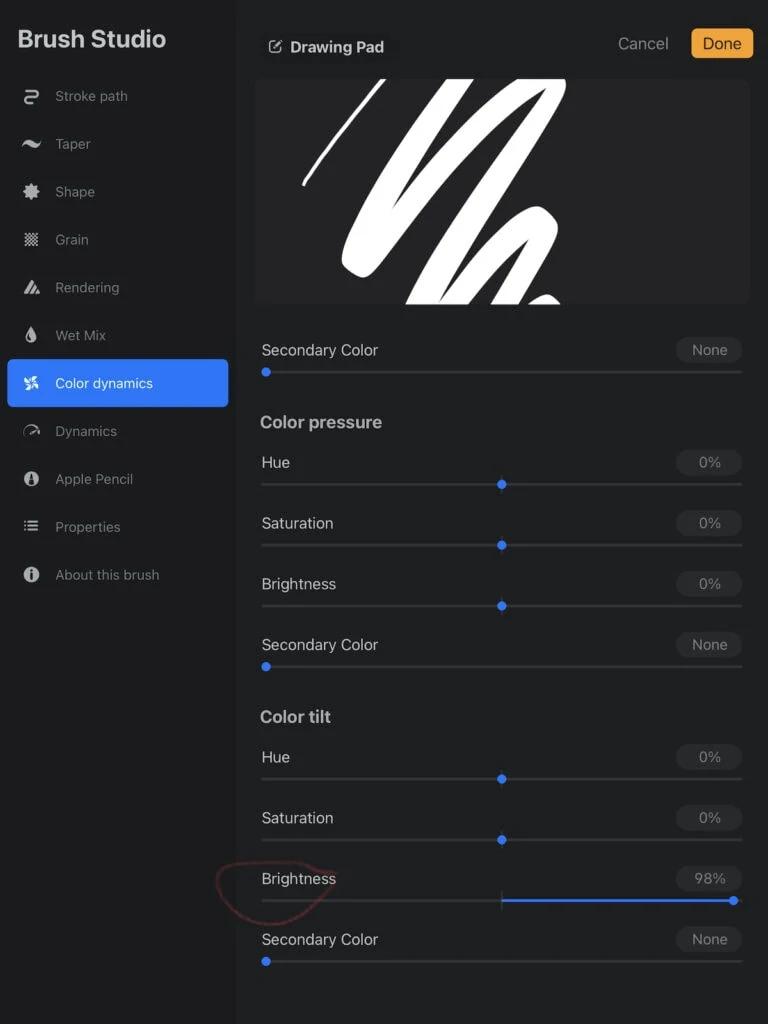
This shows up better with darker and dull colors. A negative setting adds darkness to the color as it shifts.
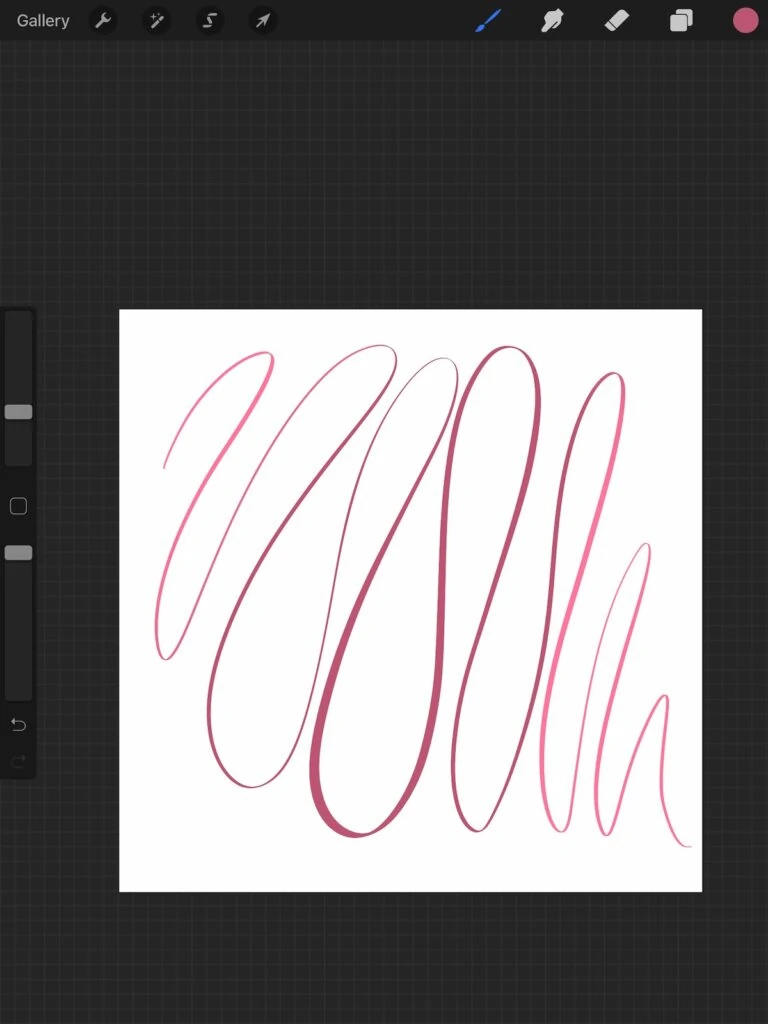
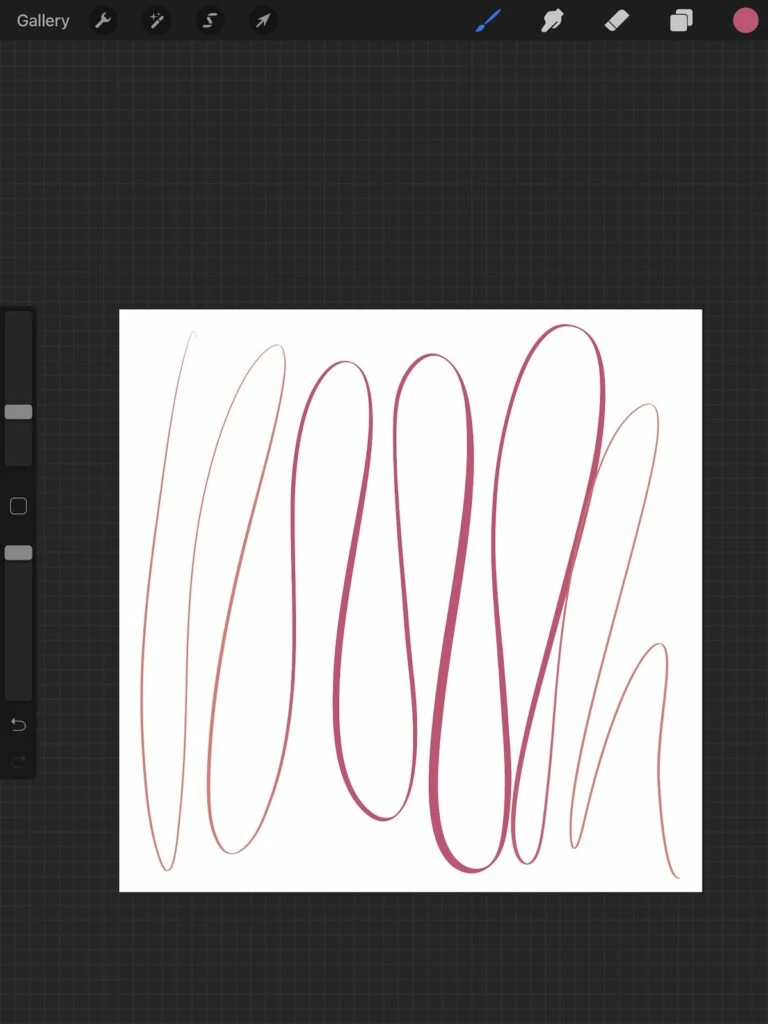
Secondary Color
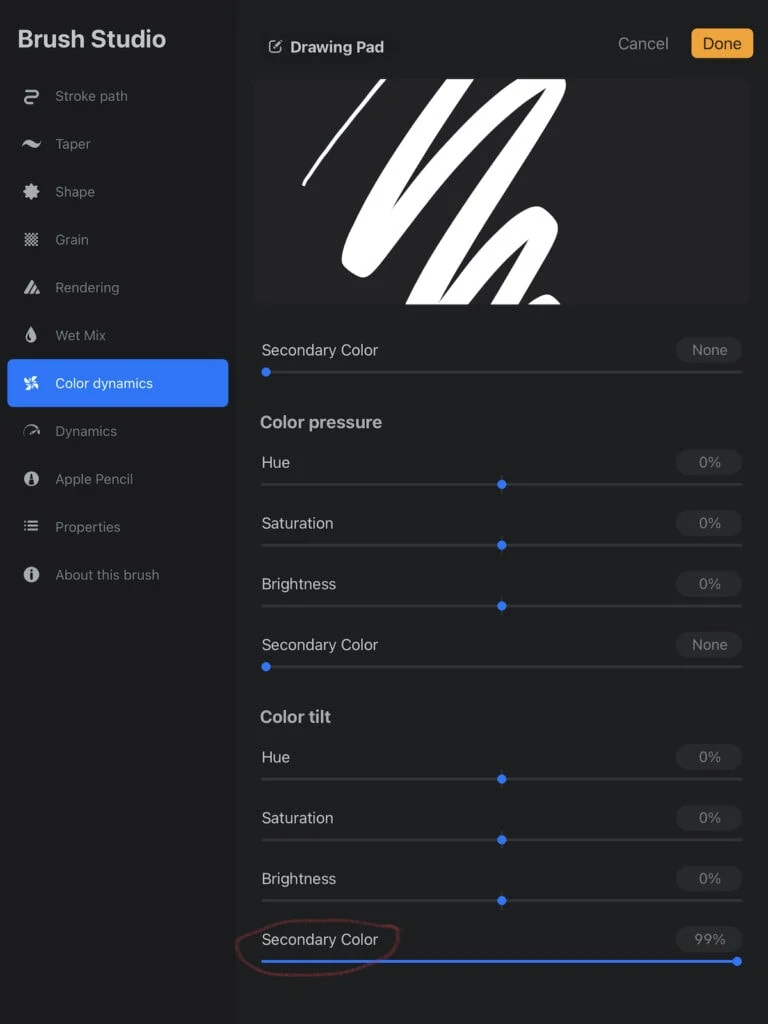
The 2nd color can be chosen from the color menu. This effect looks really cool when it shifts between dark and lighter colors of the same hue.
Variations
- Try combining settings in different sections to create unique brushes.
- Use the default brushes to create color-changing versions. (The soft airbrush is really fun for backgrounds!)
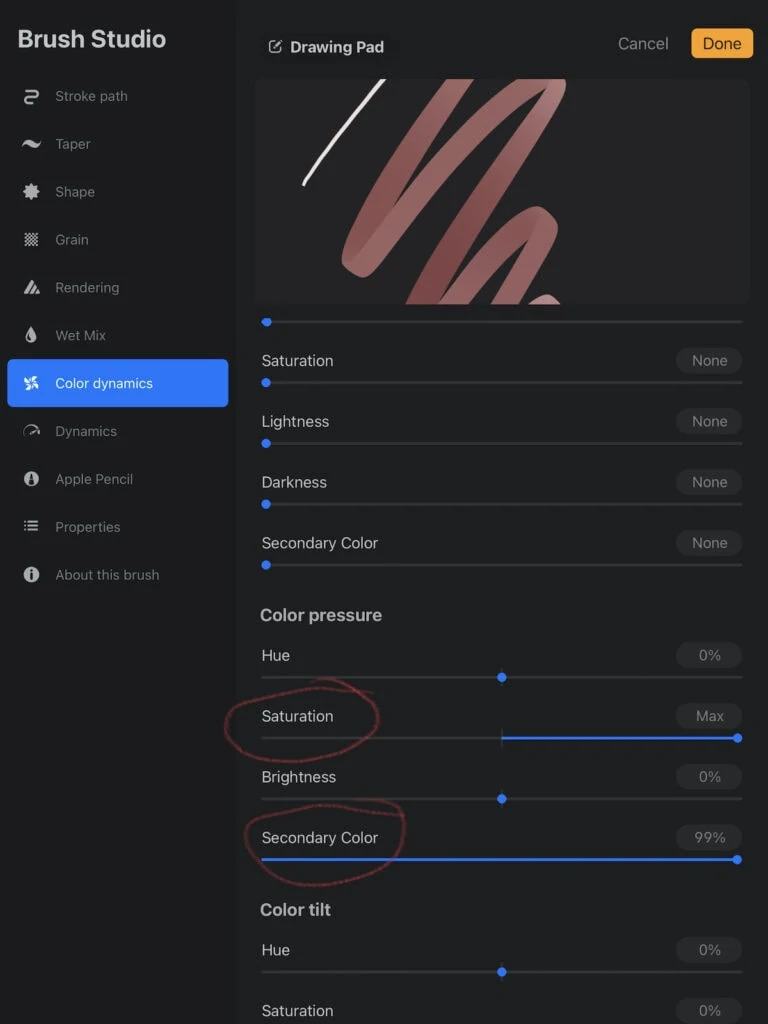
Combining settings can create some cool effects.

Download a Free Color Dynamics Brush
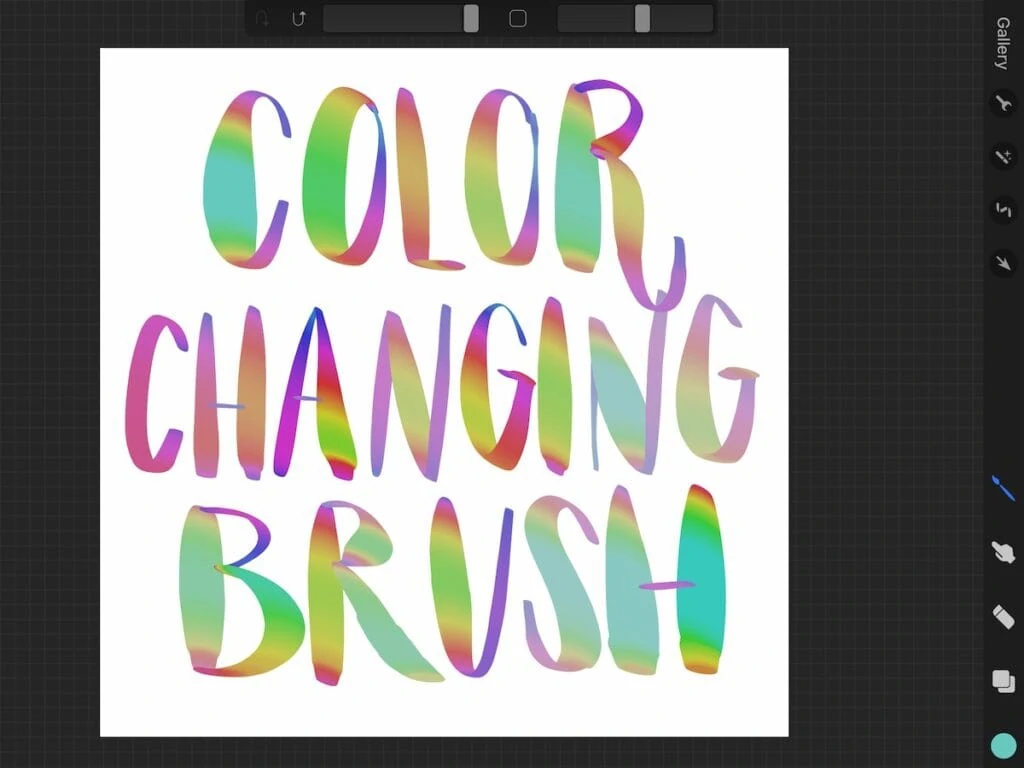
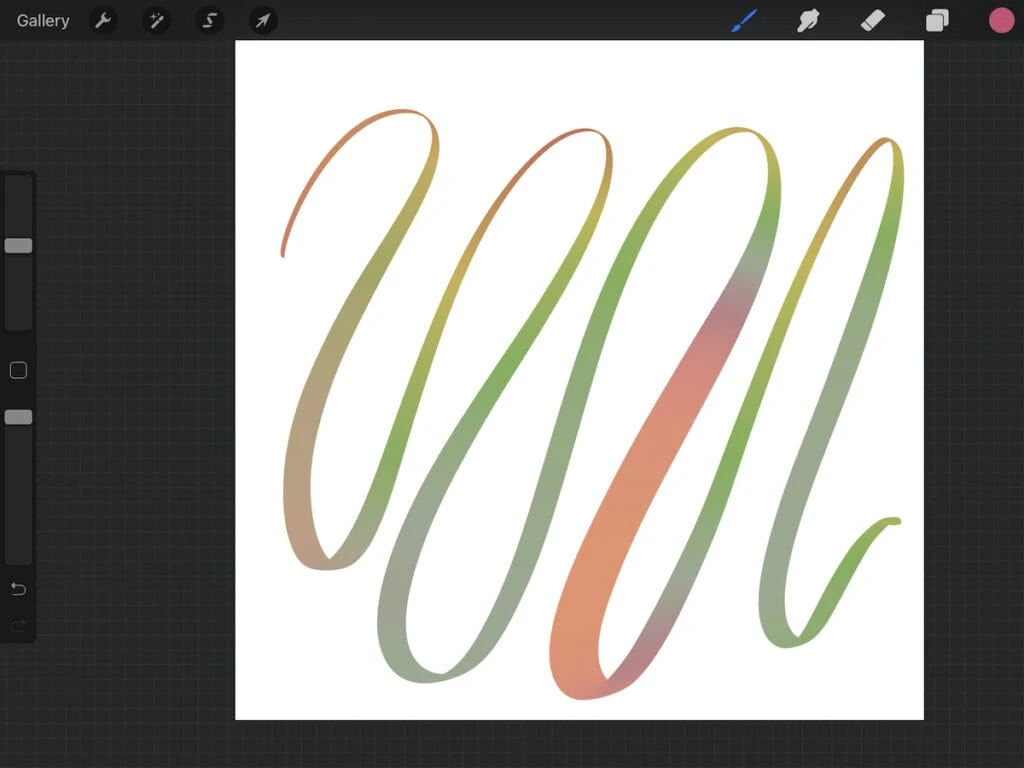
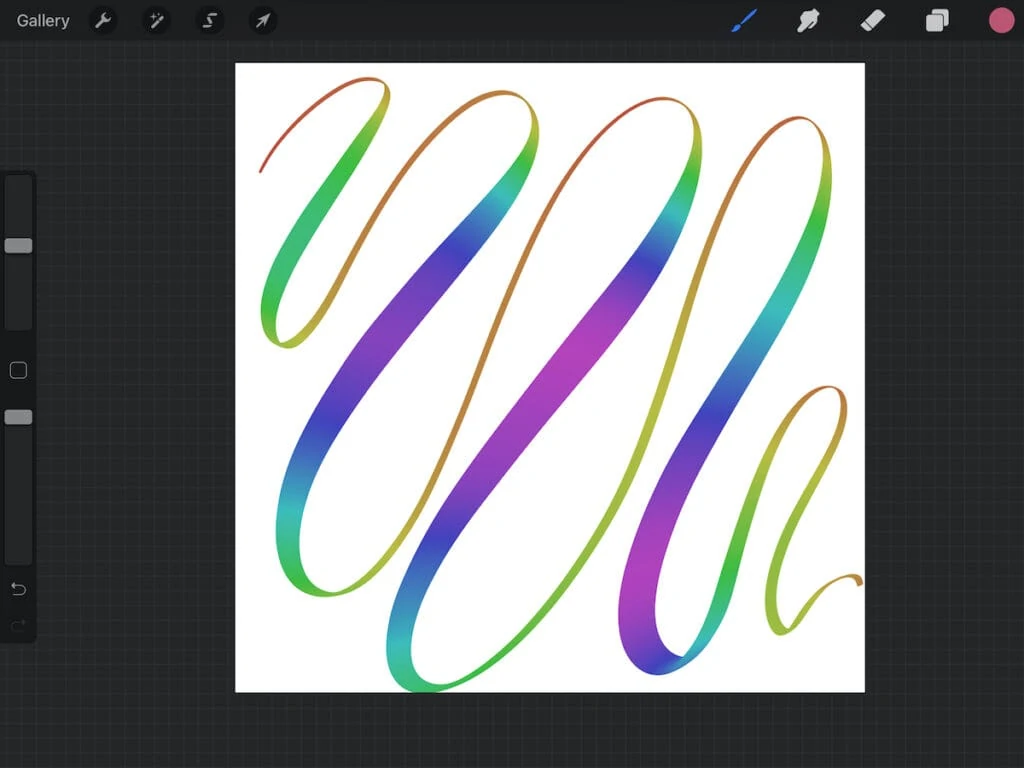
This brush is based on my free lettering brush but changes color as you write depending on pressure. Change the base color to get different colors!
These downloads are for personal use only. Please do not redistribute or sell.
Dear teachers and students: this download will not work if you try to access it when logged into your school email account. Try a personal email account instead.
You might be interested in learning how to install Procreate brushes.
Other Procreate Brush Tutorials and Downloads
- Monoline Brush
- Stamp Brush
- Calligraphy Lettering Brush
- Watercolor Brushes
- Pencil Brush
- Inking Brushes
- Glowing Neon Brush
Pin for Later!
