Procreate 5X Updates
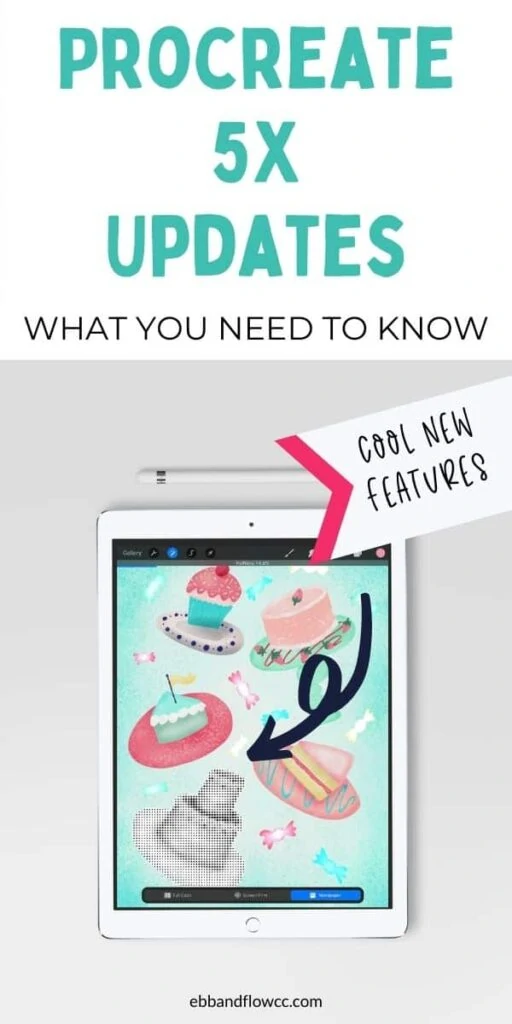
Learn more about the Procreate 5X Updates. There are so many fun, new features to make creating art even better!
You might also like this post on the Procreate Brush Studio.
This post contains affiliate links. By purchasing an item through an affiliate link, I earn a small commission at no extra cost to you. As an Amazon Associate I earn from qualifying purchases.
Procreate 5X Updates
Procreate is my favorite drawing app for the iPad. It’s so versatile and it makes digital art feel so natural.
Procreate recently released its latest update: Procreate 5X. There are a lot of new things that this iPad drawing app can do.
Procreate requires an iPad and an Apple pencil.
FYI: A lot of the features require updating the iPadOS to 14.
Learn more about Procreate basics.
Filters
Filters can be accessed through the Adjustments Menu. They can be applied to the chosen layer or with a pencil. These effects can be increased by sliding your finger to the right.
Learn more about the adjustment options in Procreate here.
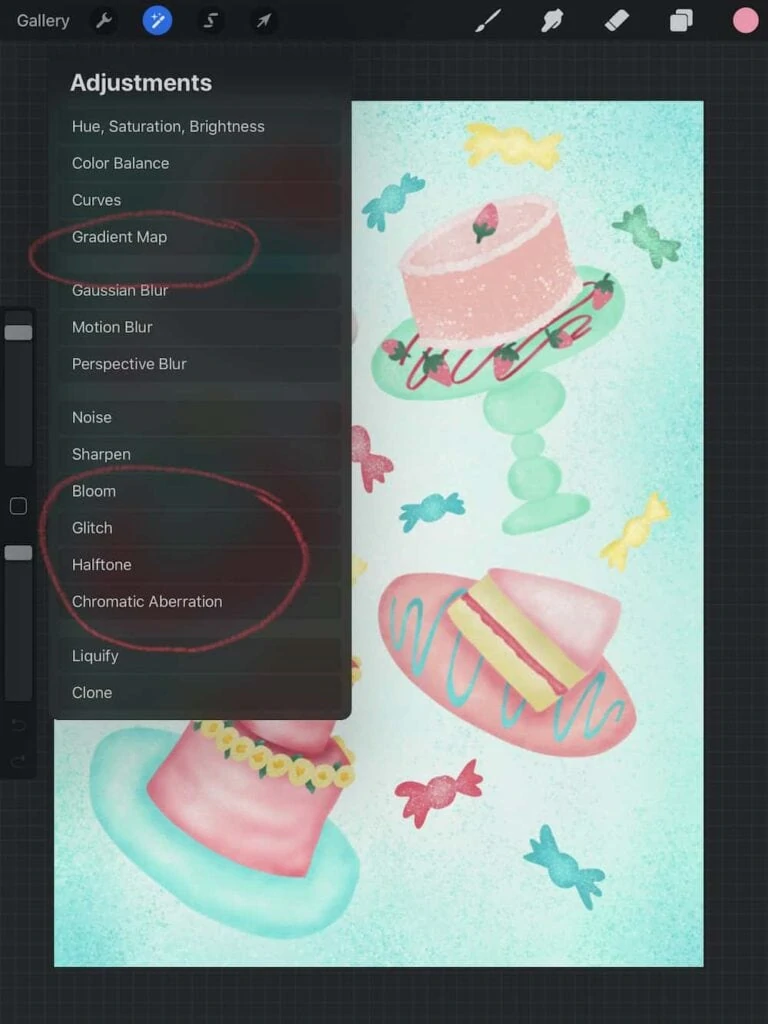
I’m using this piece of art to demo the filter effects.
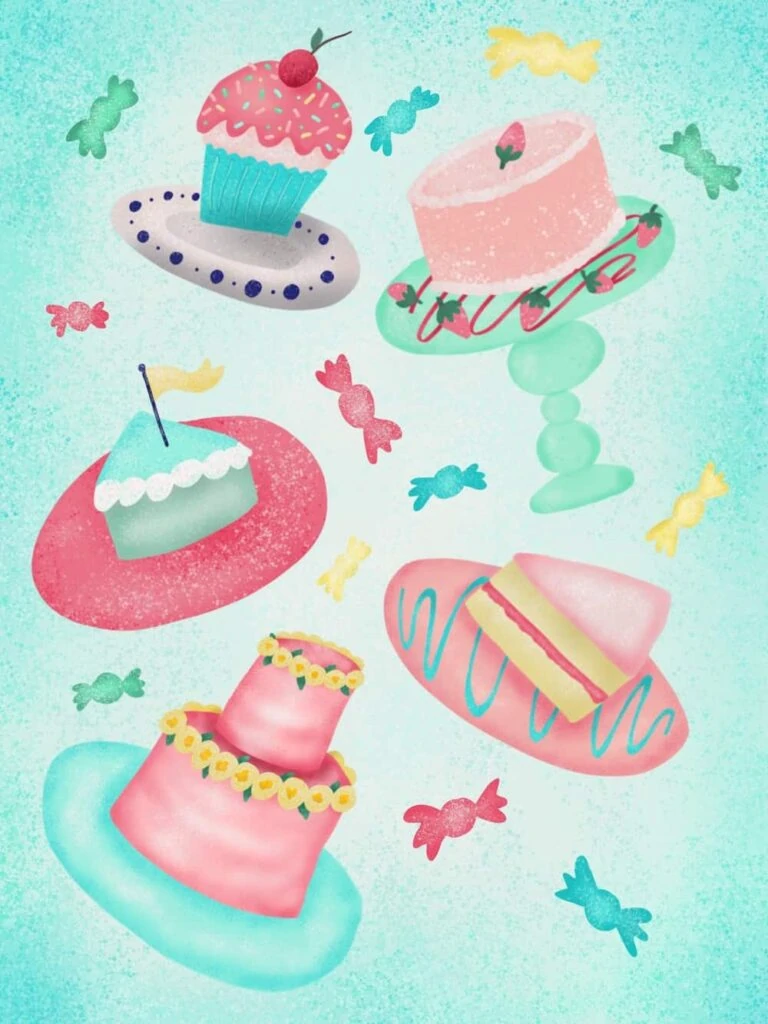
Pencil Filter
Requires an Apple pencil.
Filters can now to a pencil. When using a pencil filter, a sparkle appears on the Brushes panel. You can still choose your brushes, but the filter can be painted onto the canvas.
This can also be used with the smudge or erase tools.
Bloom Filter
This effect adds a glow to create lighting. Dragging your finger to the right will create more bright spots.
I used this effect to add more glow to my neon brush.
Glitch Effect
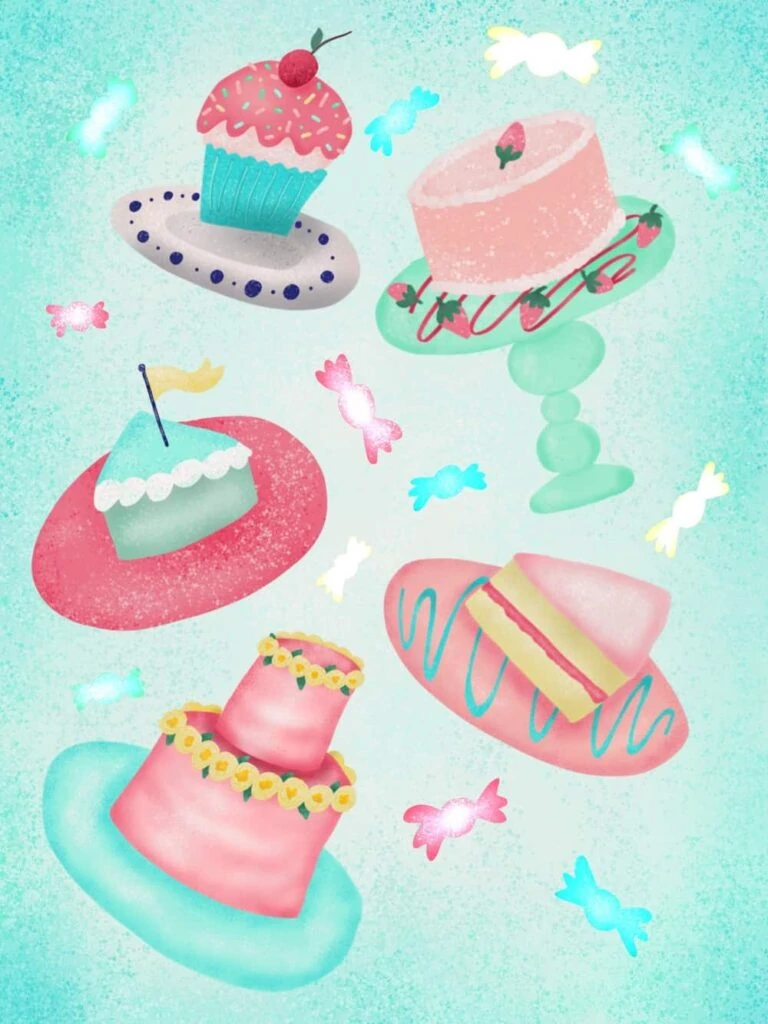
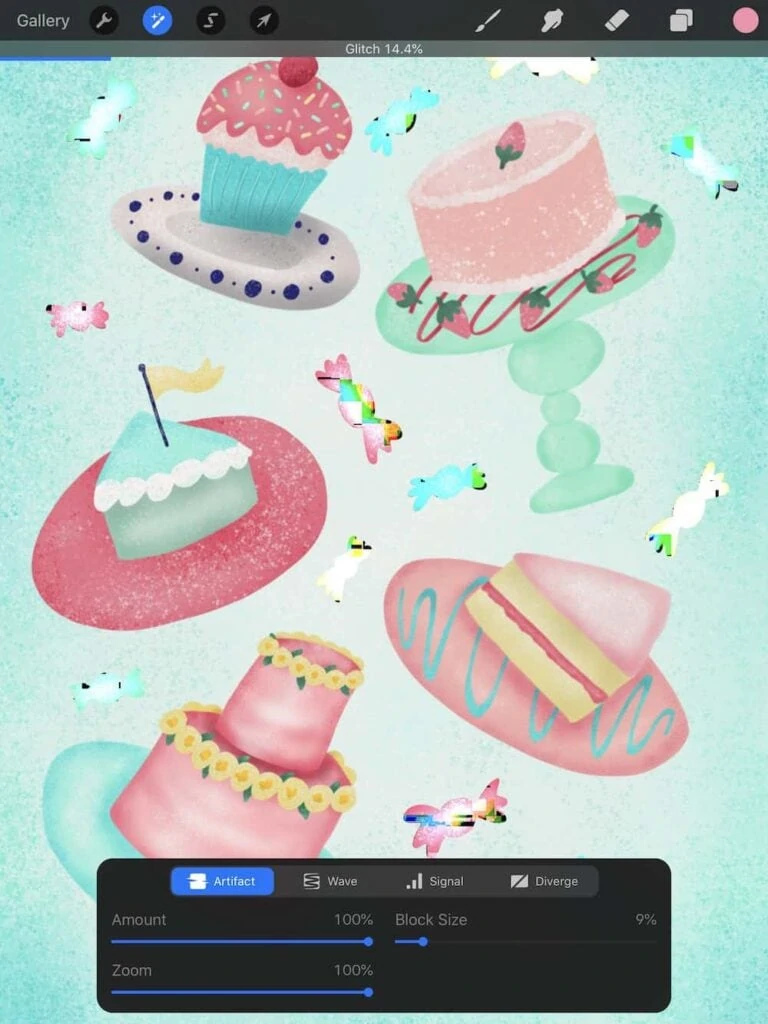
This effect gives a glitch effect to replicate video glitches. There are 4 different types: Artifact, Wave, Signal, and Diverge.
(The effect is applied to the candy layer.)
Halftone Filter
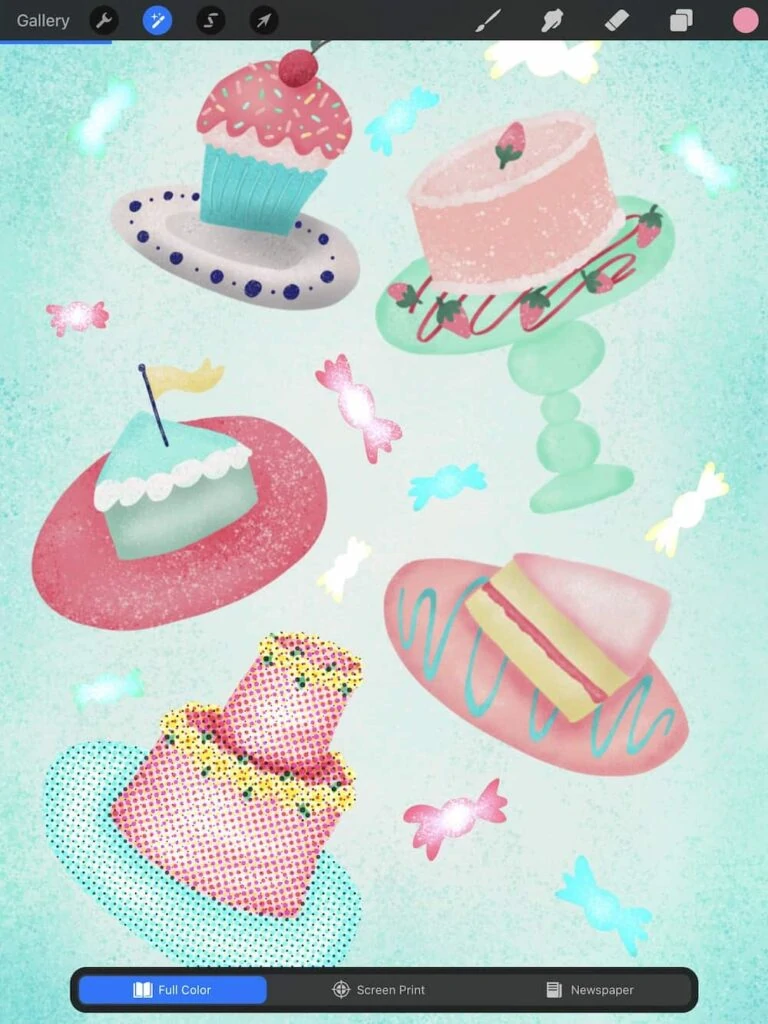
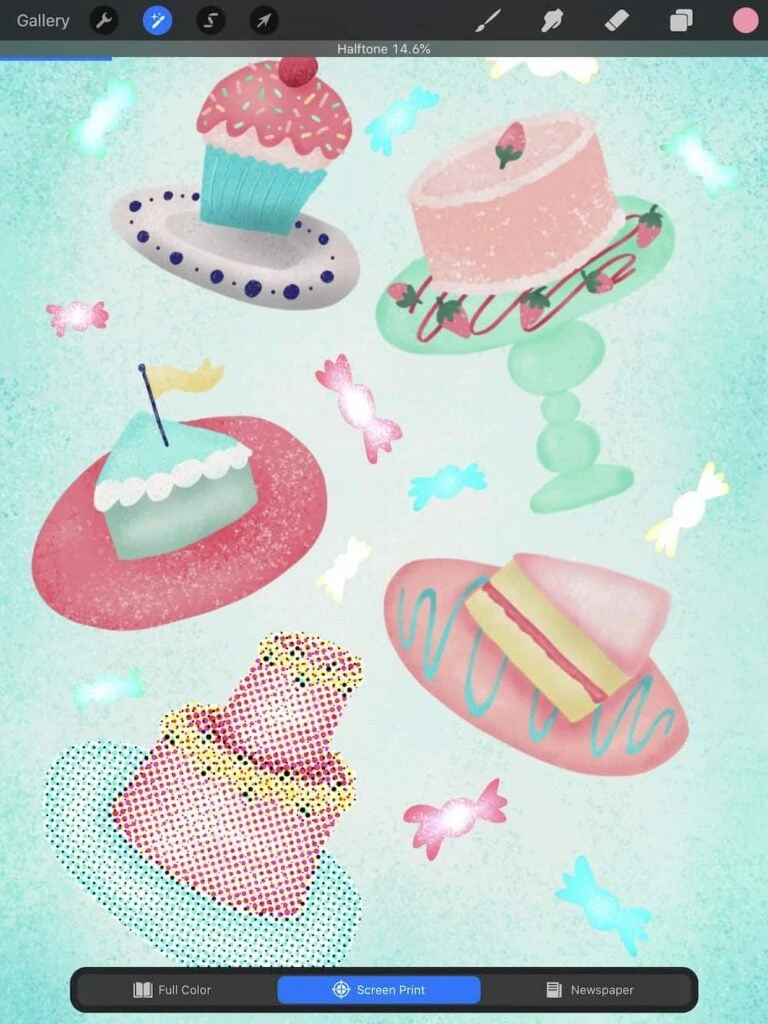
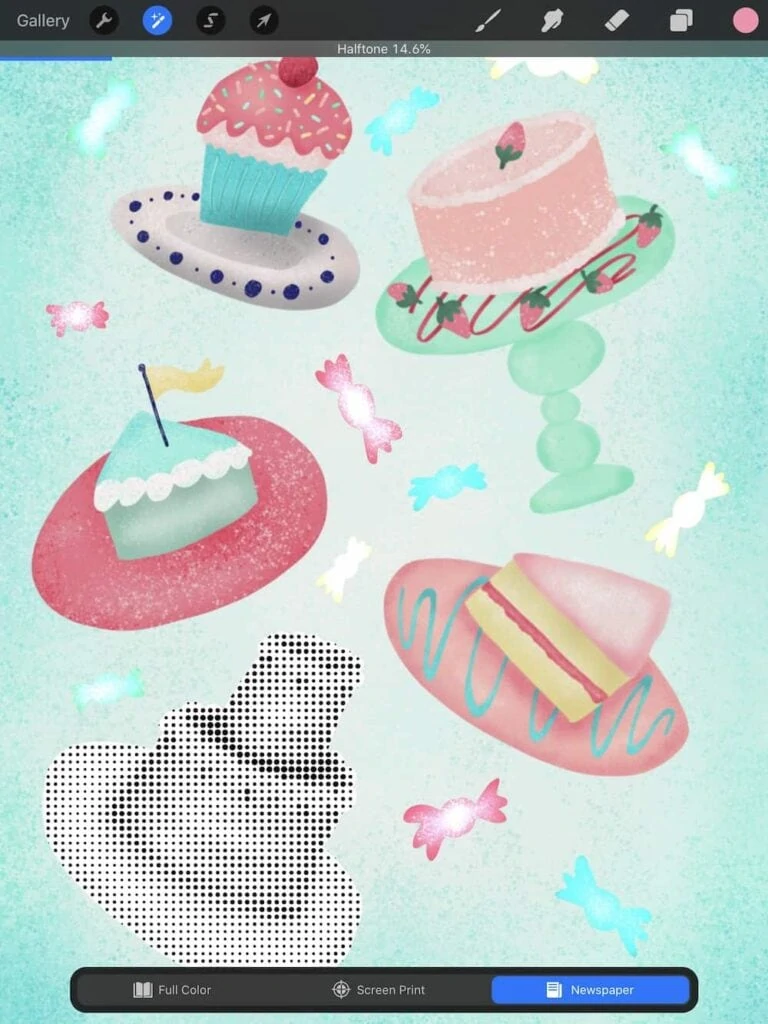
This effect gives a half-tone effect (dots to mimic old newsprint.) You have 3 options in this layer: full color, screenprint, and newspaper.
Chromatic Aberration
This effect changes the red and blue shift to mimic a camera lens effect.
Gradient Map
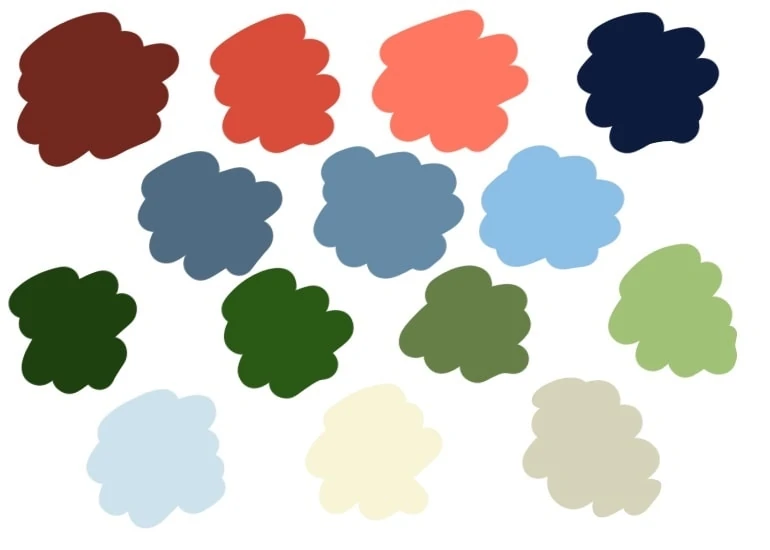
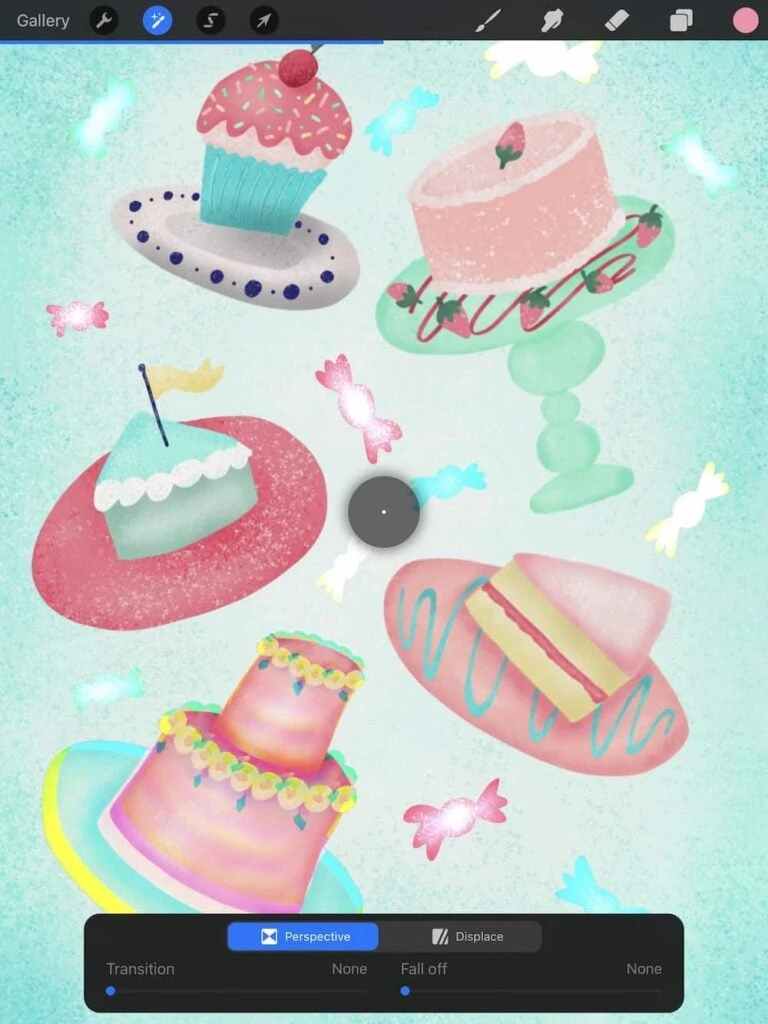
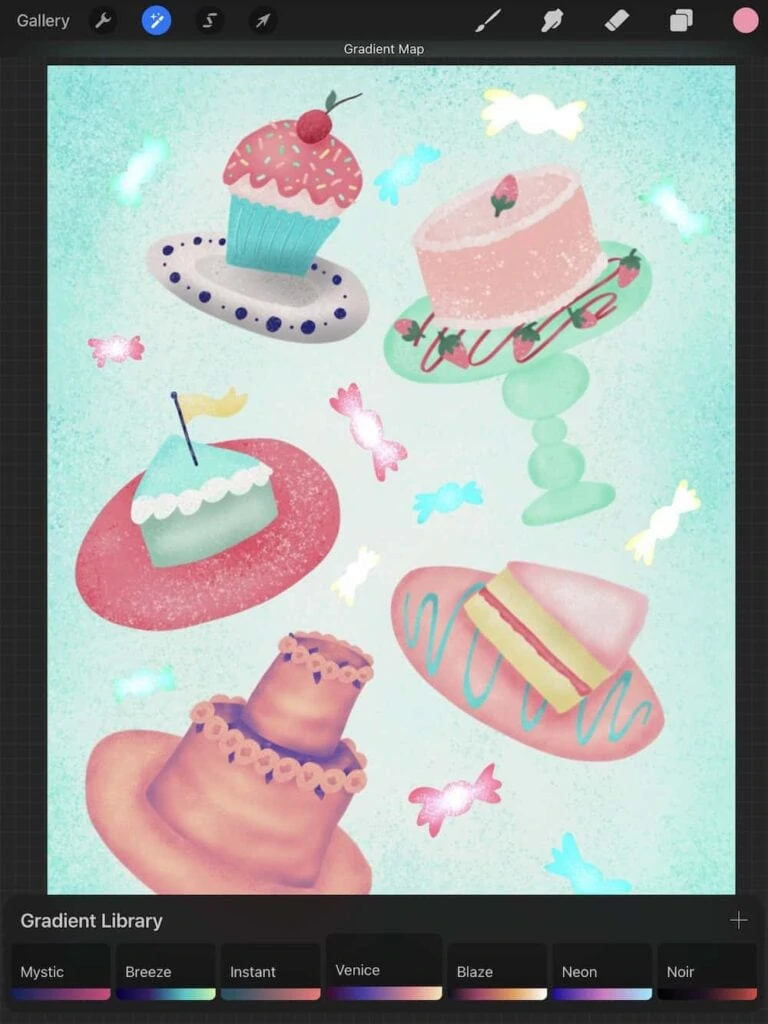
Gradient maps can be found under color adjustment. It applies a color gradient to the chose layer. There are 8 preset color palettes or you can create your own color gradient.
Transform Tools
These are the Procreate 5X updates that I’m most excited about. Maybe they will include some align tools soon?
Snap Tool
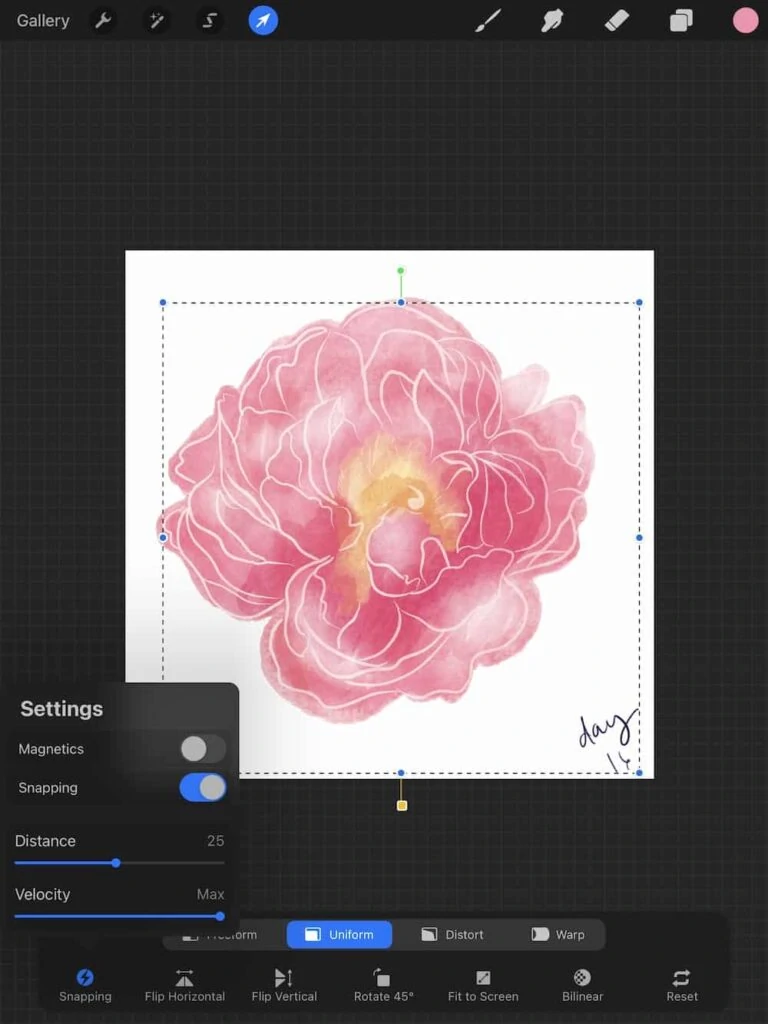
The snap tool needs to be toggled on to use. It helps place layers in the center. It will be very useful for creating patterns.
Adjust Bounding Box
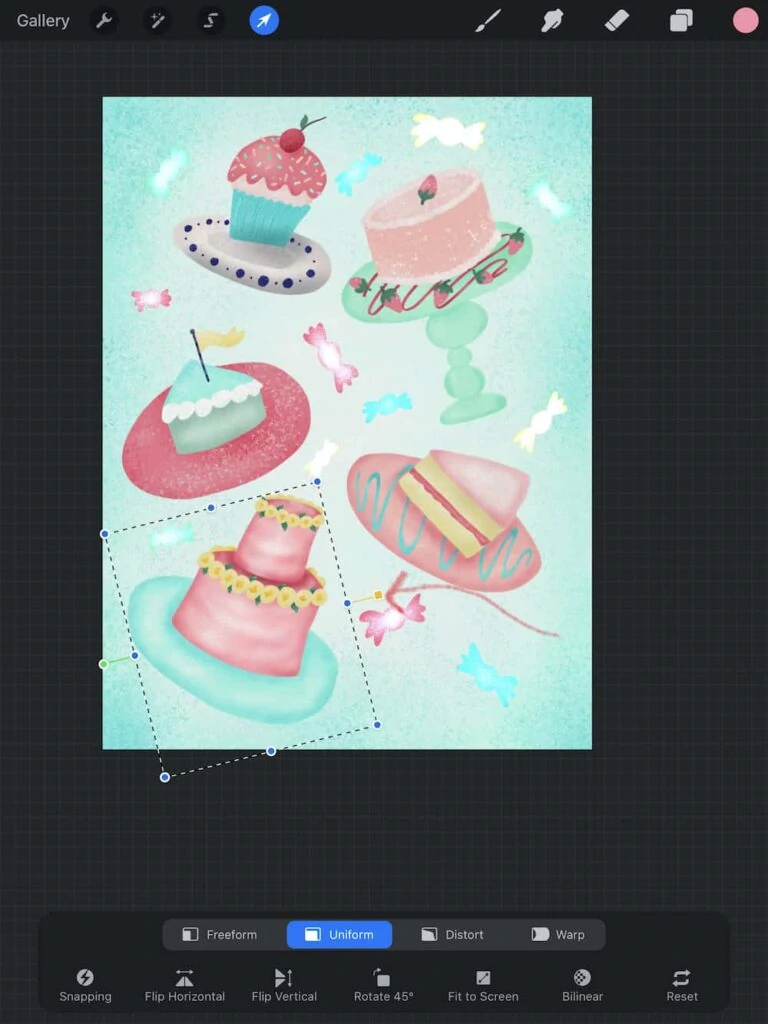
Procreate now has the ability to adjust the bounding box. Select the item and move the yellow square to rotate the bounding box.
Color Tools
Psst… Learn how to make your color picker work again!
Color Fill
This tool fills areas with color until it runs into another color or shape. You can also draw shapes while in the selection tool and they will fill when you press the gray circle.
Swatch Drop
You can now fill colors by holding a swatch color and dragging it to the space you want to fill. It also has a threshold that can be adjusted to fill more or less color.
Instant Color Palette
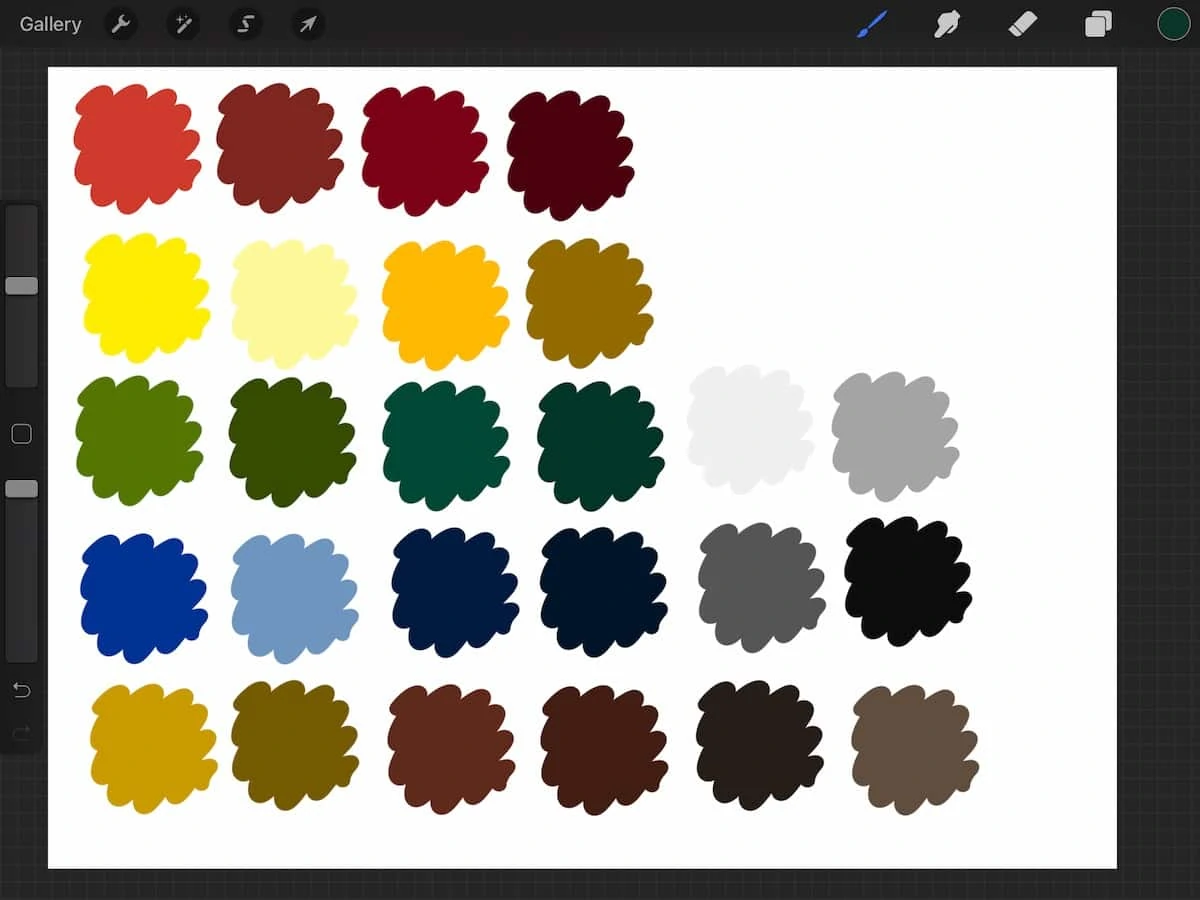
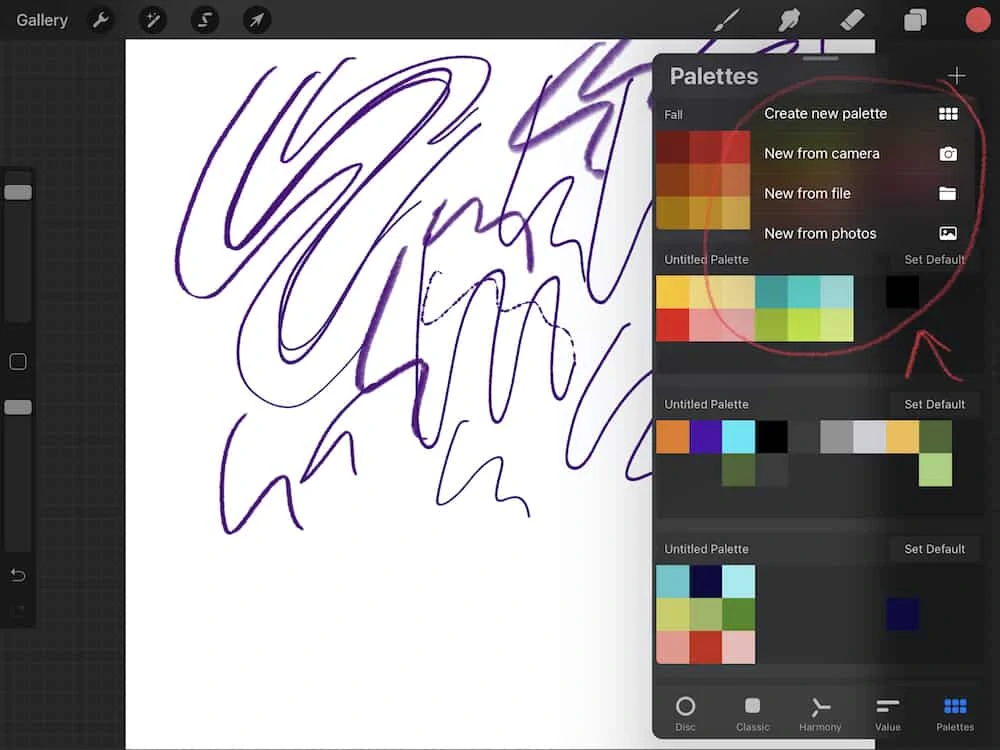
Procreate now has the ability to create color palettes from your camera, files, or photos. Just use your finger to select the colors you want.
Menu Tools
QuickMenu
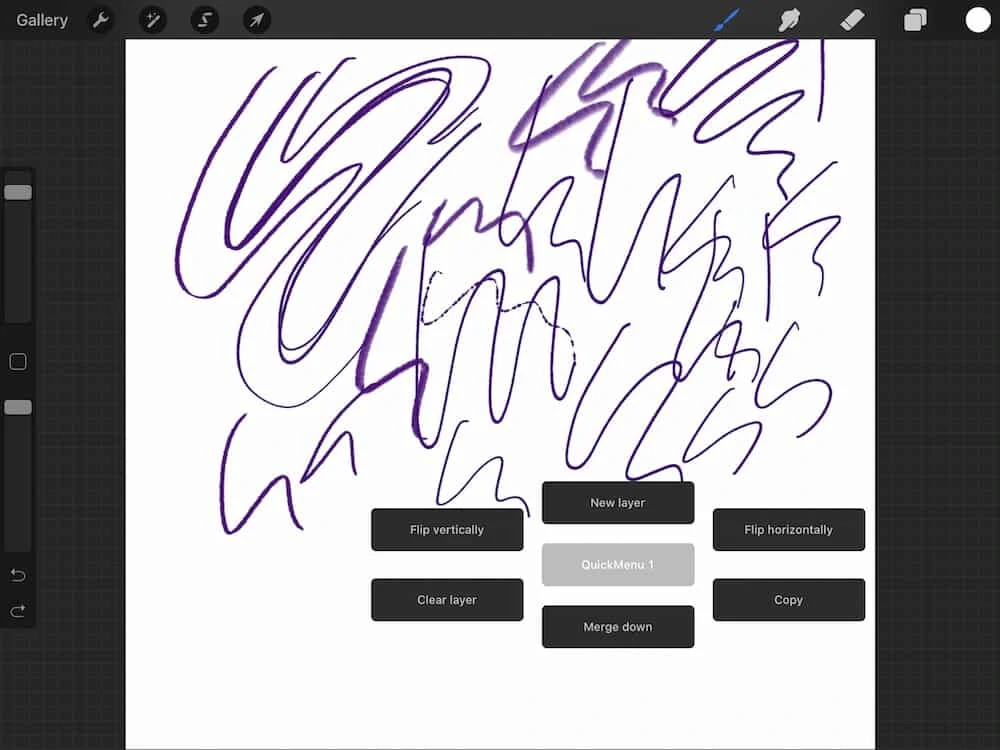
This new feature allows you to access certain menu features by touching the screen. It must be enabled and set up through the Actions panel > Prefs > Gesture Control > QuickMenu.
Duplicate Copy and Paste Feature
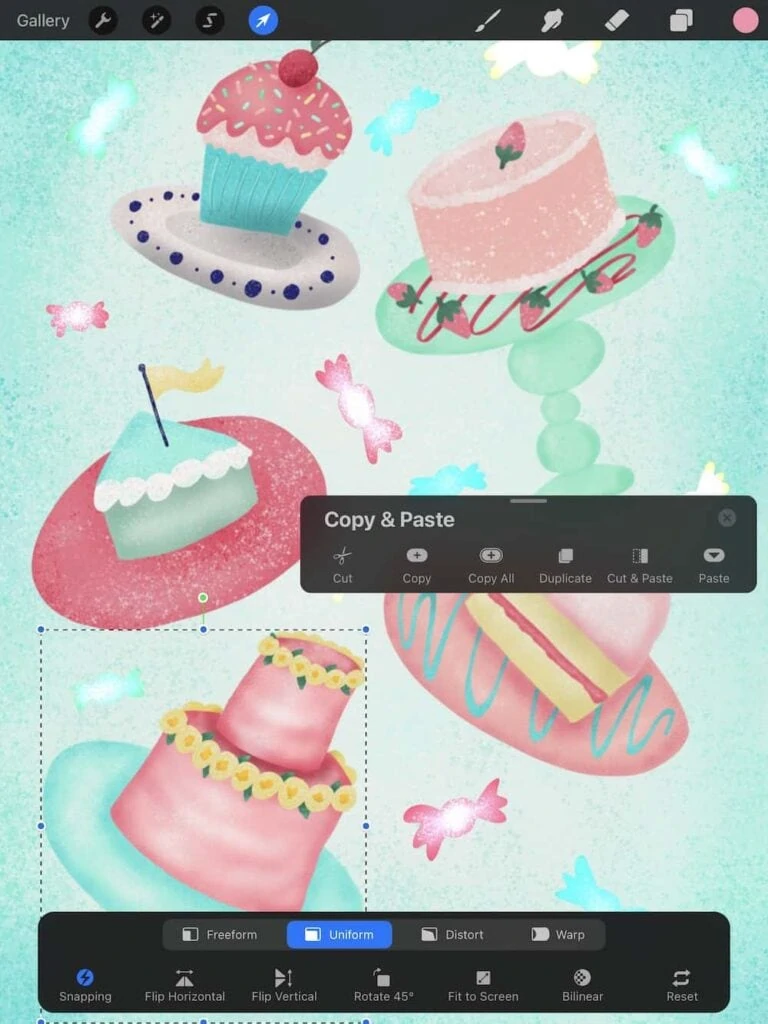
This new feature allows you to duplicate the chosen layer. The layer will remain as it is and a new copied layer will be added.
Brush Tools
The only new change in the Brush studio is the addition of being able to blur the brush.
Blur Brush
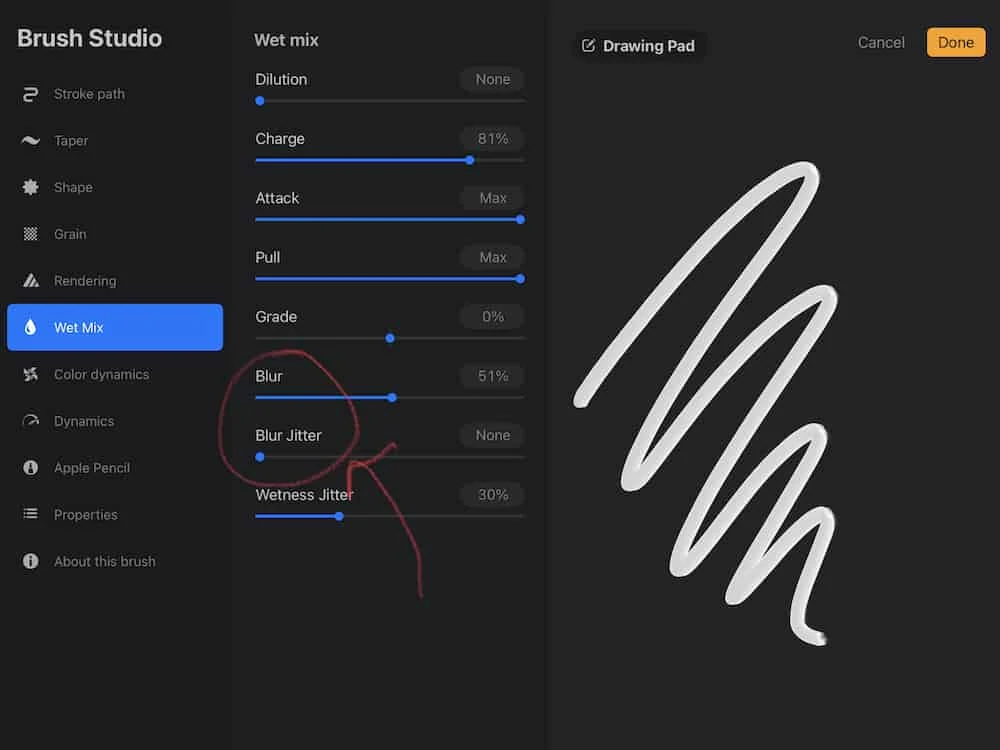
The blur setting allows you to change how much a brush blurs the paint on canvas when applied and how much it spreads when applied.
This tool can be accessed in the Wet Mix menu in the brush studio.
Other Tools
Export HVEC Animations
This setting allows you to export animations with transparent backgrounds. When exporting, choose HVEC. There are options to change the speed through the frames per second slider.
Reference Companion
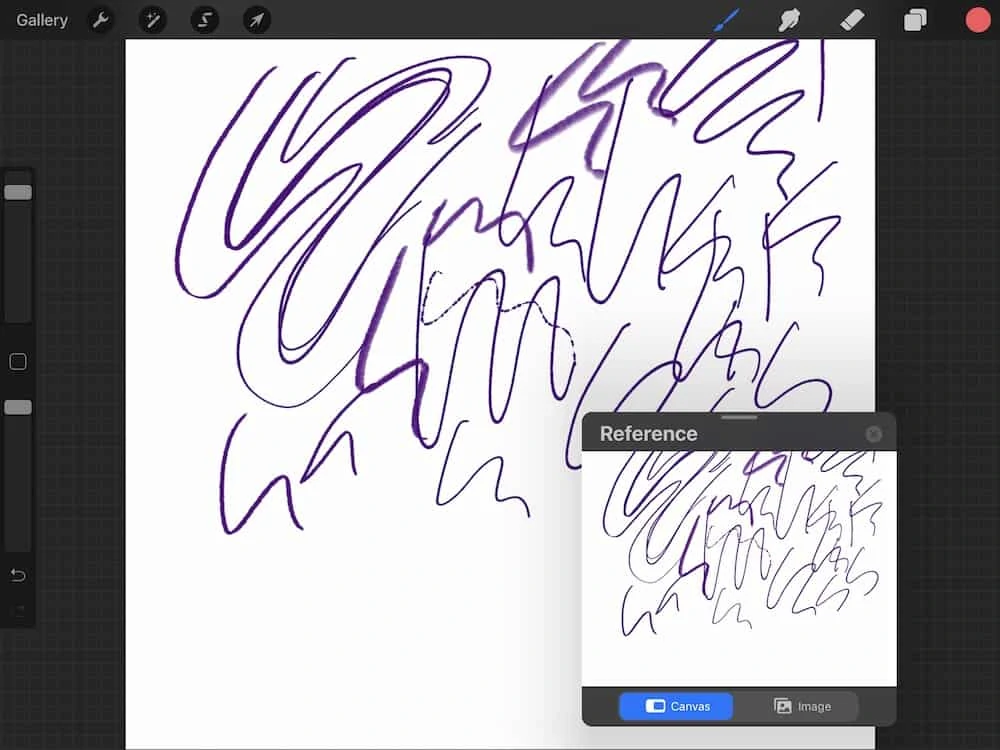
This new feature displays a small floating window on top of the canvas that can be used as a reference photo (instead of using a split screen.) The window can be moved by touching the handle at the top and dragging it to a new location.
Access it through the Actions panel > canvas > reference.
Facepaint Mode
FacePaint is used to create masks and make-up, similar to Instagram filters. If you paint on the canvas, it will appear on your face.
To access this feature, tap Actions > Canvas > Reference. Tap the face button.
You can share it as a photo or a video.
Private Layer
Private layers allow you to add layers that cannot be seen in Gallery previews or exported time-lapse videos.
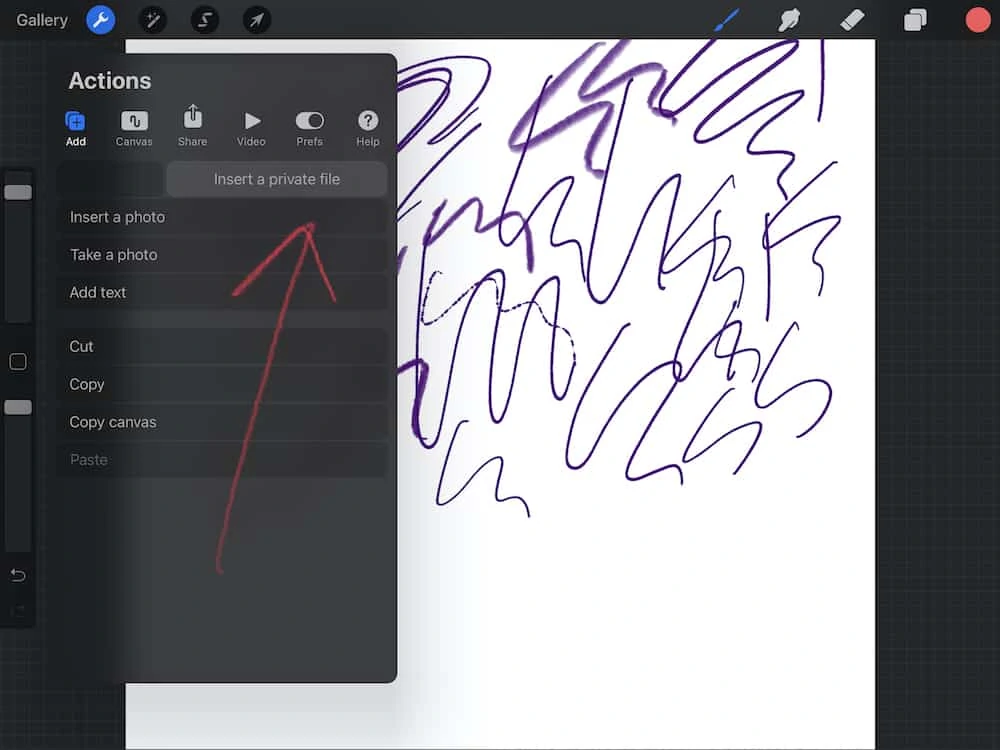
Private layers can be accessed in the Actions > Add panel. Slide the “insert a file” tab to the left and it will show a gray button that says “Add a private layer.”
Scribble Tool
This tool changes written words into text. It can be used with the text feature. Add text in the Action panel, then just start writing to edit the text. I find that it works best if I write outside of the text box.
You will need iPadOS14 and an Apple pencil.
You must enable Scribble through the iPad settings menu in the Apple pencil section.
Widget for IPad
This is a new feature for iPads with iPadOS 14 or higher. It allows you to create a permanent shortcut on your iPad screen that will access the last piece of art that you were working on, without showing the gallery page.
You Might Also Like:
Pin for Later!
