How to Use Watercolor Tubes
If you’re new to painting with watercolors, you’re probably curious about how to use watercolor tubes. Learn 3 different ways of using tube paints, plus easy tips to get started.
You might also like this post on basic watercolor techniques.

This post contains affiliate links. By purchasing an item through an affiliate link, I earn a small commission at no extra cost to you. As an Amazon Associate I earn from qualifying purchases.
Is There a Difference Between Tubes and Pans?
When painting with watercolor paint, I don’t really notice a huge difference between most brands. Some brands even use the exact same formulas!

Since watercolor paint reconstitutes with water, you can use it fresh out of a tube or dried in a pan. Watercolor paint lasts a long time!
However, there are some paints that just work better fresh. And some paint colors can be harder to get a vibrant color from the pan. This typically occurs with specialty colors though.
Tubes can be a bit more cost-efficient because you get more for the money. And some brands don’t offer pans or only offer tubes, so you might be limited in that.
It’s also easier to mix larger amounts of paint from a tube than a pan.

Curious about all the information on a tube of paint? Learn more here!
How to Use Watercolor Tubes
There are a few different ways to use watercolor tubes in your watercolor painting. The technique you choose will depend on your own personal preference.
Fresh from the Tube
Simply squeeze out a bit of watercolor paint from the tube onto a mixing palette.

It’s best to use a white mixing palette so that you can see your colors clearly. But it doesn’t have to be an official palette. Some of my favorite “mixing palettes” are white dishes. (Just don’t use them for food anymore!)
Leave a bit of space between each color as you go. I typically place lighter colors on one side to avoid getting them muddy when mixing.
Add a little water and use a wet brush to start painting.
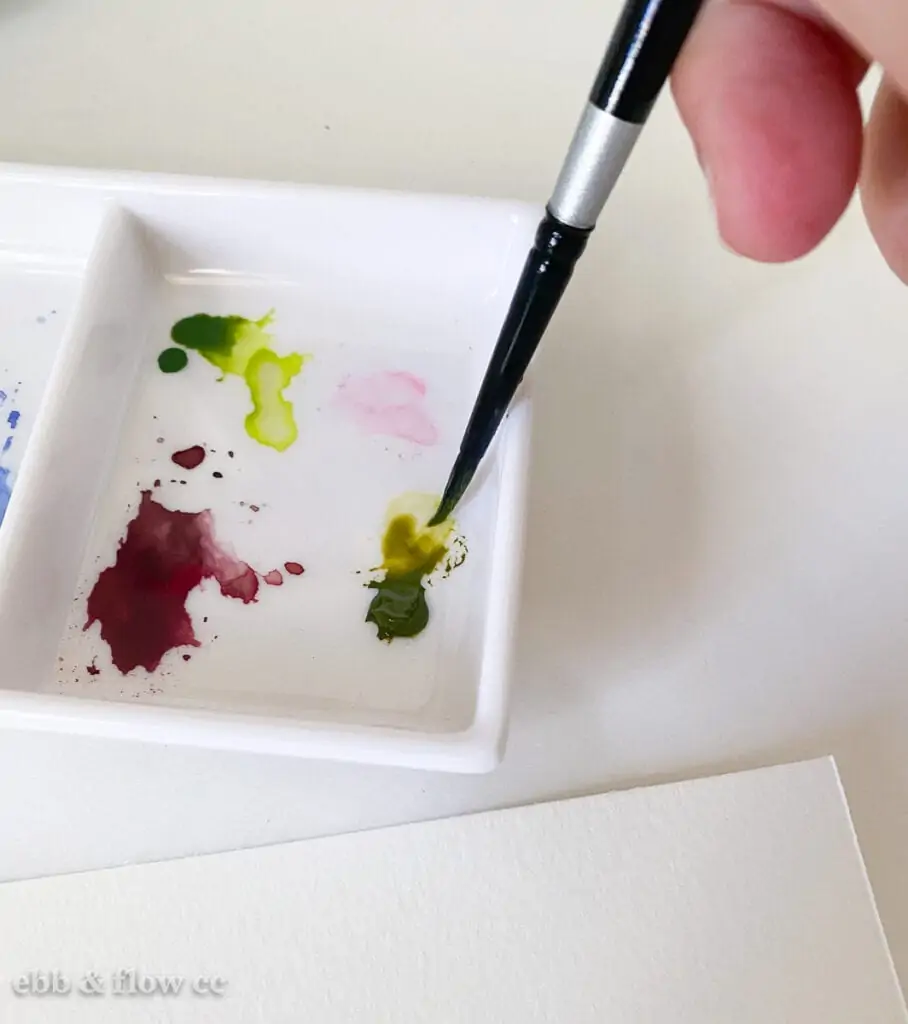
You can use the colors as they are or mix them to create your own unique colors.
When you’re finished, you can clean the mixing palette or let it dry and use it another day. Make sure that you cover the surface to avoid dust from getting on the paint. (Or pet hair, my personal nemesis.)
If you clean your palette in between uses, make sure that you use a small amount of paint to avoid wasting paint.

Poured in a Mixing Palette
Another way to use watercolor tube paints is by using a mixing palette. There are many sizes available.
Mixing palettes usually consist of wells to store the paint and areas for mixing colors.
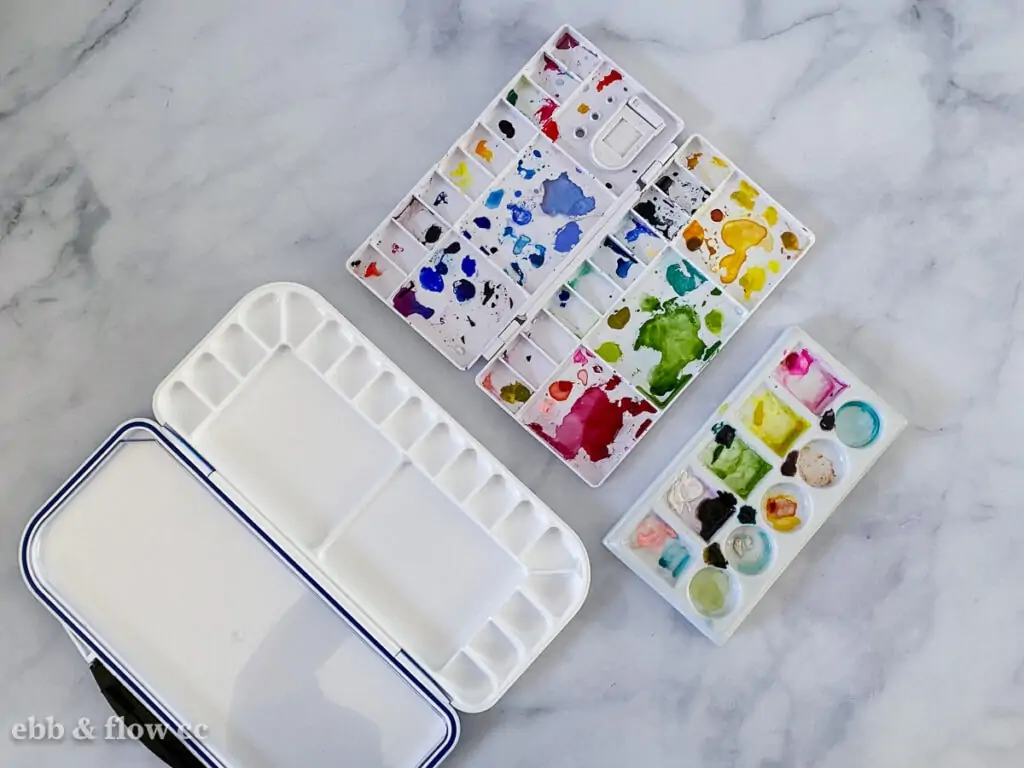
Squeeze a little paint into each well and add water as you paint.
The paint will dry out after about a day, but it can be reactivated with water. I normally use an eyedropper, but a small spray bottle works as well.
Be sure to cover your palette in between use to avoid dust (or dog hair!) from getting in your paint. Some mixing palettes have covers, but you can also use plastic wrap.
There are also wet palettes available. These palettes come with a sponge-type layer that you wet, then a sheet of palette paper goes over it. They have airtight lids to keep the paint from drying out in between use.
I bought one to use with gouache, but I still haven’t used it.
Dried in a Palette Tin
Using a palette tin is my preferred method for using tube paint because it’s so convenient. It’s also a cheaper way to fill a palette than buying premade half-pans (or full pans) of paint.
Palette tins come in a few sizes and can store both half and full pans of watercolor paint. They have lids that also function as mixing areas. You can buy empty pans to add colors to your palette.
It’s also a great way to create your own special color palette mixes.

I have a full tutorial for creating your own palette using by filling watercolor pans.
It’s pretty easy. Pick your colors, label the color name on the pans, squeeze paint into pans and let them dry.
When you’re ready to paint, simply add water to the pan and mix it with a brush.
A Combination of Both
You can also combine both methods, which I often do, especially when I buy new paint.
I have several palettes of paint dried and ready to go, but I also have other small ceramic palettes that have drops of paint colors on them to use.

Tips for Using Watercolor Tubes
- Sometimes the paint separates a bit in the tube. If you go to squeeze out fresh paint and notice this, use a toothpick to mix the binder back into the paint before squeezing paint out.
- Some paints are overfilled and pour out when opening them. Daniel Smith paints are notorious for this. I typically squeeze the excess into a small mixing palette to use for later.
- If the paint isn’t new and this happens, you can squeeze it at the bottom to make the paint go back into the tube.
- If the lids become hard to open, run the tube under warm water to loosen it.
- Use tube wringers to squeeze every last drop of paint from the tube.
- Sometimes your dried paint gets muddy. I usually clean mine with a wet paint brush. You can also run water over the surface, but I don’t like the thought of wasting paint.
- If your paint dries in the tube, it’s still usable. Cut the tube open and reactivate the paint with water.
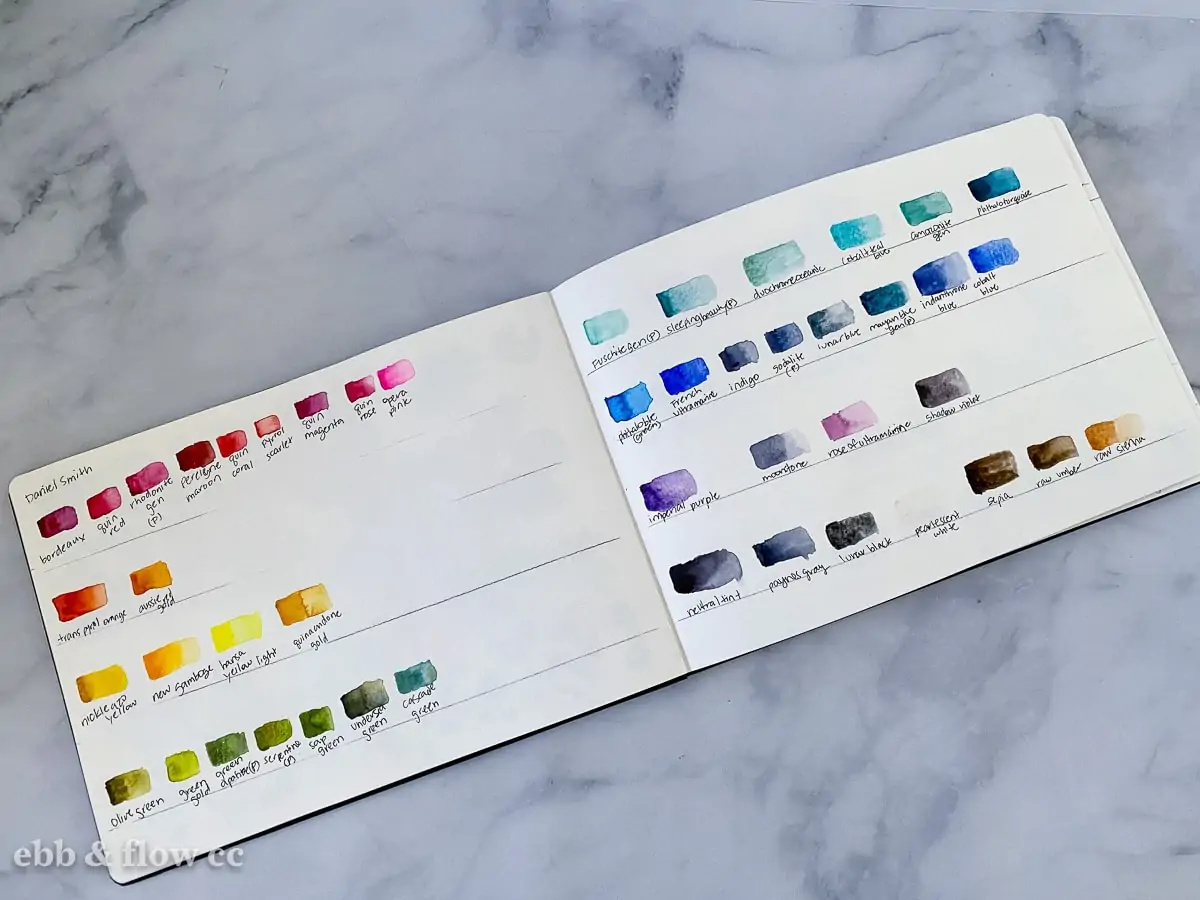
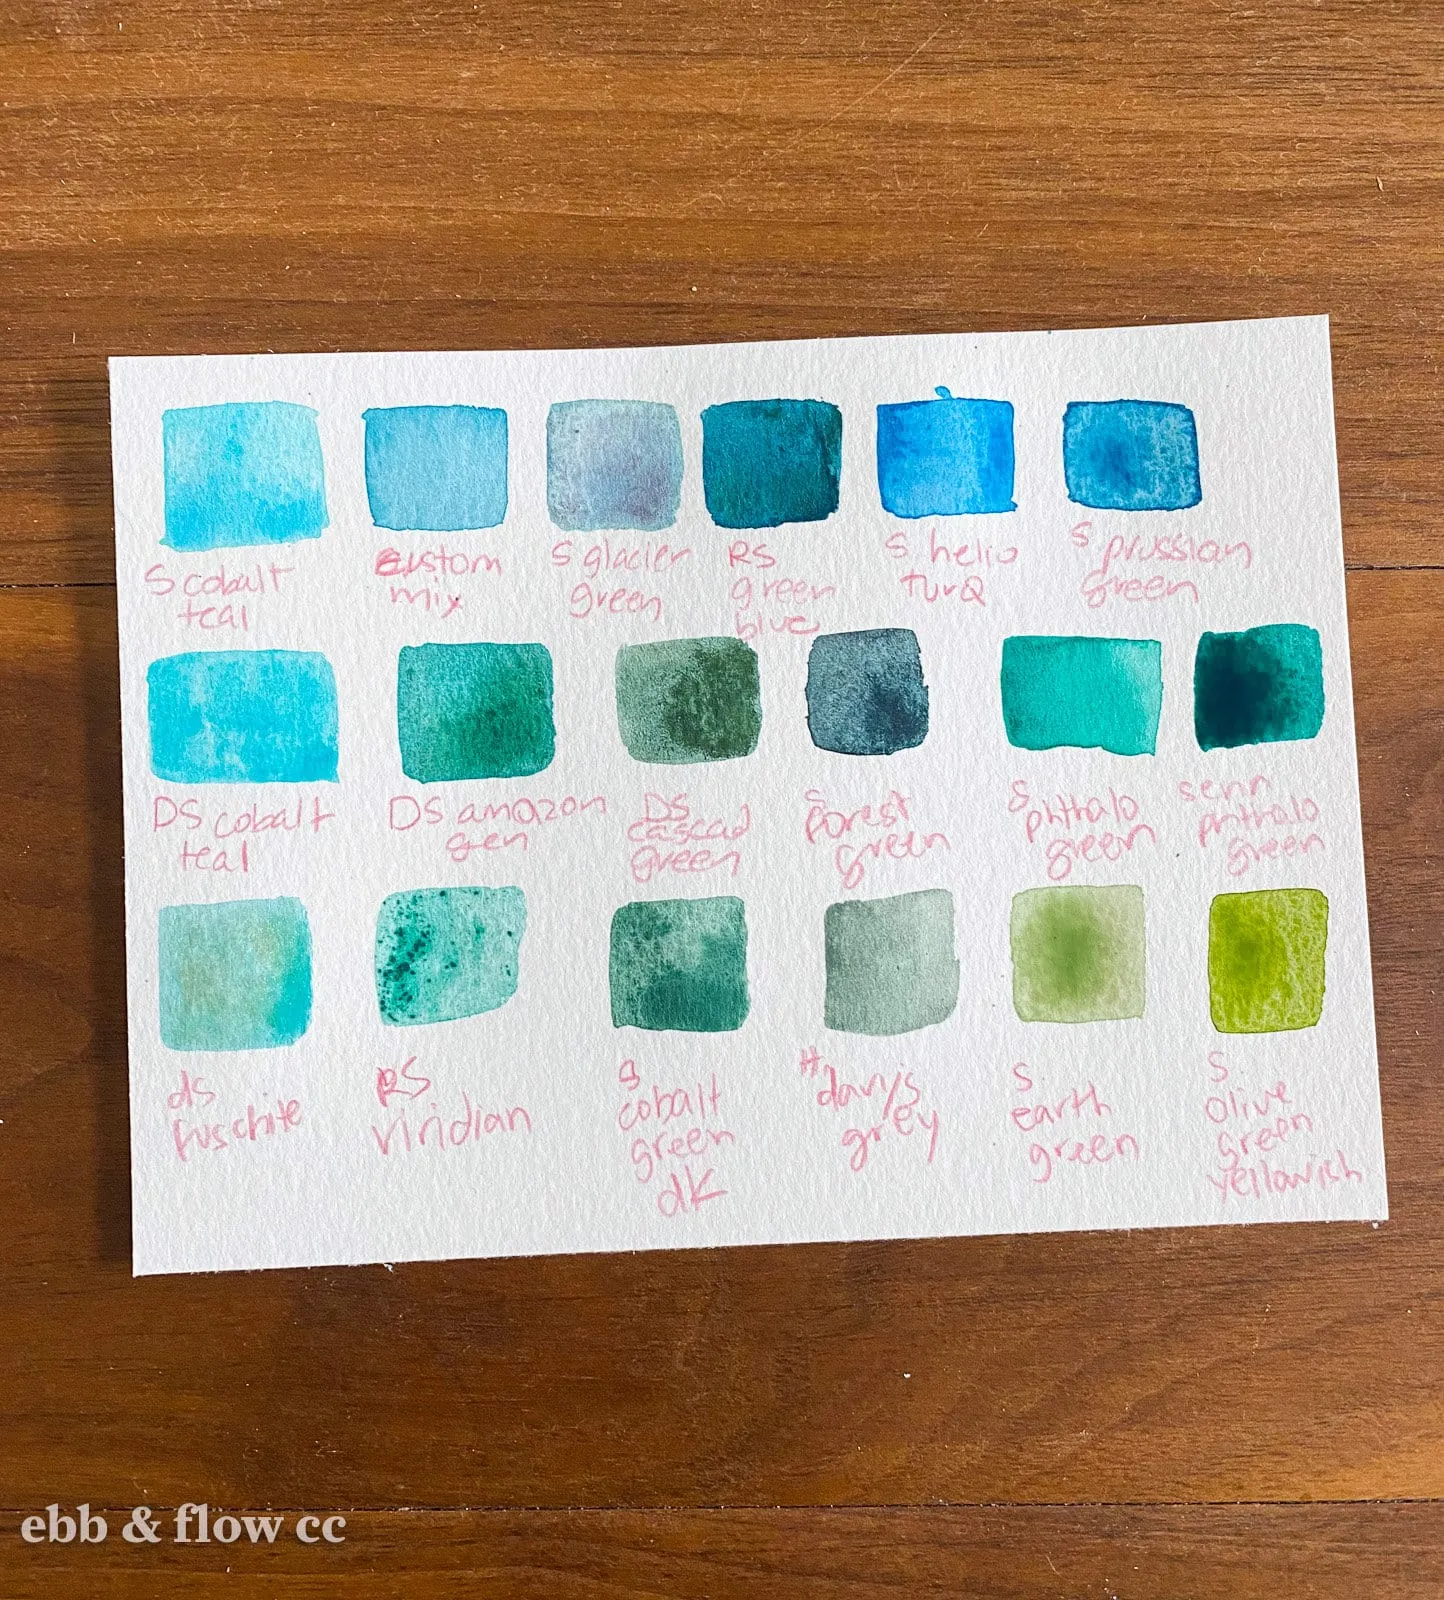
- I recently started swatching every single color I own in a sketchbook and I highly recommend doing this. It’s so easy to see at a glance which colors you own. But it’s also easy to see which colors you don’t have very many of. If you’re trying to build your collection, this is very helpful.
You Might Also Like:
- The Best Watercolor Paper for Beginners
- All About Watercolor Brush Sizes
- How to Mix Watercolor Paints
Pin for Later!








I’m fairly new to watercolor and this is one of the best articles I have read. Thanks for a very informative article. I won’t be wasting paint now and have a great resource in your article.