Watercolor Basics: Painting Techniques to Learn

I’m a self-taught artist who loves sharing tips and tutorials for painting with watercolor and gouache, and using the Procreate app on the iPad.
Learn easy techniques for watercolor basics. Get easy tips for when to use each technique, plus learn a few bonus techniques to make your paintings more interesting.
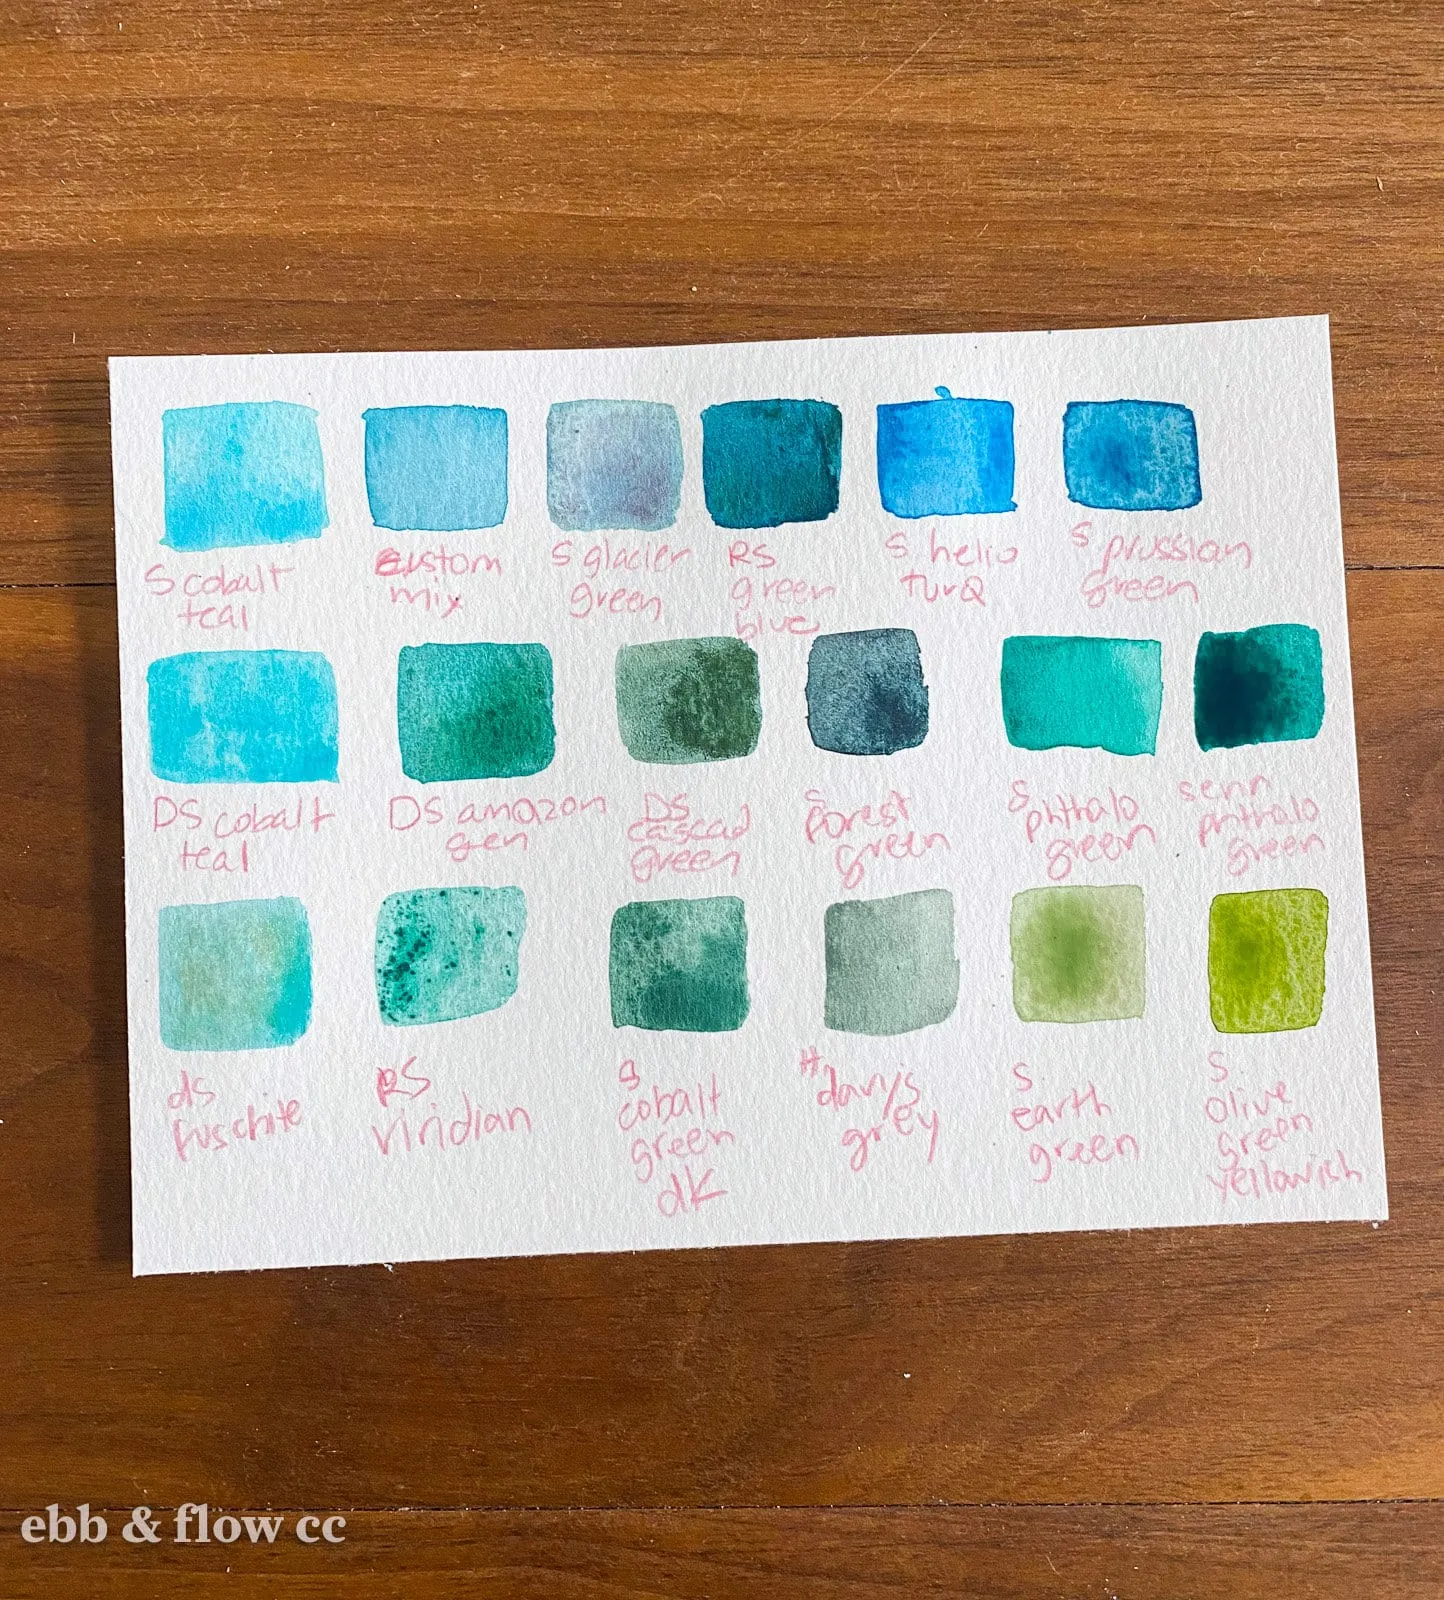
You might also like my post on mixing watercolor paints.
This post contains affiliate links. By purchasing an item through an affiliate link, I earn a small commission at no extra cost to you. As an Amazon Associate I earn from qualifying purchases.
Learning to paint with watercolor is easy.
Once you learn the basics of watercolor painting, you can experiment and figure out which techniques are your favorites.
Watercolor works by diluting the paint with water, so it’s important to keep a wet brush. This is the most important concept.
If you want a lighter color, add more water. If you want a more saturated color, add more paint.
Watercolor Basics
Recommended Supplies:
- Watercolor paint*
- Watercolor paper
- Watercolor brushes
- Water cup
- Mixing surface
- Paper towels
Alternative supplies:
- Kosher salt
- Masking tape or masking fluid
- Other media
*You will have better results if you use artist-grade watercolor paint. It might mean that you start with just a few colors, but I would rather have 6 good paints than 24 chalky paints.
Read more about watercolor supplies for beginners here.
Basic Techniques for Watercolor
Here are a few basics of watercolor to get started.
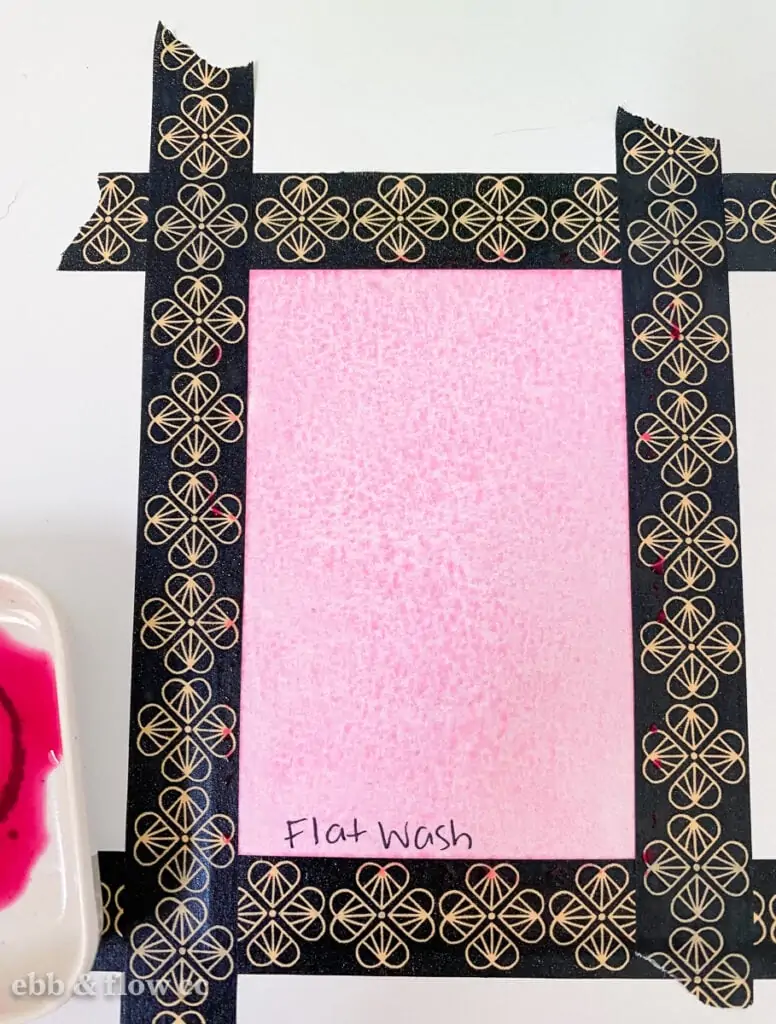
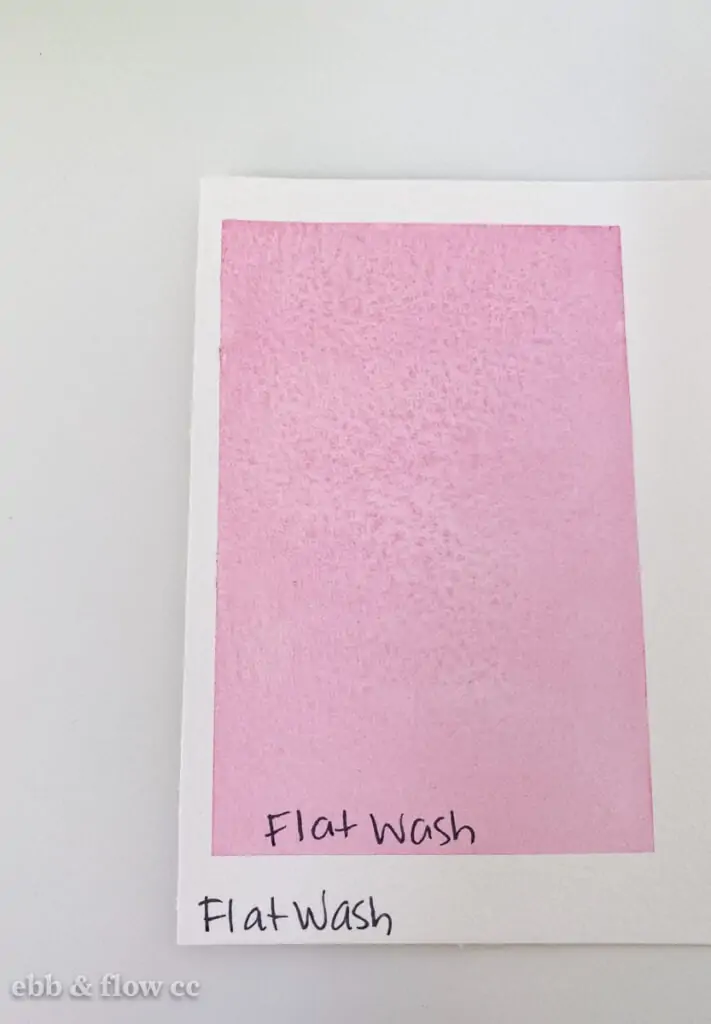
Flat Wash
A flat wash is an even coat of paint over an area.
This is best achieved with a large flat brush and a large amount of diluted paint.
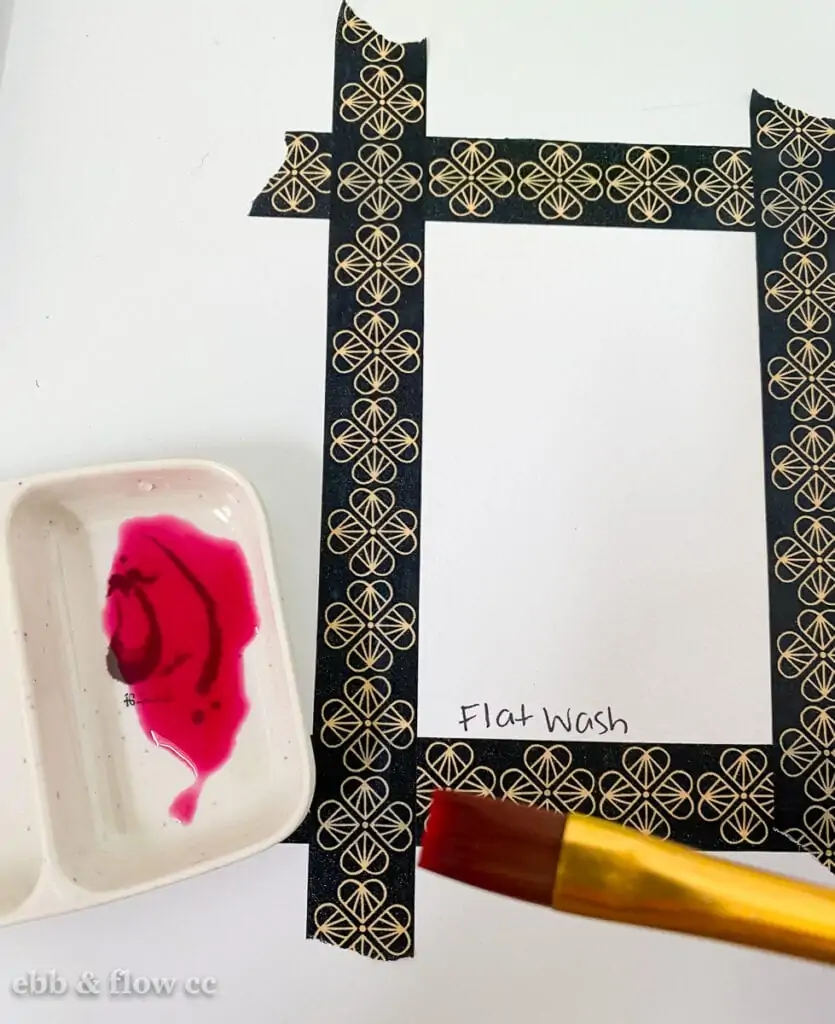
Use your brush to distribute the paint as needed.
Try to avoid having large wet areas because the paint will not dry solid. Keep a wet edge while working to avoid blooms and color variation from the paint drying.
A flat wash is great for backgrounds or filling large areas of a painting. It can be used in smaller areas too. It works great anywhere you want an even coat of paint.
Gradient Wash
This is similar to a flat wash, except it fades to a lighter color in one direction.
Start with saturated color and add more water as you continue down the paper.
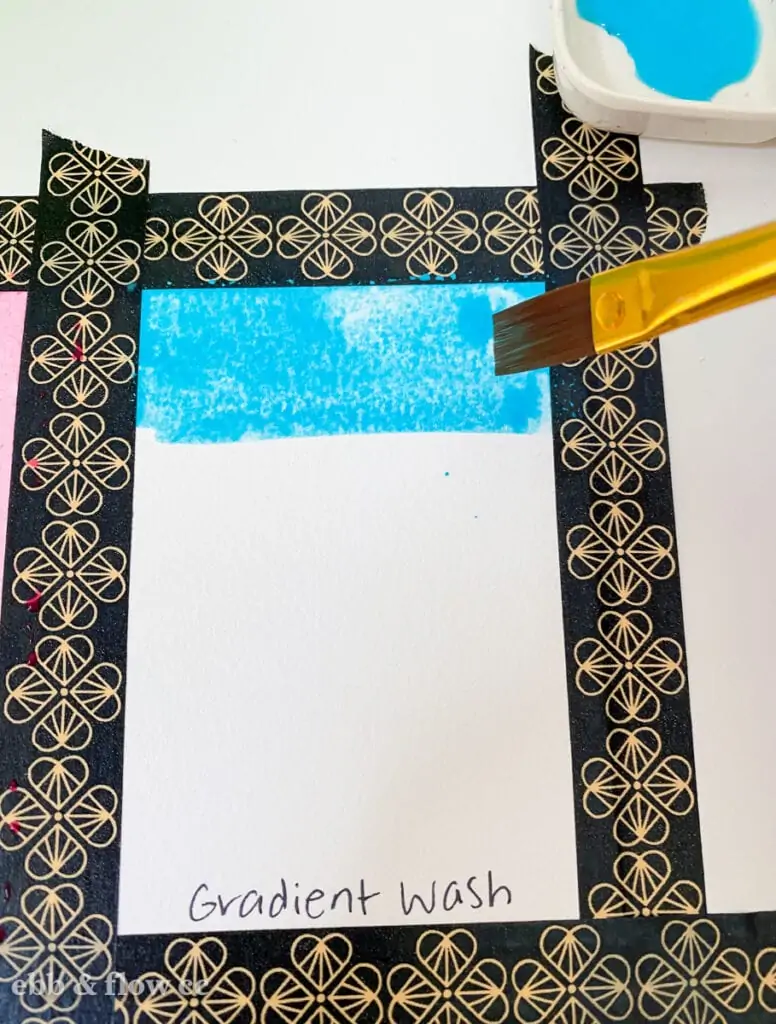
To get a very light color in the gradient, switch to plain water and blend the color into the water as you go.
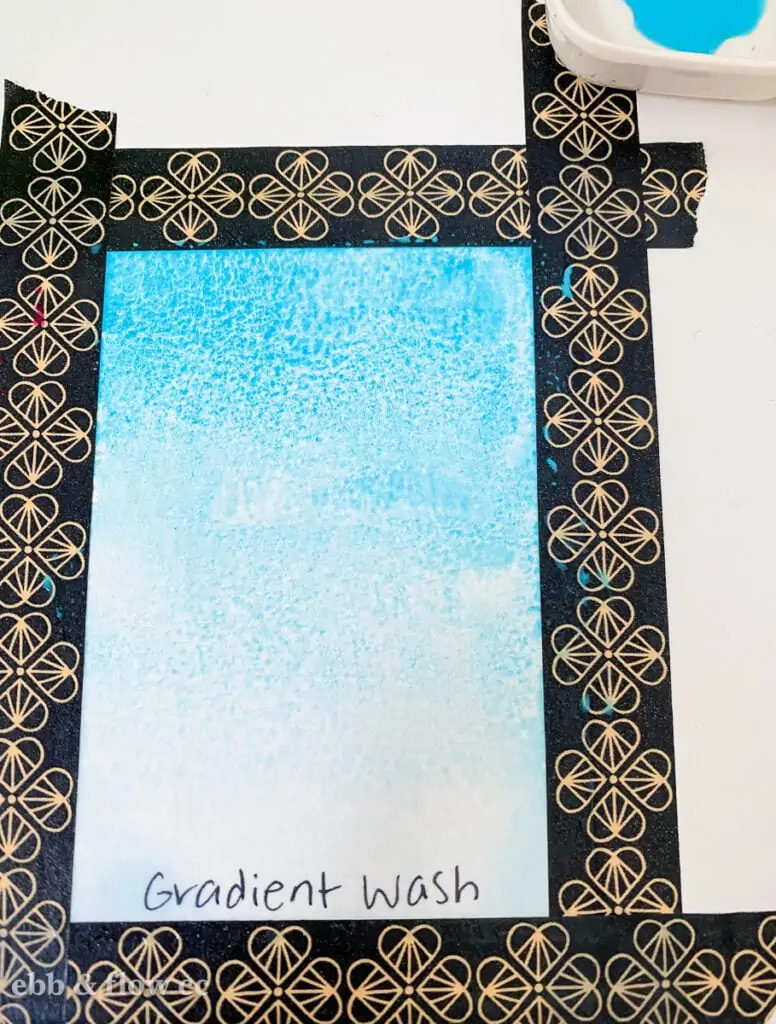
This is also great for backgrounds and landscapes, particularly skies.
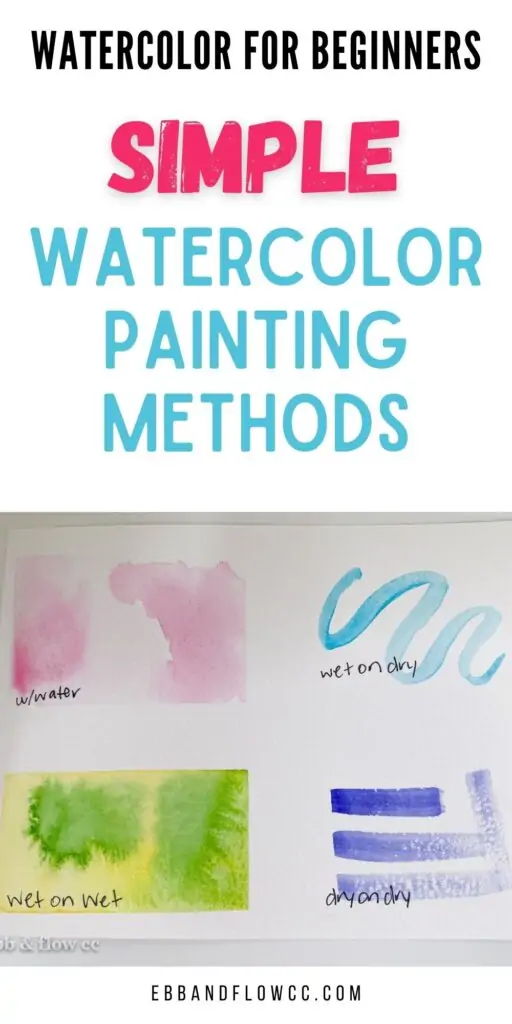
Wet on Wet
Wet-on-wet is when you paint wet paint onto a wet surface. It creates a soft edge for shapes.
You can do this in two ways.
The first is to wet the paper with water and add color. The color will disburse into the wet surface.
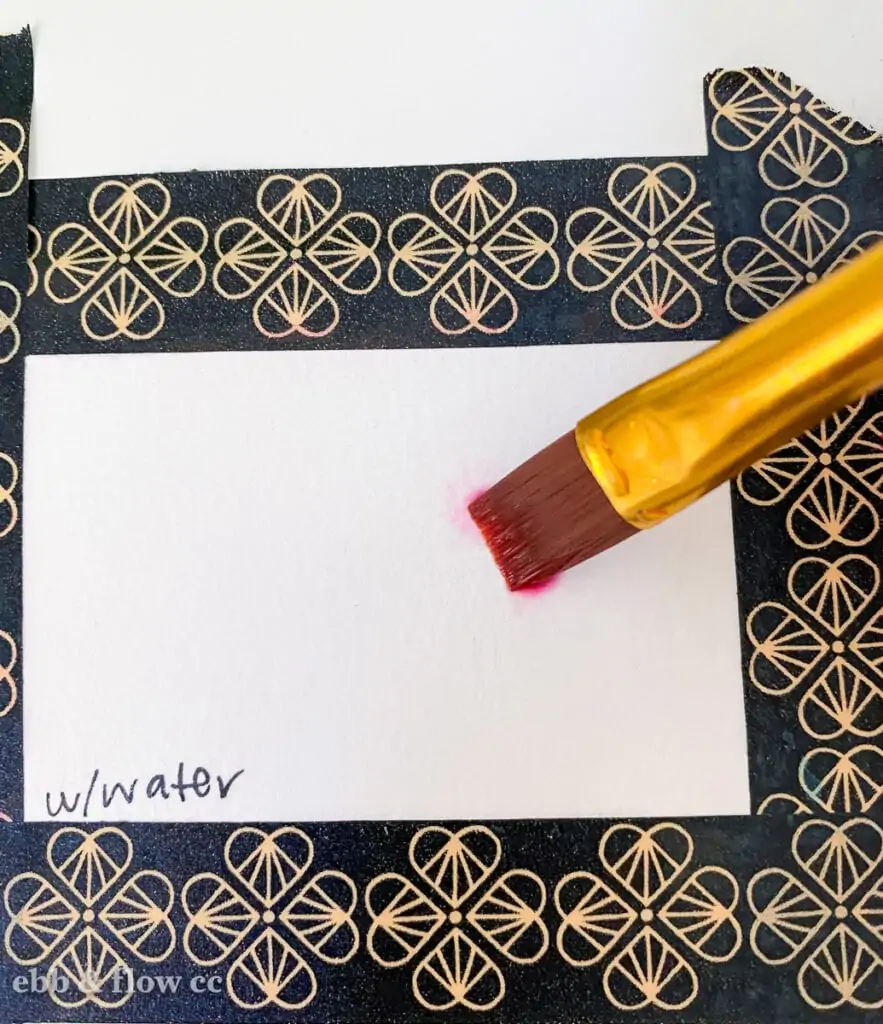
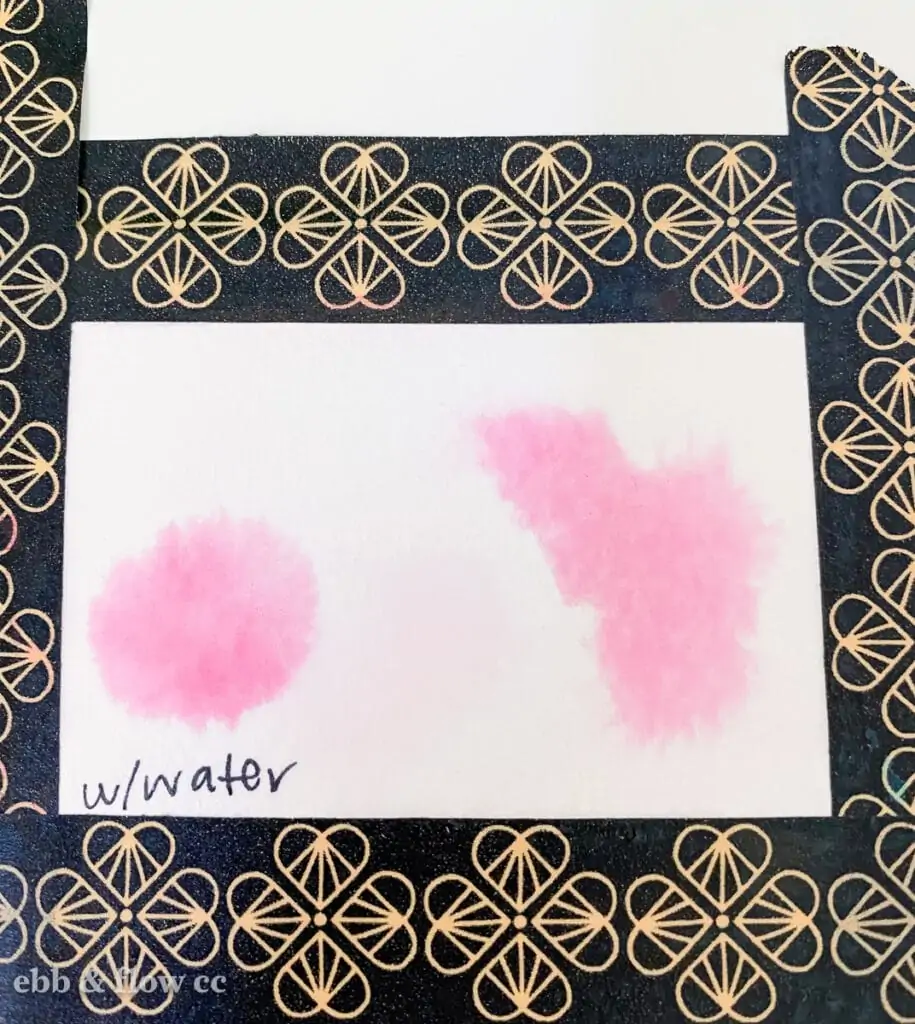
The 2nd way is to paint a layer with color and add another color while the paint is still wet. The colors blend in interesting ways.
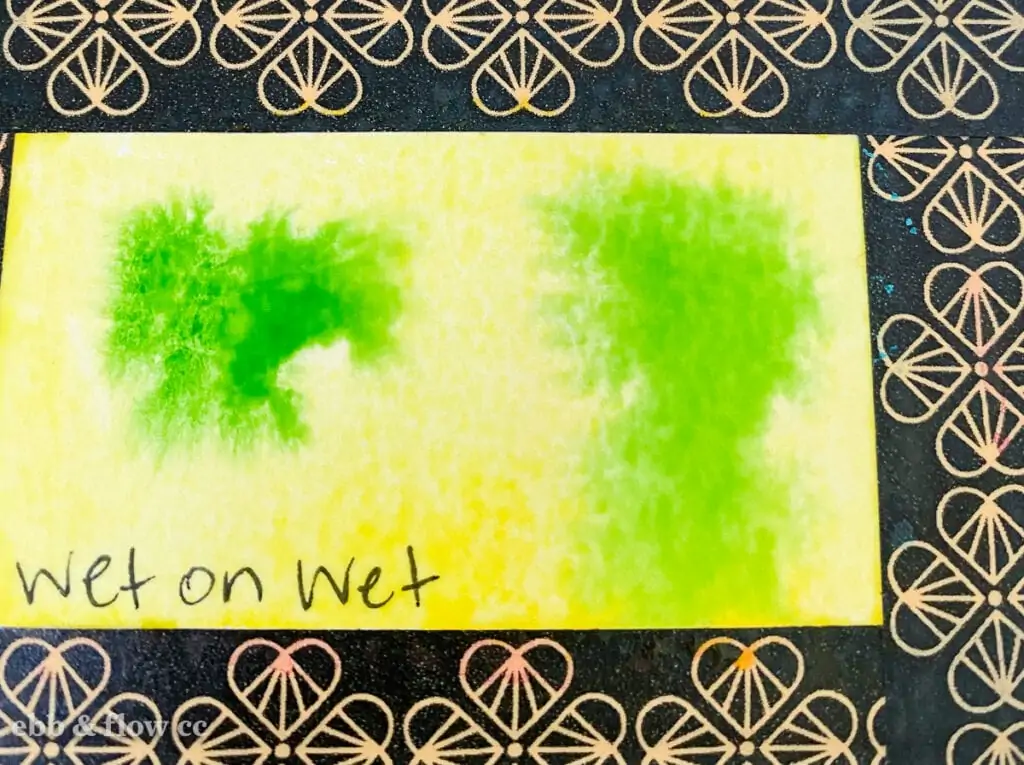
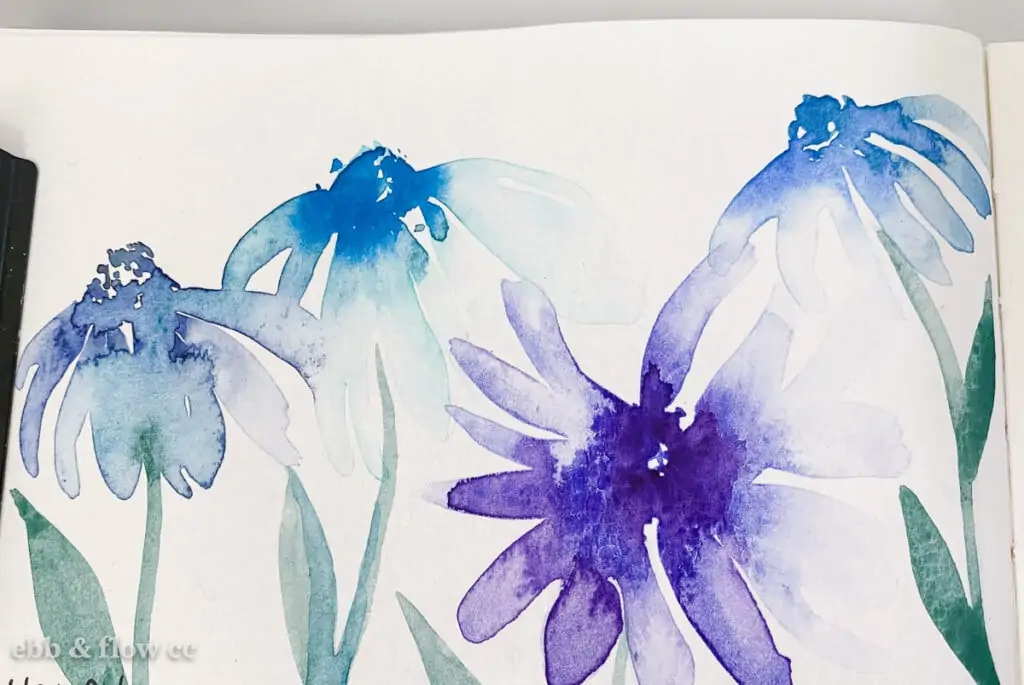
This technique is great for painting in a loose style or just adding more color to a subject.
Wet on Dry
Wet on dry is basically normal painting. This creates hard edges for shapes.
Apply wet paint to dry paper.
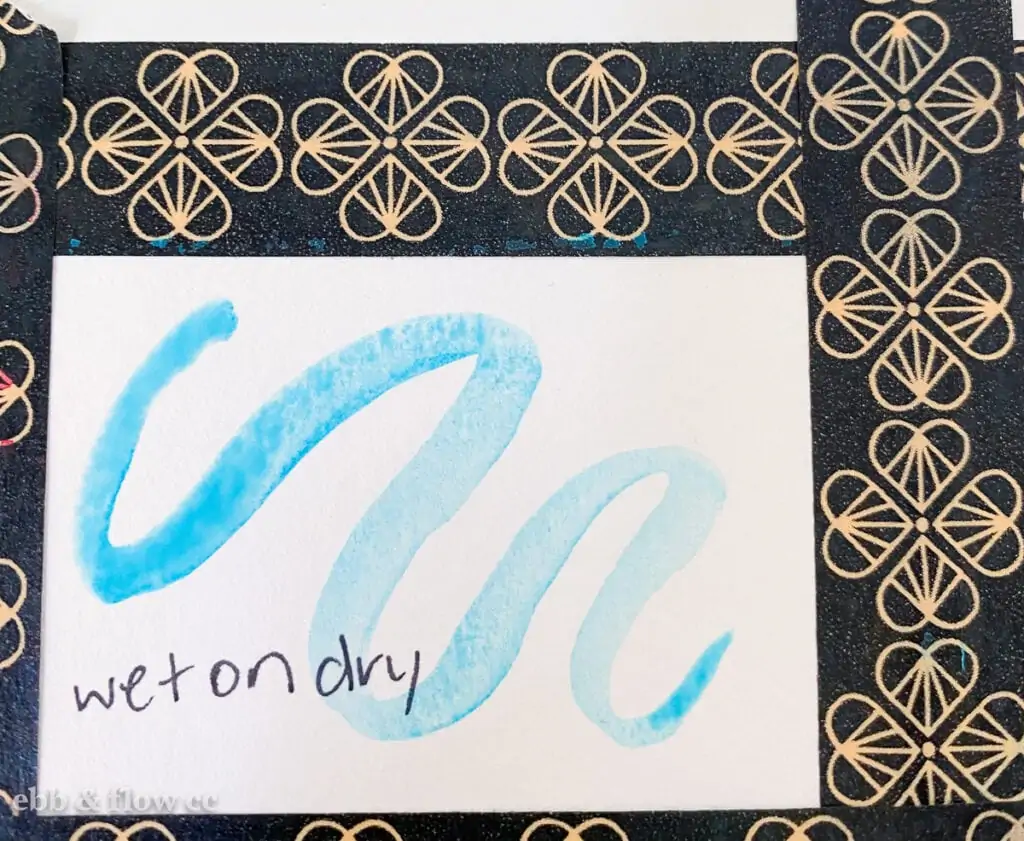
Unless you’re a loose painter, chances are high that this will be your go-to technique most of the time.
Dry on Dry (Dry Brushing)
Dry brushing occurs you have more paint on your brush than water. This creates a fun texture from the bristles on your brush.
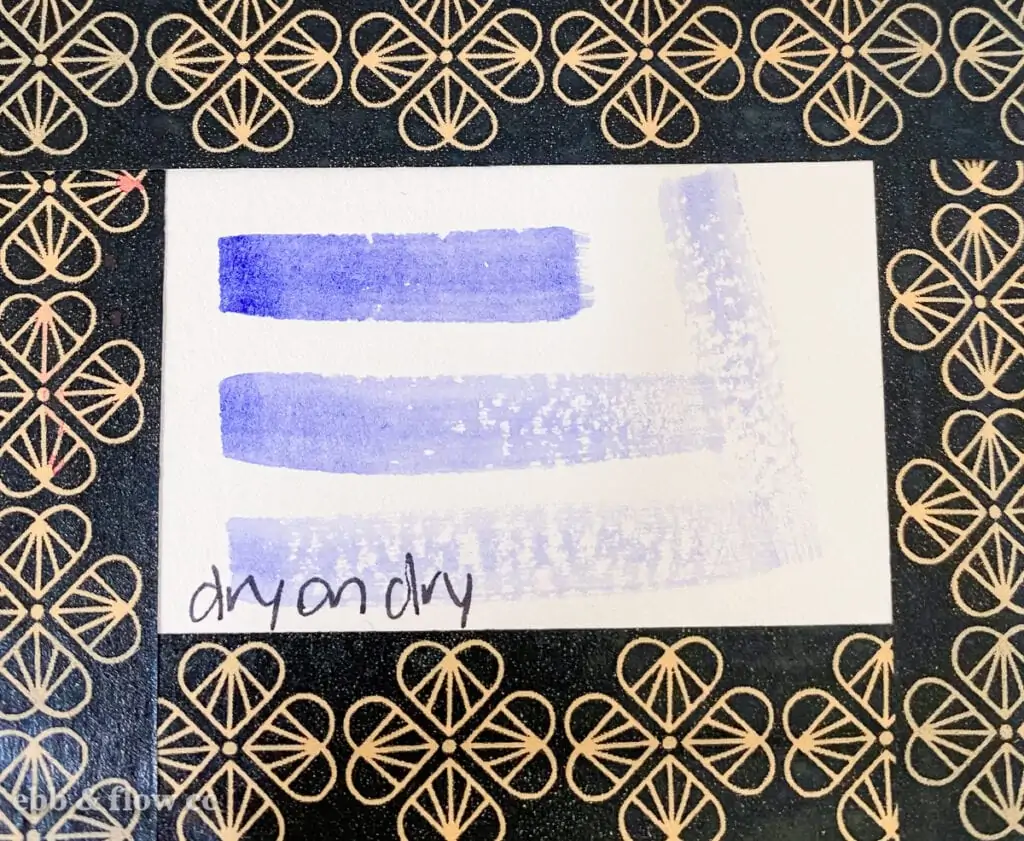
Use this technique to add texture and interest.
Blending
Blending is when you make 2 colors fade into each other.
Blending works best when they are colors that adjacent on the color wheel.
Paint one color and then paint another color next to it.
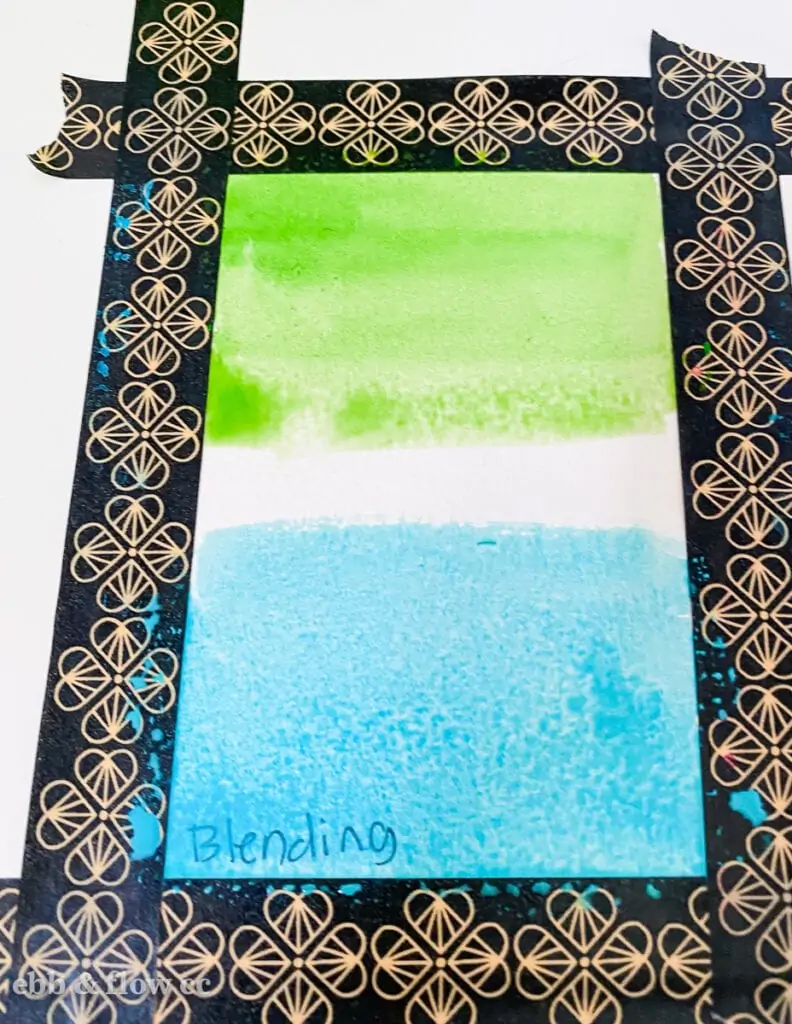
Use a clean brush to combine the colors where they meet in the middle.
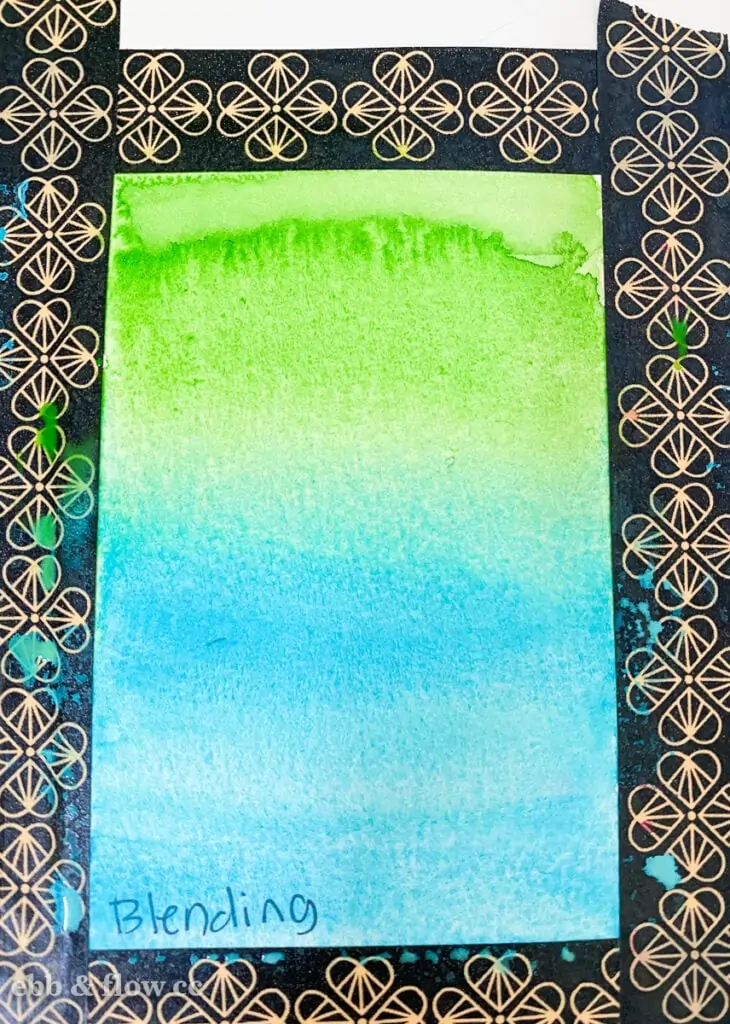
Some colors are stronger than others and might try to take over. In that case, you will need more of the wimpy color and less of the strong color.
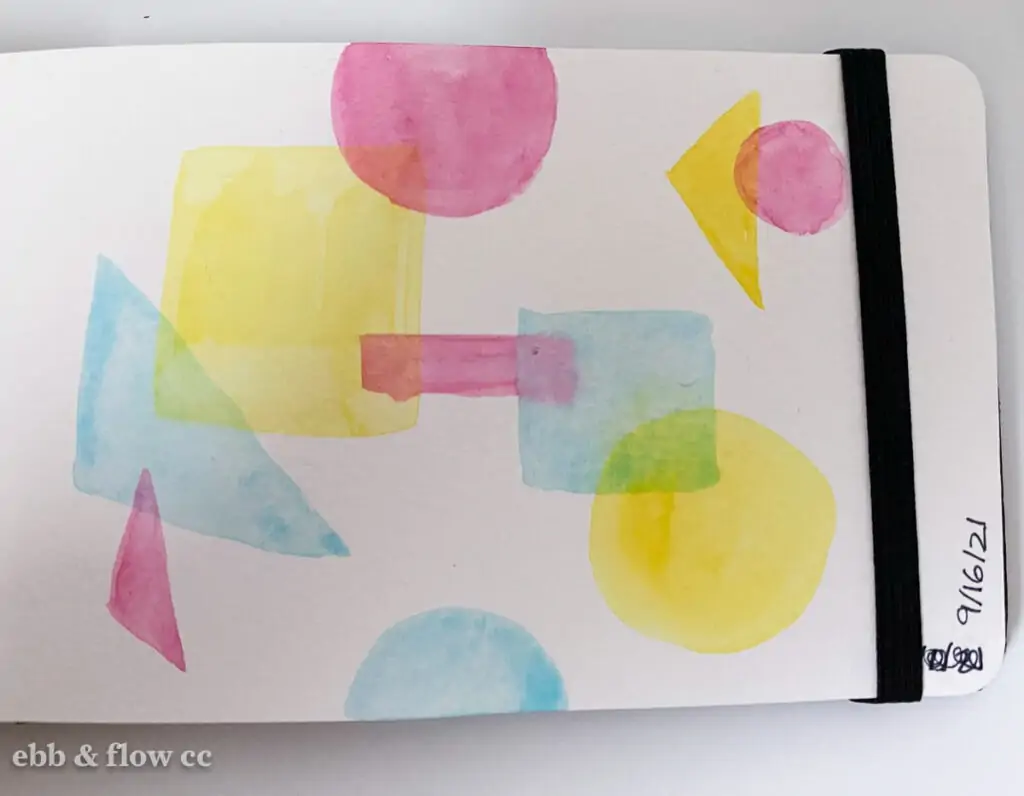
Glazing
Glazing is when you layer watercolor paint on top of dry watercolor paint layers.
Paint a thin layer and let it dry completely. Then add another layer of paint.
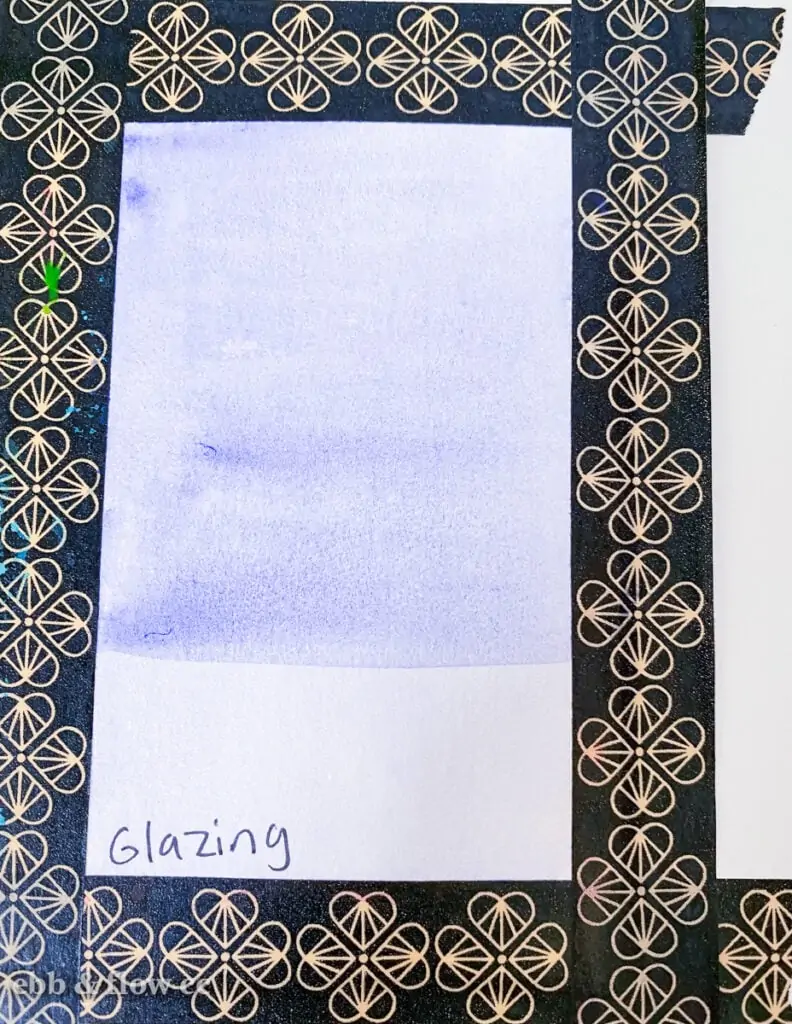
To create a more intense glaze, add less water to layers as you go.

You can use the same color to build the color up, or you can even use different colors.
Glazing can be used to make a color deeper or to add shadows.
It can also be used to illustrate transparency.
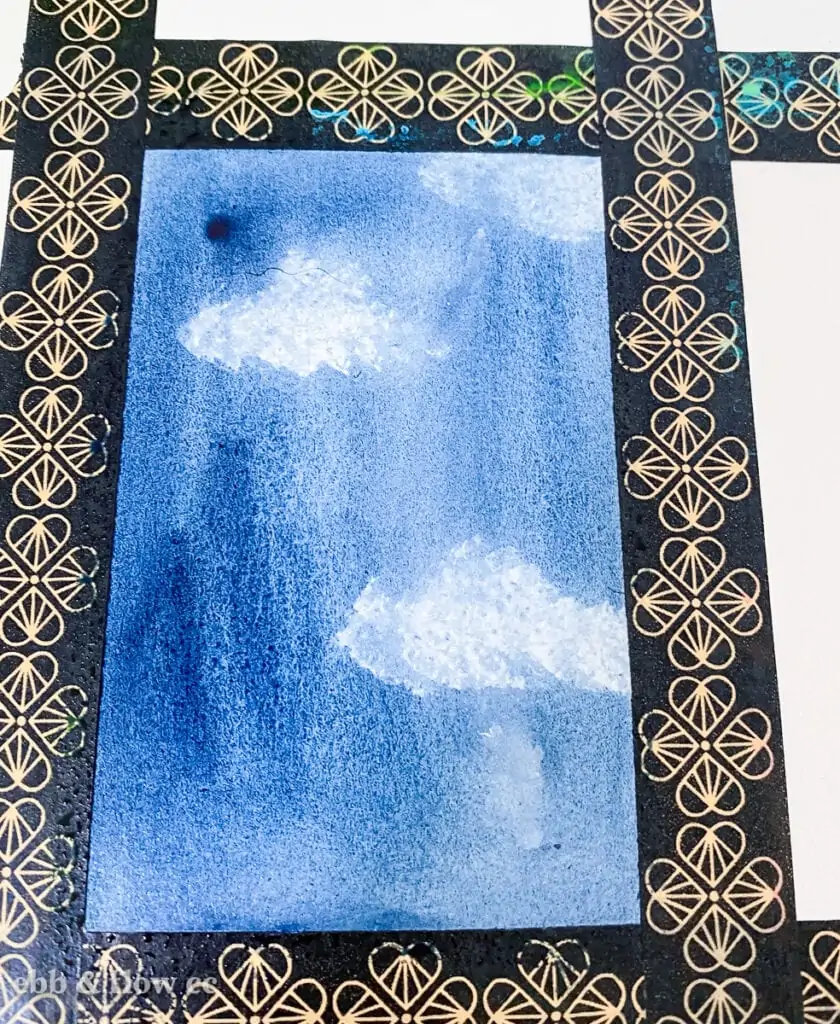
Lifting
Lifting is when you paint and you remove it with a paper towel.
Paint a layer of paint and use the tip of a paper towel to remove the wet paint.
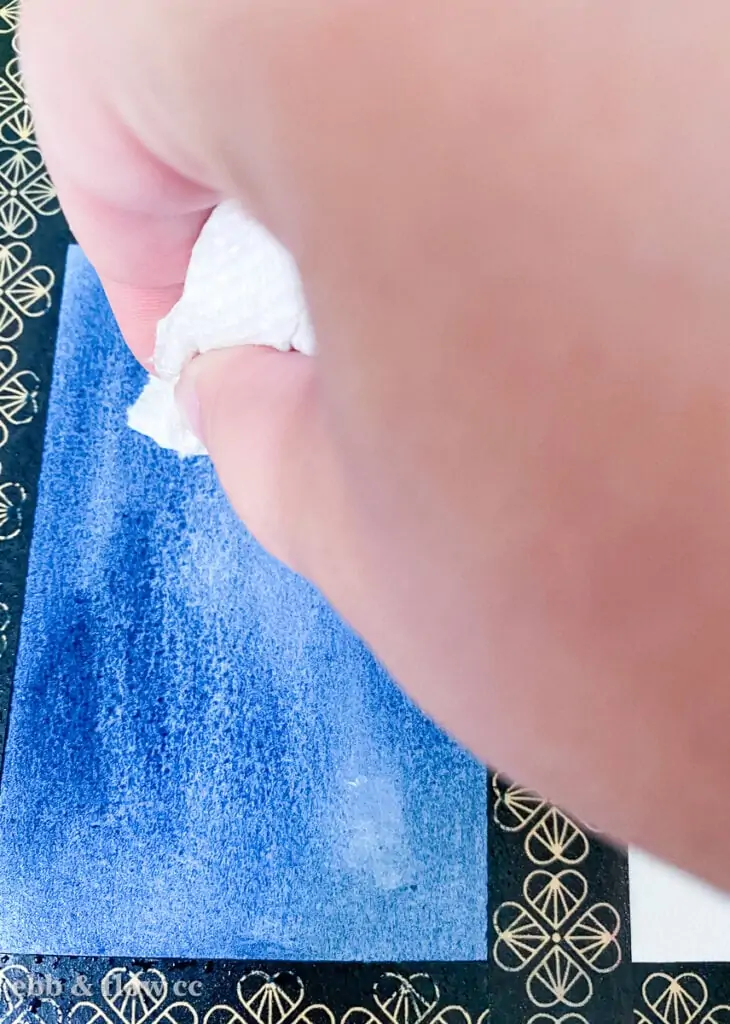
It can also work on dry paint. Just wet the area that you want to lift with a paintbrush first.
Some colors lift better than others. Keep in mind that highly staining colors can be more difficult to lift completely.
Lifting is used to correct mistakes. However, I really like to use it to create clouds in the sky.
Other Watercolor Techniques to Try
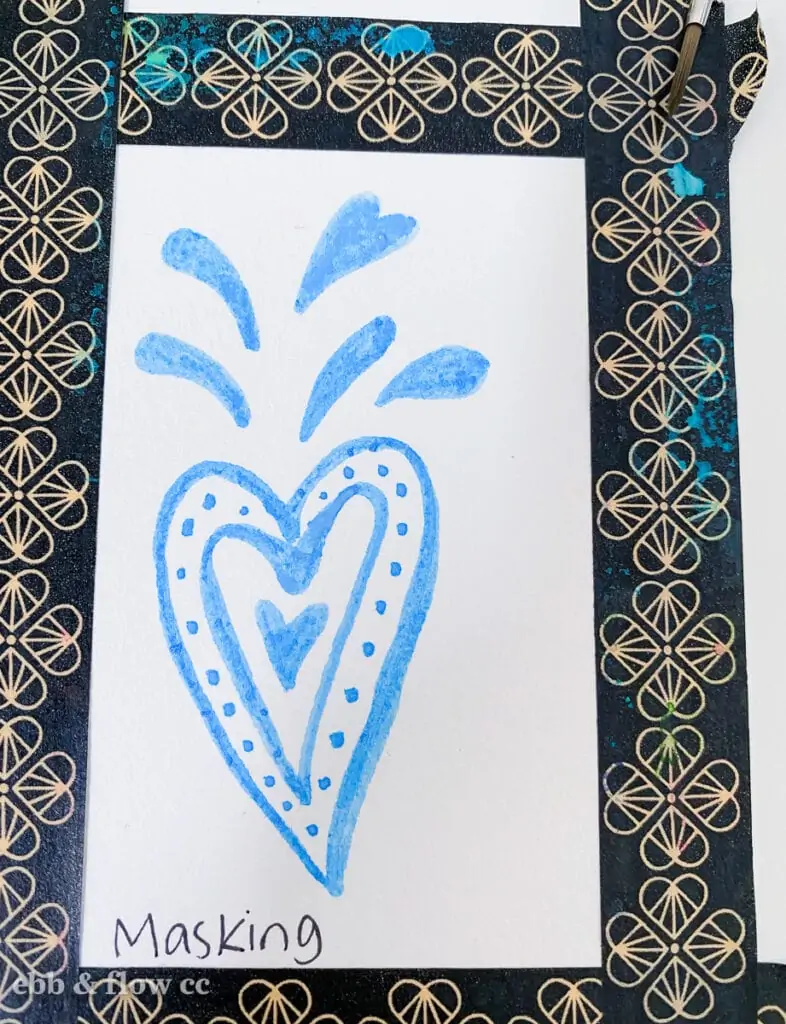
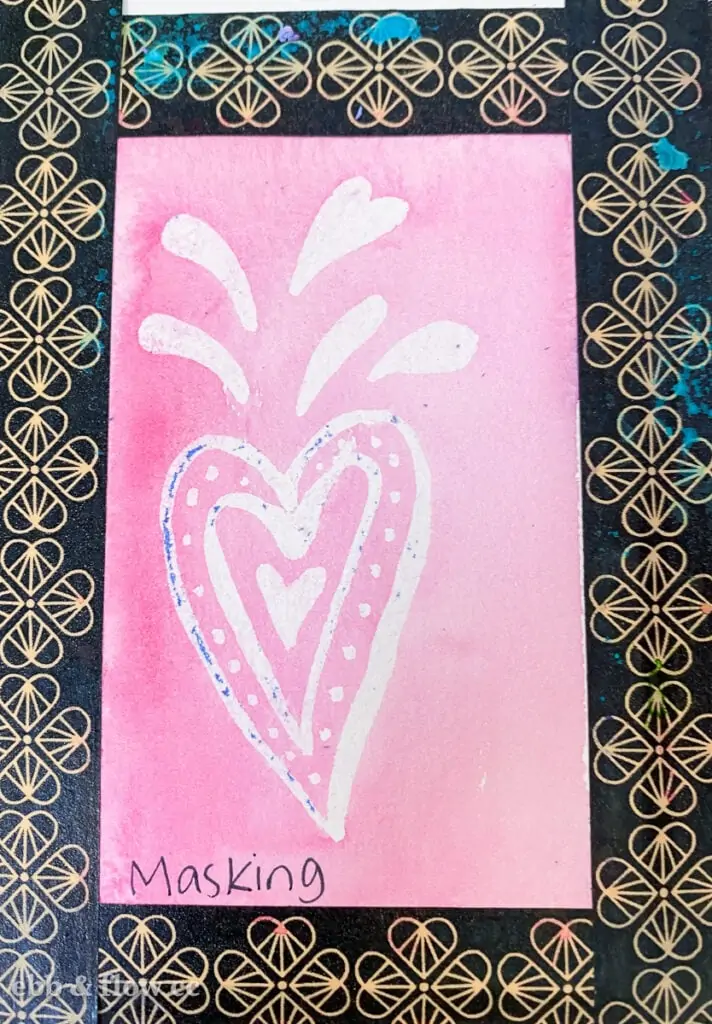
Masking
Masking is when you block off certain areas to avoid getting paint on them. You can use masking tapes or masking fluid (also called frisket.)
The most popular use of masking is using tape to create a frame around a painting. This also holds the paper in place and helps to prevent buckling.
I used washi tape for every painting in this tutorial, but there are also special masking tapes for art.
When choosing a tape, make sure that is very low tack or it will rip your paper.

You can use masking fluid to mask off more detailed areas. I bought this masking pen and I’m really happy with how it works.
Some masking fluid works better than others. I haven’t had luck with the Winsor and Newton brand, but maybe my bottle is old.
Paint it on and let it dry completely.
Paint over it and let it dry completely.
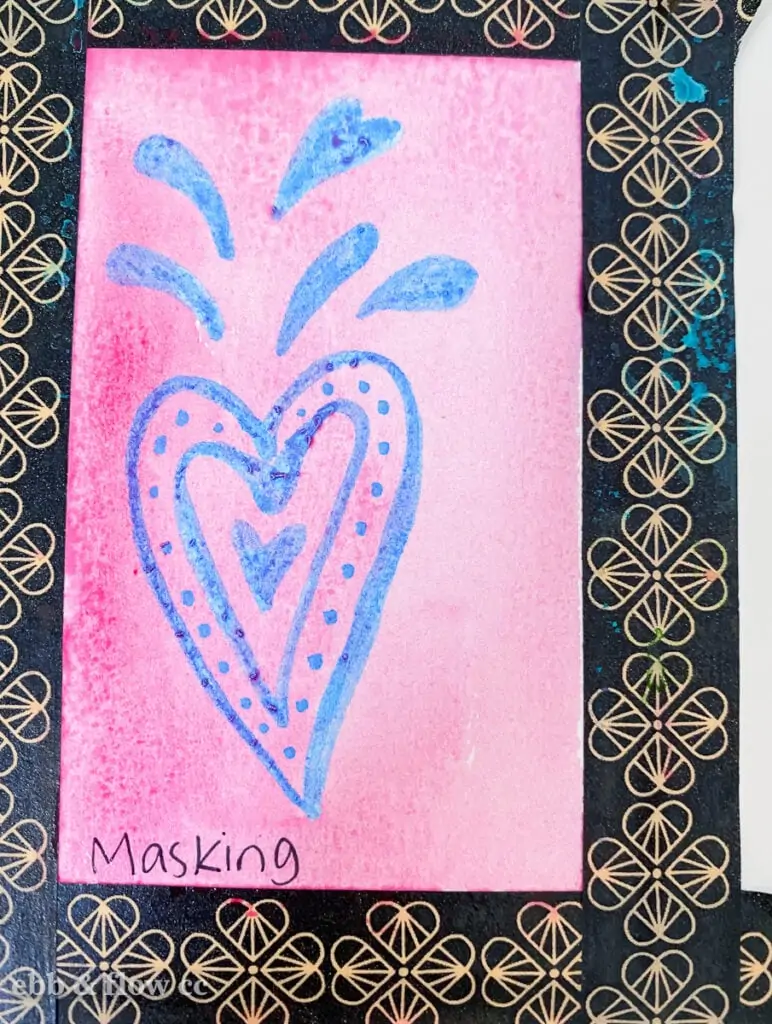
When it’s dry use your finger to gently rub it off of the paper.
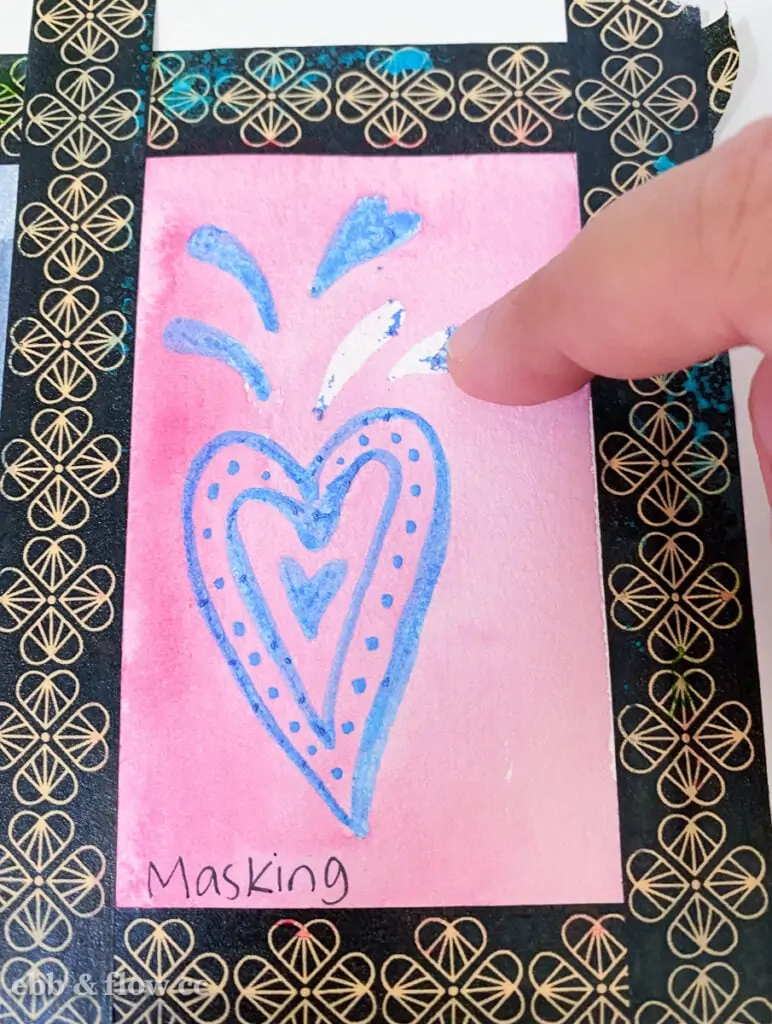
It’s much easier to remove the masking fluid if your layer is thick.
Be sure that you don’t leave the masking fluid on too long or it will be difficult to remove.
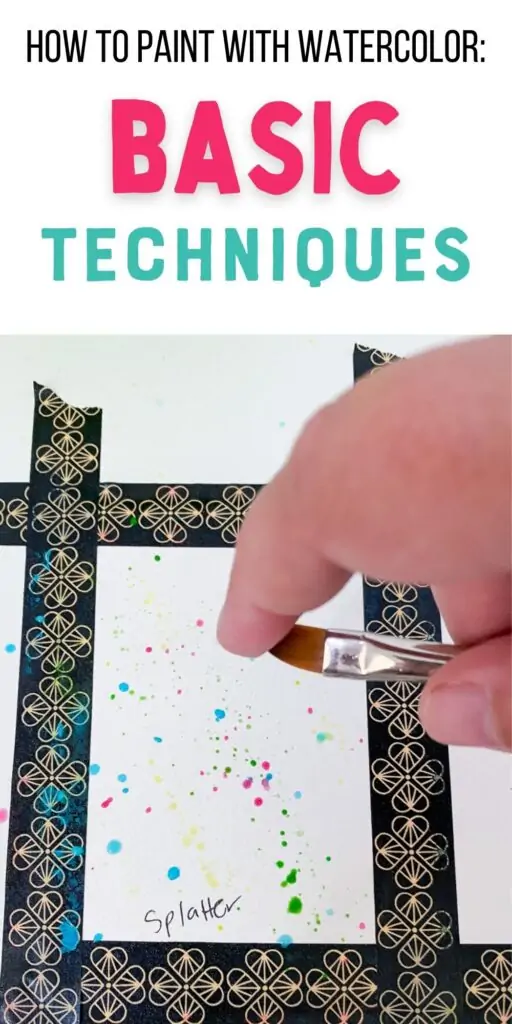
Splatter
Splatter is used to add interest to a painting.
You can use a paintbrush, but I like using a toothbrush. Load your brush with really wet paint and tap it over the paper.
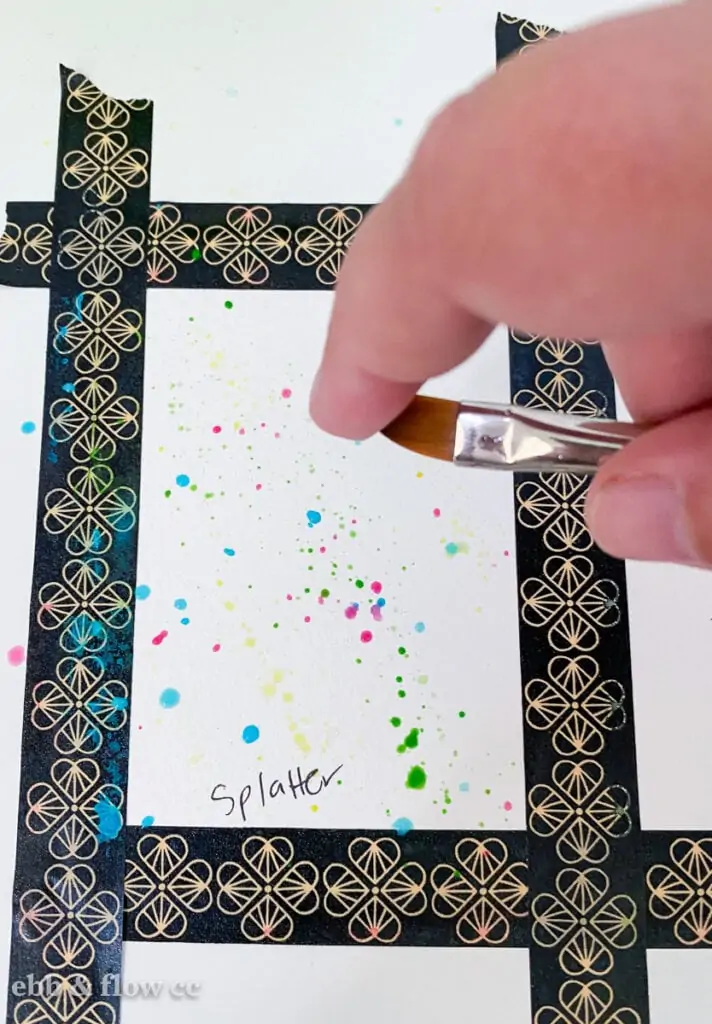
You can also run your fingers across the bristles to create a finer splatter effect.
Adding multiple colors adds even more fun.
Salt
Adding salt to a painting creates a fun texture. Use kosher salt or rock salt for the best results.
It’s more noticeable over darker colors. The salt pushes the paint away and creates white spots where it was.
Paint a layer of color and sprinkle salt on the painting.
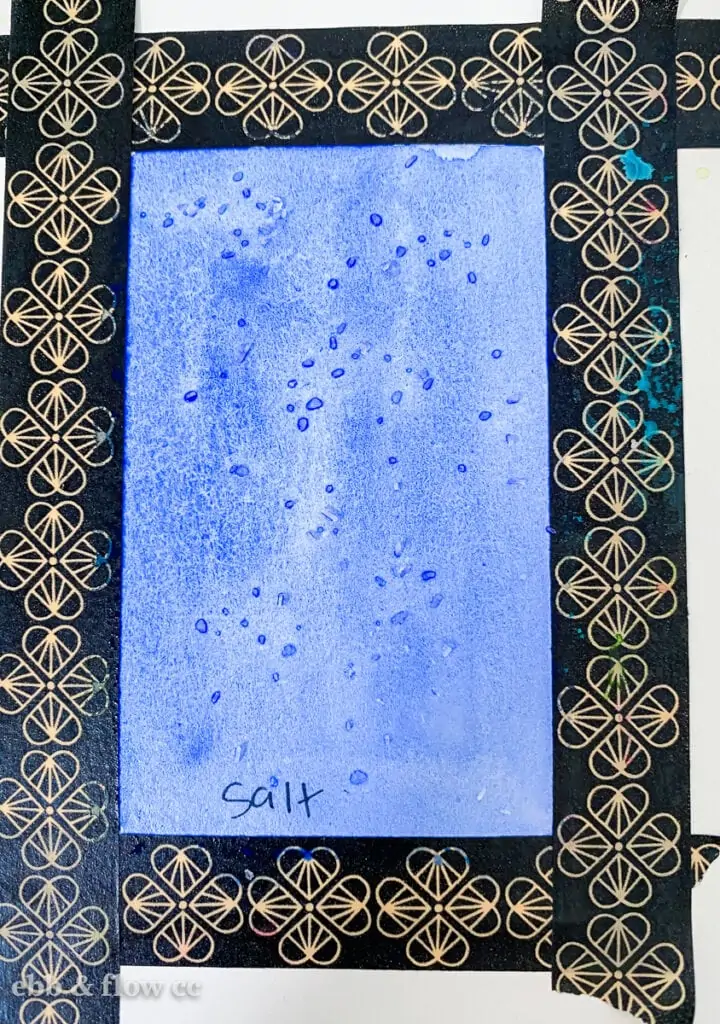
Let it dry completely before brushing the salt away. (Using a large, dry brush makes it easier to remove the salt when you’re done.)
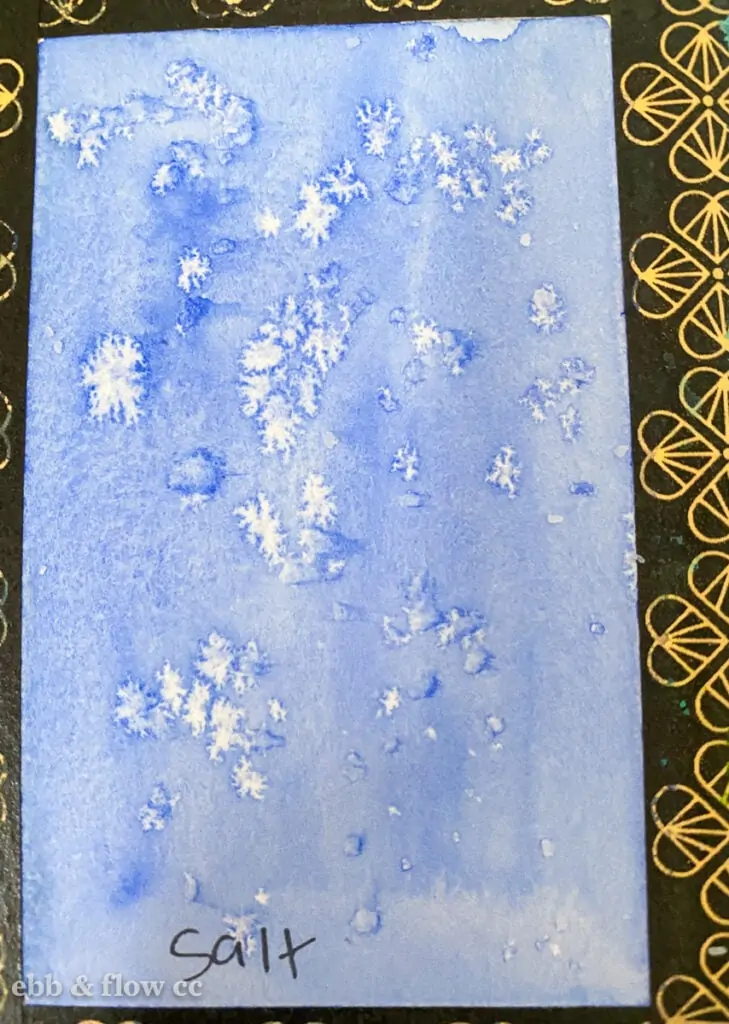
This technique creates interesting backgrounds. I really like it on galaxy and night sky paintings.
Layering with Other Media
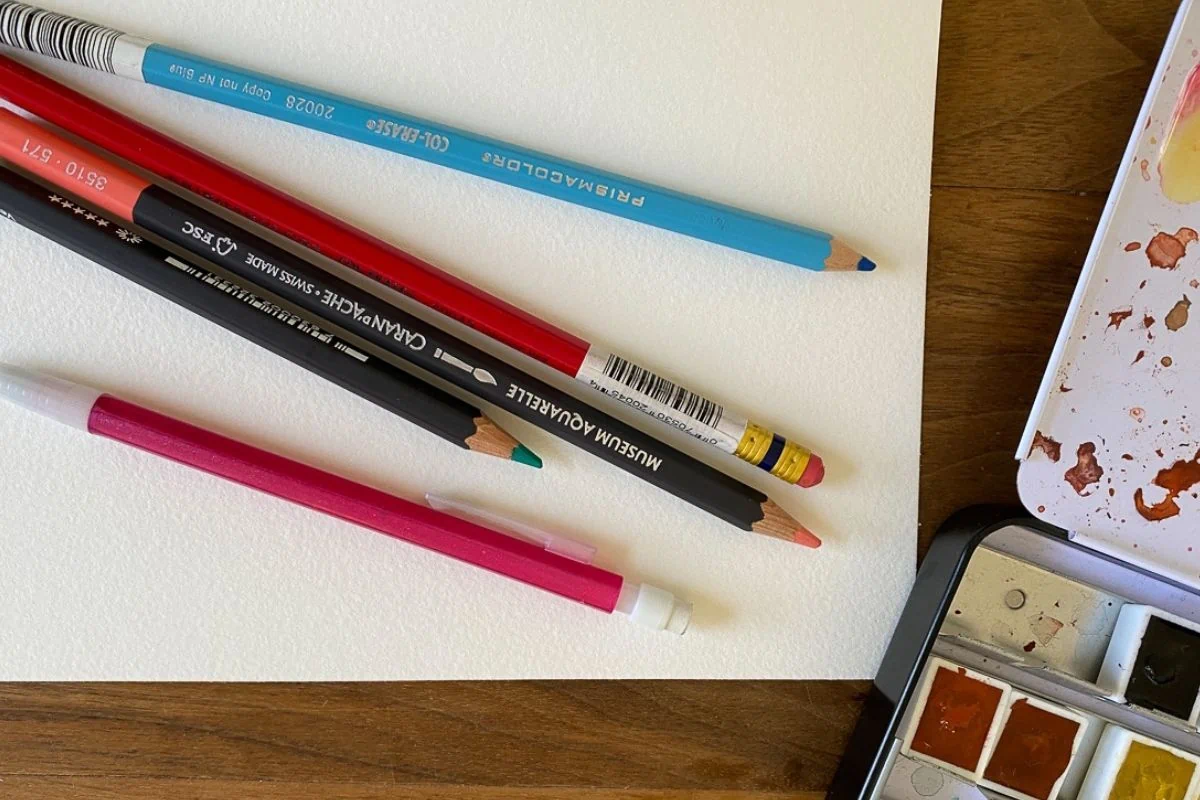
Layering watercolor with other media is one of my favorite things to do. You can layer with any media that you want.
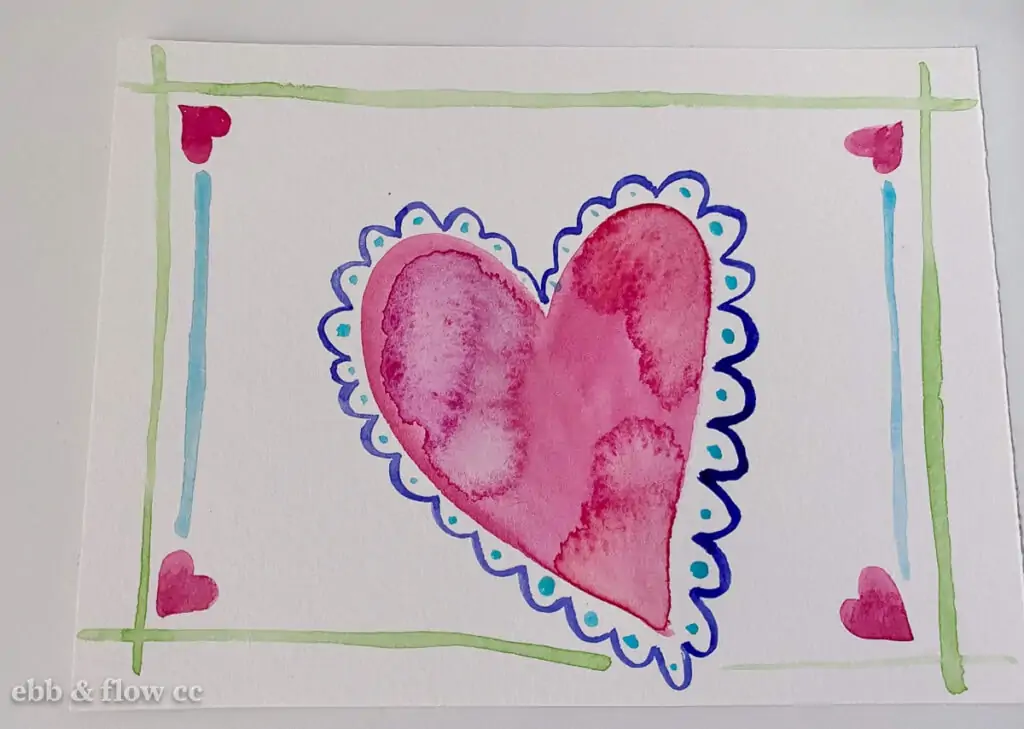
Some of my favorites are gouache, ink, acrylic markers, and colored pencils. Watercolor pencils are also fun to play with (especially in wet paint!)
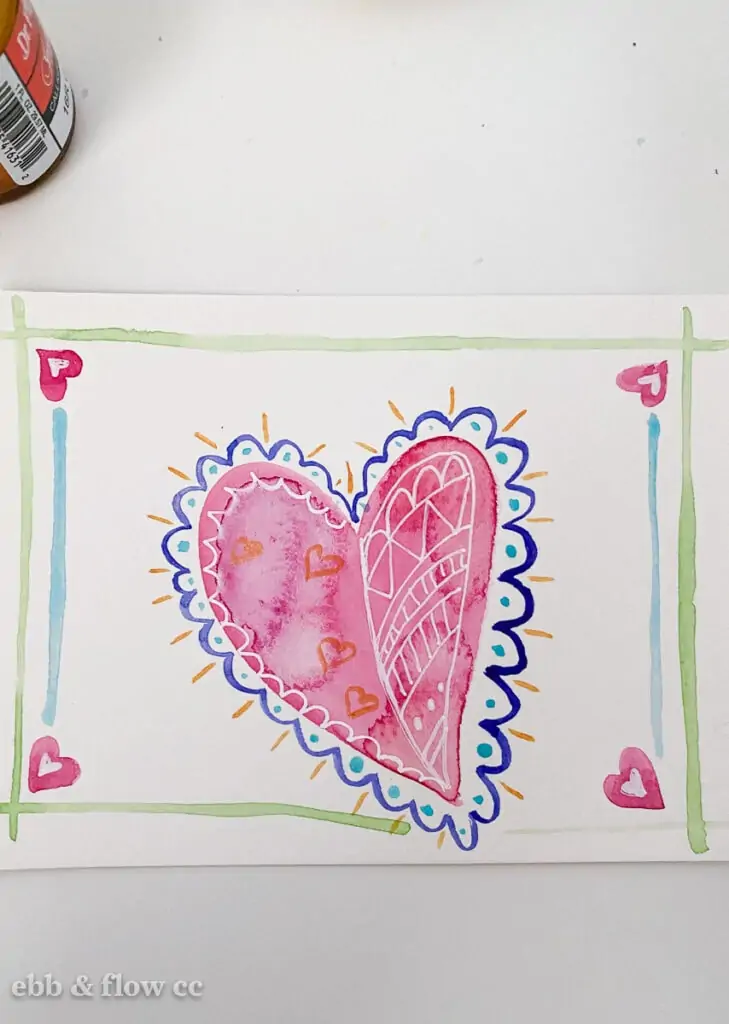
Experimenting is the fun part, but here are a few things to know.
A lot of dry mediums like oil pastels and color pencils are oil-based and should be used on top of watercolor (unless you’re going for a resist.)
For the most part, let the watercolor paint dry first before adding other media.
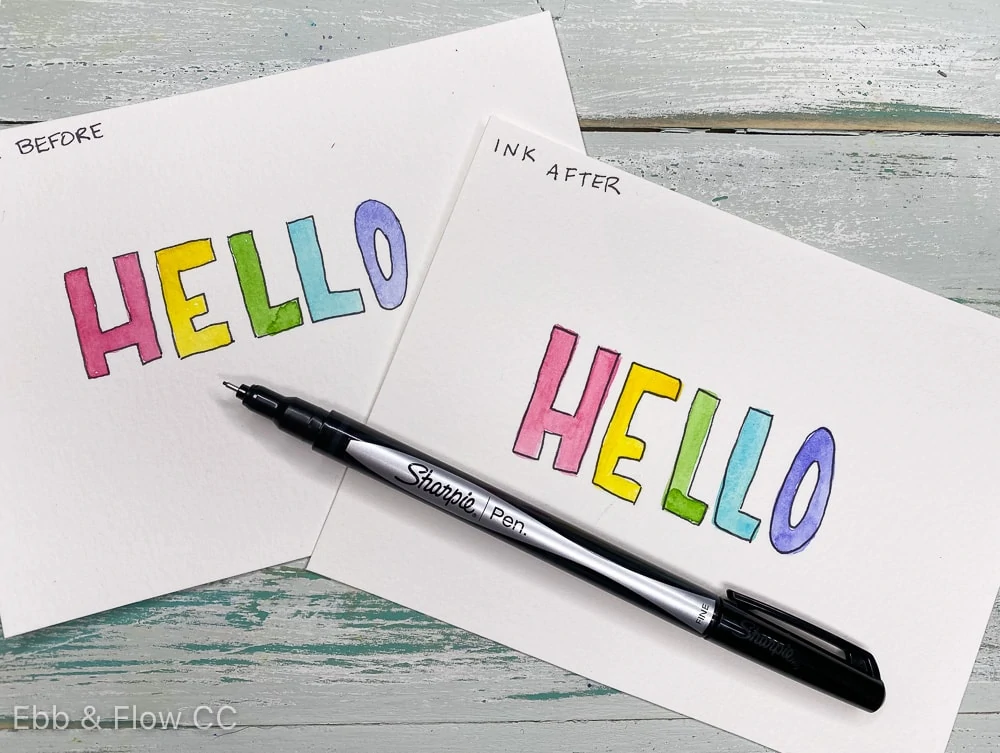
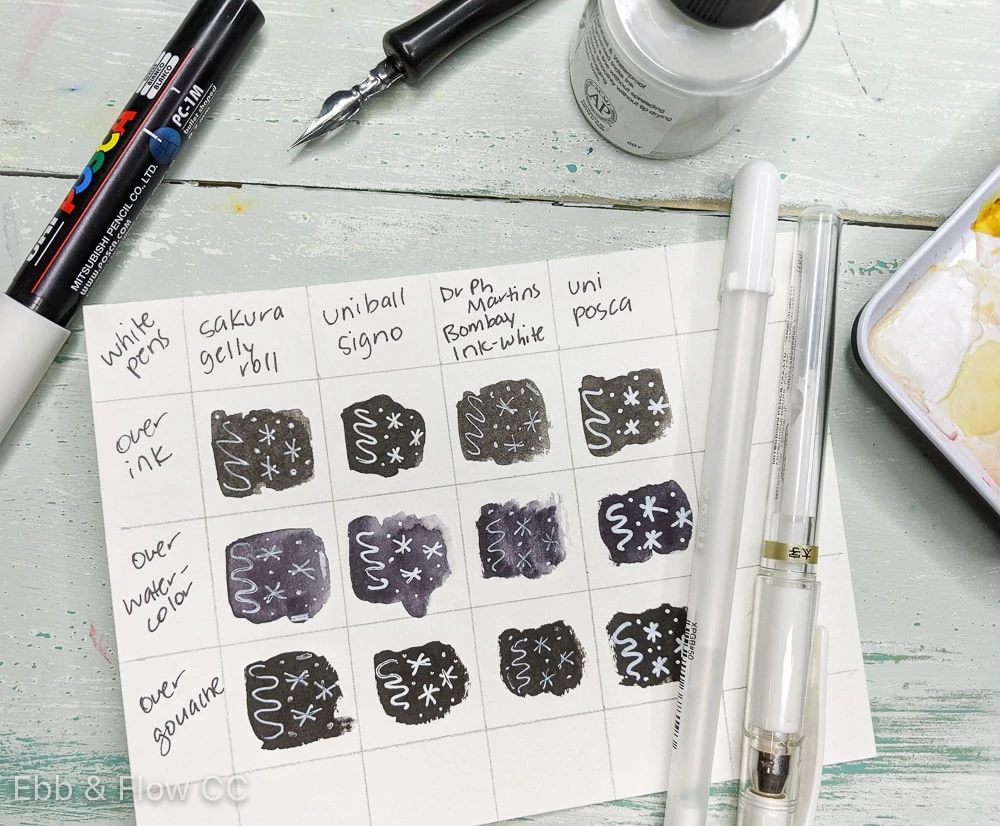
White ink and paint can be added to create highlights.
You Might Also Like:
- Watercolor Paint for Beginners
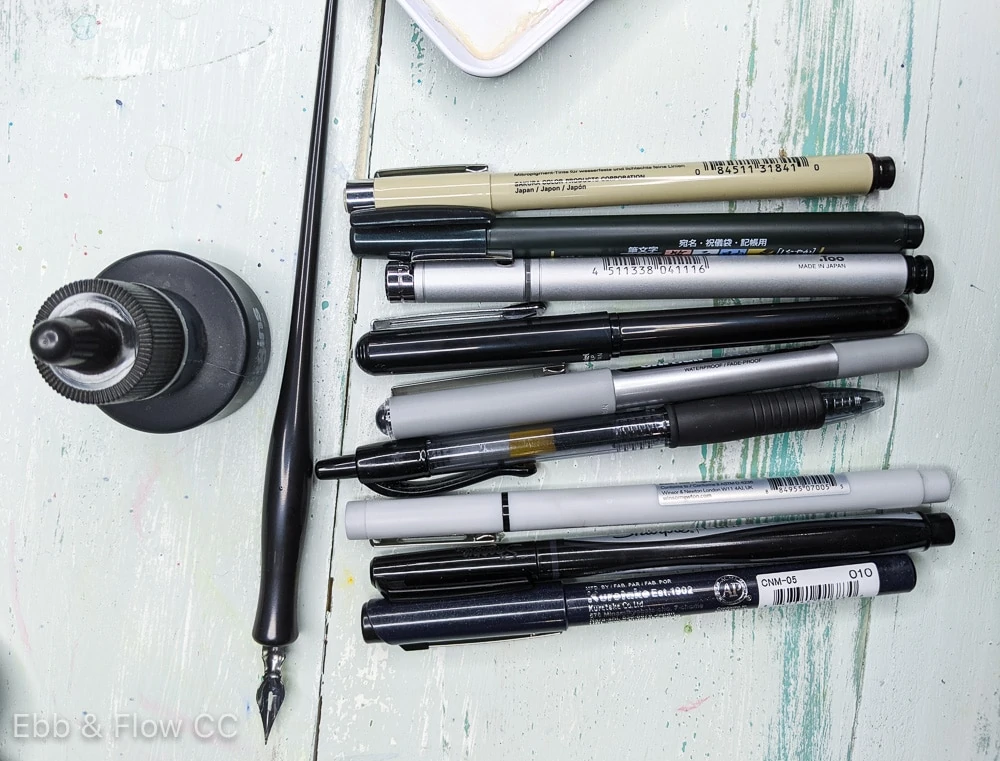
- Should You Use Ink Before or After Watercolor?
- How to Use Watercolor Markers
- Using Watercolor Tube Paint
- Abstract Watercolor Painting Ideas
- Easy Landscape Paintings
- How to Read a Paint Tube
Pin for Later!