How to Animate On Procreate

I’m a self-taught artist who loves sharing tips and tutorials for painting with watercolor and gouache, and using the Procreate app on the iPad.
Learn how to animate on Procreate. Make simple animations on your iPad with the Procreate drawing app. It’s easy and fun!
This is part of my series on how to use Procreate.
This post contains affiliate links. By purchasing an item through an affiliate link, I earn a small commission at no extra cost to you. As an Amazon Associate I earn from qualifying purchases.
Procreate is a drawing app for the iPad. It works best with an Apple pencil.
With Procreate, it’s possible to make simple animations. You can use these animations to show off your art or to use them on social media. You could also make a simple intro for your YouTube channel or for videos.
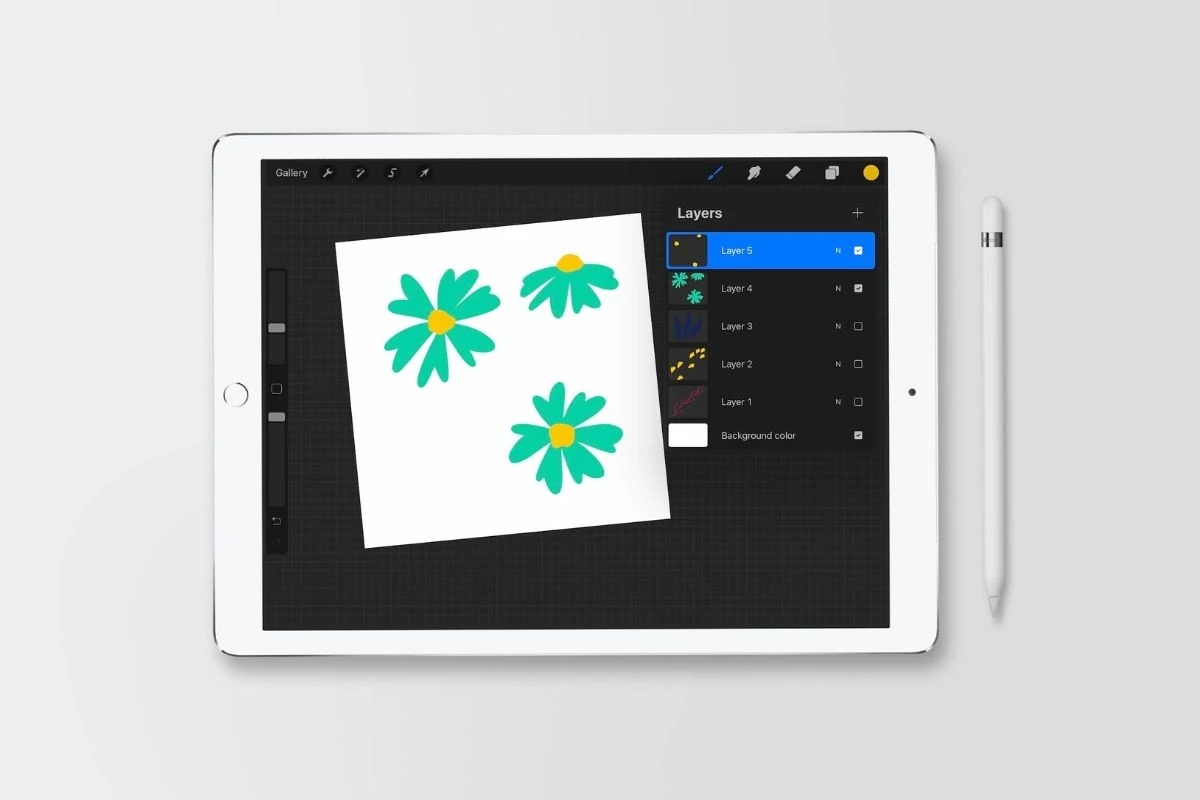
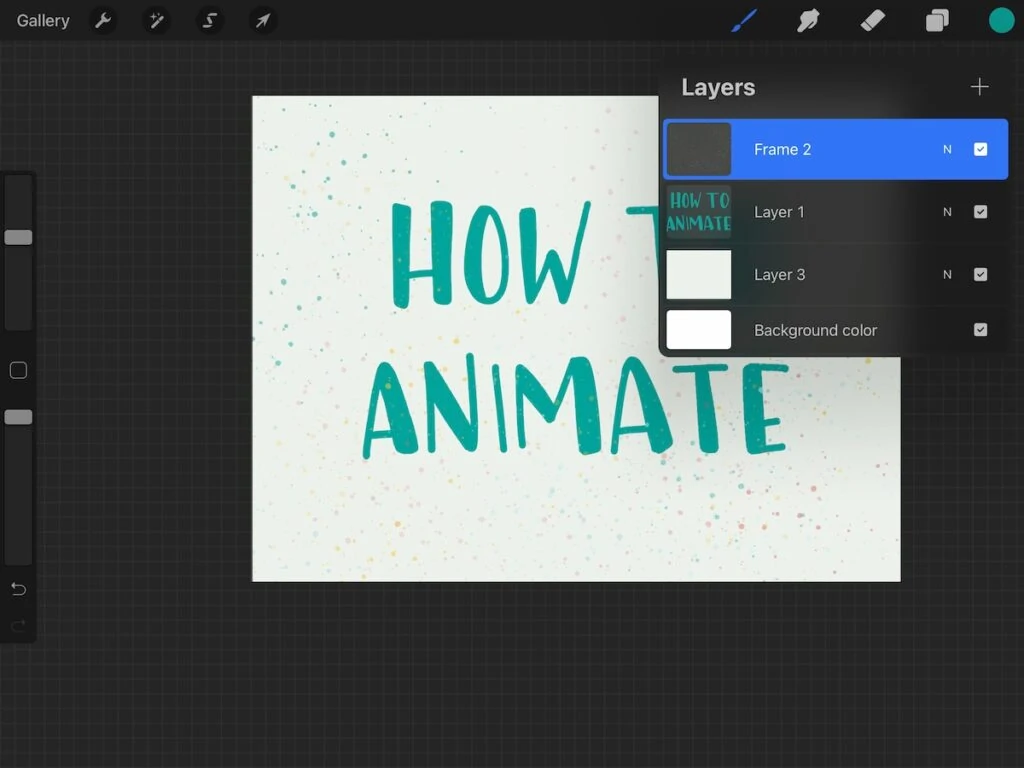
Animations in Procreate work by creating a new layer for each frame.
I’m going to walk you through the settings and then I’ll talk about how to make an animation on Procreate.
Animation Settings in Procreate
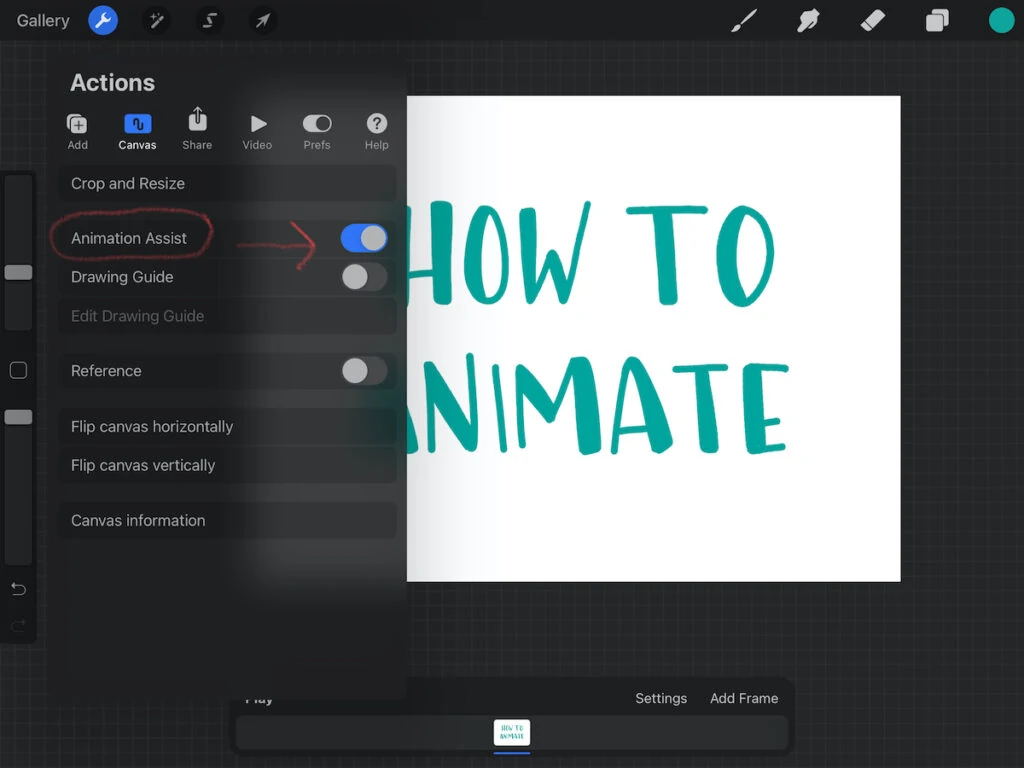
Animation settings can be accessed through the Actions panel at the top left of the screen. Select Canvas and then toggle on Animation Assist. This will bring up the animation settings.
Animation Interface
Canvas
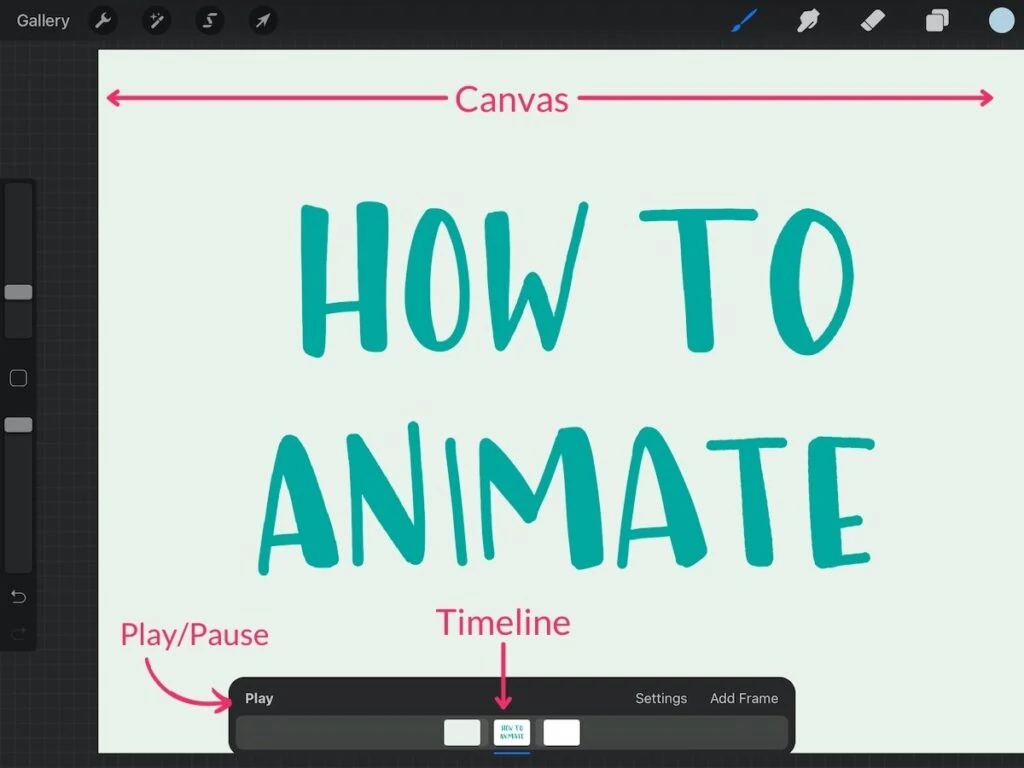
The canvas is where the selected frame will appear. You can draw on it like normal.
By default, onion skins are turned on. If you’re brand new to animation, onion skins are transparent layers that show you where the rest of the frames are. These are used to help you know where to move your objects for animation.
Timeline
The timeline appears at the bottom of the screen. From here, you can see all of your frames in one glance.
You can click on a frame or drag them back and forth. The frame with the blue underline shows your selected frame.
Play/Pause
Press play to see how your animation is looking. You can do this at any time to preview your work. Pause stops the animation. You can also tap the canvas or timeline to pause it.
Add Frame
This option allows you to add a frame. It will be blank though. (For a seamless animation, try duplication your first layer instead.)
Frame Options
Press on a frame to access these options. From here, you have the options of hold duration, duplicate or delete. The last 2 options are pretty self-explanatory.
Hold Duration
Hold duration pauses the animation on that frame for the specified amount of frame time. When increased, transparent frames appear in the timeline. The number of frames corresponds to the time selected. So if you choose 5 frames, 5 frames will appear.
The max amount of time is 120 frames.
The amount of actual time will depend of your frames per second setting, which we will talk about in a minute.
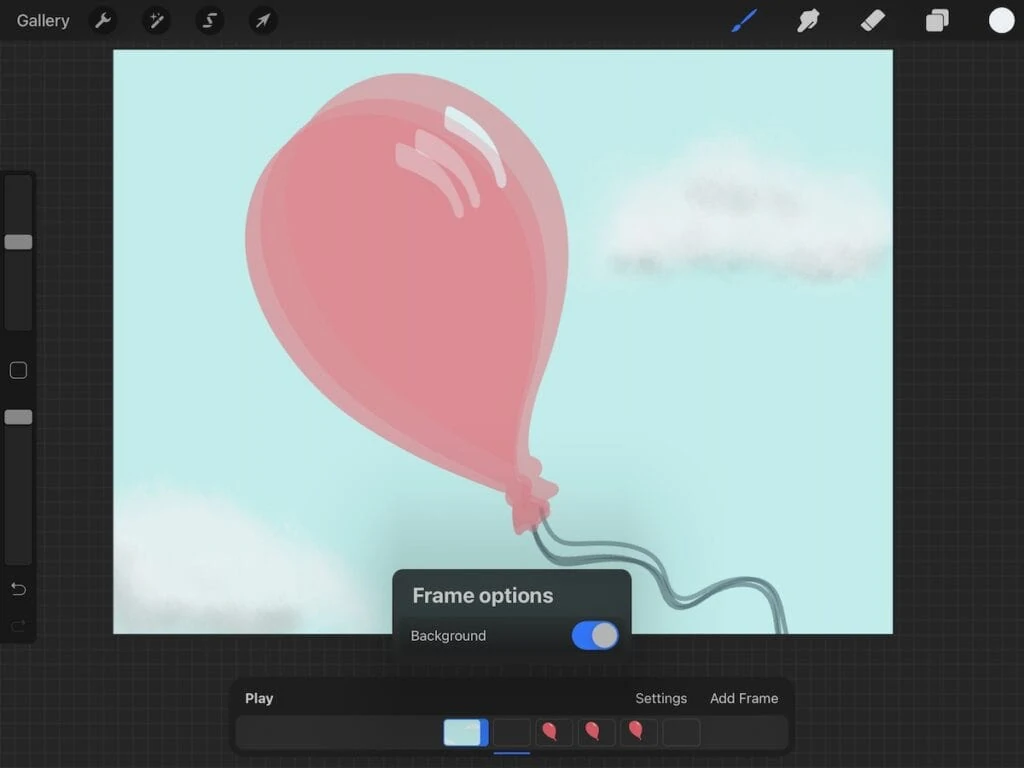
Background and Foreground
You also have the option to toggle on/off background and foreground.
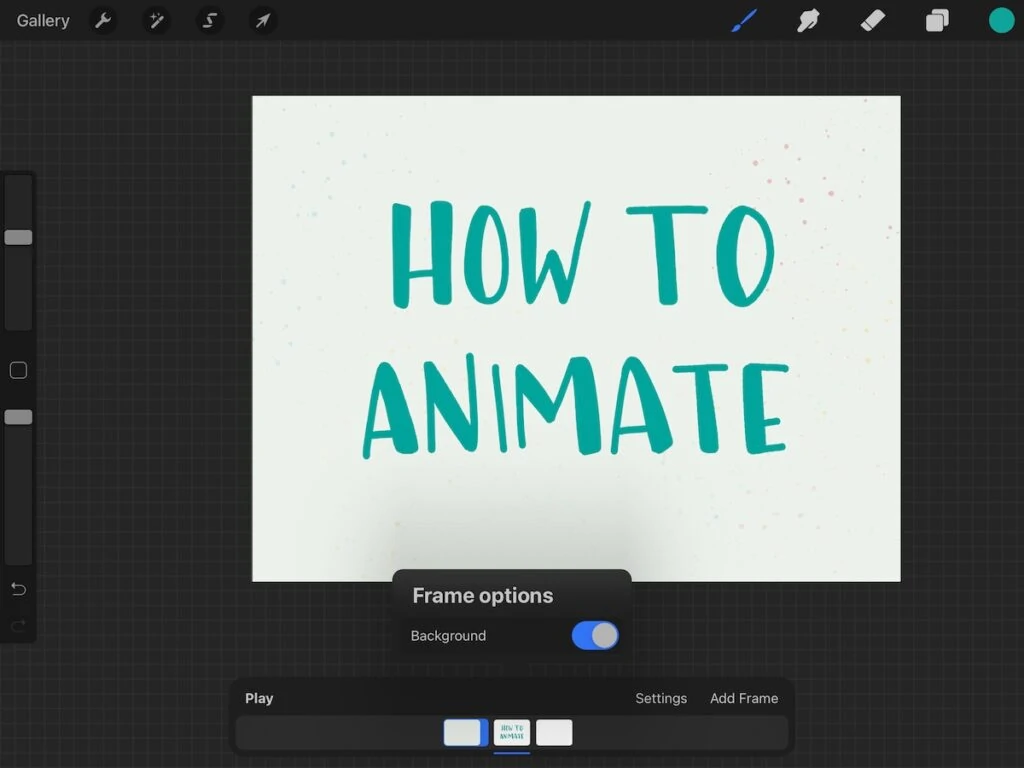
These are used for layers that you want to appear on all of the frames, but that you don’t want to change.
The background can be a color or an illustration for the background. The foreground can be an object, but I like using it for texture.
When you choose background for a frame, it places the layer at the beginning of the timeline. The foreground is placed at the end of the timeline.
When creating your background layer, you can use the default background layer for a solid color or turn it off and create a new layer if you plan on drawing on this layer.
If you use a solid color and turn off the background layer, your foreground layer will have a transparent background in the timeline.
Settings
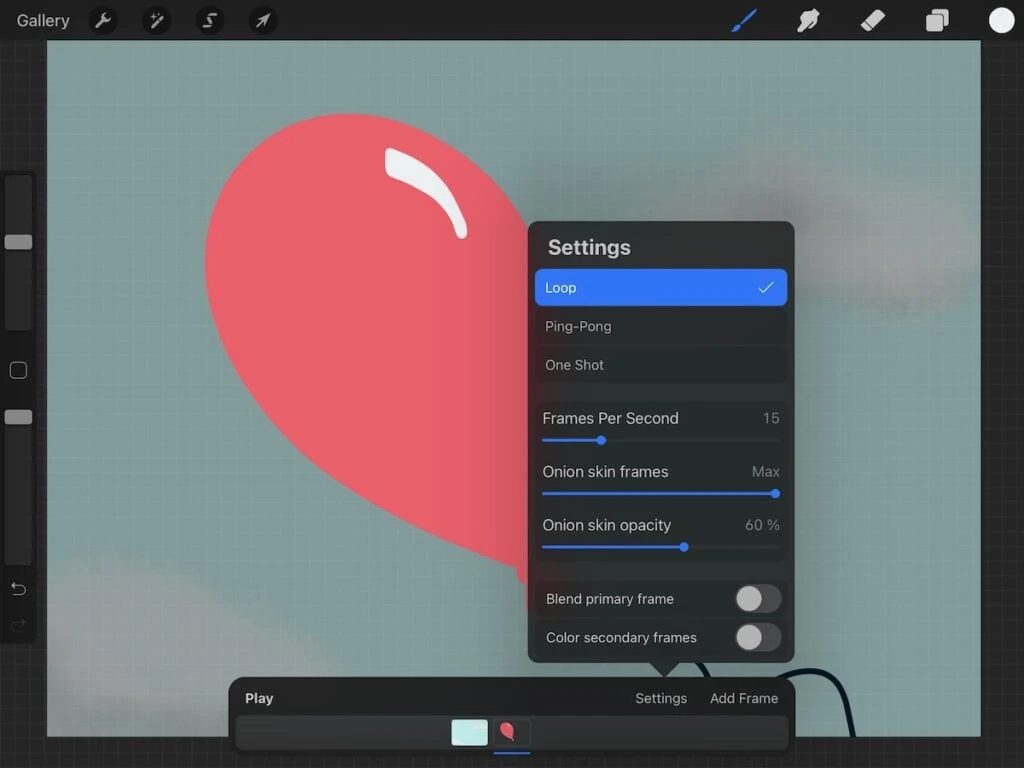
The first 3 options are the play options.
Loop
Loop plays the animation from the beginning to the end, and the starts it over again.
Ping-pong
Ping-pong plays the animation from the beginning to the end, and then from the end to the beginning.
One Shot
One Shot plays the animation from the beginning to the end and then stops.
Frames per Second
This setting changes the speed of your animation. The more frames per second, the smoother it can look. Play with the timing to get the look of what you want.
For simple animations (like the ones you would use for social media), I prefer lower frames per seconds. It gives it more of a dancing look that I love.
Faster frames per second look better on longer, more detailed animations.
Onion Skin Settings
Onion skins show the location of objects on the other frames adjacent to the selected frame. They are transparent and are used to help figure out how to animate the selected frame.
Onion Skin Frames
This setting allows you to set how many frames you can see at a time. The options range from none to a maximum of 12.
Onion Skin Opacity
This setting allows you to change the opacity of the onion skins.
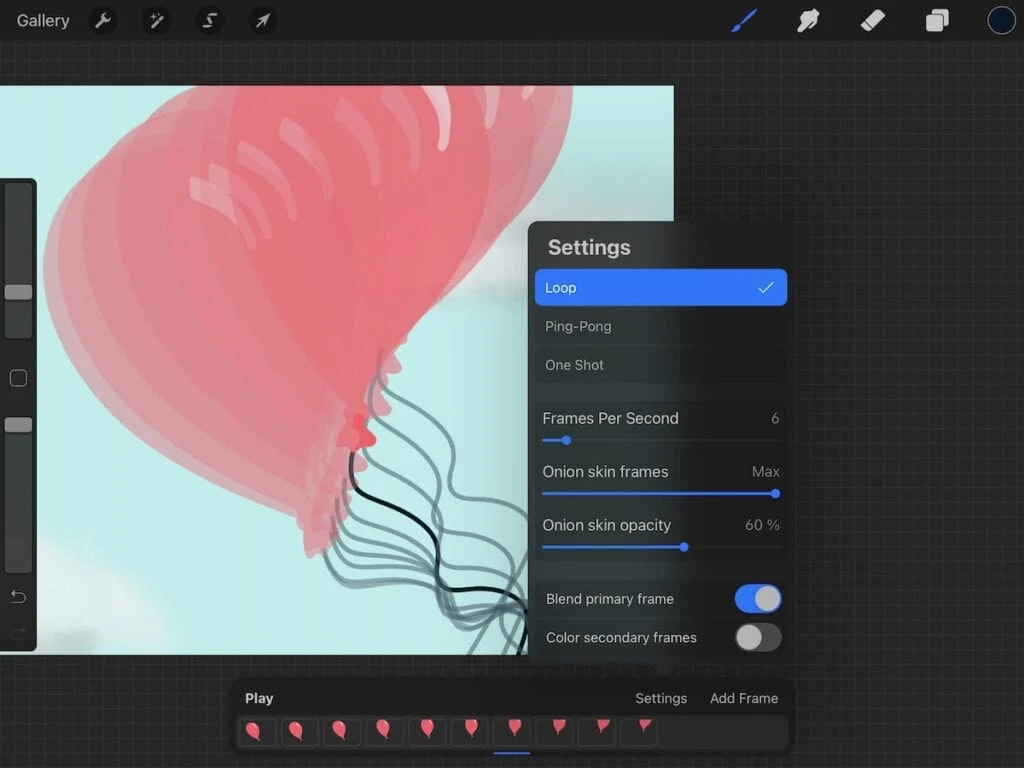
Blend primary frame
This option allows you to change the selected frame to blend with the onion skins. By default, the frame is opaque.
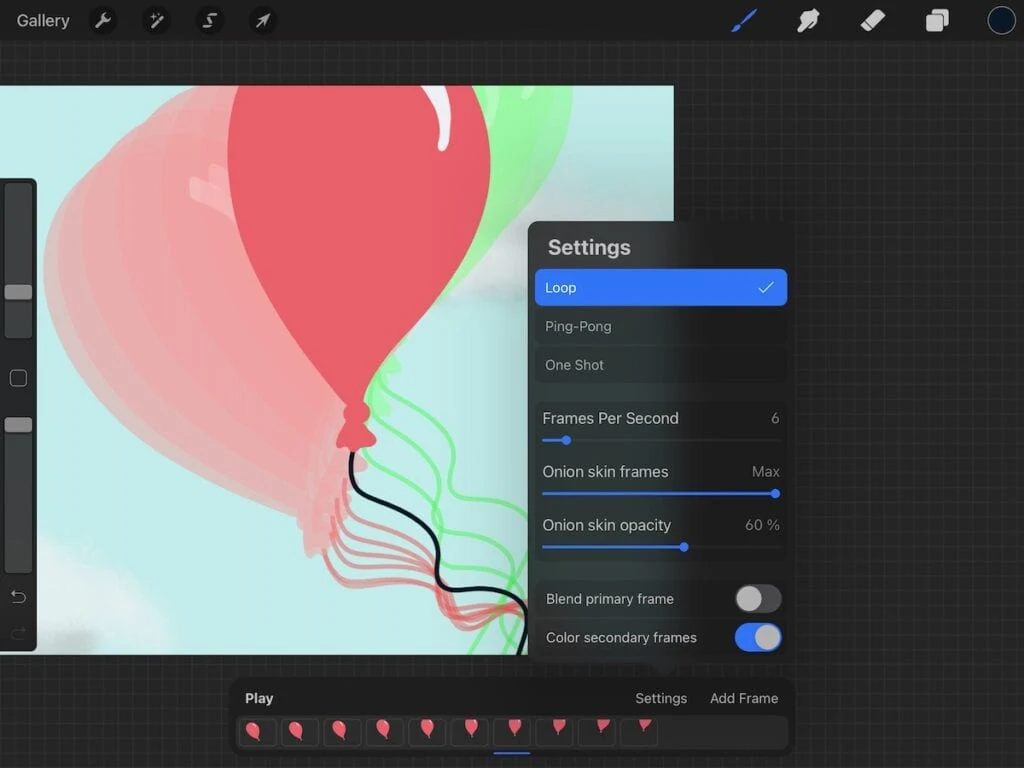
Color Secondary frame
This option changes the colors of the onion skins to help with visibility. The frames that are before the selected frame will be red and the frames after the selected frame will be green.
Sharing Your Animations
It’s so easy to share your animation. Sharing options are accessed in the Actions panel at the top of the screen. Click Share to see the options.
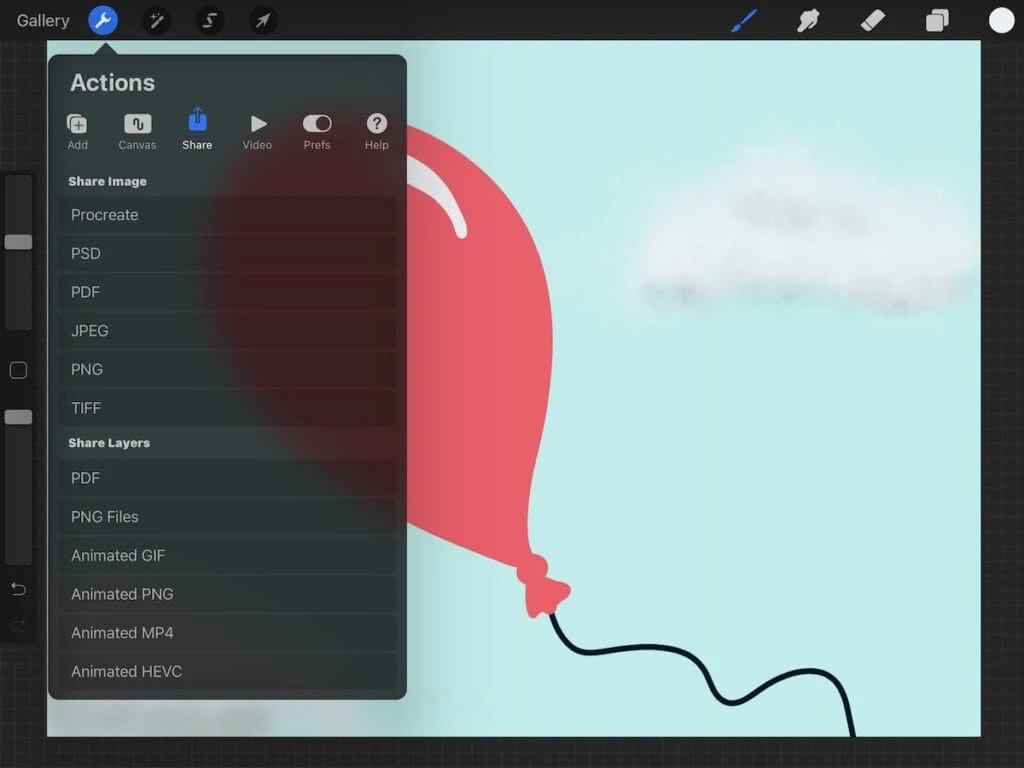
All formats have the option for saving at Max Resolution or Web Ready. Max resolution will be a higher quality, but larger file. Web ready will be lower quality, but a smaller file.
Before saving your animation, make sure that animation assist is still selected and that all of your layers are checked in the layers palette.
Animated GIF
By default, animated GIFs loop. They also have the ability to have a transparent background.
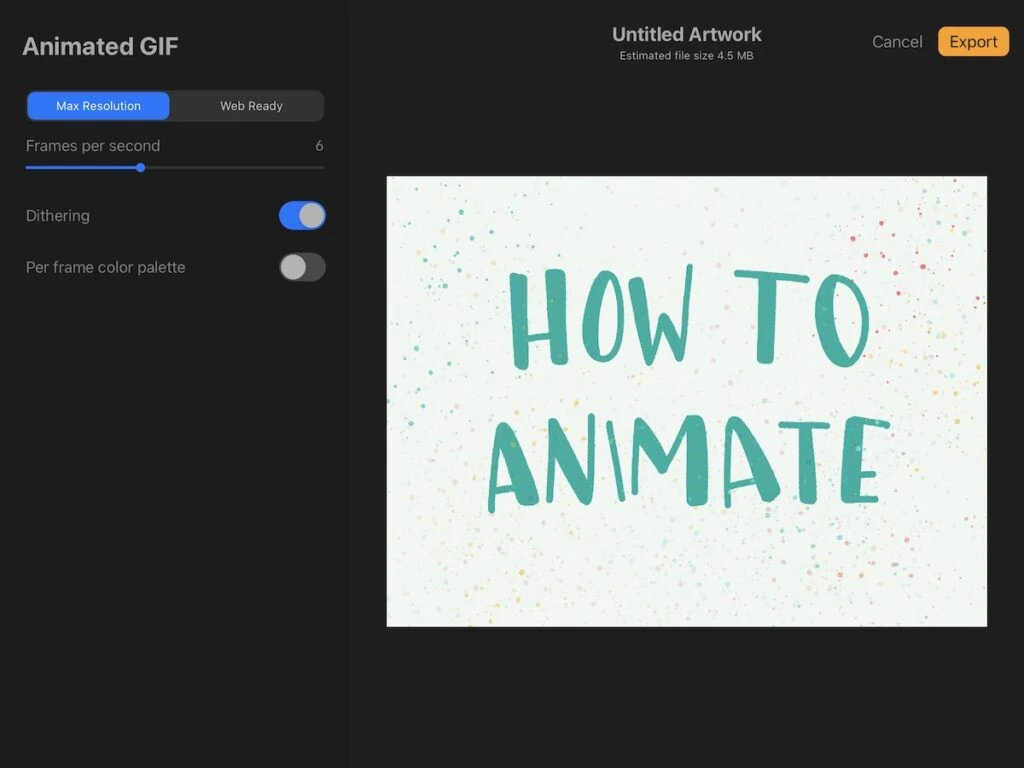
You might have trouble uploading these files to social media though.
Animated PNG
Animated PNGs have the option to have a transparent background.
Not many places support animated PNGs yet.
Animated MP4
Animated MPF files loop. They do NOT have the ability to have a transparent background.
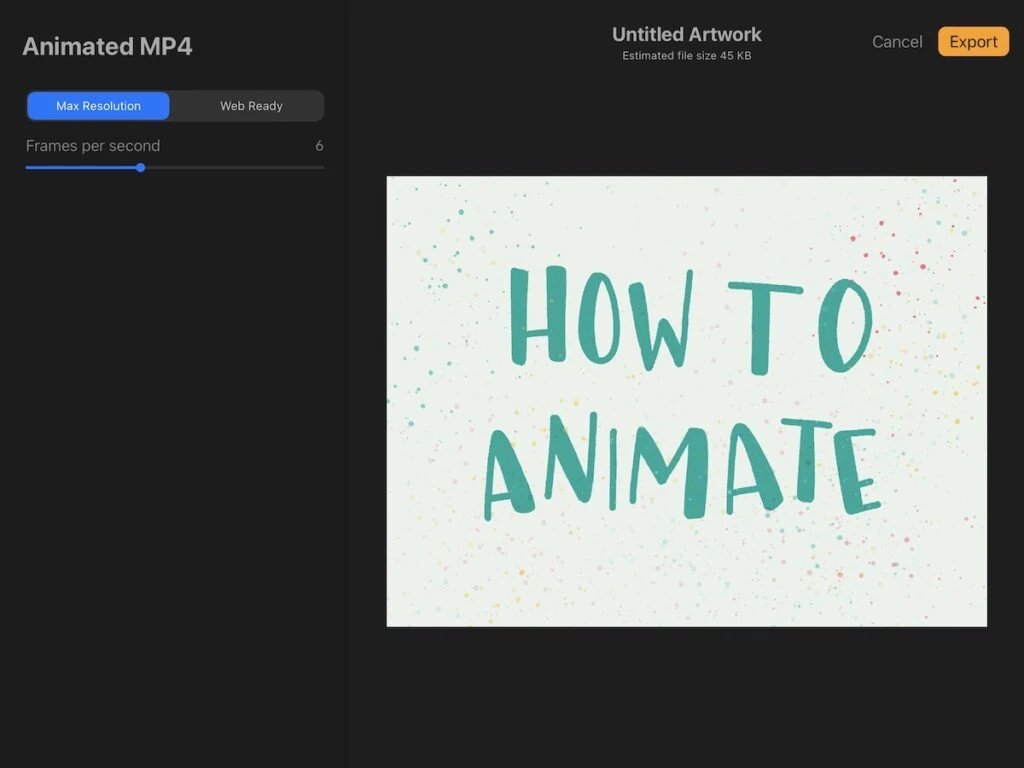
This is the most common video format. It can be used on YouTube, Instagram, and Facebook.
If in doubt, choose MP4.
Animated HEVC
Animated HEVC files loop and can have transparent backgrounds. The tend to be smaller files.
However, it doesn’t look like many places accept this format. Unless you understand this format and have a use for it, I wouldn’t use this.
Tips for Creating Animations with Procreate
- Create the art before opening animation assist.
- To avoid accidents, make sure that your current selected brush is bold and on a darker color. (I accidentally added pale paint splatters to a frame and then had to painstakingly erase them.)
- Your iPad can only handle so many layers. Keep size in mind as you create your art.
- Choose the correct ratio for your intended platform. I used 1920 by 1080p for mine, but you might want a square or horizontal format depending on where you want to share your animation.
- More frames will create a smoother animation.
There are several ways to make animations in Procreate. You can duplicate layers as I did in the tutorial below.
You can also make new layers and re-draw the image for each layer. This works best for really simple designs and gives a dancing effect.
How to Animate Using Procreate
Animating with Procreate is easy! Get tips and tricks for making simple animations that are perfect for using on social media.
Materials
- iPad
- Apple Pencil
- Procreate App
Instructions
- Make a new canvas. Make sure that the ratio is correct for where you want to use it. I used 1920 x 1080px. I kept the DPI at 300. This gives me 250 layers.

- Create the art that you want to animate.
- Add a background layer if desired. If you're using a simple colored background, you can use the "background layer." If you want an illustrated background, make a new layer and place it under the art in the layers panel.
- Add a foreground layer if desired.
- Toggle the Animation Assist on. This will open the animation options.
- Duplicate the layer that you want to animate.
- Select the item and move it slightly.
- Duplicate the layer again and move the item to a slightly different location.
- Repeat as needed until you're happy with the animation.
- Press play at any time to preview the animation.
- Adjust the frames per second to get the look that you're after.
- When you're done with the animation, choose share and choose the format that you want.


Recommended Products
As an Amazon Associate and member of other affiliate programs, I earn from qualifying purchases.


You Might Also Like:
- Using the Selection Tool in Procreate
- Blend Modes in Procreate
- Using Adjustments in Procreate
- Adding Text to Procreate Drawings
Pin for Later!