How to Make a Seamless Pattern Brush in Procreate (Part 2)
Learn how to a seamless pattern brush in Procreate.
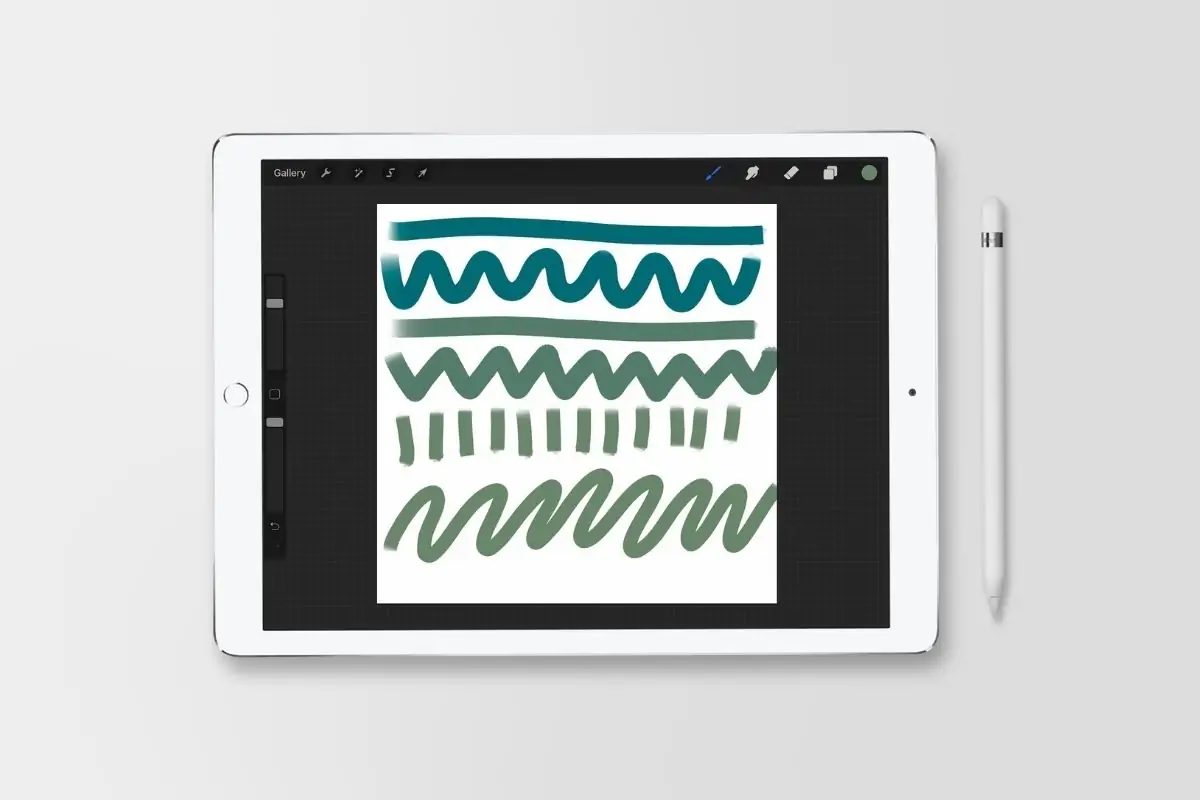
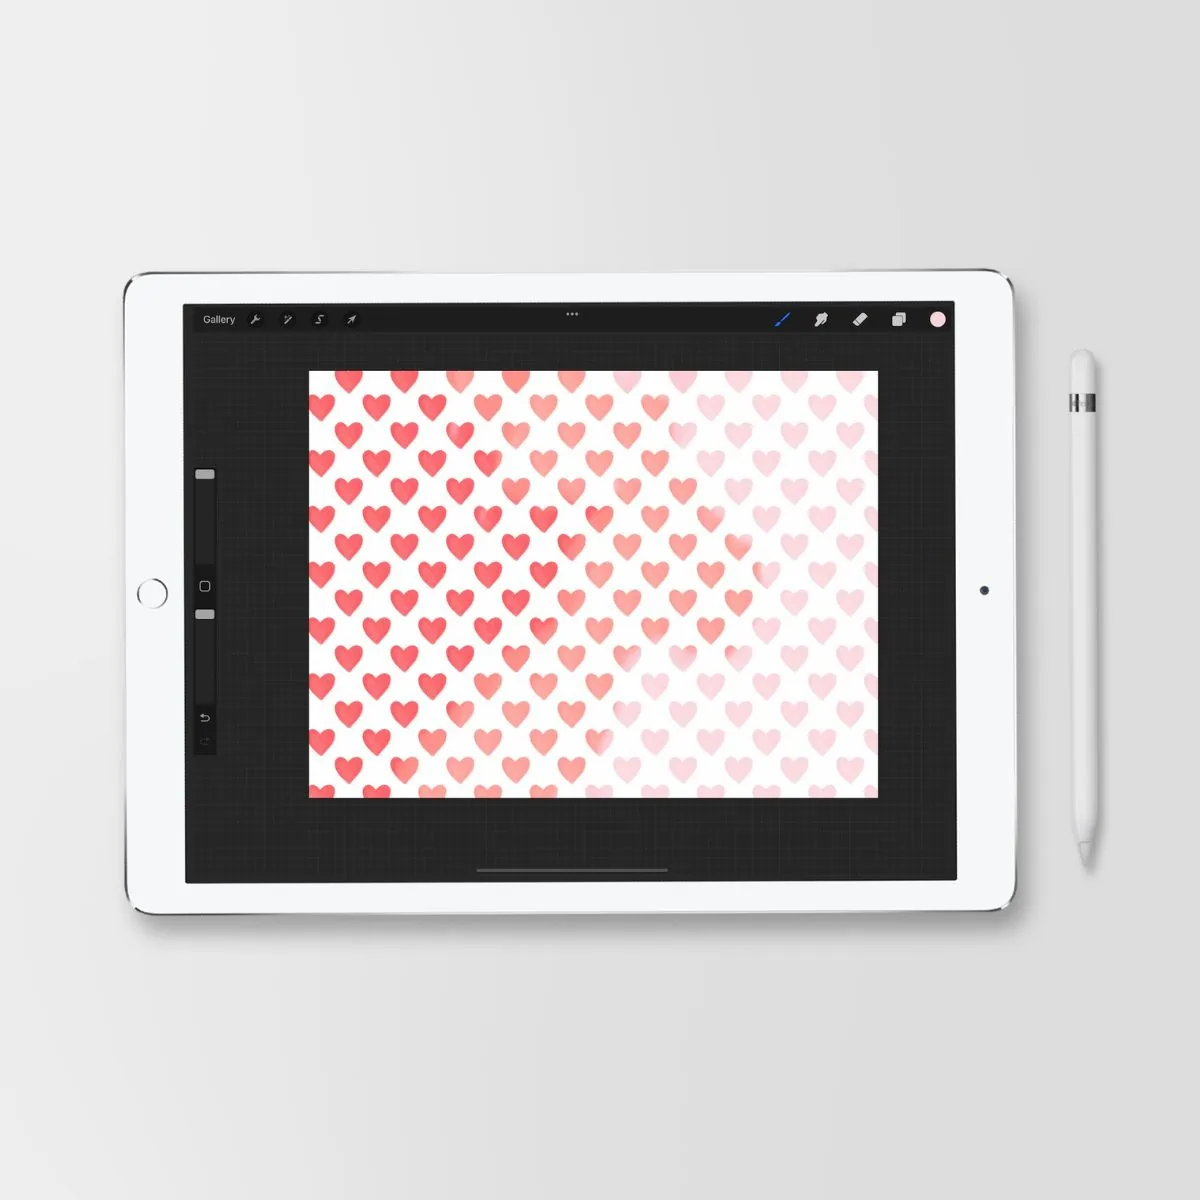
This is the 2nd part of my pattern brush tutorial. The first pattern brush tutorial focused on simple patterns. This tutorial focuses on more complicated repeating patterns and uses this technique to make seamless patterns in Procreate.
You can find even more Procreate brush tutorials here.
This post contains affiliate links. By purchasing an item through an affiliate link, I earn a small commission at no extra cost to you. As an Amazon Associate I earn from qualifying purchases.
As mentioned above, this tutorial uses this method for creating seamless patterns. It’s a bit complicated and I have a lot of tips and ideas for testing the pattern that I will skip in this tutorial. This post is long enough without repeating myself too much.
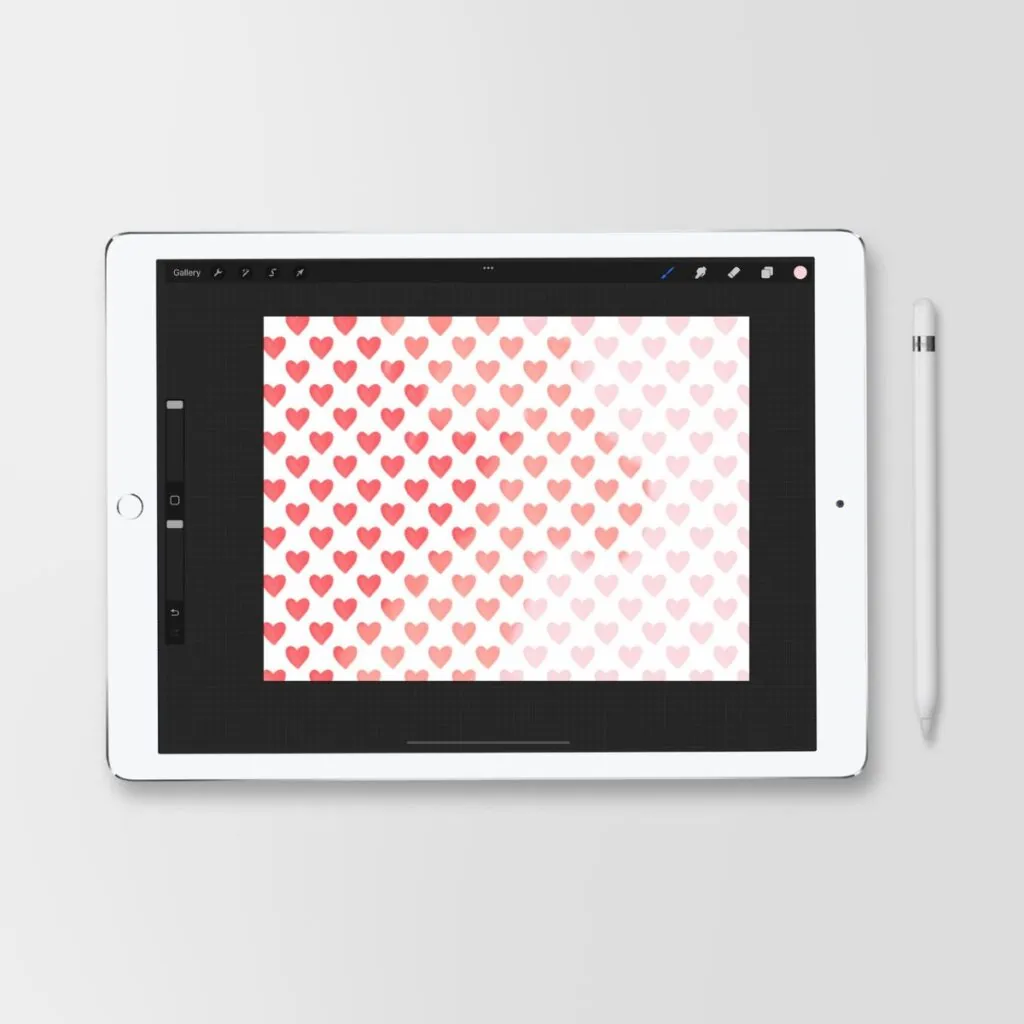
Seamless pattern brushes are so much fun to make and can add a lot of interest to your art. Or you might have so much fun making pattern brushes that they become your art.
Pattern brushes are also a really easy way to test seamless patterns if you’re into surface design.
How to Make a Seamless Pattern Brush in Procreate
There’s a few important things to know before getting started.
- You have to start with a SQUARE canvas. A rectangle canvas will create a warped brush. I like to make mine at least 2000 px by 2000 px.
- You have to use black and white. The background should be black and the pattern should be white (though it is possible to invert it in the brush-making process.) Make sure it’s solid black and solid white. You can do this in the value menu. Black will be #000000, and white will be #ffffff.
- You can use gray, but those parts will be transparent.
- Working in layers will allow you to use the same artwork and recolor it for other projects. Always save an unmerged layer group.
Making the Seamless Pattern
- Open a new canvas and make it a square size. I usually make mine 2000 px by 2000 px, 300 DPI.
- Create a new layer and fill it with a bright color.
- Make a new layer on top of that and fill it with black.
- Turn on the drawing guide.
- Edit the drawing guide. The grid size should be set to max, increase the opacity and line thickness, and choose a bright color that will contrast with the black and white.
- Make a new layer and draw with white to create your pattern. When I make patterns, I stick to the center axis for this step.
- When you have the center area filled, it’s time to make the pattern.
- Group the black background layer and the drawing layer. (Group by dragging both layers to the right.)
- Duplicate the group.
- Turn the original layer off.
- Tap on the new group and select flatten.
- Duplicate the flattened layer 3 more times.
- Select a layer and make sure that snapping and magnetics are toggled on and increase distance and velocity to max. This helps perfectly align the pattern to the grid.
- Turn off the bottom 3 layers.
- Select the top layer and move it to a corner.
- Turn on the next layer and move it to another corner.
- Continue until all 4 layers are moved to corners.
- Turn off the drawing guide and zoom in to make sure that there are no gaps between the pattern blocks.
- Make a new layer and fill in the center part.
Turning the Pattern into a Brush
When you’re happy with your pattern, it’s time to turn it into a pattern brush.
You can turn off the drawing guides because you won’t need them anymore.
- Make sure that all of the layers are turned on and copy the canvas.
- Make a new brush.
- Change the grain source. Click edit, import, and paste to add your pattern.
- Click done to keep the change.
- Under grain, select texturized. This keeps the pattern in the same place when you color over it.
- Change the scale if you want a different size.
- Under shape, change the source by clicking import, source library, and select soft. This gives the pattern a softer edge when coloring over another color.
- Under apply pencil, change the opacity to none to create a solid pattern no matter the pressure of the Apple pencil. (The opacity can be changed when using the brush.)
- Turn off all of the layers, make a new one, and test the brush out.
- Name your brush. You can also create a reset point.
Variations of a Seamless Pattern Brush
Once a brush is created, you can make variations by duplicating it. I also duplicate brushes to create new pattern brushes and just change out the grain source.
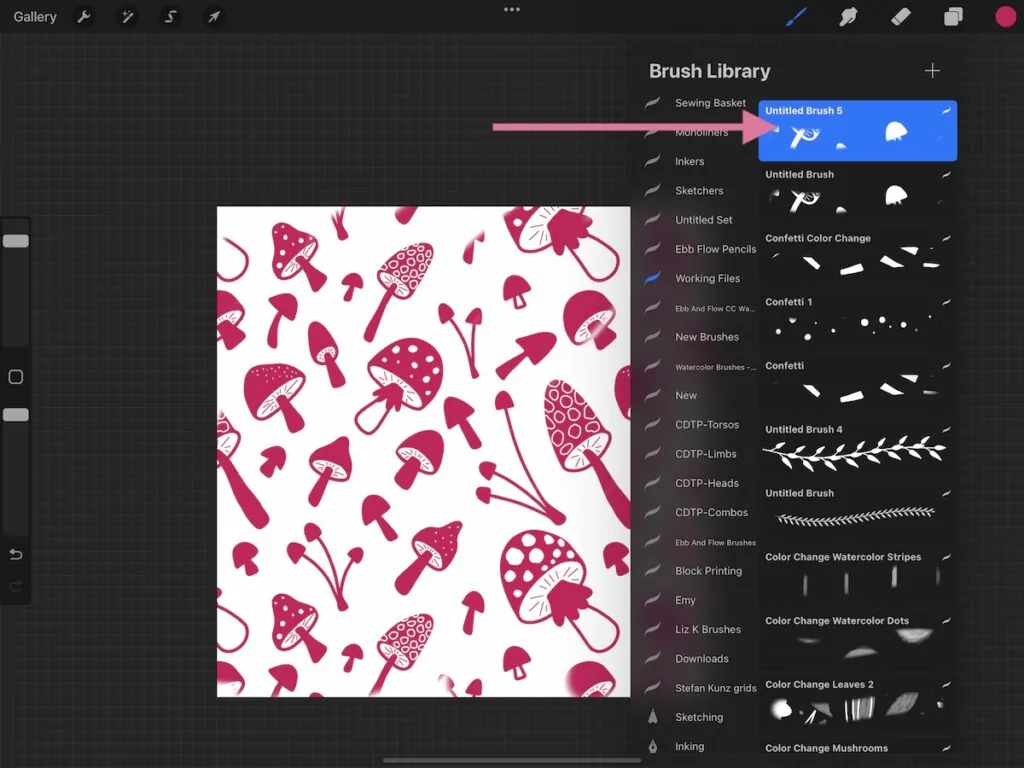
- A brush with lowered opacity. Draw using gray or with a lowered opacity when making your design. As you layer the brush, the color will build up to make a darker area.
- Color dynamics brush. This is so fun. Undercolor dynamics, change the color pressure settings.
Hue changes the colors to create a rainbow brush. You can also change the saturation and brightness. Secondary color gives you more control over which colors are used. You can make it as subtle or bold as you want. And you can combine these to create really fun brushes. (I have an entire post about color dynamics here.)
- Change the scale. Make your pattern different sized by changing the scale under the grain source setting.
- Textured patterns. Use brushes with texture to create fun textured designs.
- Allover texture. Create subtle texture brushes to make allover texture brushes.
Tips for Using Pattern Brushes
Pattern brushes can be used on their own or with alpha lock or clipping masks applied to layers.
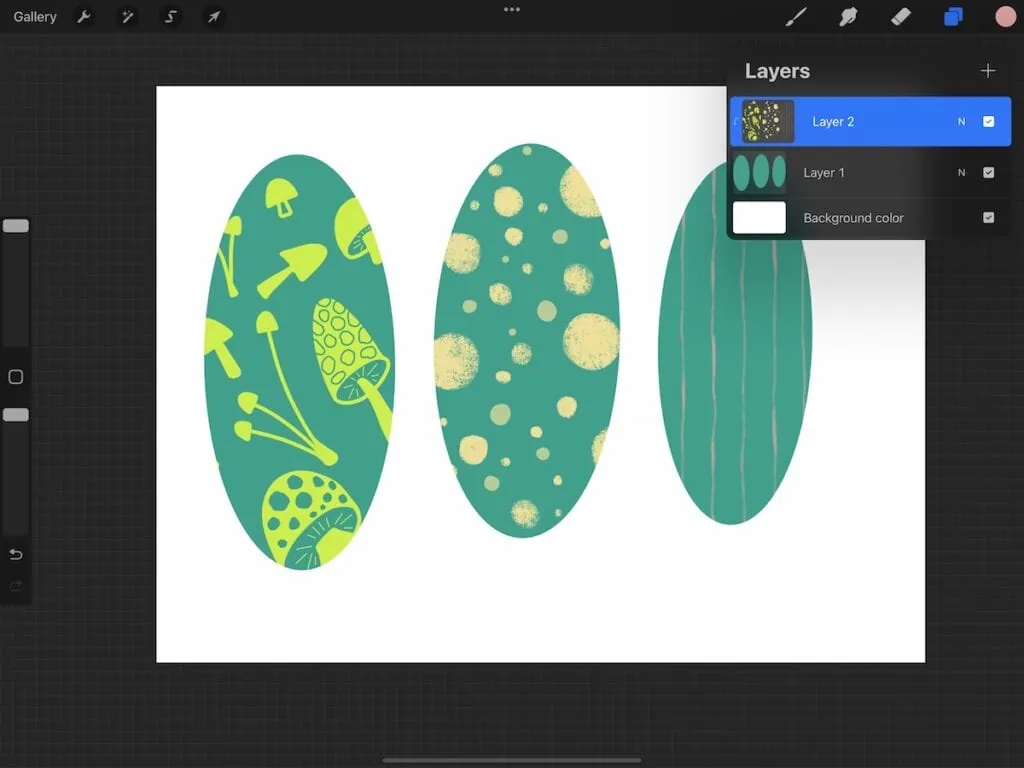
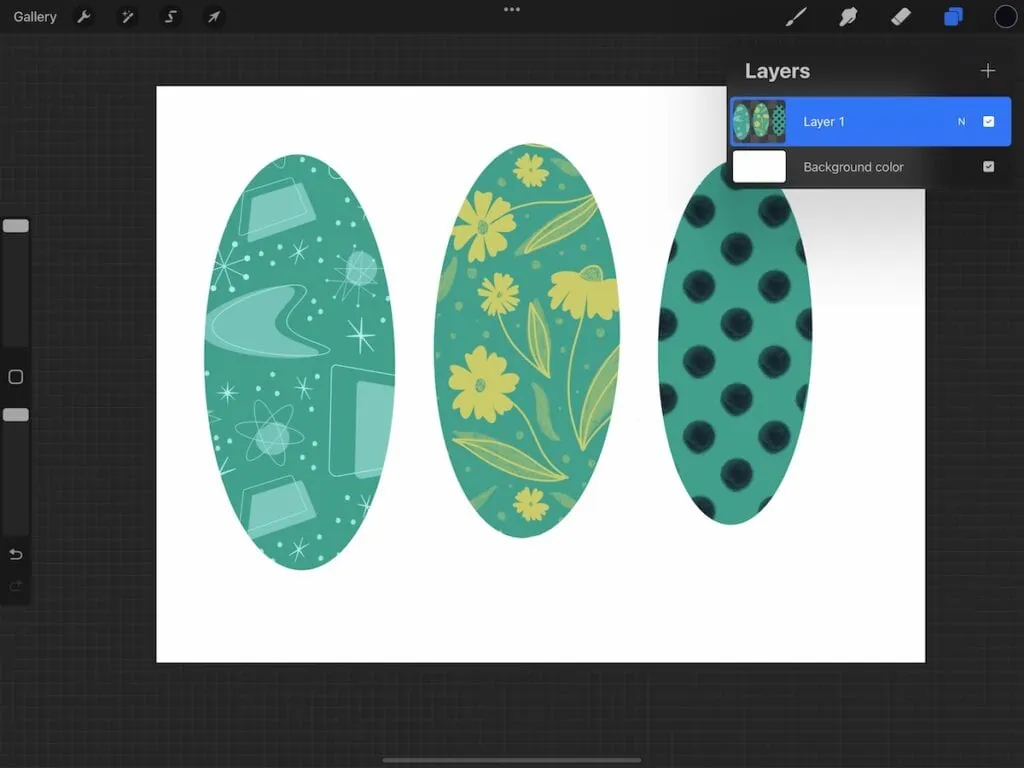
You can also use it almost like a stamp brush to add pattern to a certain area. Erase if you draw too much.
They can be layered to create interesting effects.
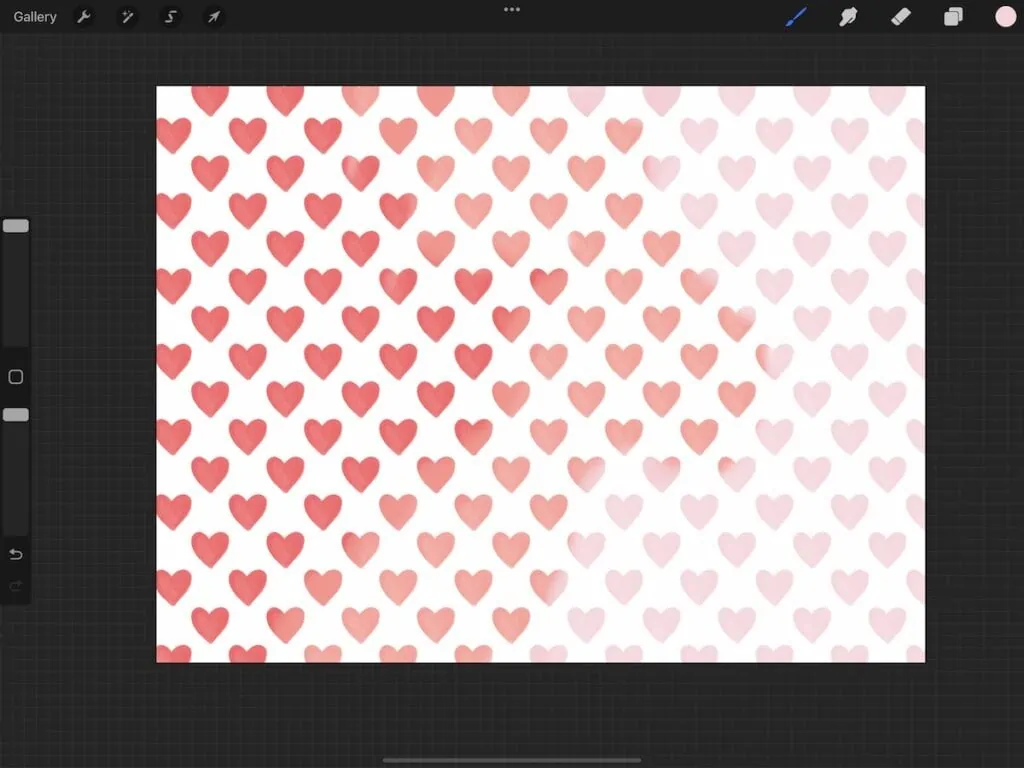
If you preserve the layers as you go, you can reuse the artwork and color it to make seamless patterns for other projects.
You Might Also Like:
Pin for Later!





 Hue changes the colors to create a rainbow brush. You can also change the saturation and brightness. Secondary color gives you more control over which colors are used. You can make it as subtle or bold as you want. And you can combine these to create really fun brushes. (I have an


