How to Make a Dashed Line in Procreate
Learn how to make a dashed line in Procreate with 3 different methods. Plus get a free dashed line brush for Procreate.
You might like these other Procreate tutorials.
This post contains affiliate links. By purchasing an item through an affiliate link, I earn a small commission at no extra cost to you. As an Amazon Associate I earn from qualifying purchases.
How to Make a Dashed Line in Procreate
I find myself drawing dashed lines in Procreate a lot. And as I draw them, I wish there was an easier way like in Adobe Illustrator.
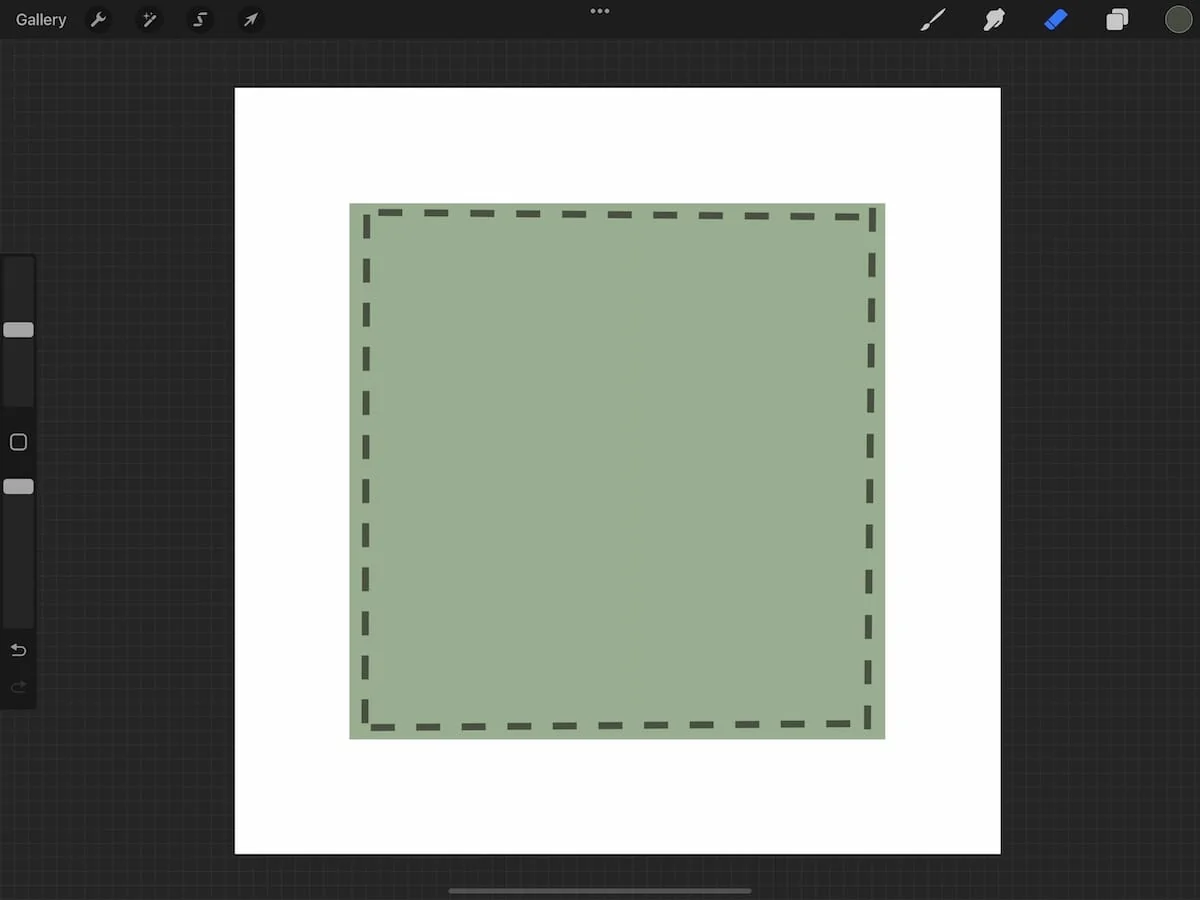
Dashed lines are a great way to add stitching detail to clothing or even to draw maps. They’re also useful for adding a decorative border around illustrations.
I’m sharing 2 manual ways to draw dashed lines, then I will share how to make it easier with a dashed line brush.
The manual ways are great if you don’t use dashed lines a lot. Neither way results in perfectly accurate spacing though (unless you’re way better than me.)
I like to use my monoline brush for this process.
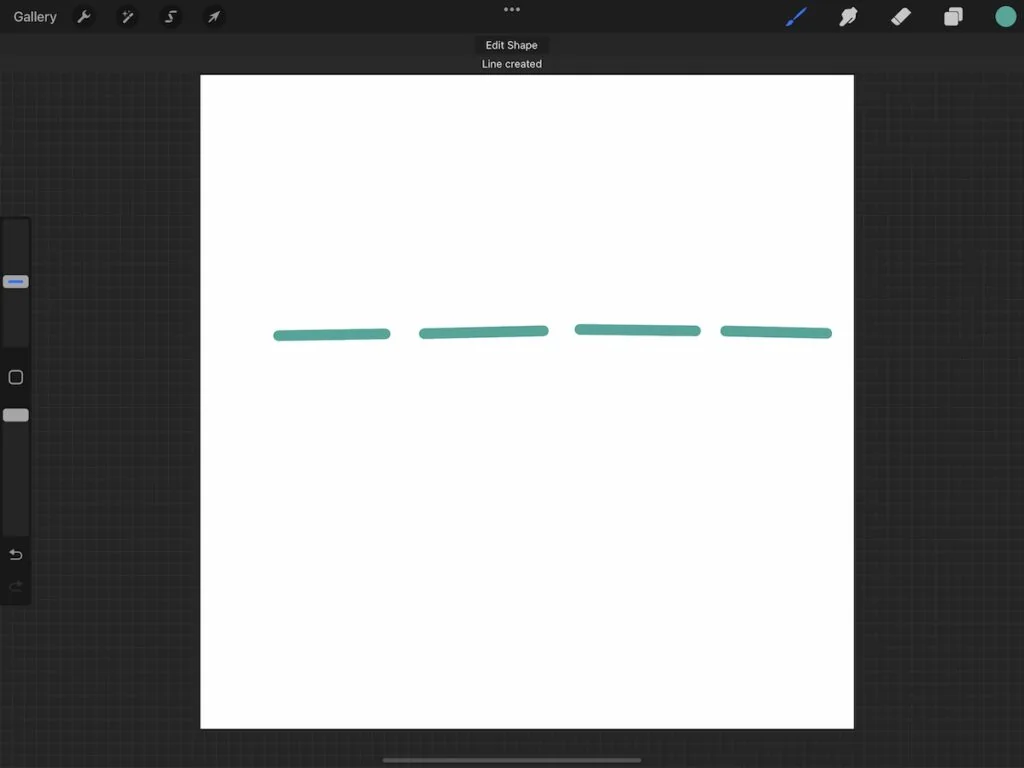
Draw Individual Lines
Simply draw the lines, leaving space between each line.
Draw a Straight Line and Erase
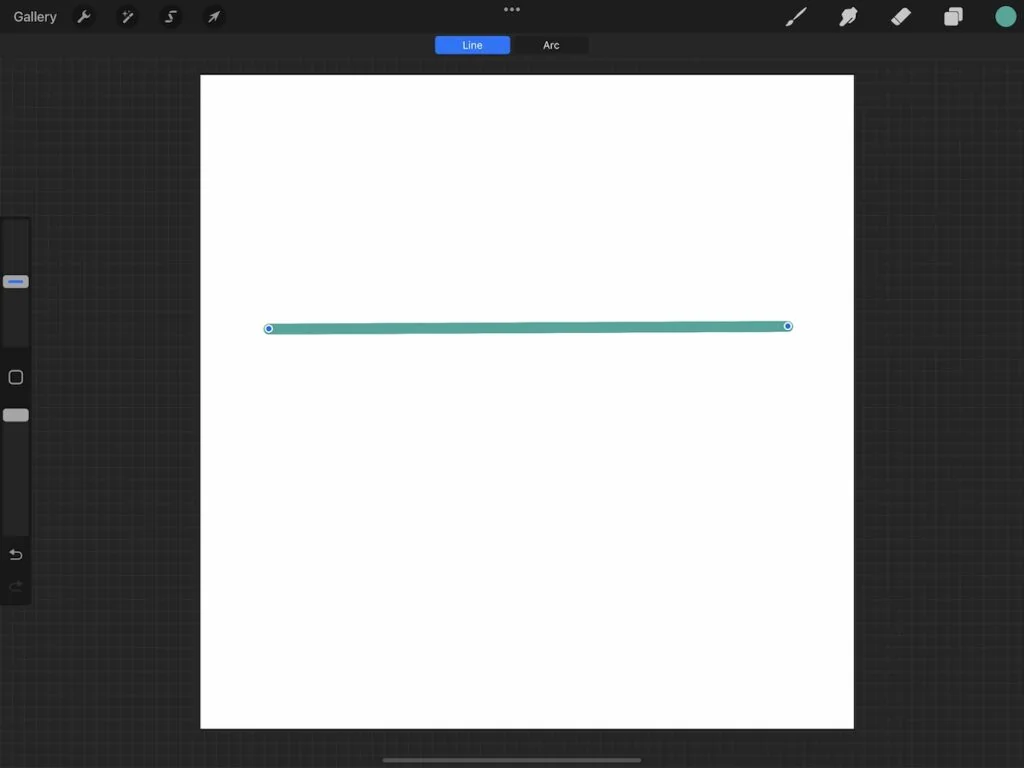
Draw a straight line. When you’re at the end of the line, don’t lift the brush. The line will automatically straighten.
After it straightens, you will have the option to change it with the blue nodes on the end.
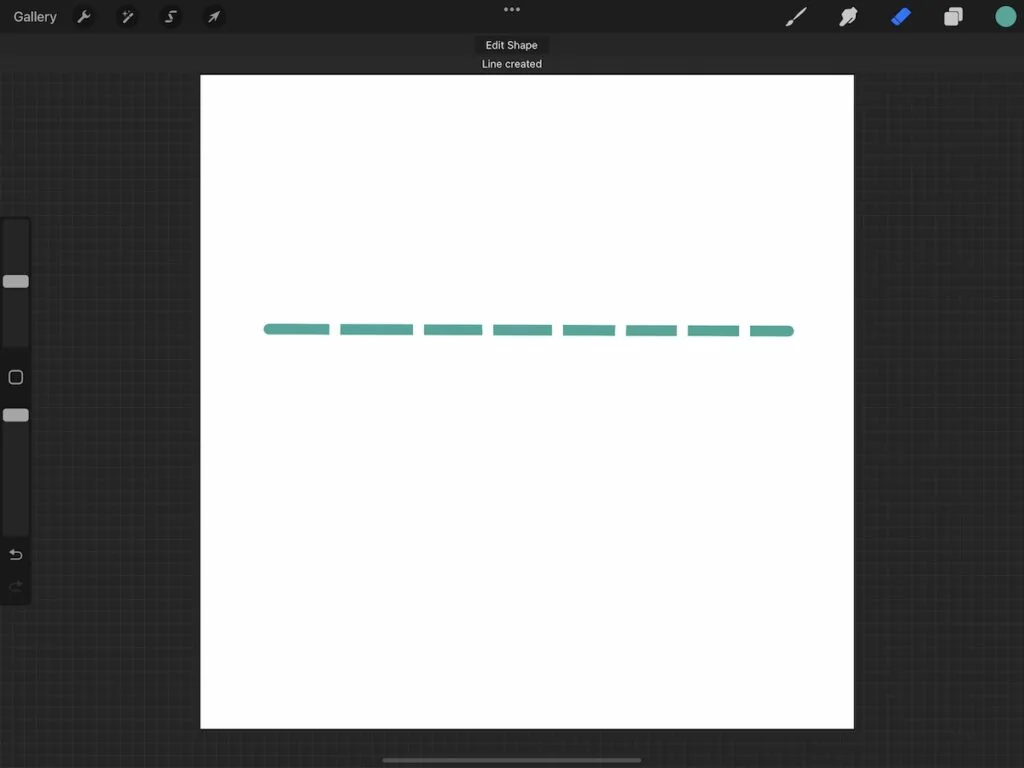
When you’re happy with your line, choose the same brush and erase the between the lines.
How to Make a Dashed Line Brush
This is my preferred method for making a dashed line for Procreate. It results in a perfectly even line. If you don’t like the spacing, you can change it in the stroke setting.
If your brush isn’t working right, make sure that you get that last step!
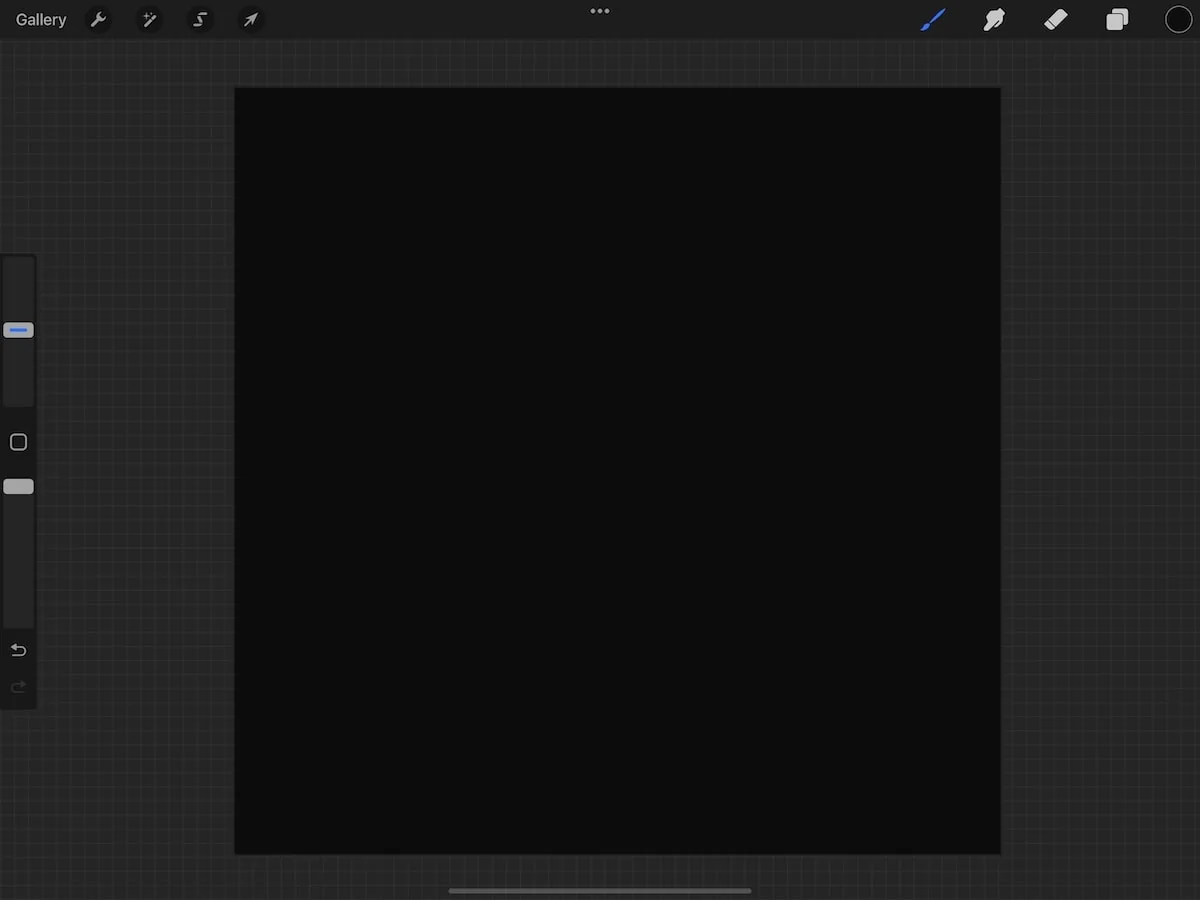
- Start with a square canvas. I made mine 10″ x 10″.
- Fill the entire square with black.
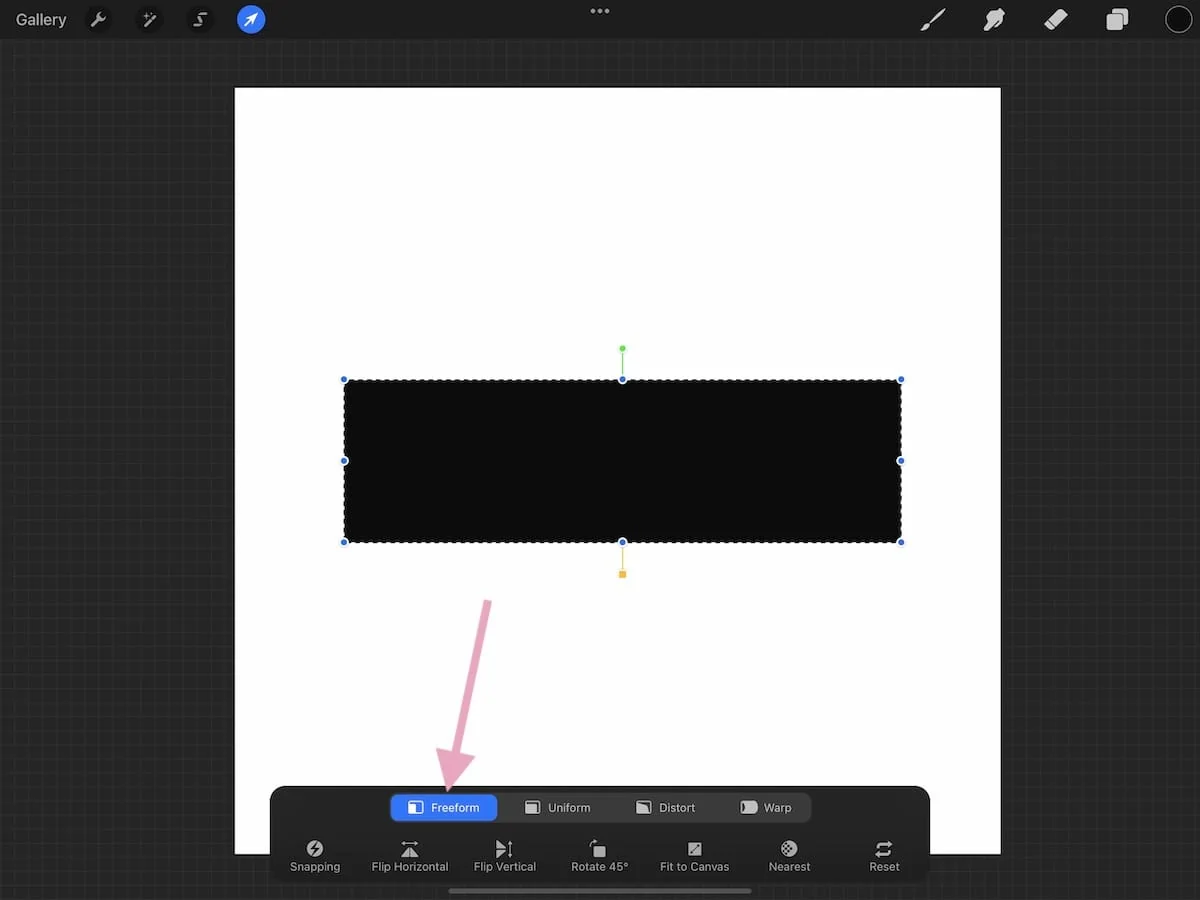
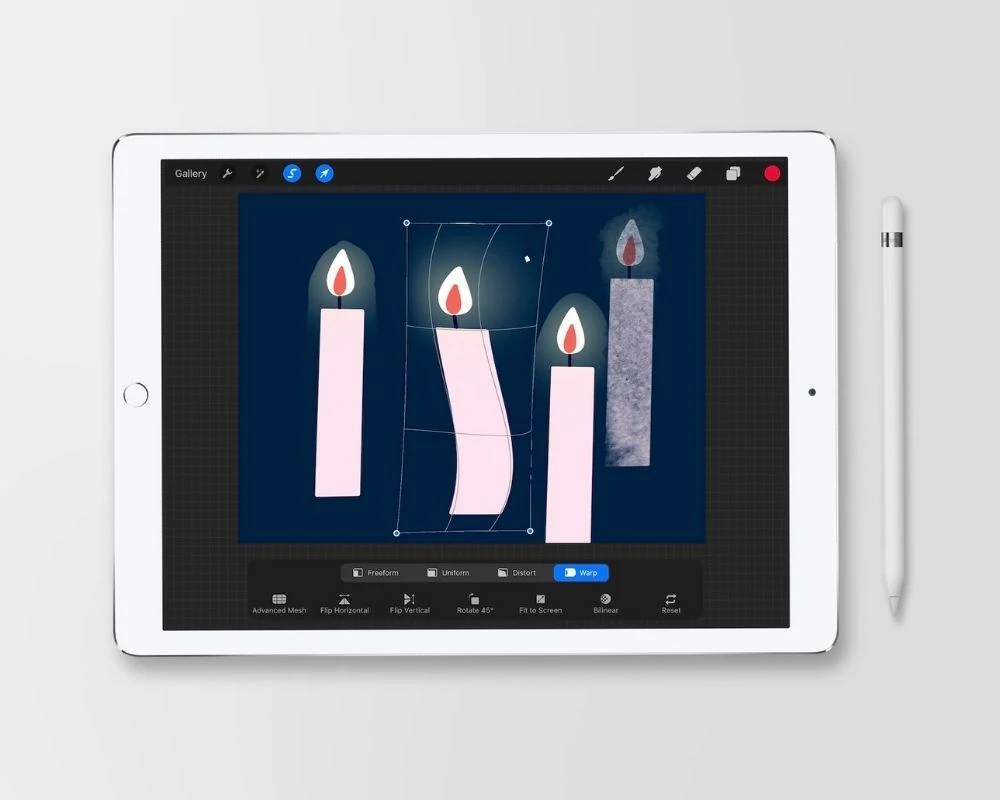
- Select the square and resize it into a rectangle. Make sure that freeform is selected (not uniform).
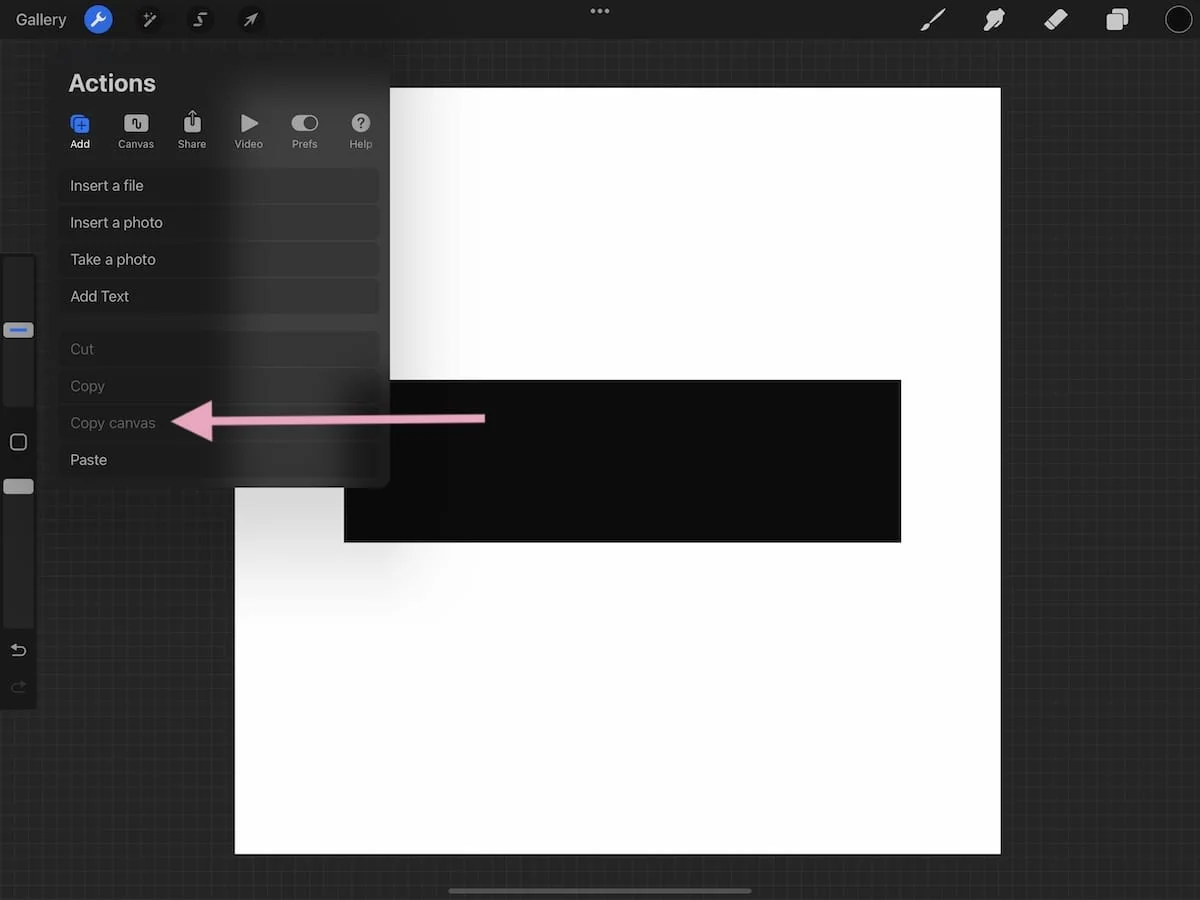
- Copy the canvas.
- Create a new brush.
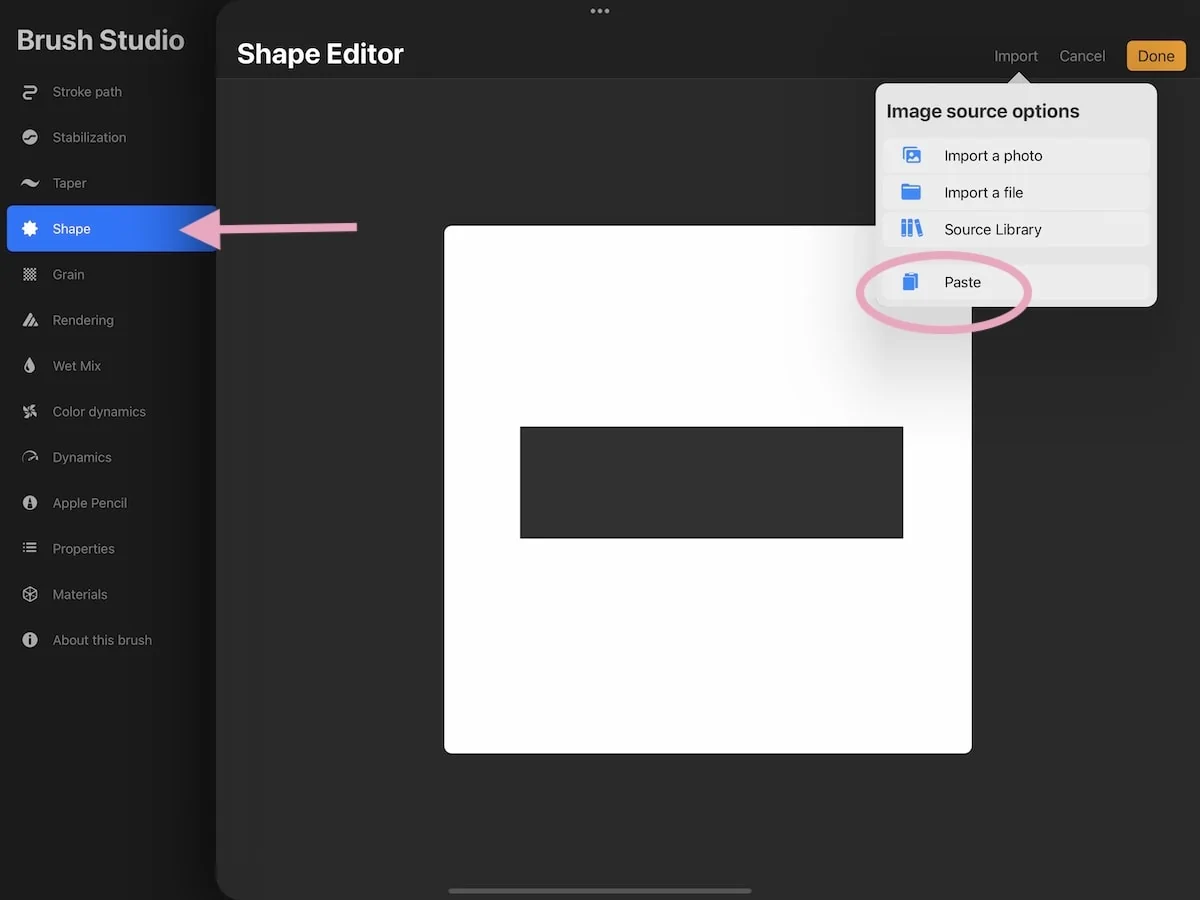
- Change the shape by selecting shape and clicking edit.
- In the import menu, select Paste.
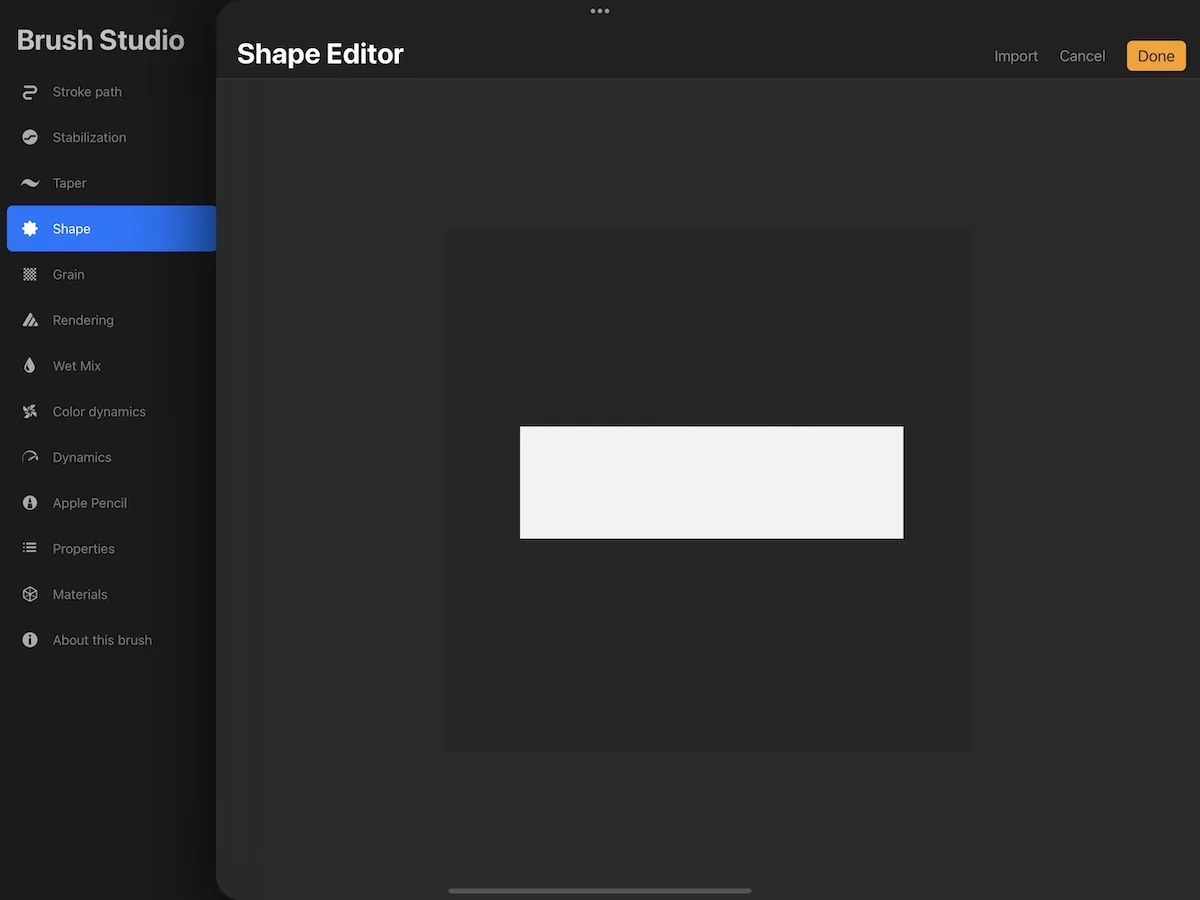
- Invert the image by using 2 fingers to tap the screen.
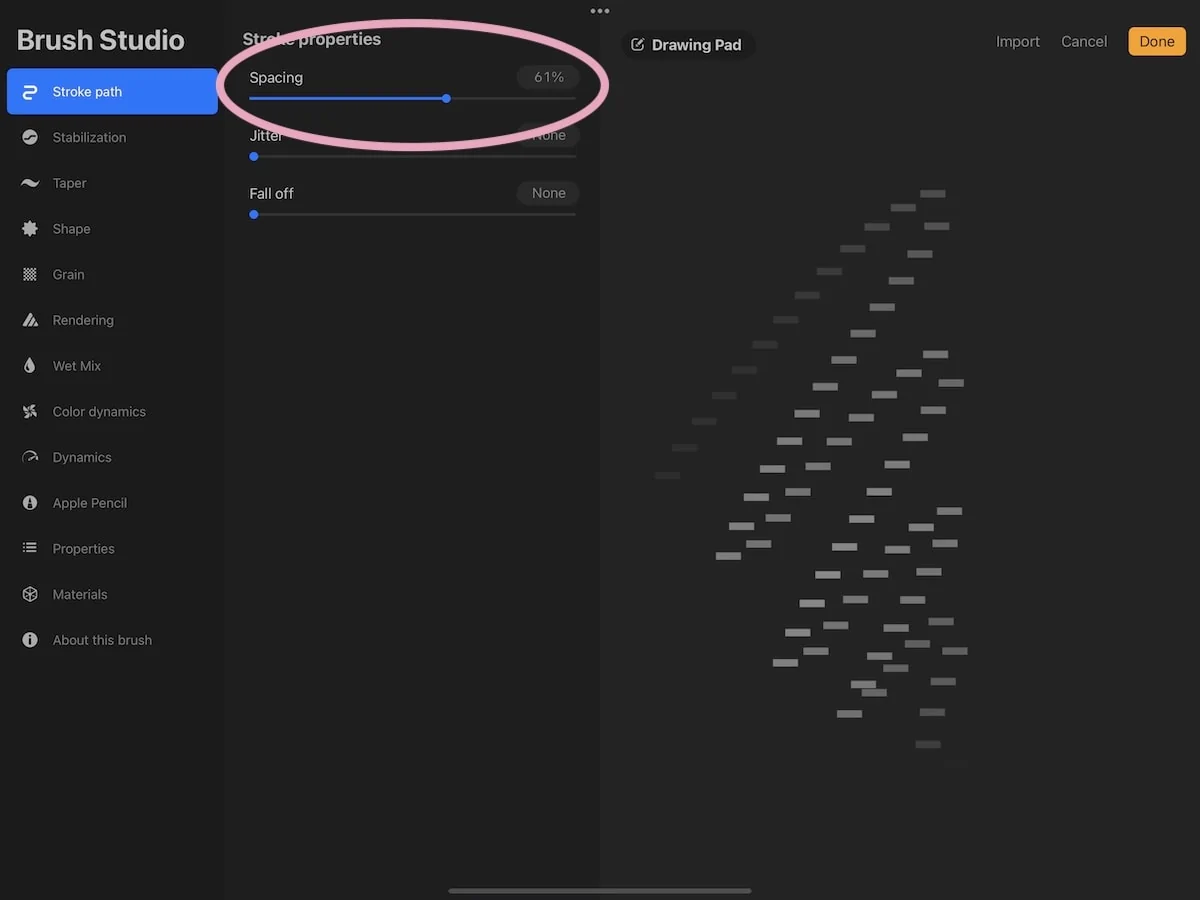
- In the stroke menu, change the spacing. I find that around 60-70% is good.
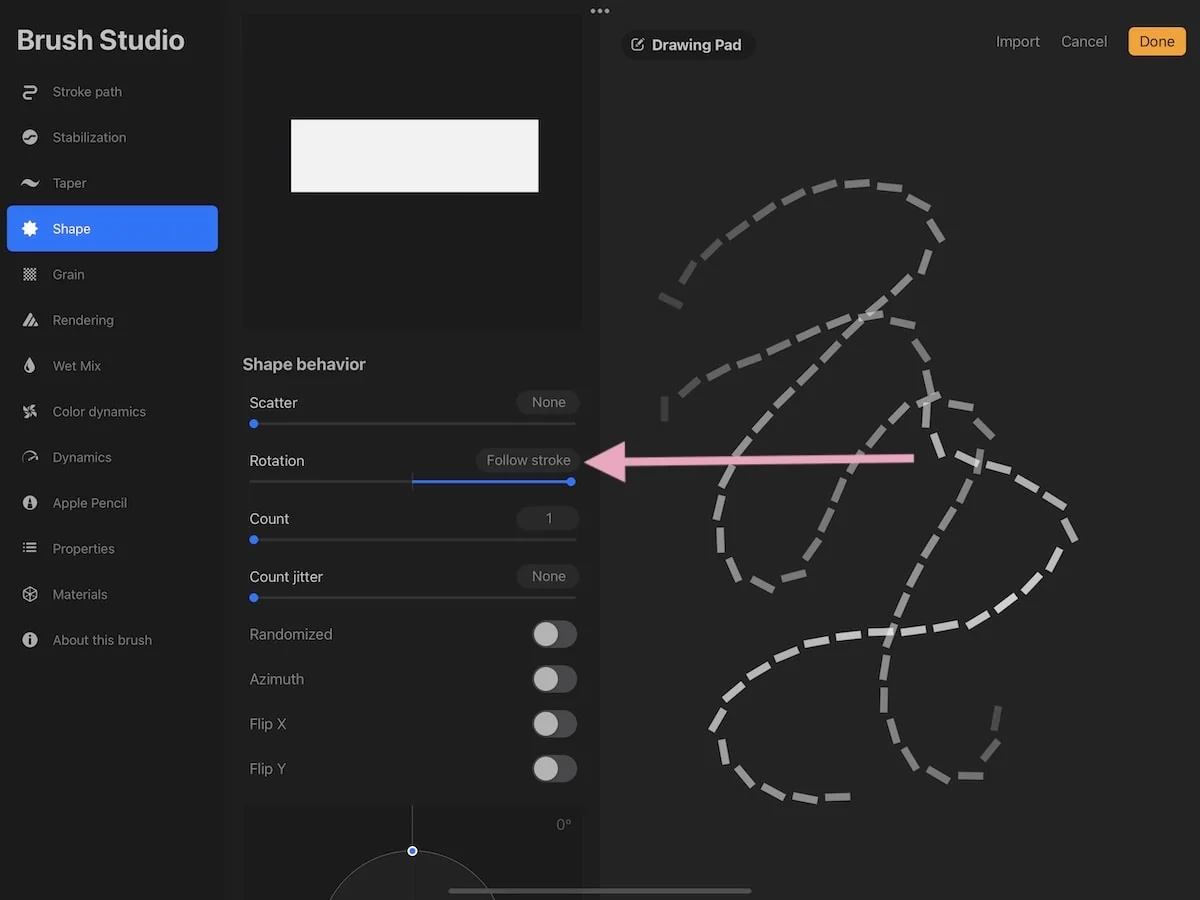
- In the shape menu, increase Rotation to 100% (it will say Follow stroke.)
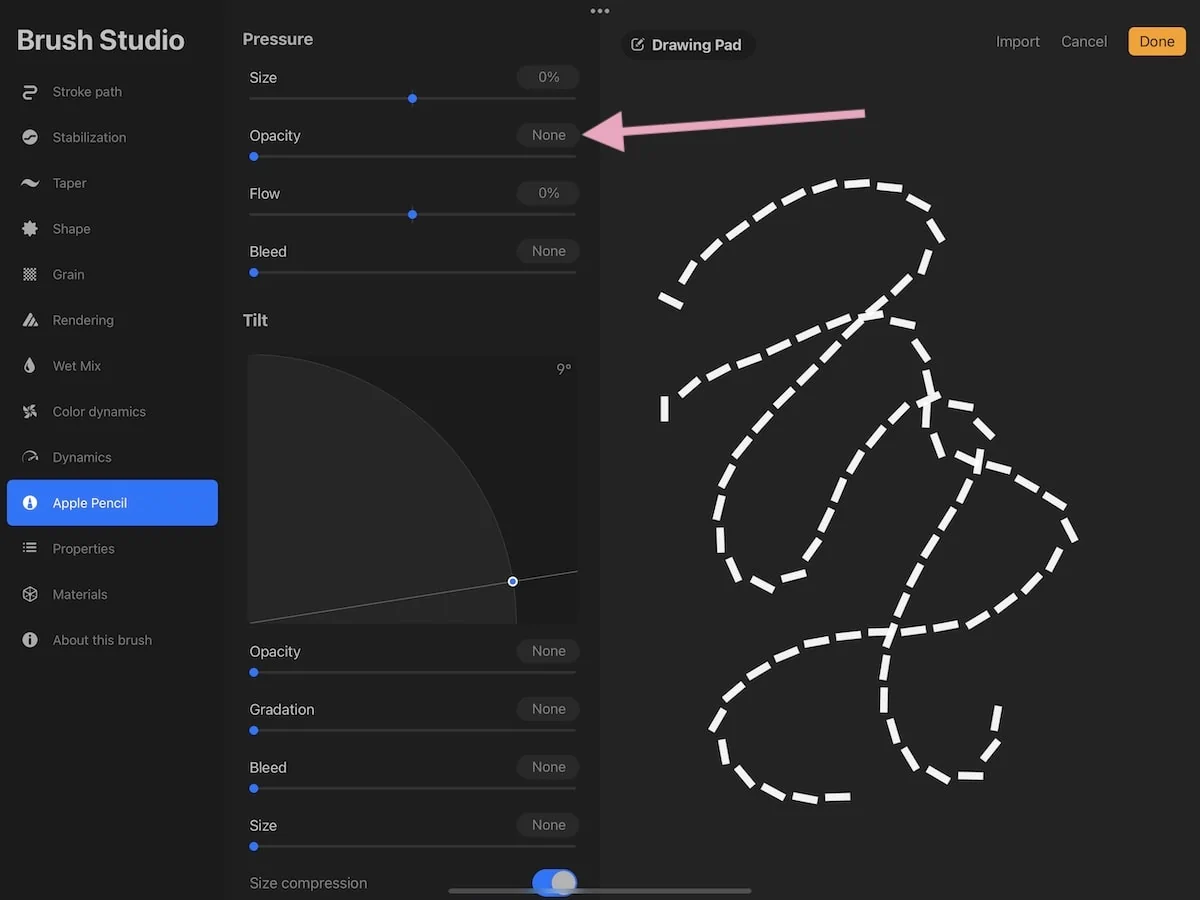
- In the Apple pencil settings, change the opacity to None. (This makes the dashed lines opaque and not transparent.)
- You can change the maximum and minimum sizes if you want.
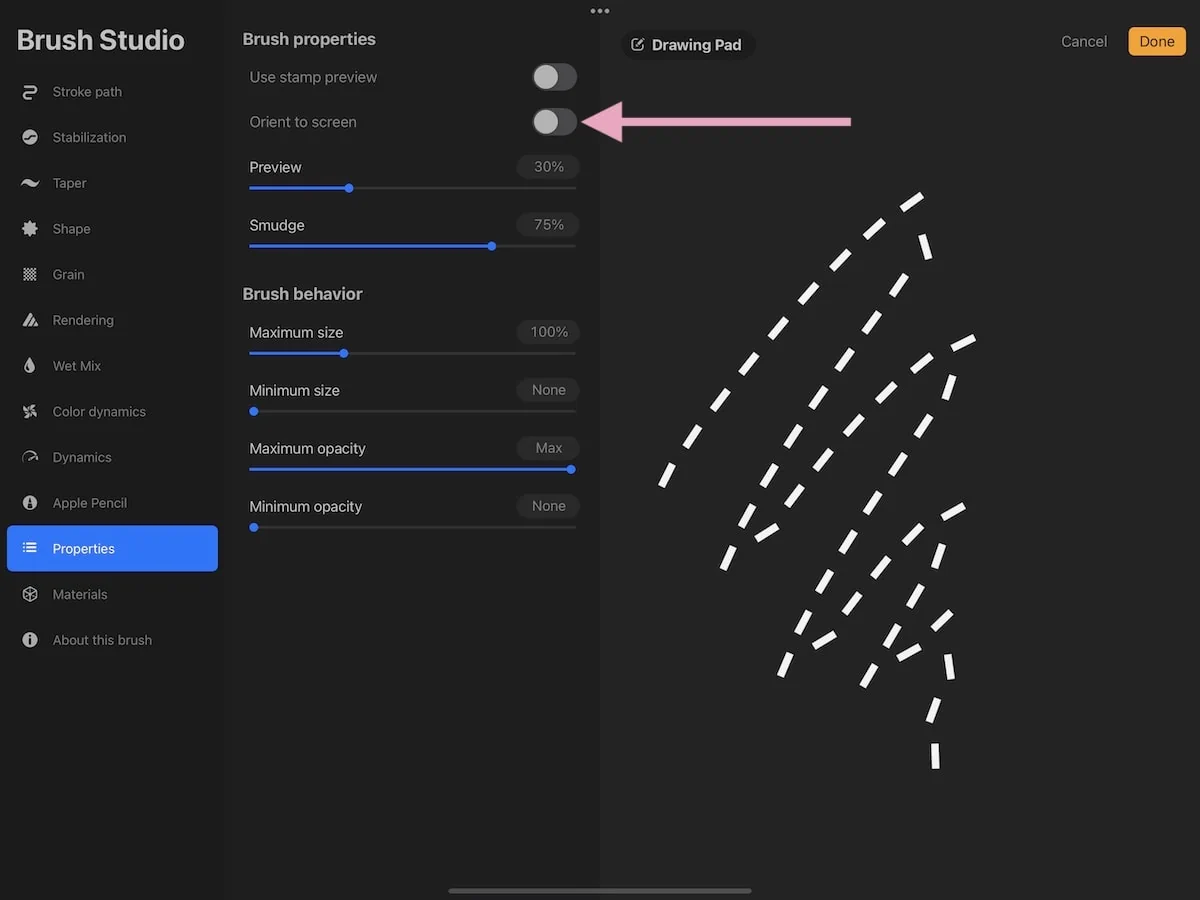
- Be sure to toggle OFF orient to screen. This is very important!
From there you can name your brush and set a reset point if you want.
Tips for Using the Dashed Line Brush
- Always add your dashed lines on a new layer. This allows you to easily resize, recolor, or delete parts without messing up the existing artwork.
- You might want to begin the brush before the spot where you want it to start. The first brush mark tends to be wonky. Then just delete any unwanted marks.
- As with any brush, you can change the colors, opacity, and size with the Procreate settings.
- To increase or decrease the spacing between the lines, increase or decrease the spacing in the stroke setting.
Download a Dashed Line Brush for Procreate
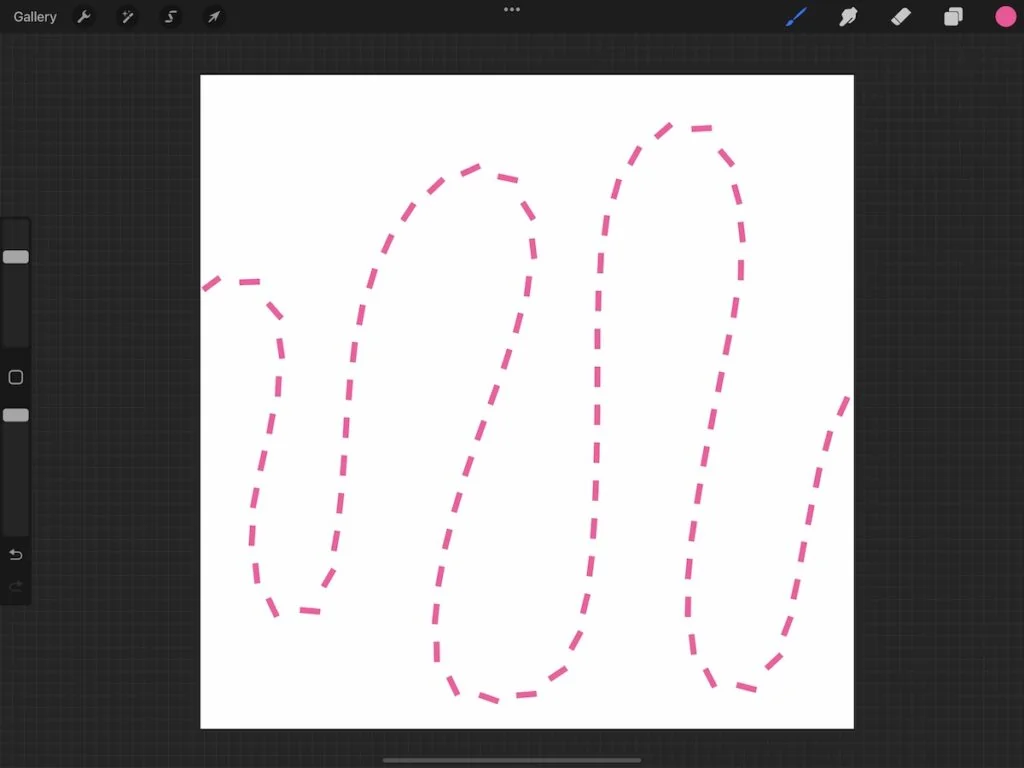
These downloads are for personal use only. Please do not redistribute or sell.
Dear teachers and students: this download will not work if you try to access it when logged into your school email account. Try a personal email account instead.
Get a dashed line brush for Procreate.
You Might Also Like:
- Dotted Line Brush Tutorial
- How to Make a Square Monoline Brush
- Color-Changing Brush for Procreate Tutorial
- How to Make a Pencil Brush for Procreate
Pin for Later!




when I click import to make a new brush there’s literally no paste option. so I can’t make a brush with these instructions.
I just checked and it’s still there in mine. Make sure that you have the latest version of Procreate installed. And the other thing I can suggest is to make sure that the shape panel in open in the brush studio. From there, click edit and you will get all of the options, including paste.
thank you for this!
makes drawing stitch lines for garments super easy 🙂