How to Make a Procreate Pencil Brush
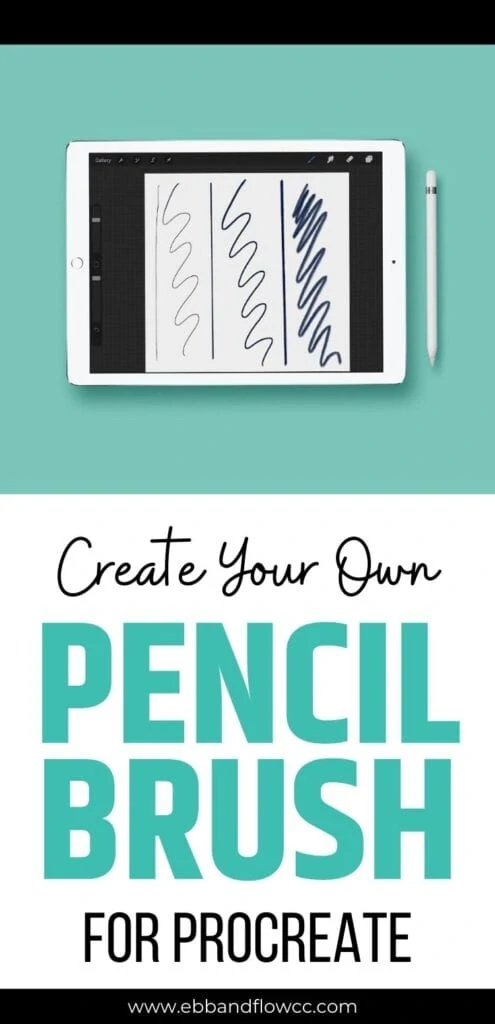
A good sketching brush is a must for drawing in Procreate. Learn how to make a Procreate pencil brush that mimics your favorite pencil.
Get more Procreate brush making tutorials.
You might be interested in an overview of how to make brushes for Procreate.
This post contains affiliate links. By purchasing an item through an affiliate link, I earn a small commission at no extra cost to you. As an Amazon Associate I earn from qualifying purchases.
Procreate comes with a variety of pencils for sketching, but I find them all lacking. None of the default brushes felt like a real pencil, so I hated using them for sketching.
Then I made my own pencil brush and my life changed. Well, it felt like it to me. A pencil brush for Procreate is one of the most useful brushes for the app.
I always start my artwork with a sketch using a pencil brush. Then I lower the opacity and redraw it on a new layer.
Having a good pencil brush has made this process so much easier. I even feel like my art is better now!
Pencil Attributes
When making a pencil brush, you’ll need to consider which aspects of a pencil you want to replicate.
Smooth Vs Jagged Edge – Do you like a smooth pencil or a sketchy, messy pencil?
Transparent VS Opaque – Do you like your pencil to be light and transparent or dark and opaque?
Size – How thick do you like your pencil lead to be?
Shading – Do you want to be able to tilt the Apple pencil and shade with the brush?
Blending – Do you want to be able to blend your pencil drawings?
Streamline VS Sketchy Quality – Do you want clean lines of sketchy, messy lines. Streamline makes cleaner lines, but you can’t draw as fast. Setting the streamline lower results in messy lines that you can draw quickly.
How to Make a Procreate Pencil Brush
- Start with a square canvas.
- Start with the shape. A pencil shape is an oblong blob. It can be spotty or solid, depending on how you want your brush to work.
- Copy the canvas and paste it into the shape source.
- Invert it with a two-finger tap motion.
- For a jagged brush, increase the scatter and the rotation if desired.
- Decrease the spacing setting.
- For a smooth brush, increase the streamline setting. For a sketchy brush, leave it as it is.
- In the Apple pencil setting, reduce the opacity to none for a solid brush. (This setting is set to max at default which gives the brush a transparent look at the beginning of the stroke.
- Change the tilt settings if you want the brush to shade when tilted. Decrease the angle to about 7º. Slightly increase the opacity, gradation, and size.
- If you want your brush to smudge, go into the properties panel, and increase the setting.
- You can also change your brush size in the properties setting. For pencils, I like to decrease the maximum size.
- In the “about this brush” panel, you can name the brush.
Pencil Brush Variations
- Change the grain source for a more textured pencil brush. Adding a grain source will allow you to play with the rendering settings to change the opacity, which lets the grain show through.
- Add a taper to your brush in the taper settings.
- Make a color-changing brush by adjusting the settings in color dynamics. Adjusting the color pressure will result in a cool color-changing brush when using bright colors. Perfect for making rainbow brushes!
Get The Entire Pencil Brush Set!
If you want even more pencil brush options, check out my pencil brush set. This set makes sketching in Procreate so much fun.
This new set contains 10 brushes and 2 eraser brushes, so check it out!
Free Procreate Pencil Brush
These downloads are for personal use only. Please do not redistribute or sell.
Dear teachers and students: this download will not work if you try to access it when logged into your school email account. Try a personal email account instead.
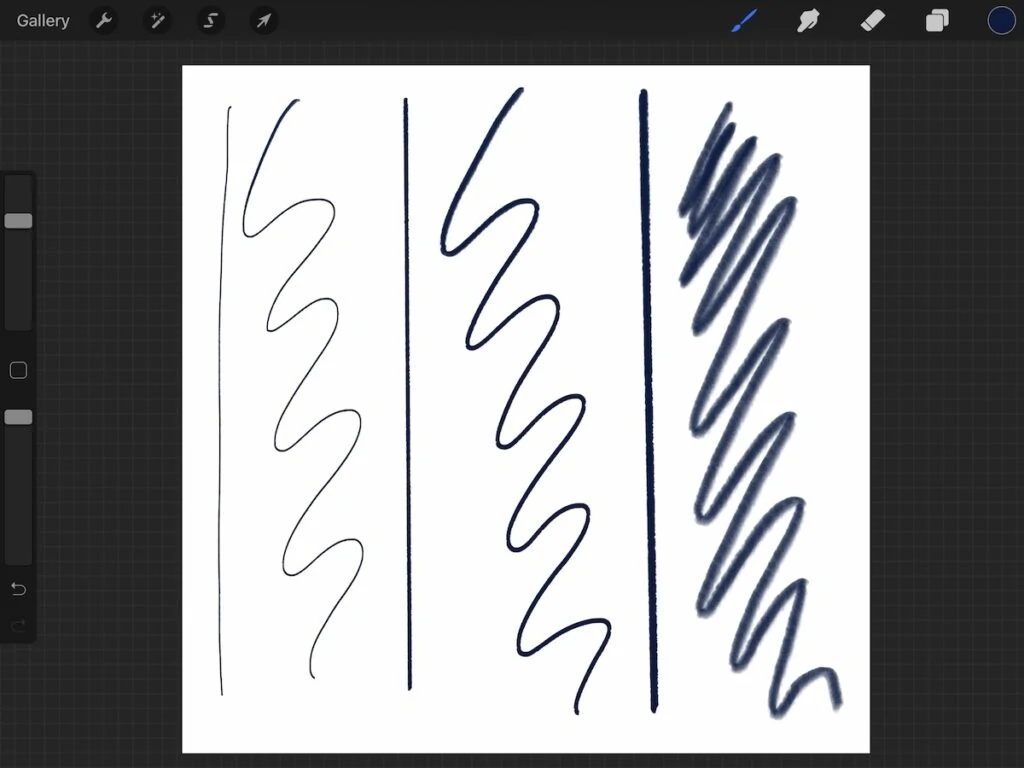
Click here to download a free pencil brush.
Here’s how to install brushes in Procreate.
Other Procreate Brush Tutorials
Pin for Later!
