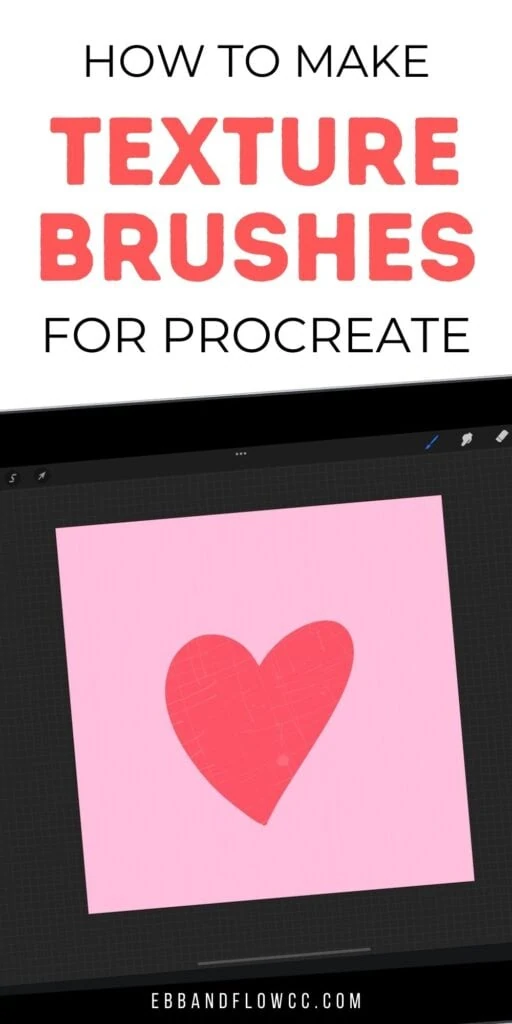
How to Make a Texture Brush for Procreate

I’m a self-taught artist who loves sharing tips and tutorials for painting with watercolor and gouache, and using the Procreate app on the iPad.
Learn how to make a texture brush for Procreate. This is an easy way to add interest to digital art. Get easy tips for using texture brushes in your art.
You might also like these other Procreate brush tutorials.
This post contains affiliate links. By purchasing an item through an affiliate link, I earn a small commission at no extra cost to you. As an Amazon Associate I earn from qualifying purchases.
I have been on a Procreate brush-making kick lately! Texture brushes are my latest adventure.
They’re super fun to make because they combine traditional art media and digital media. Get ready to get your hands dirty.
These brushes are really similar to how I made watercolor brushes, by the way.
What is a Texture Brush?
Texture brushes add texture to digital art to give them more depth and interest. Duh, we all know that right?
Some texture brushes can be used like a regular brush along a stroke line. Those types of brushes typically mimic art mediums like paint.
For Procreate, however, most texture brushes are actually stamp brushes. Stamp brushes are used on top of other artwork to add grit or other texture elements to a piece.
How Do You Use Texture Brushes?
Like I said before, you use texture brushes on top of your artwork. There’s a few ways to do that.
Different stamps look better when used with different methods, so play around and see what you like.
- Use a clipping mask. A clipping mask is a layer on top of the artwork layer. Then you add the texture and apply a clipping mask, which clips the texture to that layer only. It can be undone or hidden, so it’s more non-destructive.

- Use an alpha mask. An alpha mask is more destructive because it applies the texture directly onto the artwork. Create the artwork, apply alpha lock and stamp the texture on top.
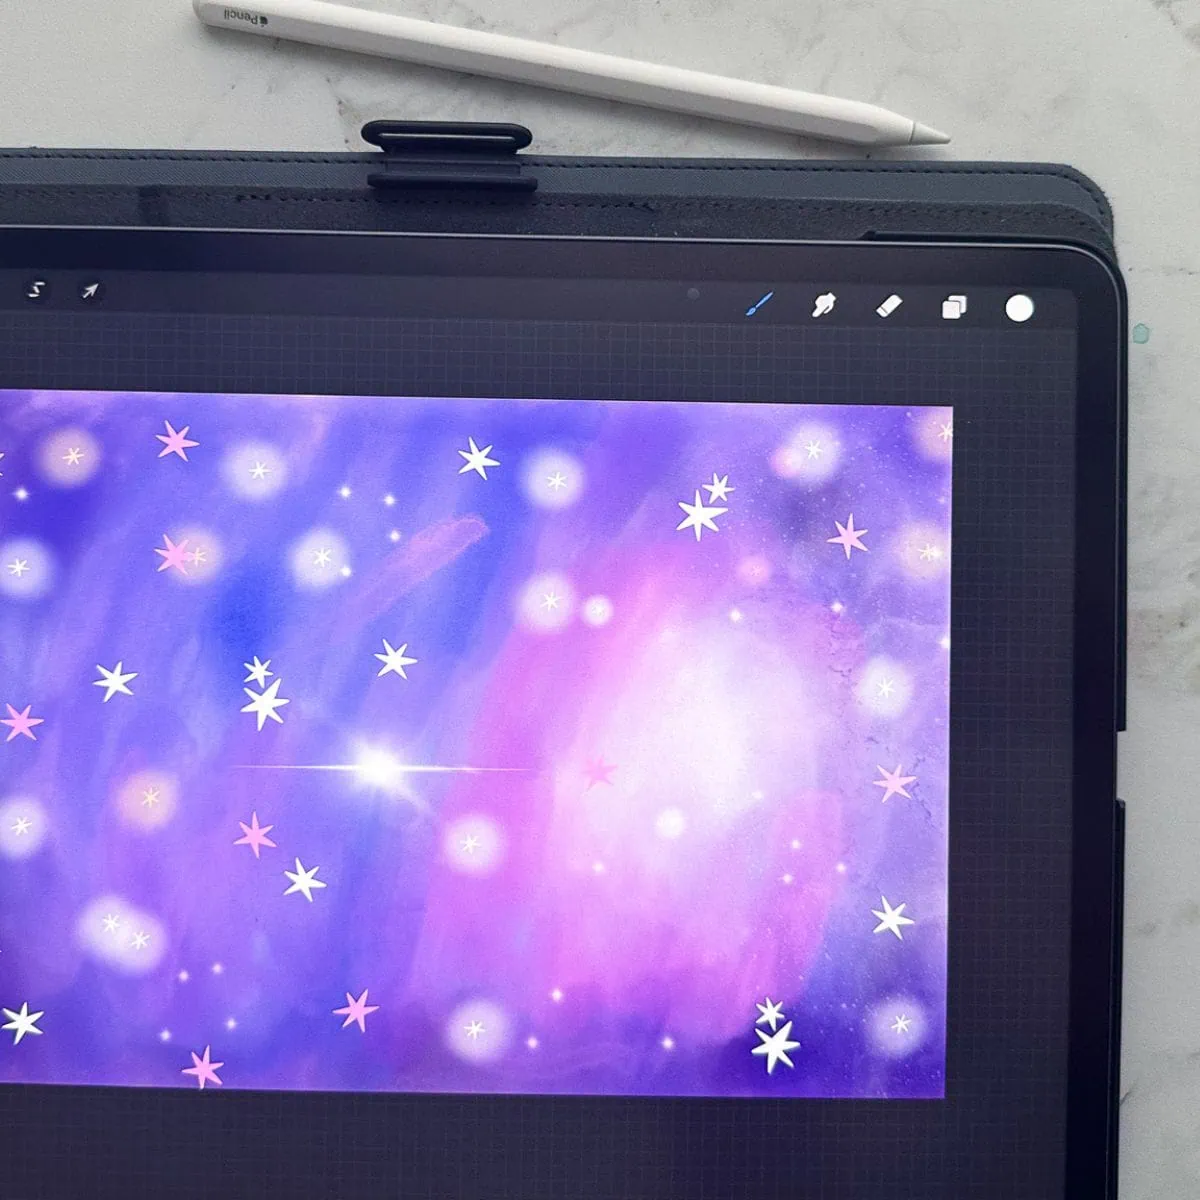
- Over the entire art. Make the stamp as large as you can get it and apply it in a new layer on top of everything. This is also a good method for backgrounds.
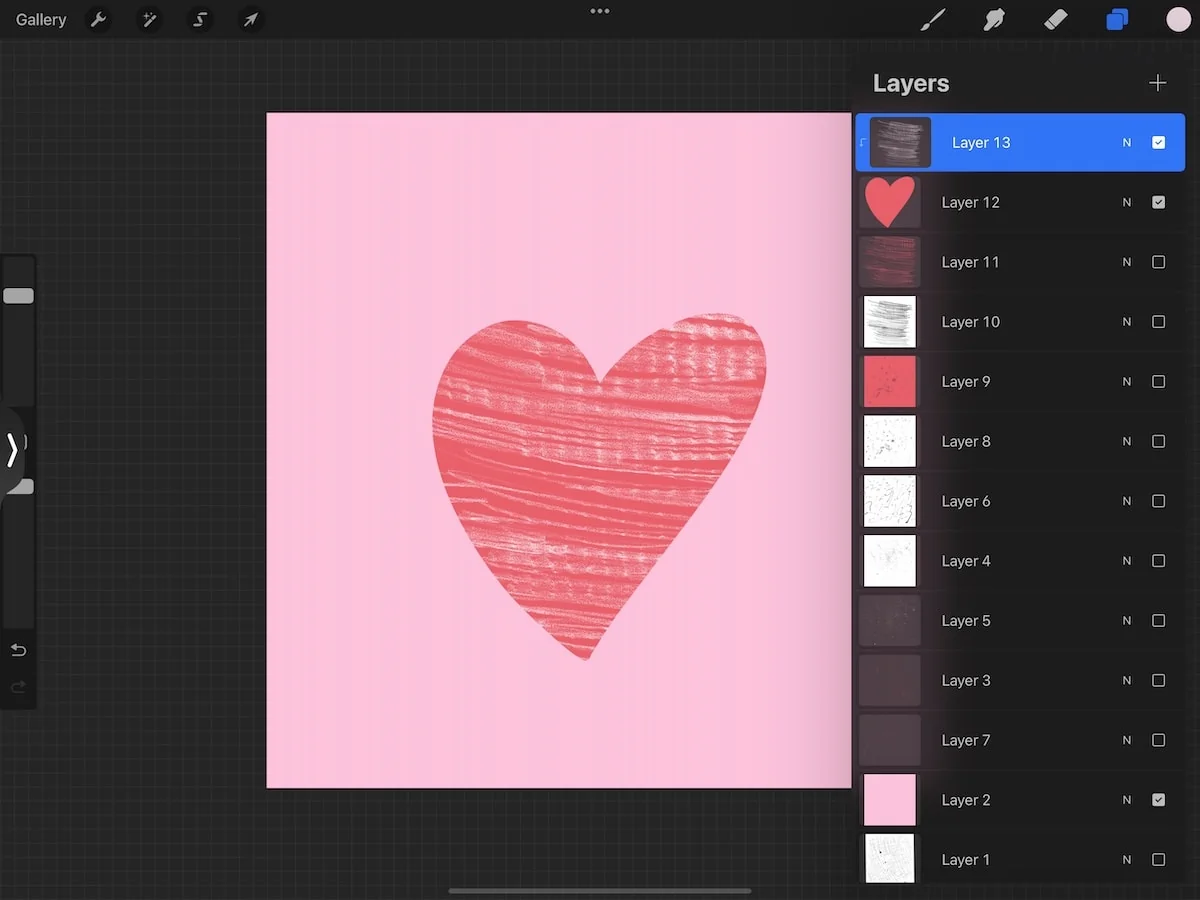
You can make the texture a darker color to look like dirt or you can even use it with the eraser brush to give the art a vintage, worn look.
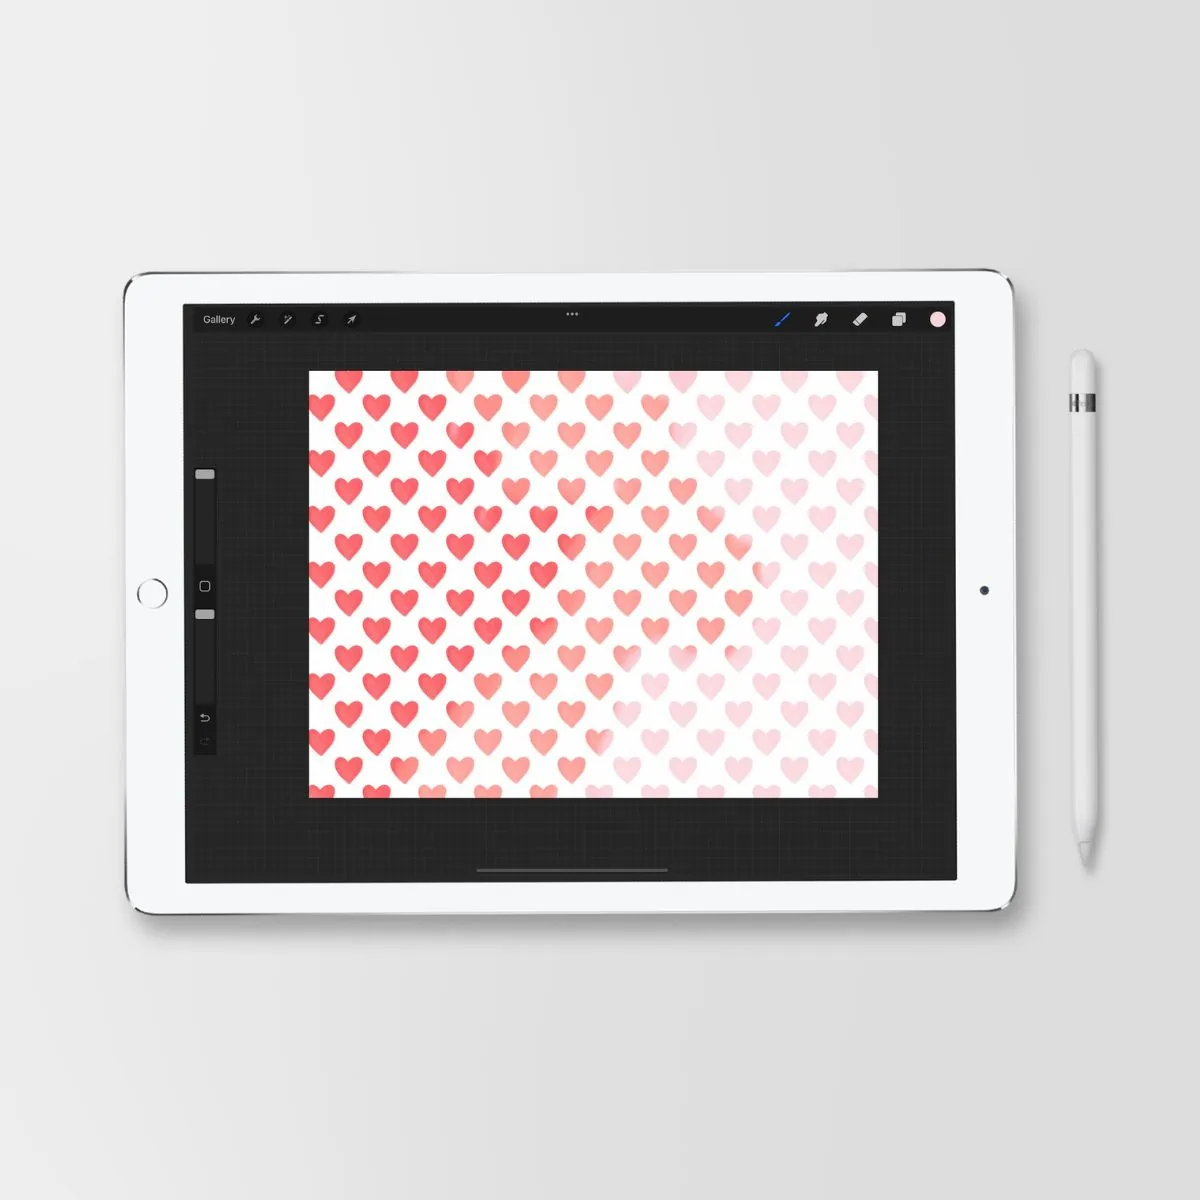
Some textures can be used almost like a pattern stamped over an image, particularly when used with a clipping mask over an object.
If the texture is too strong, you can lower the opacity of the layer, or even set it to multiply in the blend mode.
I personally think textures look the best when they are more subtle and not the star of the show.
How to Make a Texture Brush for Procreate
Okay, there are a lot of steps to making these brushes, but it really doesn’t take that long once you get the hang of things.
Supplies Needed:
- Computer paper
- Different art materials in black
- Paint brushes, sponges, stamps, etc
I used black ink, a dip pen, black liquid watercolor, a black colored pencil, paintbrushes, a stencil brush, and a sponge.
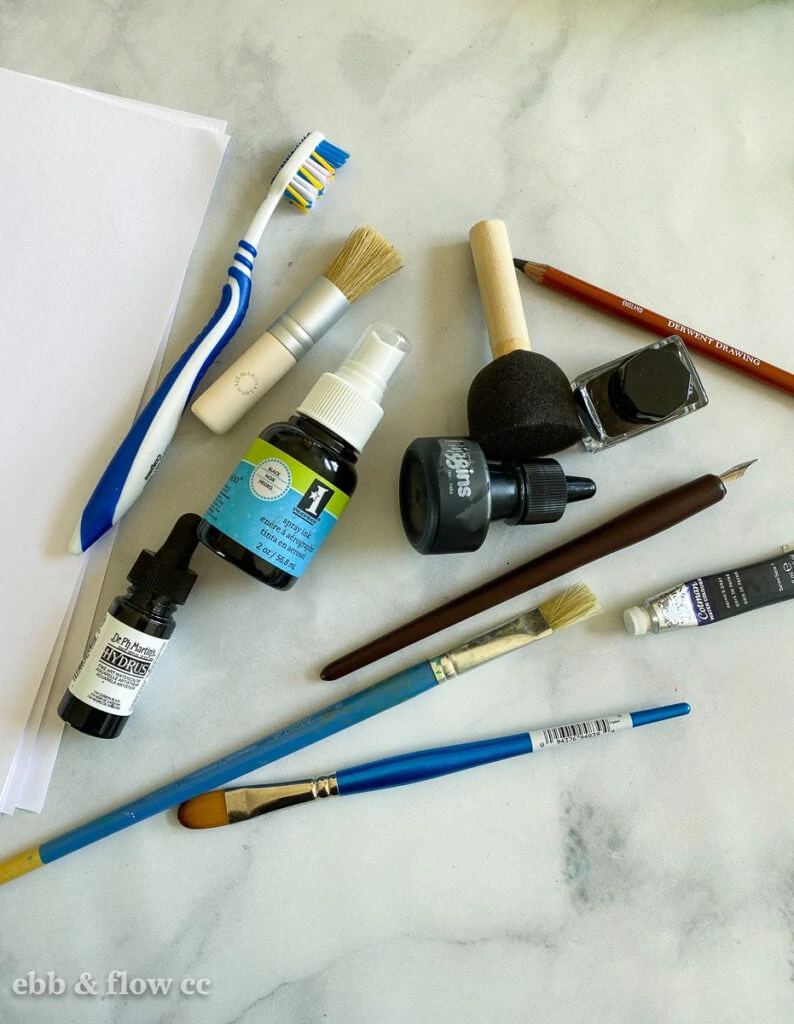
Procreate brushes convert to black and white, so it’s best to start with black art materials. If you use colors, make sure they are dark so that they can show up when you adjust the colors.
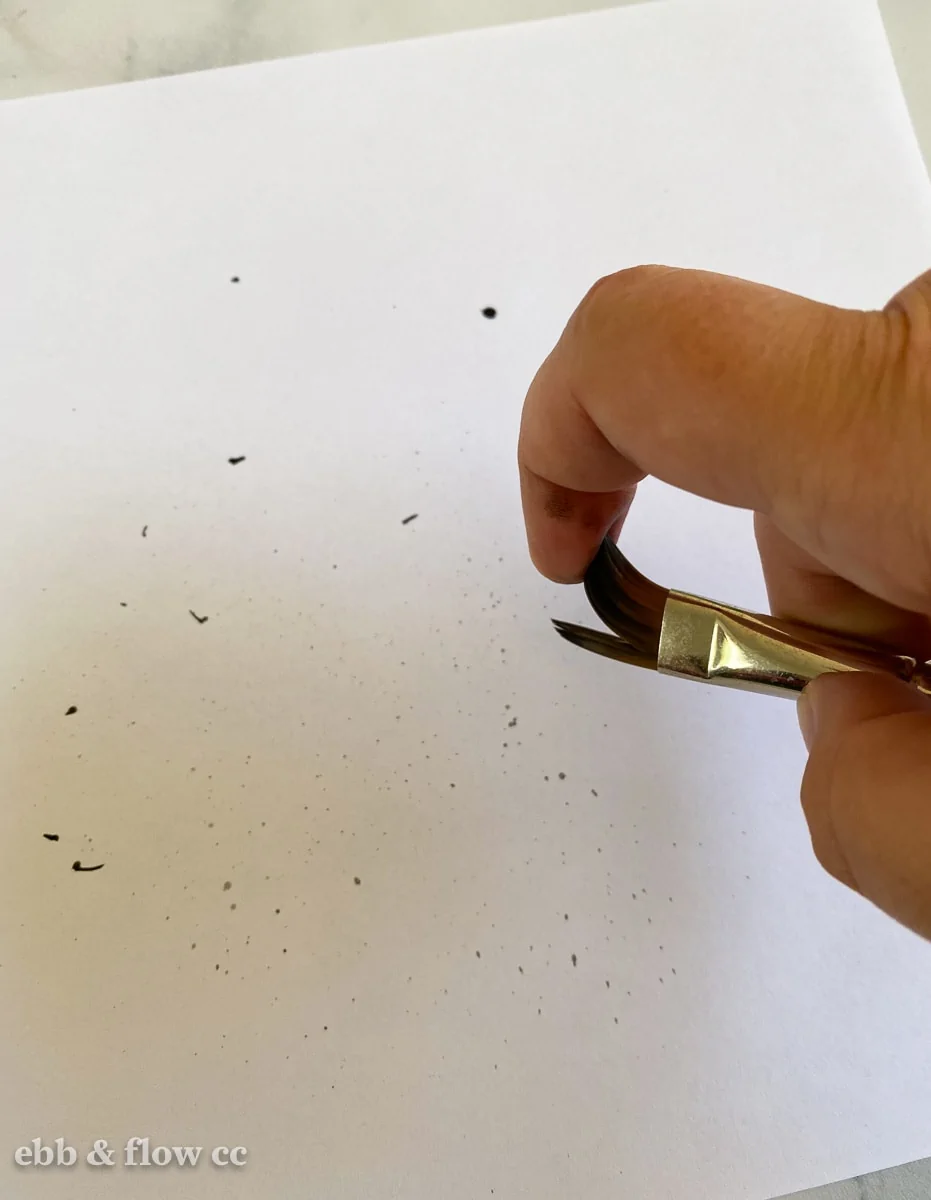
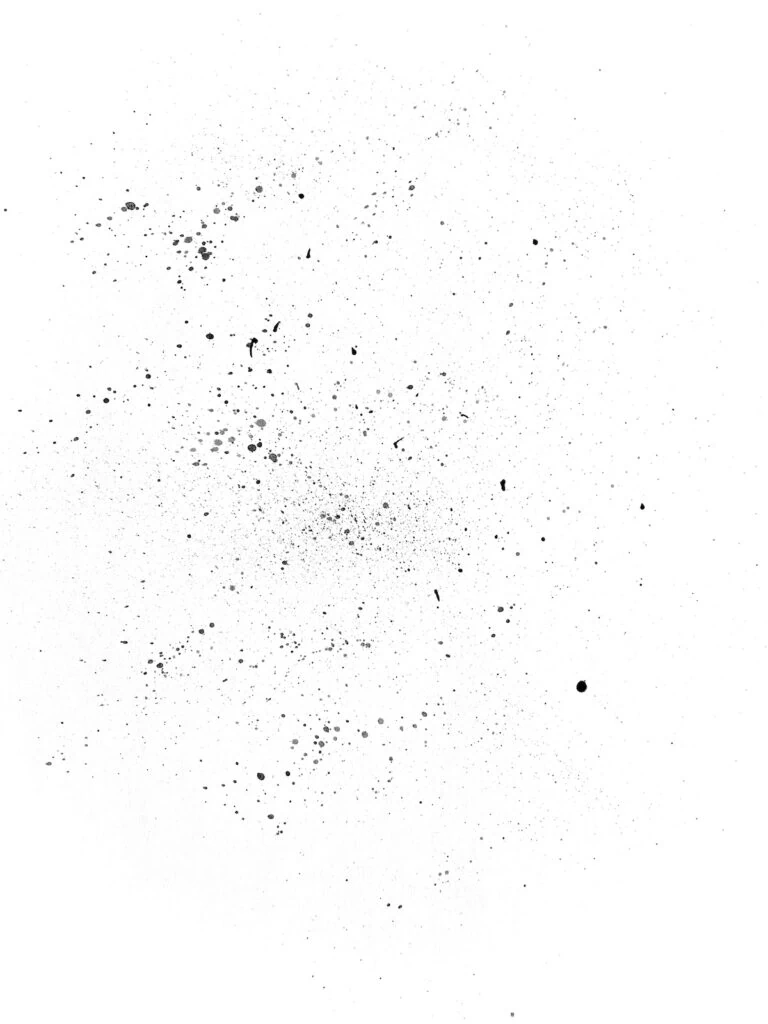
If you have specific textures in mind, think about how to create those before you start. Gritty textures usually consist of specks of dirt, so I would do a lot of paint flicking and using sponges.
If you want your textures to add patterns, you can paint stripes or dots.
If you don’t have anything in mind, just have fun and see what you get.
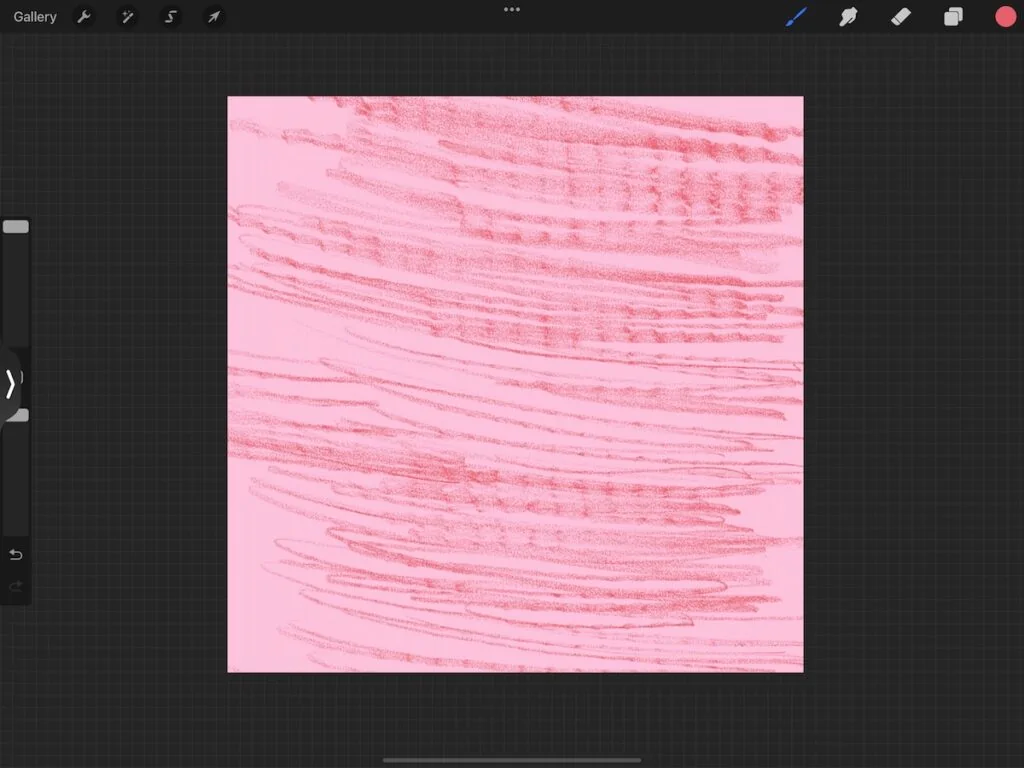
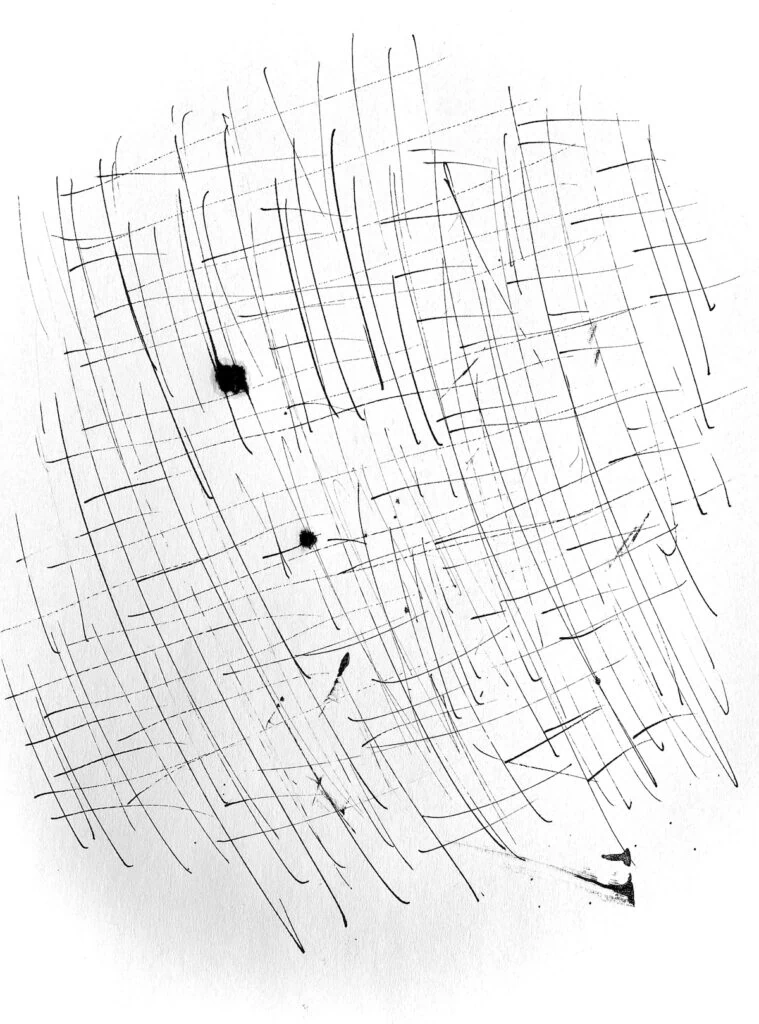
Making the Textures
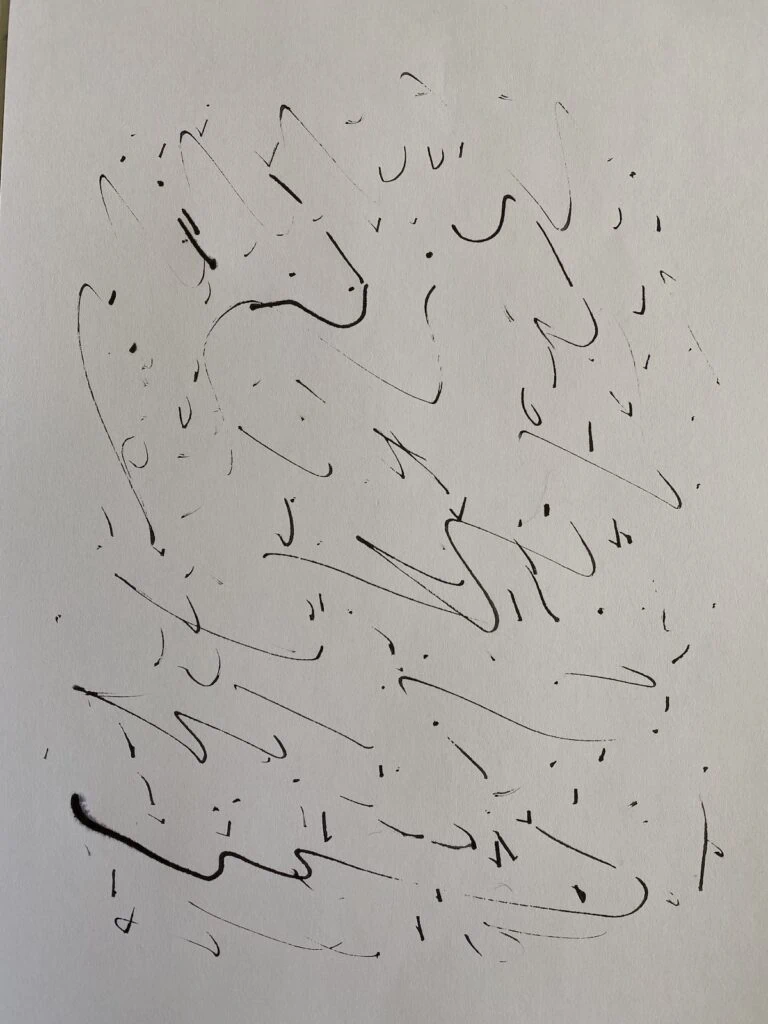
- Use black art materials to cover an entire sheet of paper with marks.

- Vary the mark sizes and shapes.
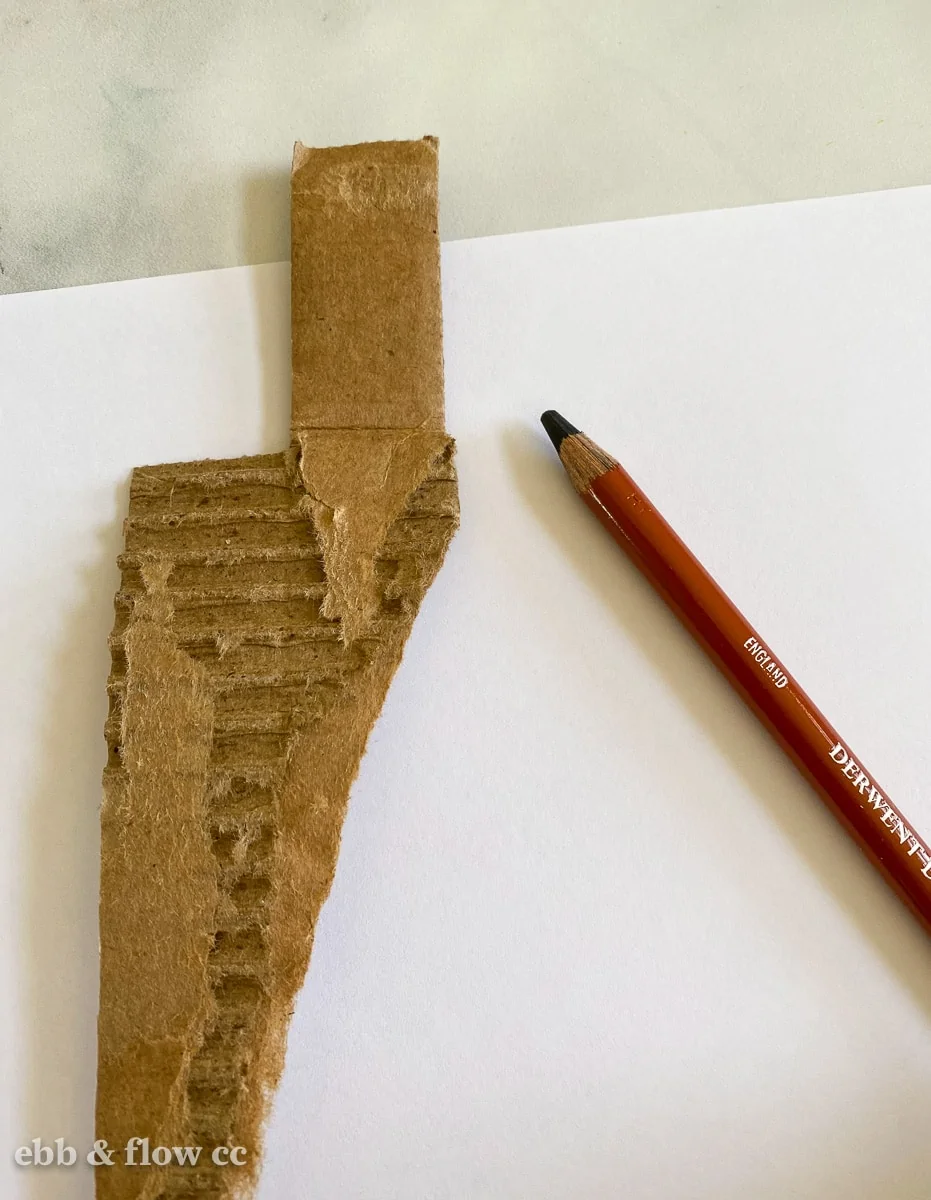
- You can even color over textures like I did with this piece of cardboard.

Taking the Photos or Scanning the Textures
You can either take photos or scan your artwork. If you use a scanner, scan it as black and white and scan it at 600dpi. Bigger is always better.
When you take photos of the image, take them near a bright window, but not in direct sunlight. Make sure that you are not casting a shadow onto the paper.
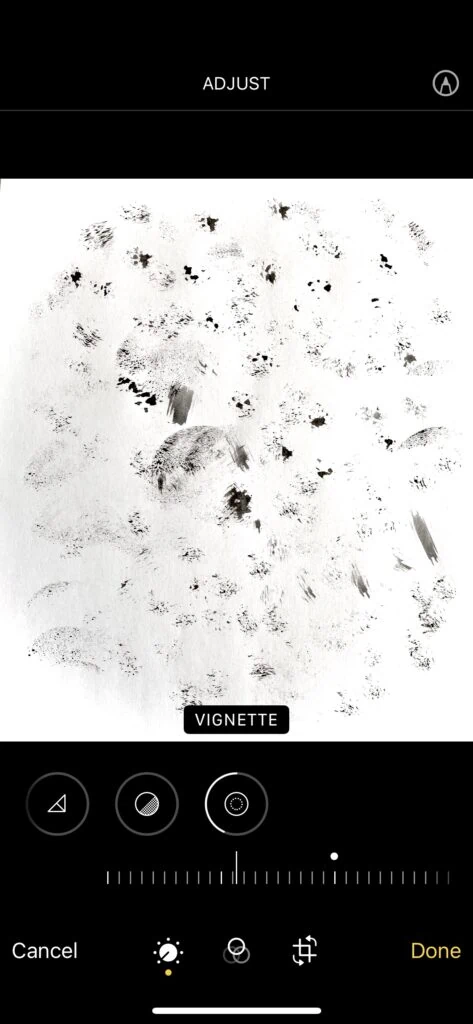
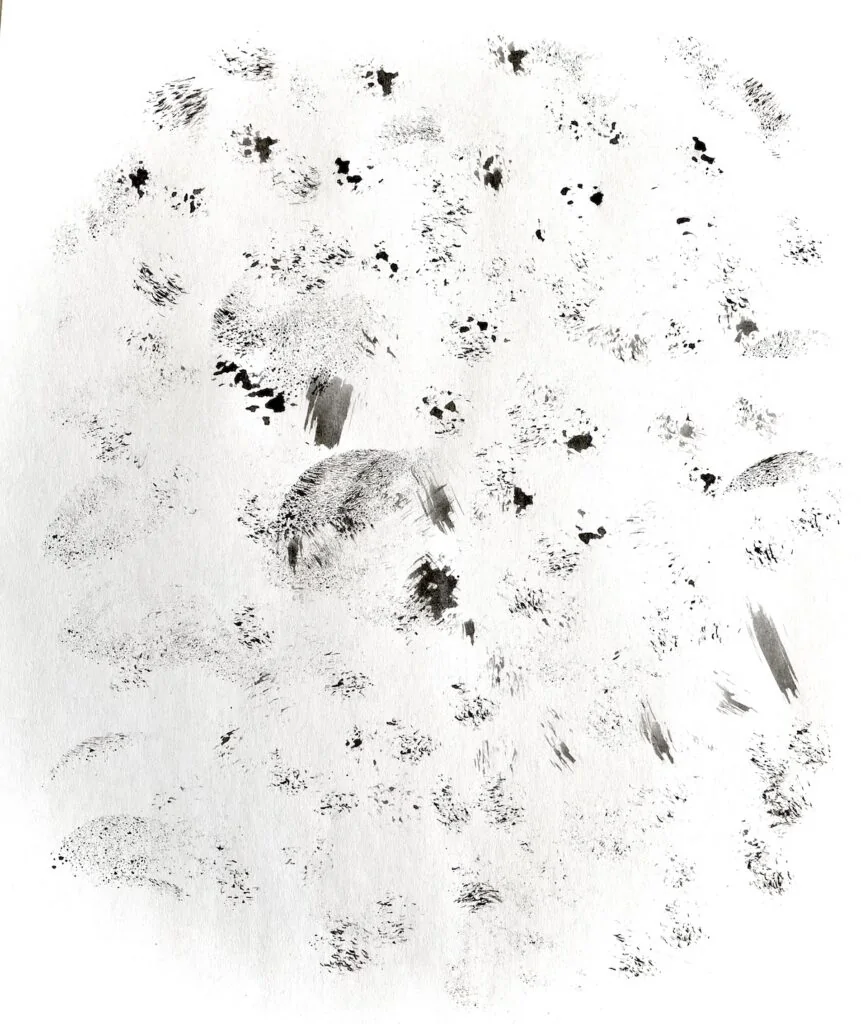
Editing the Photos
I edited these photos with the photo app on my iPhone. You want the photos to only be black and white.
You may have gray areas if you watered down your paint or ink. Keep in mind that these gray areas will end up being transparent in the final brush.
- Crop your photo to remove any part of the tabletop if needed.
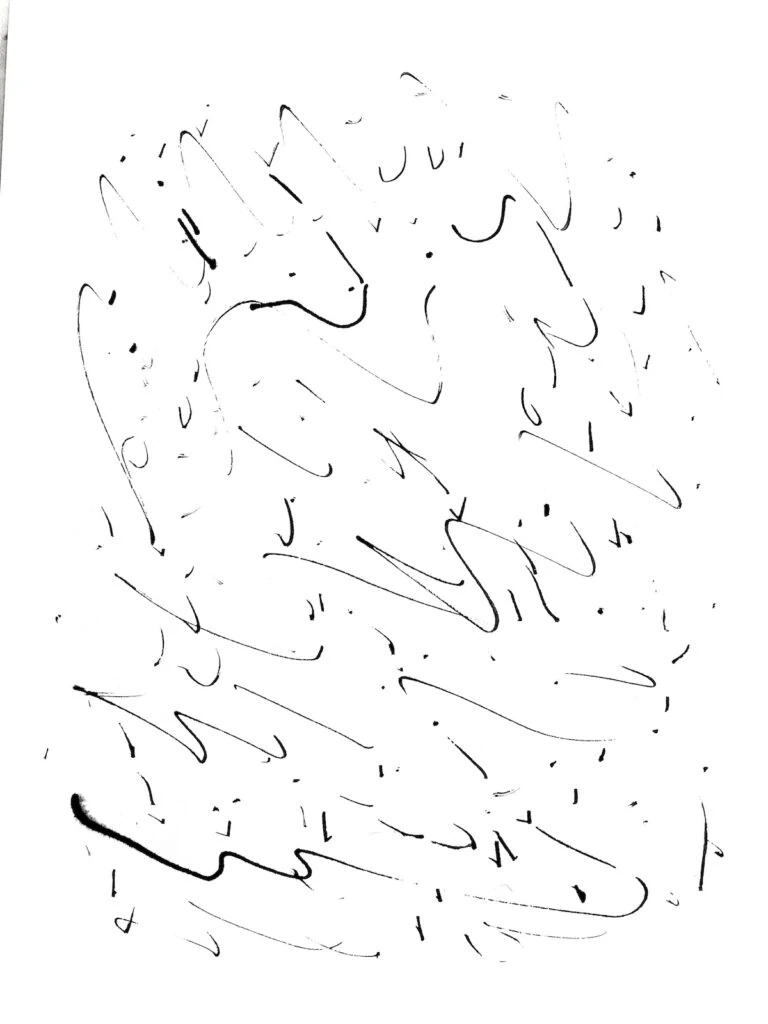
- Increase the exposure.
- Decrease the saturation (to make them more black and white.)
- Increase the black point.
- Decrease the vignette. (This removes shadows in the corners of the paper.)
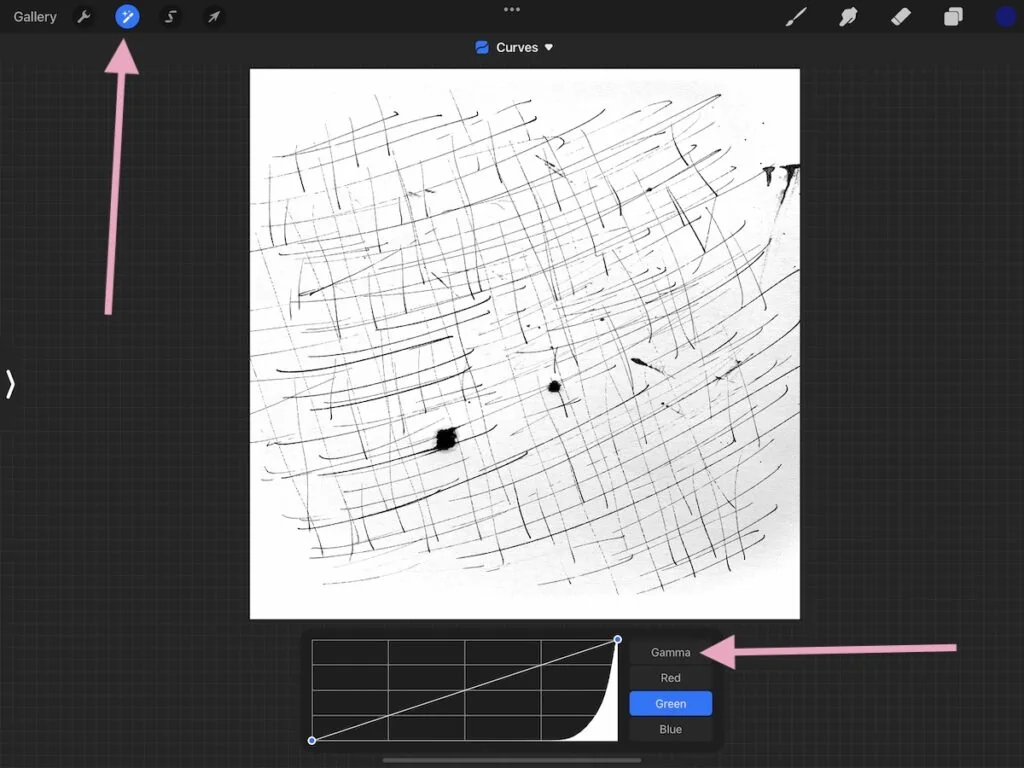
If needed, the photos can be further edited in Procreate. You can use the curves adjustment (gamma) to increase the whites and blacks.
You can also erase any marks that you don’t want.
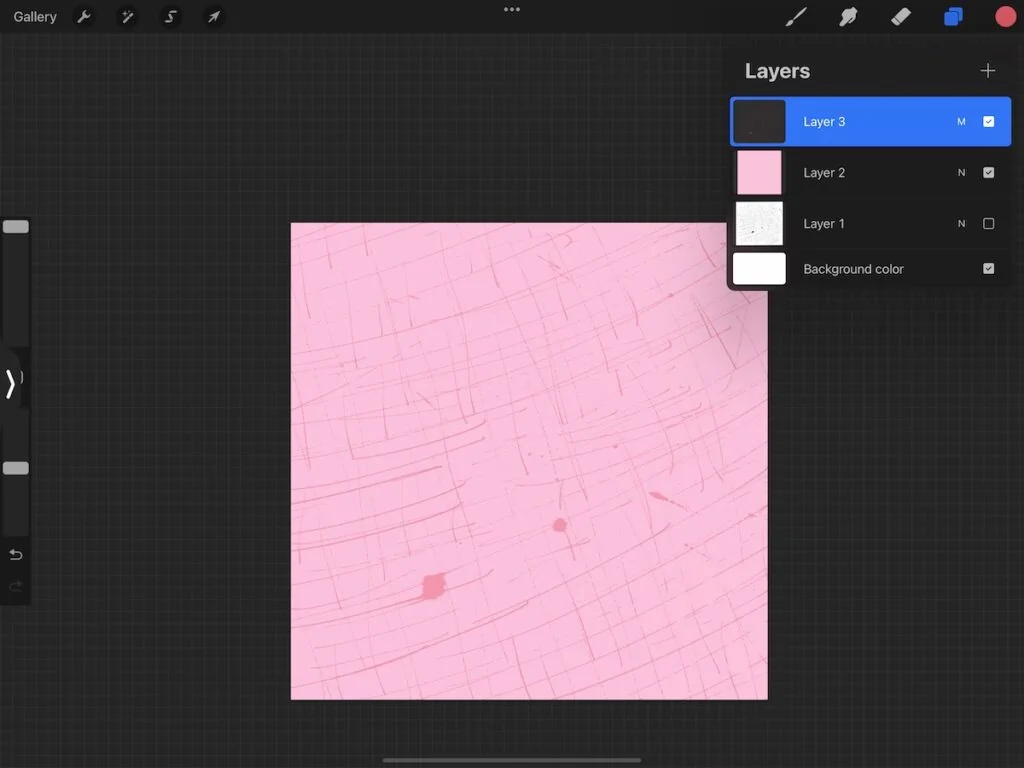
Making the Texture Brushes
- Start a new square canvas. I made mine 10″ x 10″.
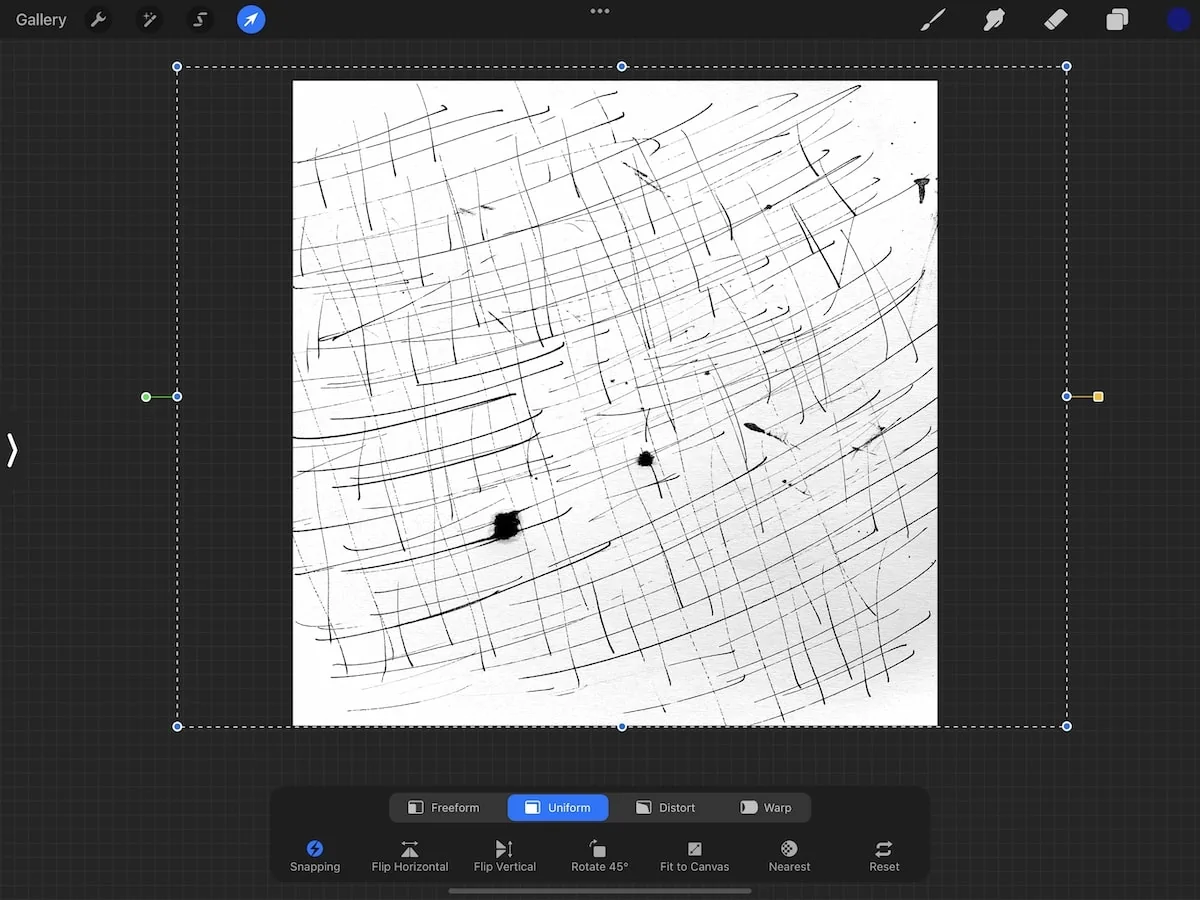
- Insert the edited photo.
- Increase the size to cover most of the square.
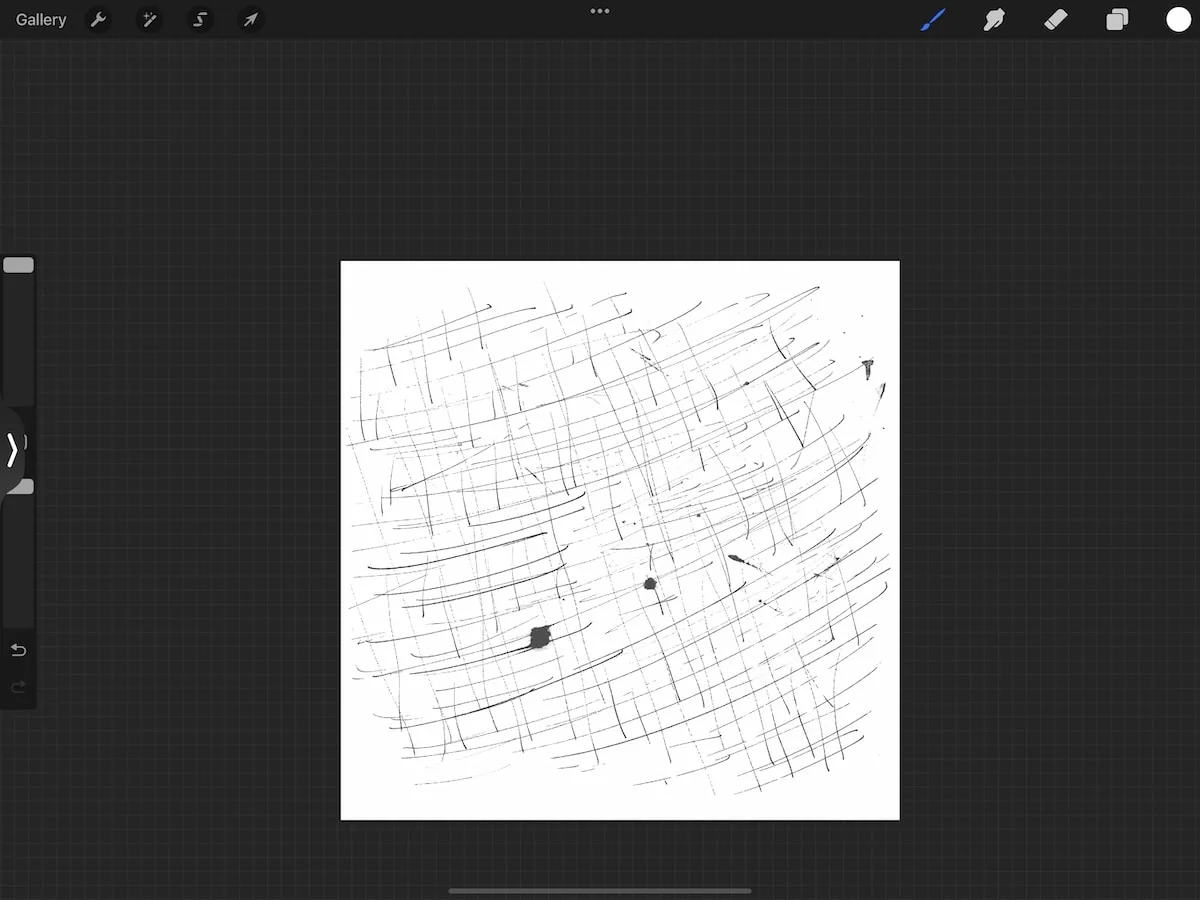
- If it overlaps the edges, use an eraser brush to remove the edges, varying the lines so that it’s not a perfect square around the edge. It should look natural. If you image is really textured, use a textured brush to erase the edges for a more natural look.
- When you’re happy with the image, copy the canvas.
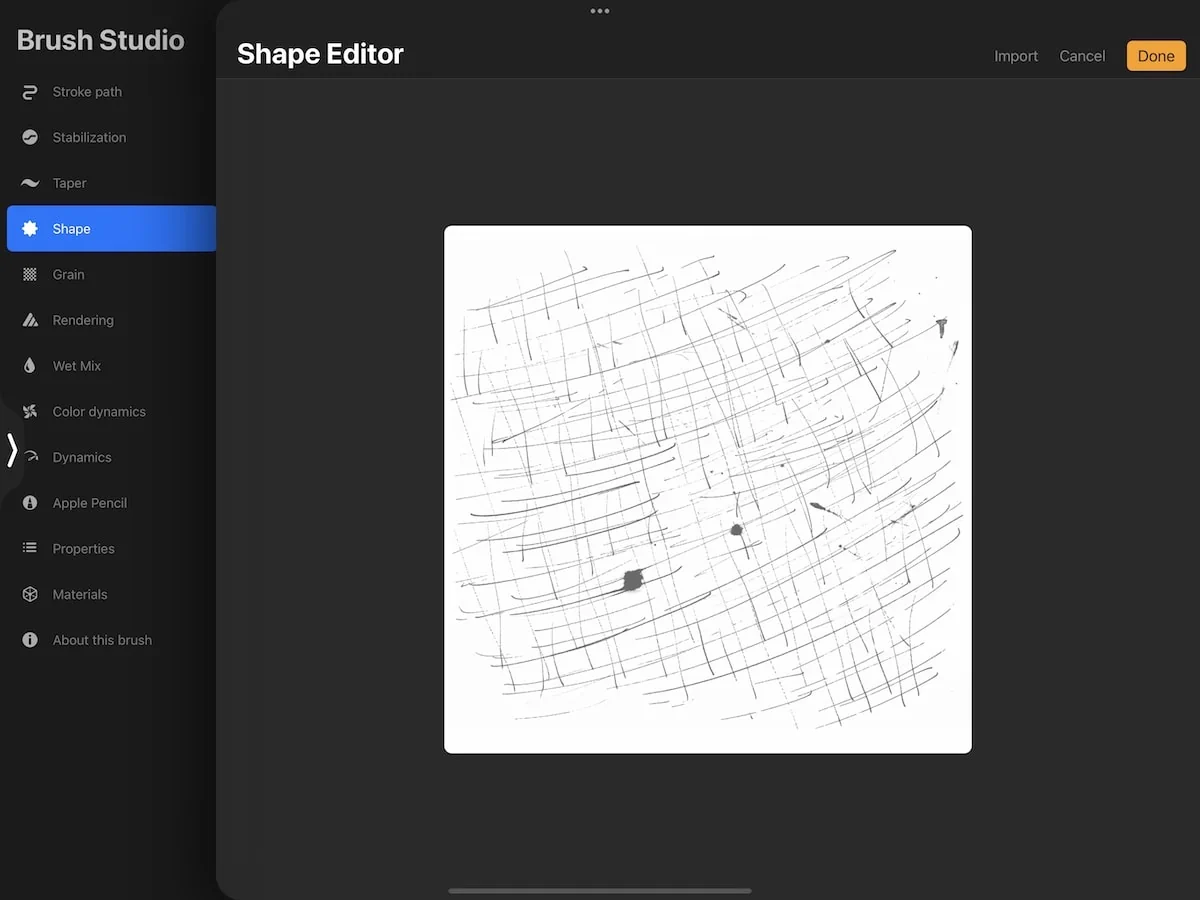
- Start a new brush.
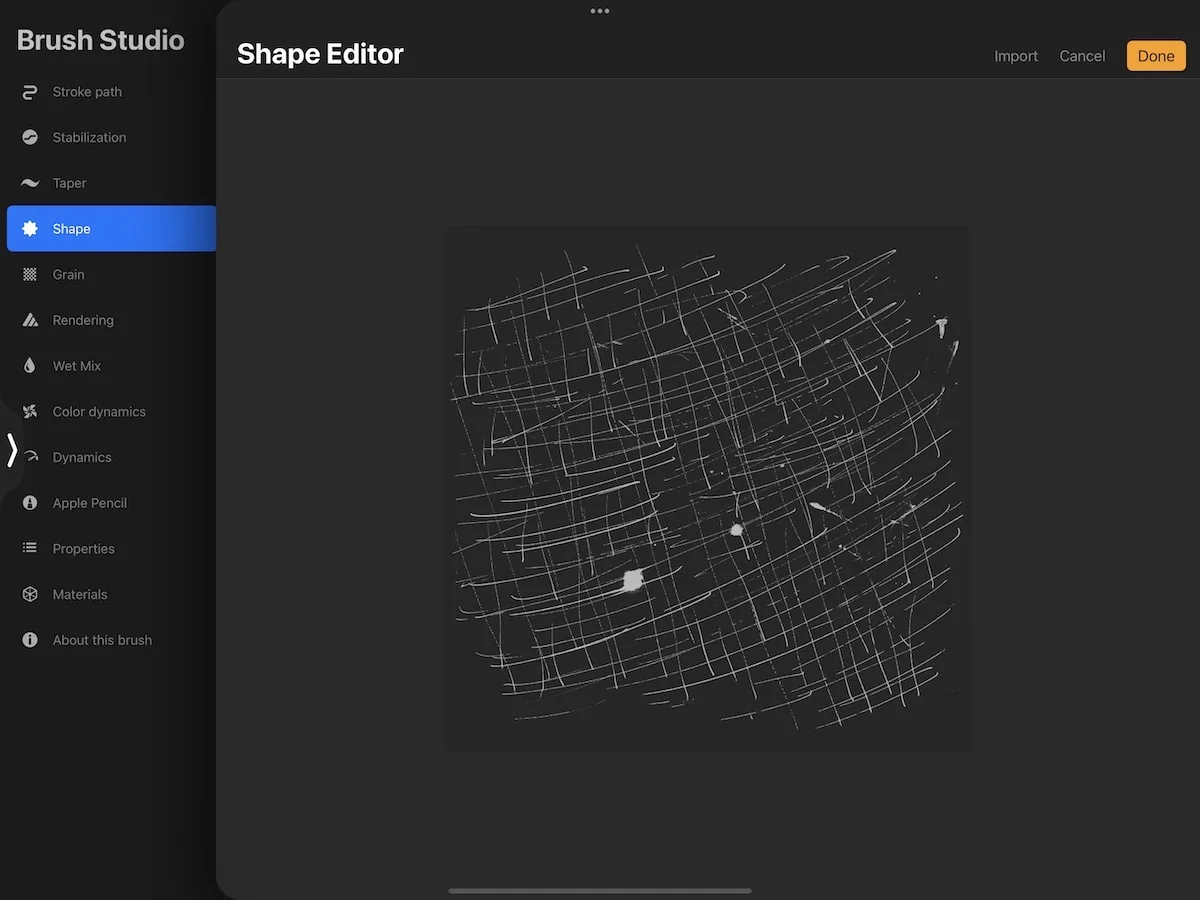
- Paste the shape into the shape source.
- Use 2 fingers to tap it to invert the image.
- Click done.
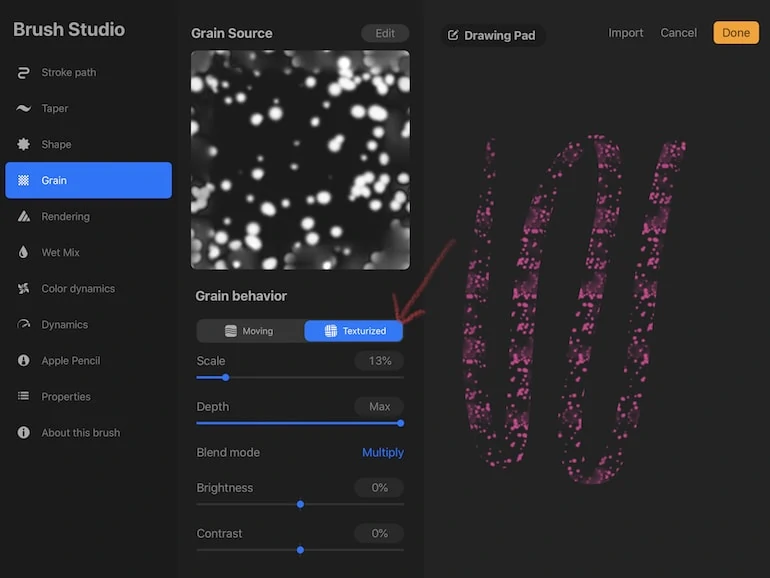
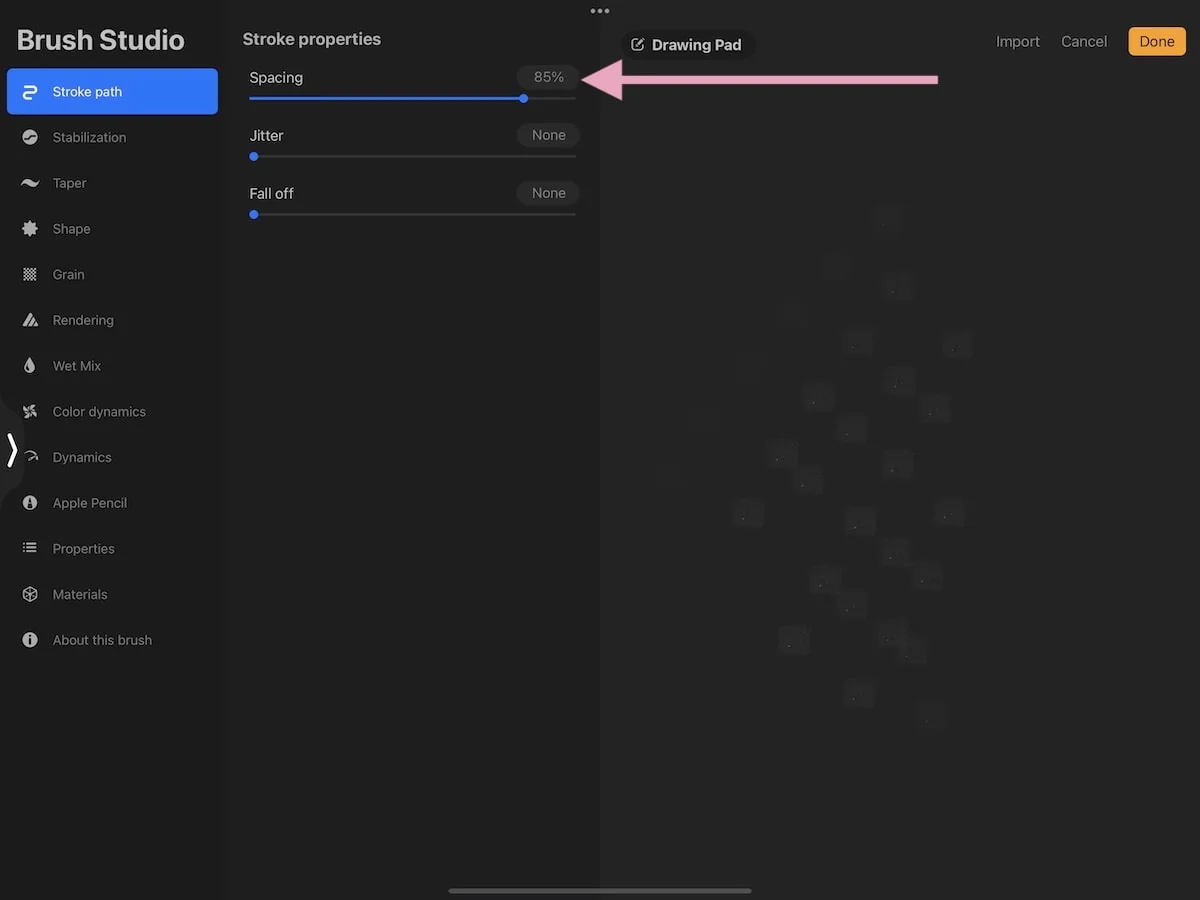
- Increase the spacing in the stroke menu.
- In the Apple pencils setting change the opacity to none (unless you want a varying opacity when you use the pencil.)
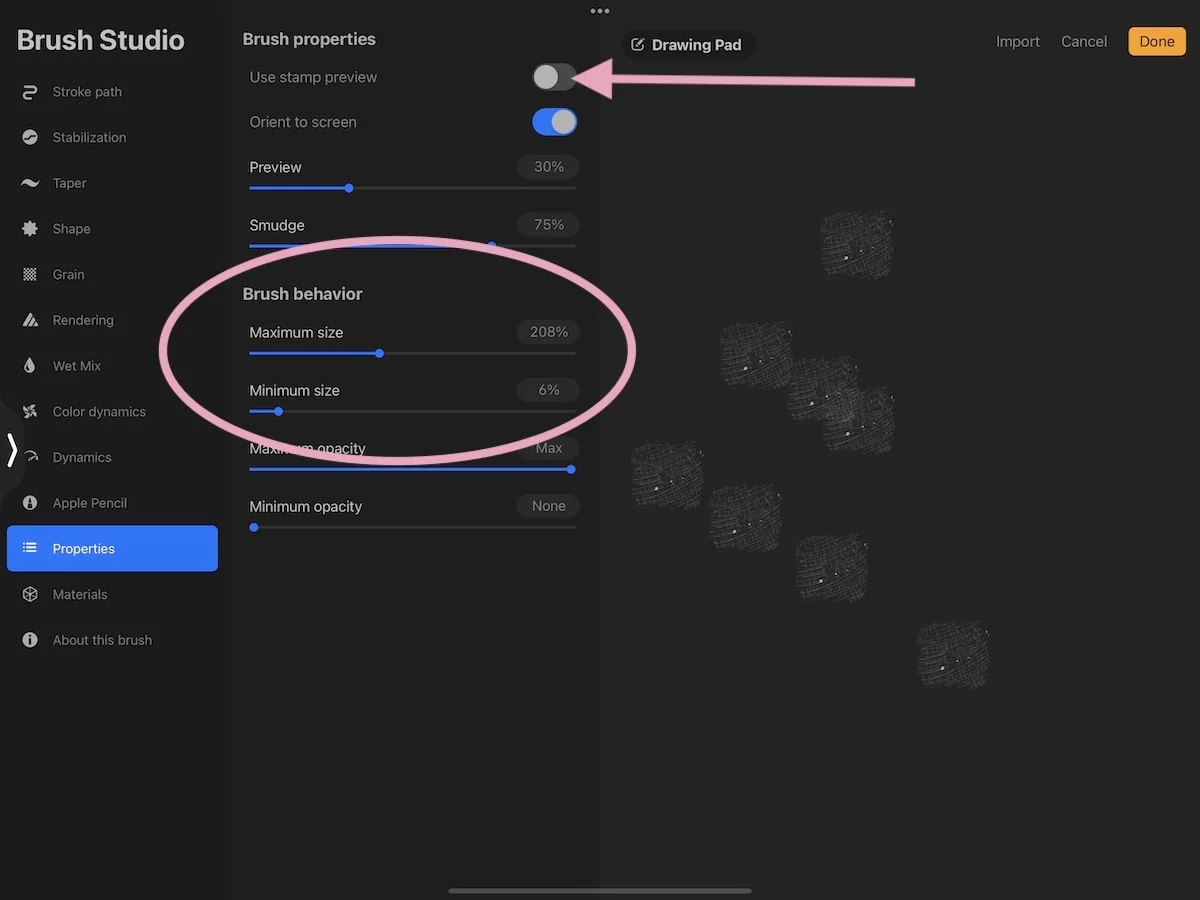
- In the properties, toggle on Use stamp preview.
- Increase the maximum size. If you want a really large stamp, increase the minimum size too.
- Test your brush.
- When you’re happy, name it and set the reset point.
- Repeat these steps for all of the brushes you made.

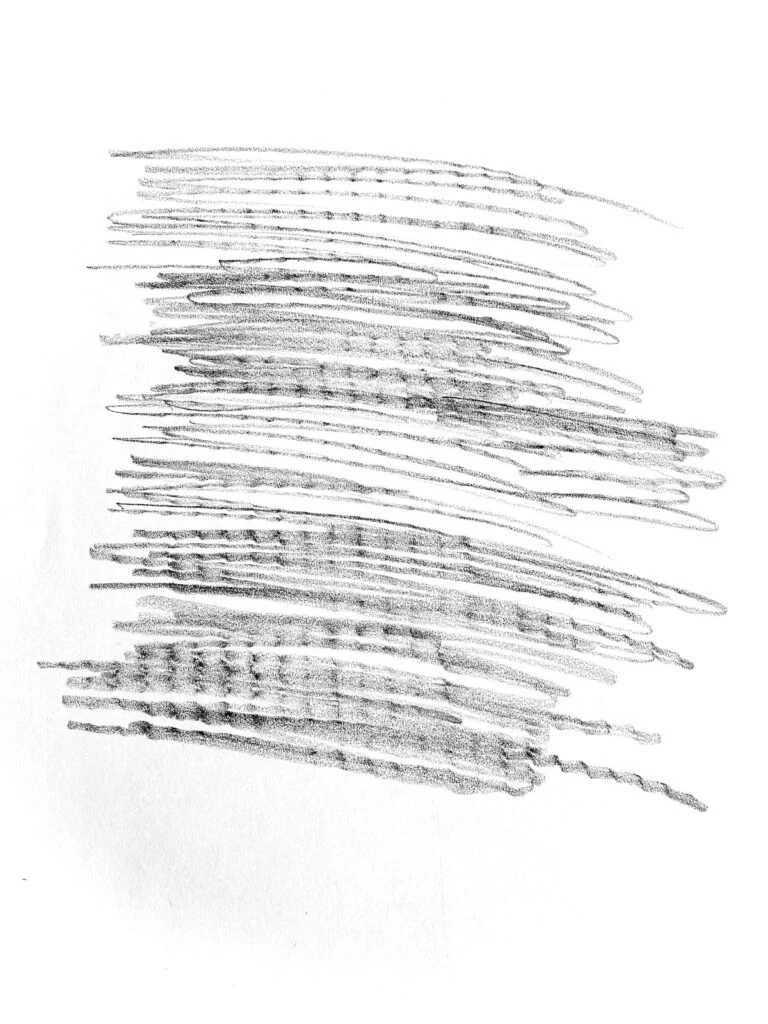
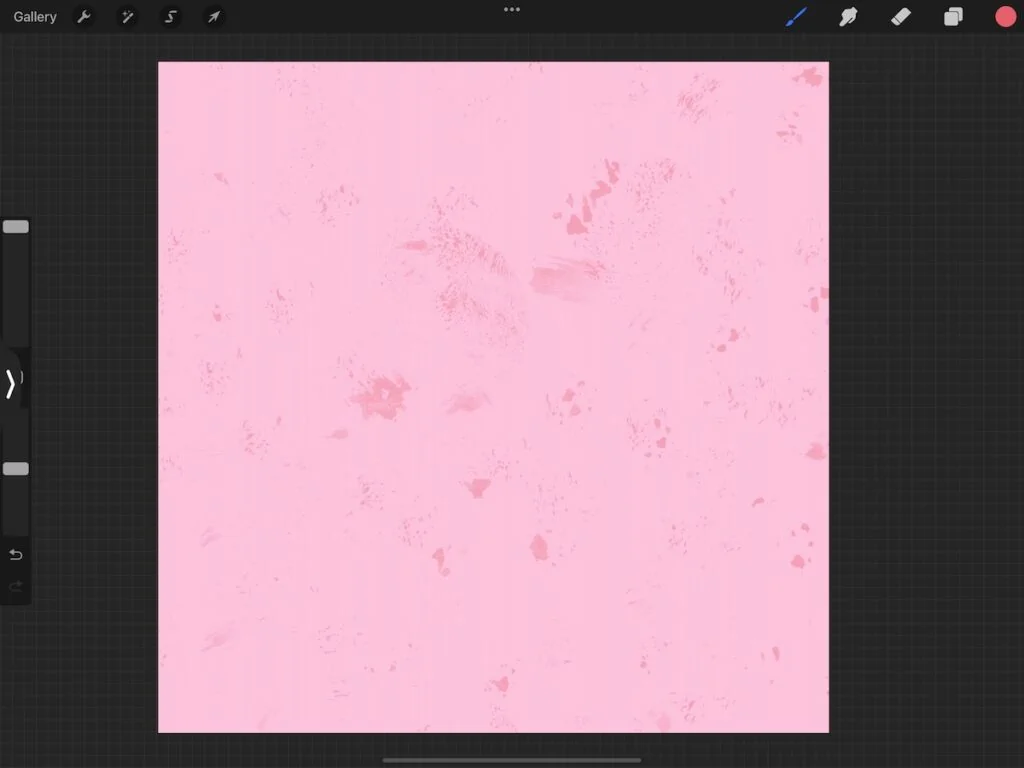
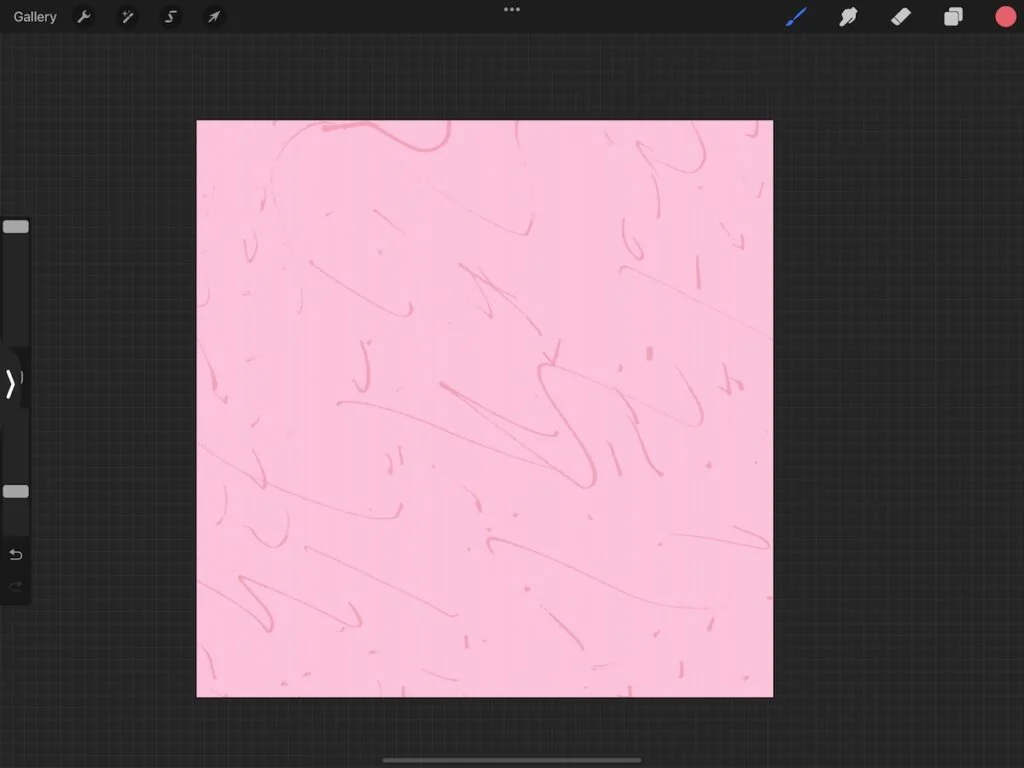
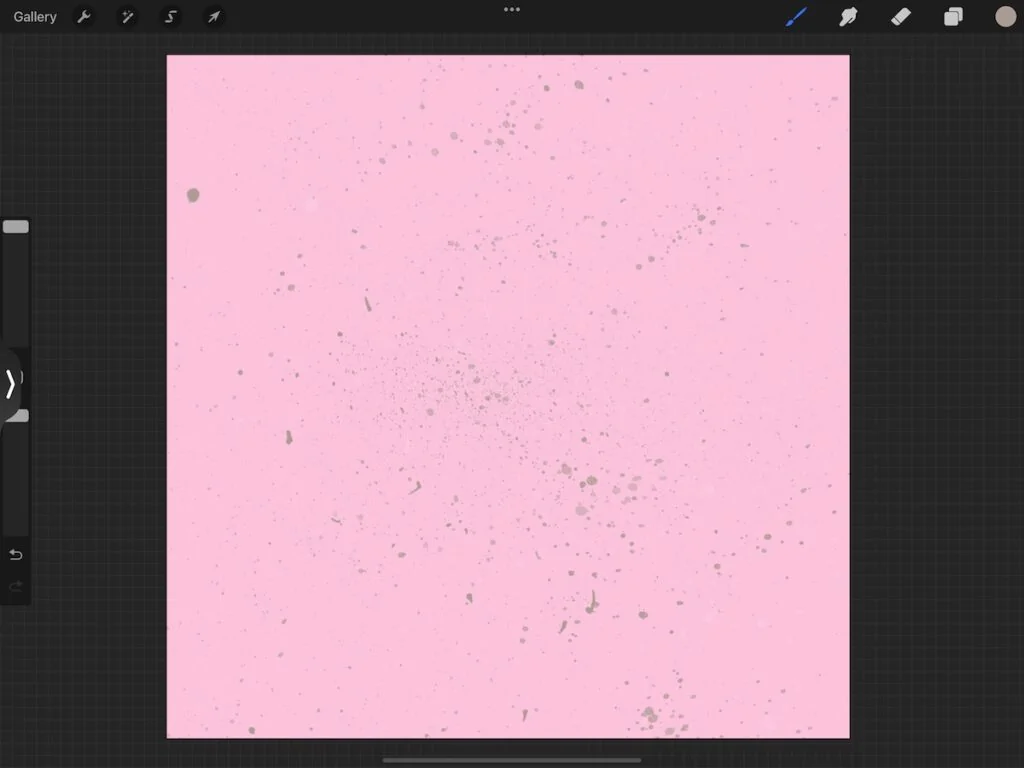
The Finished Textures

Download these Texture Brushes
Get this mini pack of 5 texture brushes.
These downloads are for personal use only. Please do not redistribute or sell.
Dear teachers and students: this download will not work if you try to access it when logged into your school email account. Try a personal email account instead.
Here’s how to install brushes for Procreate.
You Might Also Like:
Pin for Later!