
How to Make a Stamp Brush in Procreate

I’m a self-taught artist who loves sharing tips and tutorials for painting with watercolor and gouache, and using the Procreate app on the iPad.
Learn how to make a stamp brush in Procreate. Stamp brushes create reusable shapes with the touch of a brush. They have so many uses!
If you like making your own Procreate brushes, you will love my other Procreate brush tutorials.
This post contains affiliate links. By purchasing an item through an affiliate link, I earn a small commission at no extra cost to you. As an Amazon Associate I earn from qualifying purchases.
Be sure to check out Stamp Brushes Part 2: creating watermarks and using photos to make brushes.
Uses for a Stamp Brush
The more I use stamp brushes, the more uses I find for them!
Stamp brushes can be used to create decorative shapes or for shapes that you use over and over again, like a logo or copyright info. Or they can be decorative shapes.
Here are some of my favorite uses:
- To make a circle for a template. Use a monoline brush as big as you can get it to make a circle stamp brush. The circle can be used as a template for creating wreaths or round lettering.

- Eraser brush. Using that same technique, you can create the best eraser brush ever! Make a giant one to erase everything in one go!
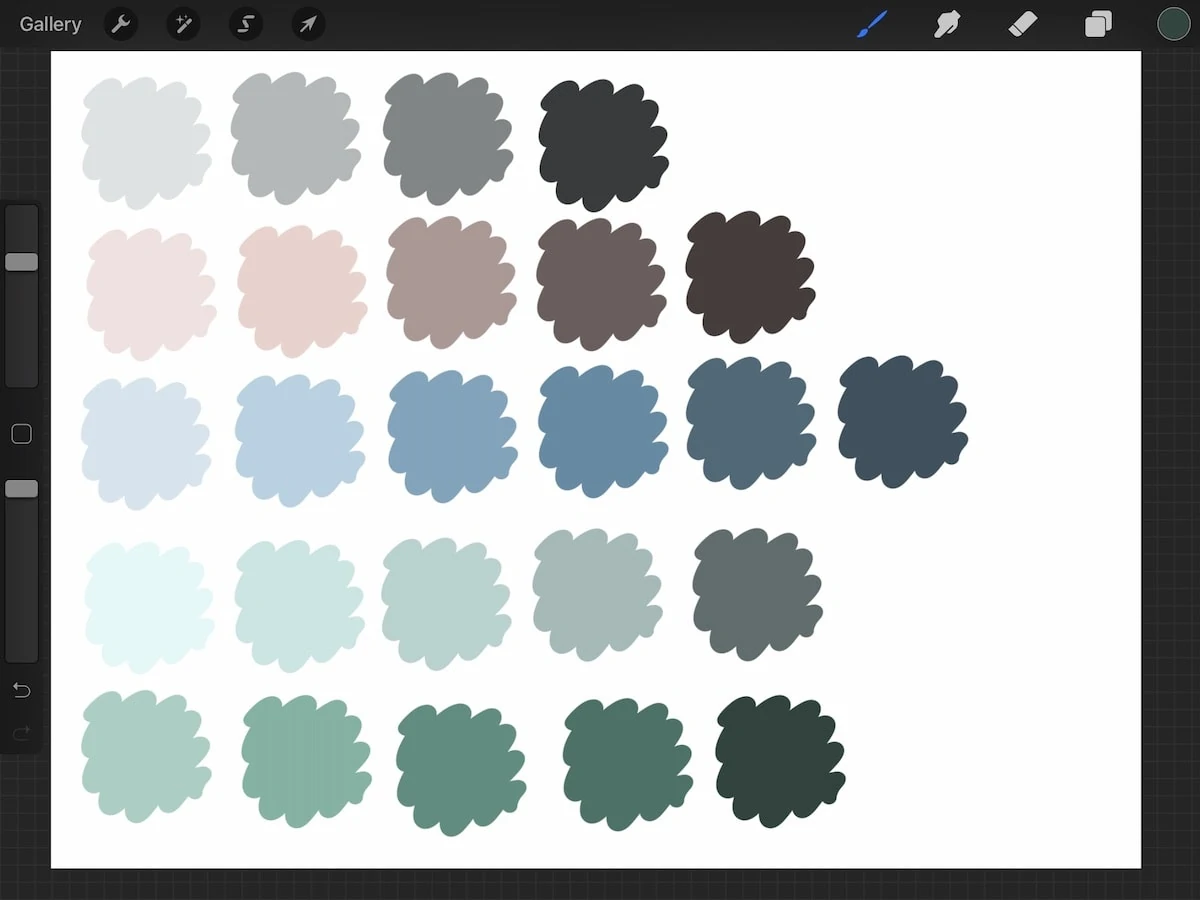
- For color swatches. I made a paint swatch stamp to use when I make color palettes to share. It’s the best use of a stamp brush ever!
- For watermarks and signatures. Quickly add your logo or signature with the click of a brush.
- For decorative purposes. For instance, you can make an intricate leafy design to add to art.
- A stamped texture brush. A stamp brush or a texture can add the perfect splotchy texture. (I love using these with the alpha lock function to add texture to an illustration.)
- For templates. I just purchased this character creator pack and I’m finding it invaluable for creating people. Especially because I suck at drawing people.
Use it on its own layer, reduce the opacity, and create a new layer to trace over the template. Ta-da! You’ve got a decent-looking person!


You may be interested in learning more about the brush studio in Procreate 5.
How to Make a Stamp Brush in Procreate
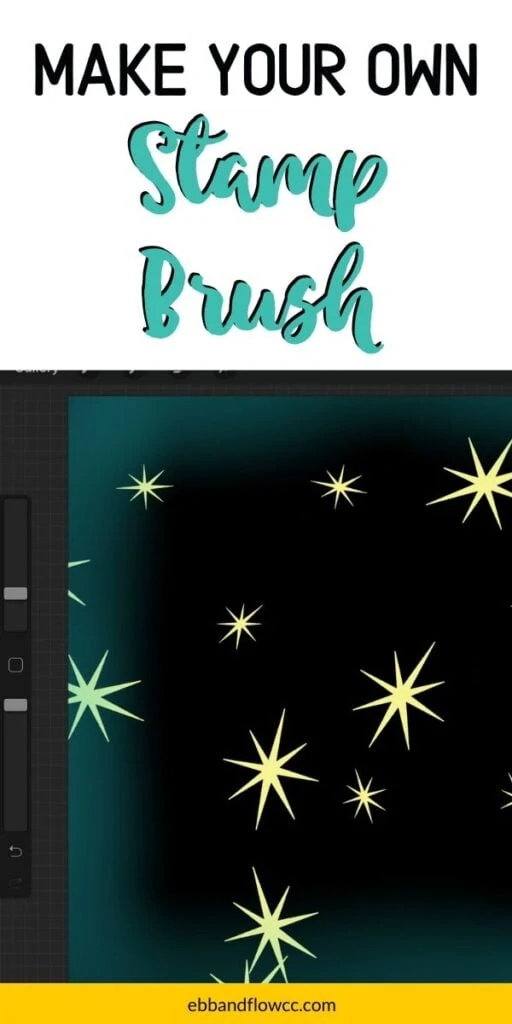
Scroll down to download this free star stamp brush for Procreate.
- Make a new square document. This is really important. If you start with a rectangle canvas, your finished stamp brush will be skewed. I like making my canvas at least 2000 x 2000 pixels, 300 DPI. This ensures that the quality will be good when using it on a larger canvas.
- Draw your design. If this is your first Procreate brush, start with a simple design. It must be drawn in black on a white background (or white on a black background works – just skip the invert step.) Colored stamp designs will be transparent.

- In the actions panel (wrench in the top left corner), click copy canvas.
- Start a new brush by clicking the + in the brush library.
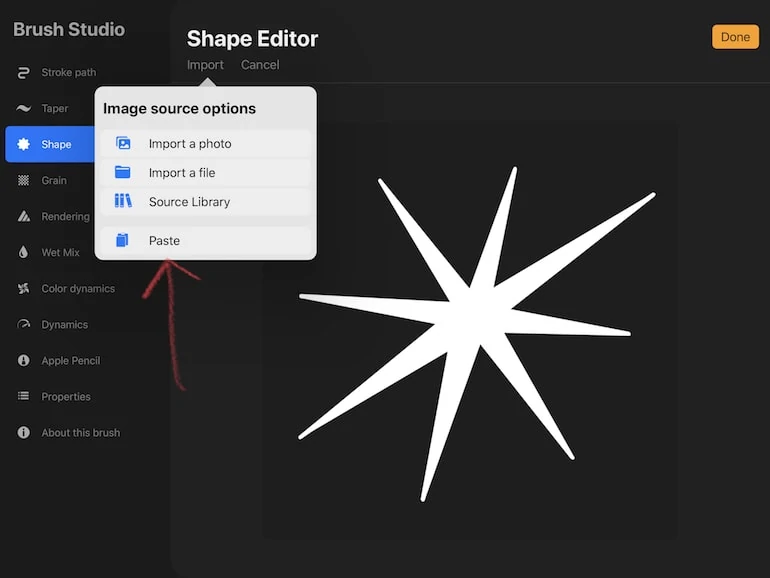
- Open the shape editor, click edit, import, and paste.
- Use a two-finger tap on the image to invert the colors.
- In the stroke path menu, change the spacing to max.
- Increase the jitter if desired. I set mine to 107%. Jitter moves the shape along the path you draw.
- In the shape menu, increase scatter. I set mine to 57%. (Leave this at 0 if you don’t want the stamp brush to be scattered randomly.)
- Increase rotation. I set mine to 30%. (Again, if you want your stamp to stay in a certain direction, leave this at 0.)
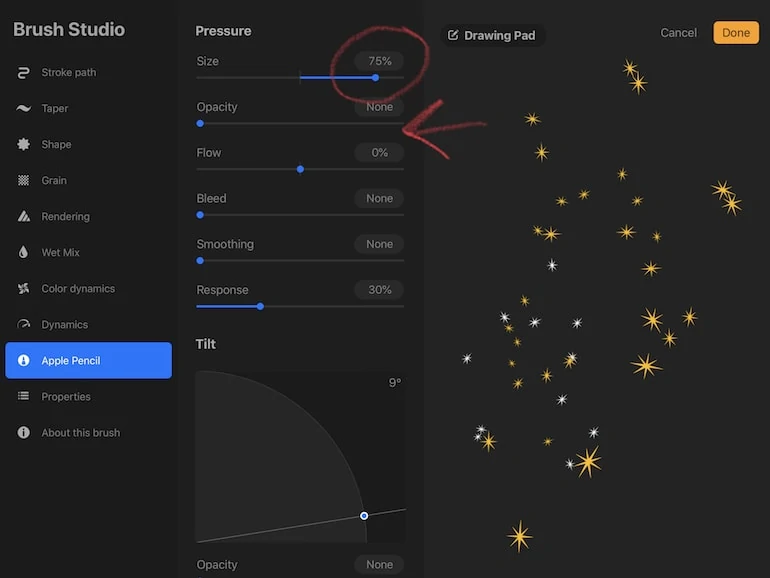
- In the Apple pencil settings, change the opacity to 0. (Keep it at max if you want transparent shapes.) You can also play with the sizes.
- In the properties menu, toggle on “Use stamp preview.”
- You can also change the minimum and maximum sizes here. I set my max to 434%. Test as you go to create the perfect size.


Troubleshooting Tips
How do I make the stamp brush easier to view in the brush menu?
In the photo above, you will see a toggle for “use stamp preview.” Turn that on. You can change the size by increasing the “preview” slider.
How do I keep my brush from rotating? I want it in an upright position every time.
In the shape menu, make sure that rotation is set to 0. In the stroke path menu, set jitter to None.
How do I place the stamp brush in a specific place?
I haven’t found an easy way to do this, so I place stamps in their own layer, then I select the shape and move it where I want. If you’re having trouble moving it, make sure that snapping isn’t turned on.
You can toggle on “Snapping” in the Selection menu. This will help align an element to another element.
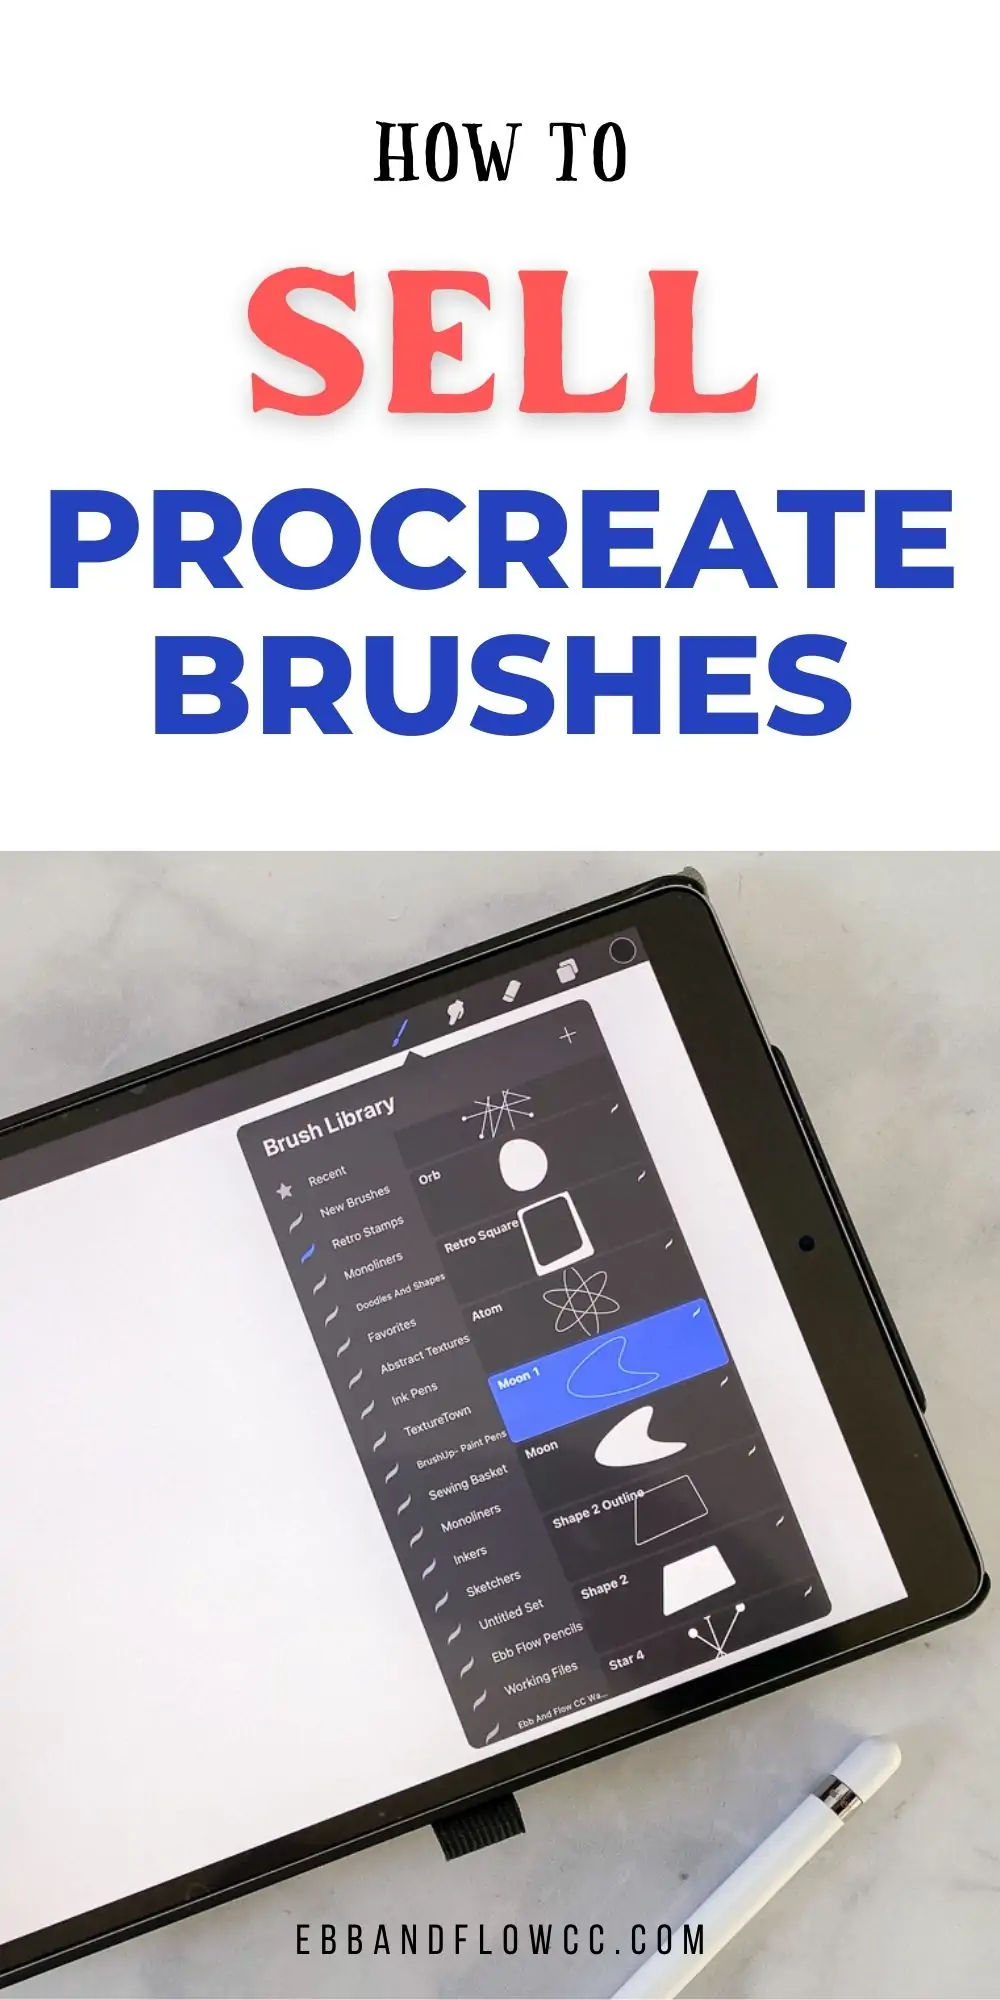
Procreate Brush Shop
I have a few fun stamp brush sets in my shop. Be sure to check them out!
Download a Star Stamp Brush for Procreate – Free!
These downloads are for personal use only. Please do not redistribute or sell.
Dear teachers and students: this download will not work if you try to access it when logged into your school email account. Try a personal email account instead.
Click to download a free star stamp brush.
Here’s how to import brushes in Procreate.
You Might Also Like:
- How to Make Brushes in Procreate
- How to Make a Calligraphy Lettering Pen Brush
- How to Make a Monoline Brush
- Make Watercolor Brushes
- How to Import Color Palettes in Procreate
- Make a Pencil Brush
- Make Inking Brushes
- Color Changing Brushes for Procreate
- How to Make Easy Pattern Brushes
Pin for Later!
Double clicking on the image does not invert the colors. I figured out a different way to do it, but it took me several tries. Am I doing something wrong? Otherwise, the tutorial is great. Thank you!
No, I just typed it wrong. Sometimes something makes sense in my head but isn’t accurate. It’s a 2 finger tap. I’ve updated the post to fix the wording. Thanks for pointing it out!
My brush stamps at a random place, not where I tap. Do you have any idea how to fix that? Thnx, also loved your post! Very clear!
I haven’t figured it out either. Typically, I use a new layer for the stamp and move it wherever I need it to be. I really wish Procreate would add align features for placing things better. There is a new snapping feature though.