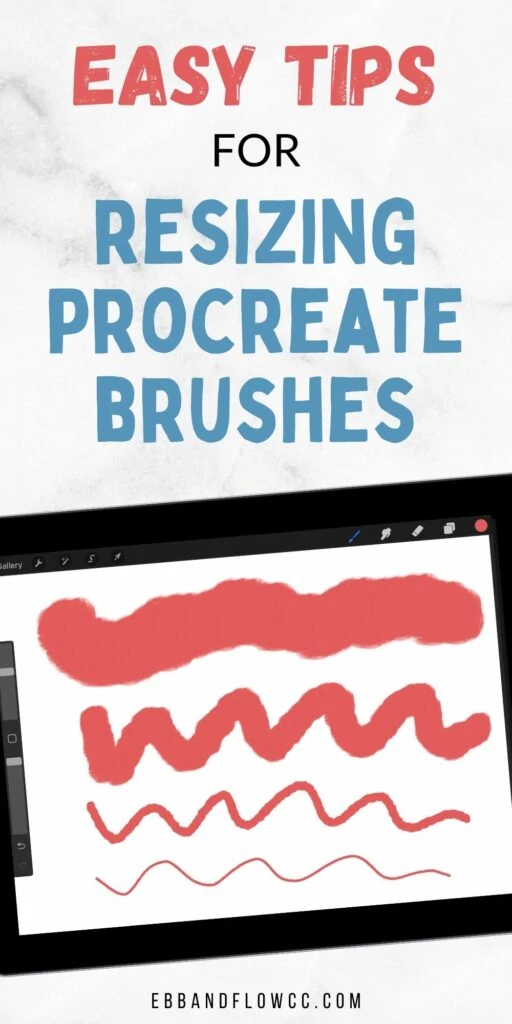
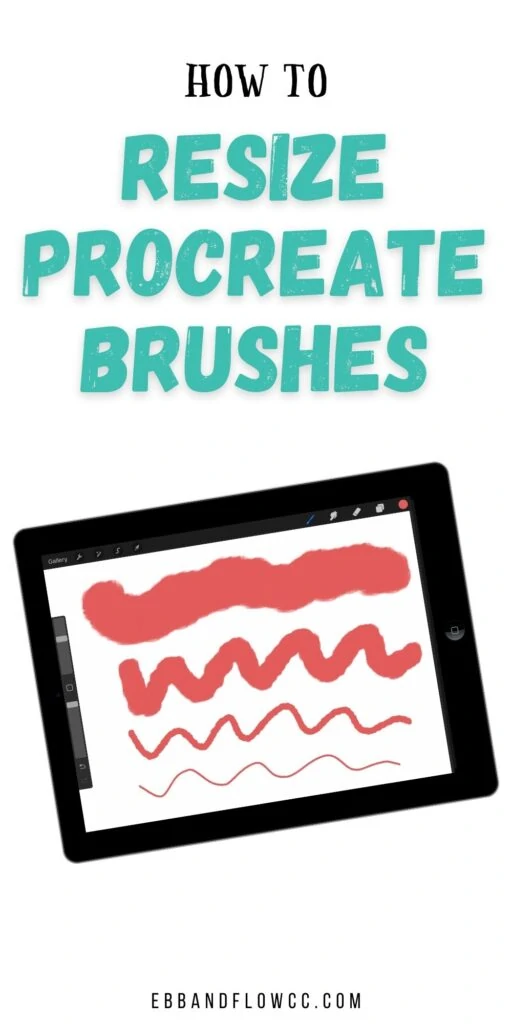
How to Resize Procreate Brushes

I’m a self-taught artist who loves sharing tips and tutorials for painting with watercolor and gouache, and using the Procreate app on the iPad.
Learn how to resize Procreate brushes to make them smaller or larger. This easy tutorial allows you to adjust brush sizing in no time!
Get more Procreate brush tutorials here. There are so many fun ways to alter brushes!
This post contains affiliate links. By purchasing an item through an affiliate link, I earn a small commission at no extra cost to you. As an Amazon Associate I earn from qualifying purchases.
Procreate is my favorite drawing app on the iPad. It’s so versatile and fun to use.
When drawing in Procreate, you often need to change brush sizes. Large brushes are great for filling big spaces and small brushes are great for adding details.
Changing the sizes is pretty easy, but some brushes have built-in size limitations.
This tutorial will teach you the basic way to change brush sizes and the more advanced method to get around those pesky size limitations.
How to Resize Procreate Brushes
You probably already know the easy way to adjust Procreate brush sizes, but I’m adding it anyway in case you’re new to Procreate.
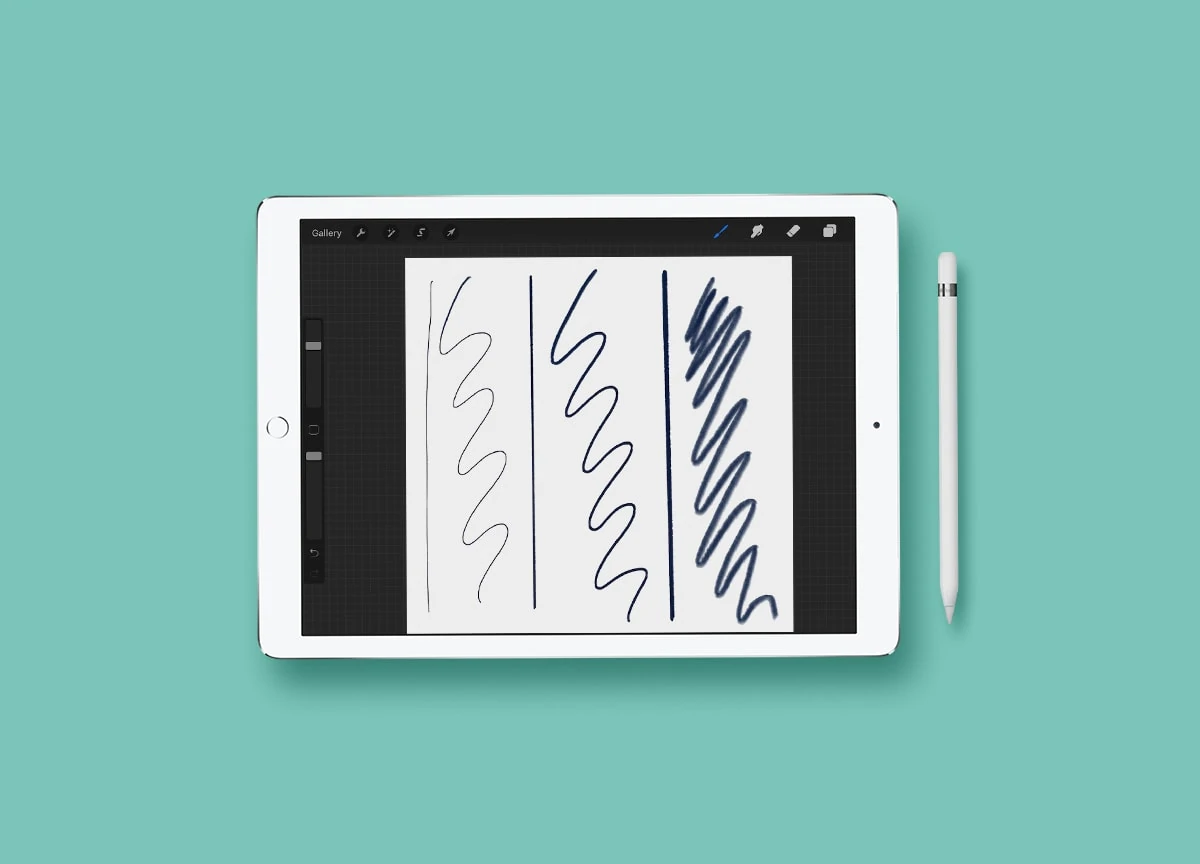
There are 2 sets of sliders on the side of the screen. (Mine are on the left side of the screen, but yours might be on the right side depending on how you have it set up.)
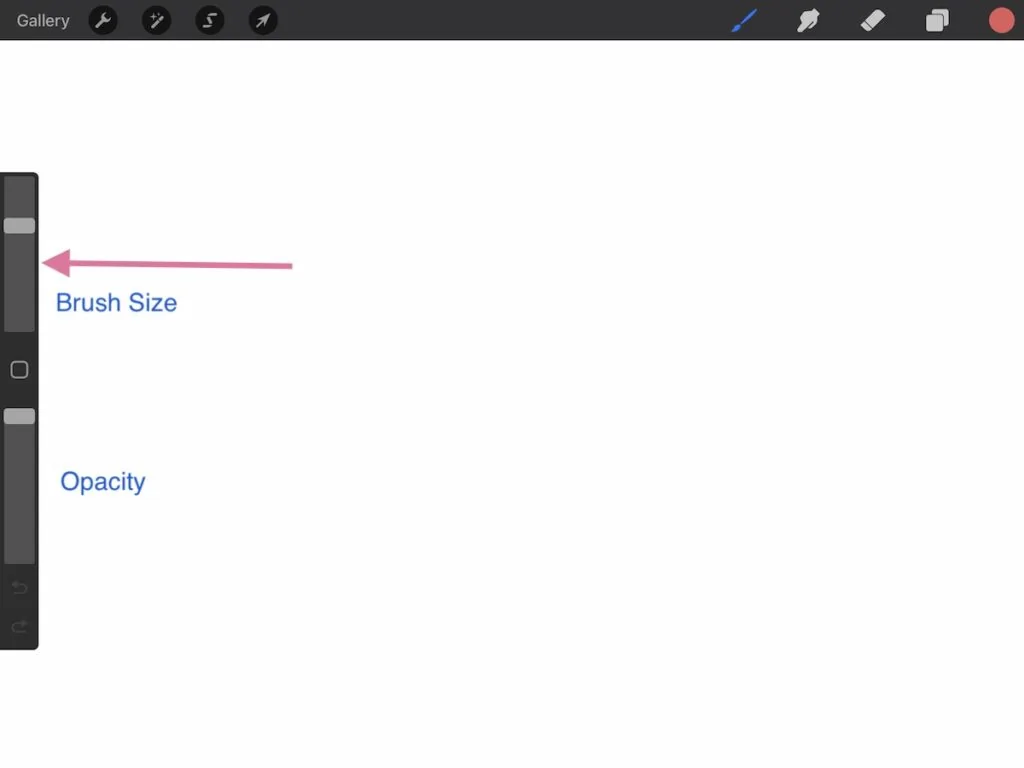
The top slider changes the brush size. Slide up to make the brush larger and down to make the brush smaller.
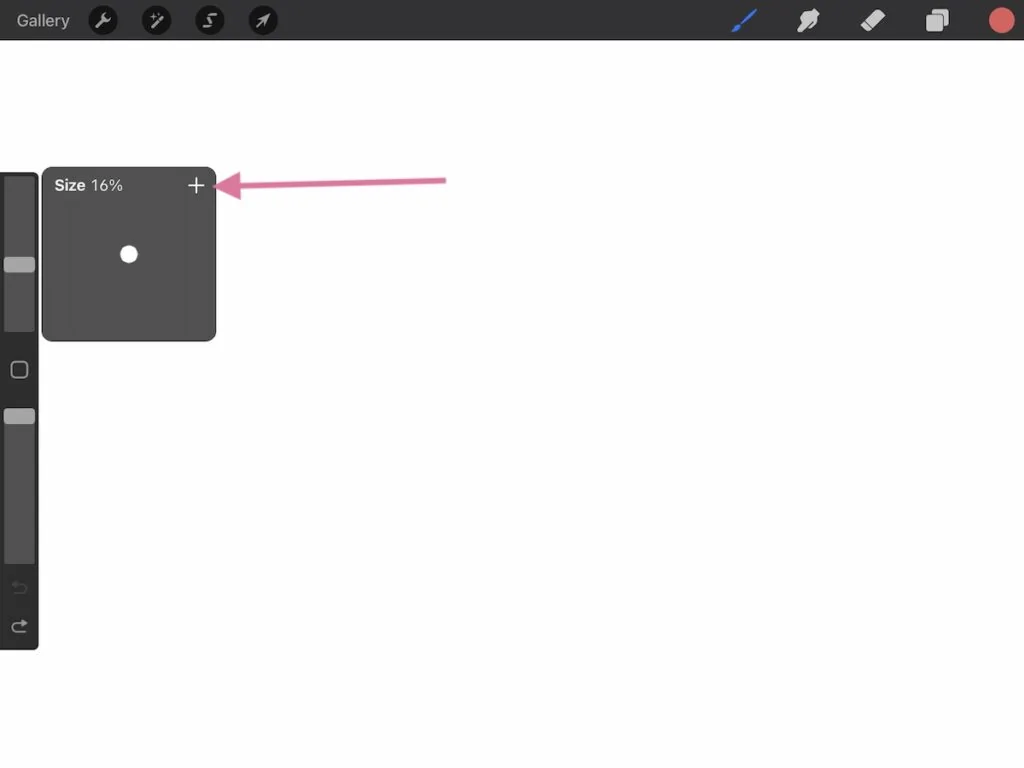
The latest Procreate update shows the brush size percentage and allows you to bookmark your favorite size. Just click the + button to bookmark the brush size. To remove it, click the – button.
The bottom slider changed the brush opacity. It also has the ability to bookmark the percentage by clicking the + button.
The minimum and maximum sizes are specific to each brush, so some brushes can be changed more than others.
Luckily, this is also super easy to change.
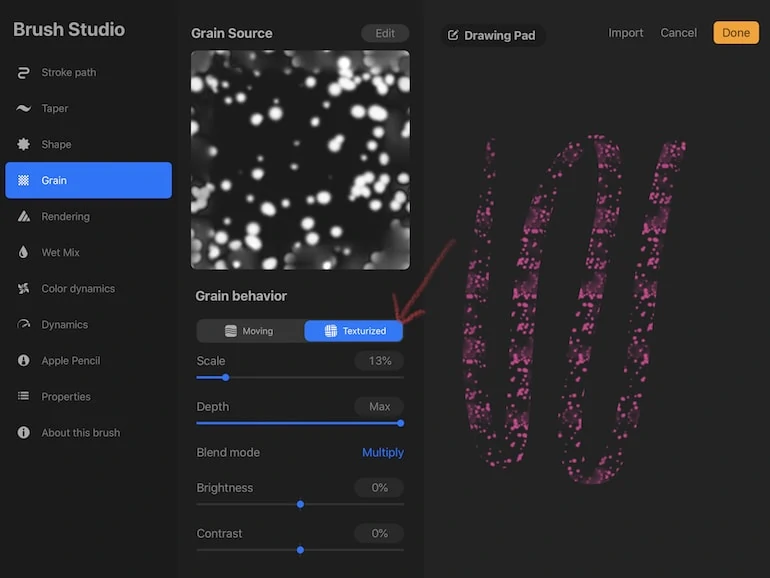
How to Alter Brushes Minimum and Maximum Sizes
Changing the minimum and maximum brush sizes in Procreate is easy, but you will have to play around in the Brush Studio.
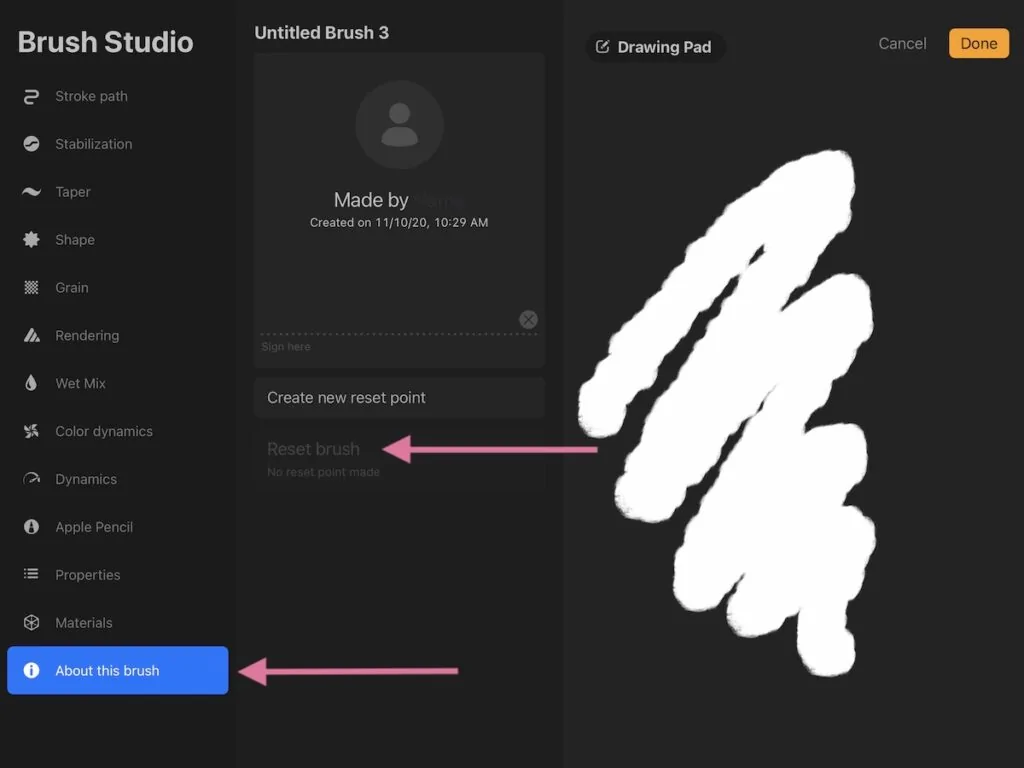
If you’re worried about messing something up, there are reset buttons on most brushes.
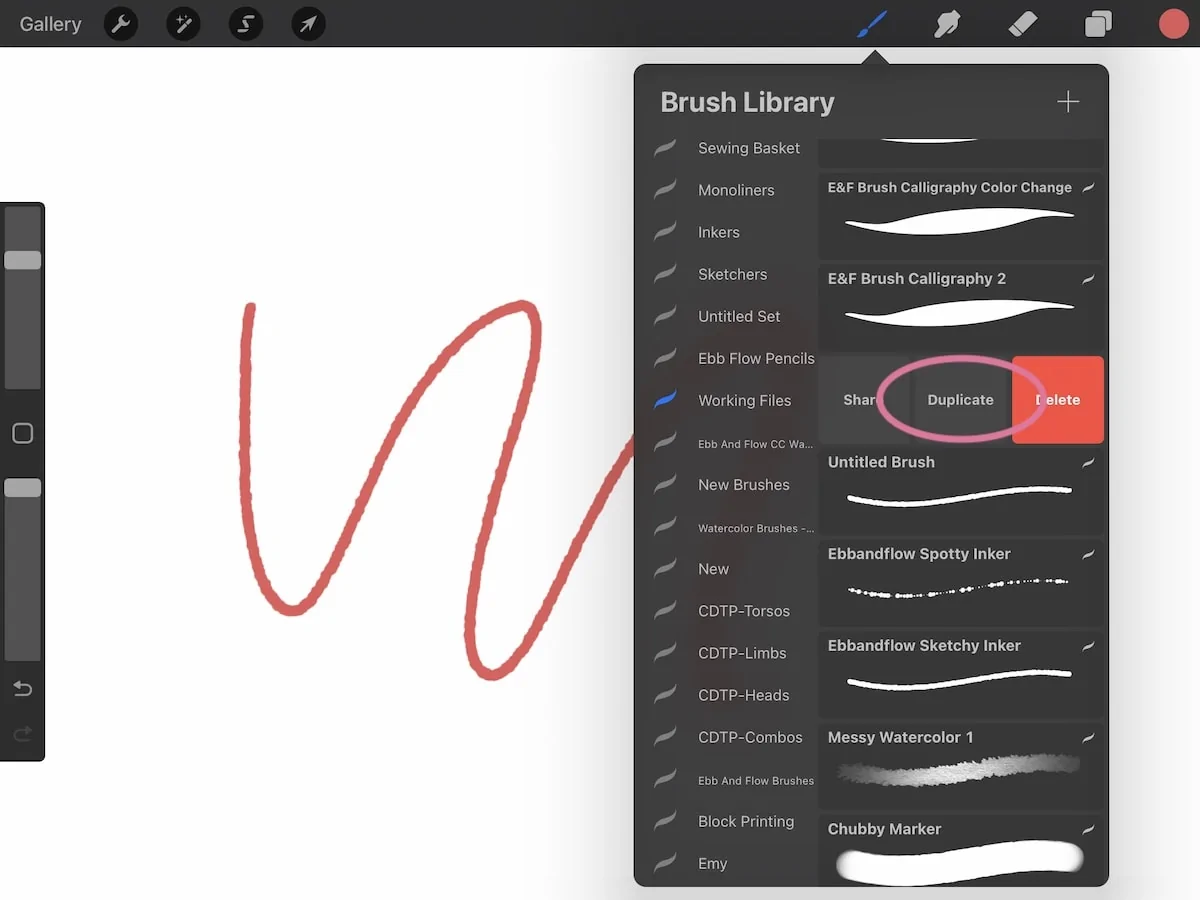
You can also duplicate the brush before changing the setting, which is what I recommend doing.
By the way, this works on default brushes, as well as brushes that you make from scratch. Default brushes are brushes that do NOT have the little Procreate symbol (~) next to them.
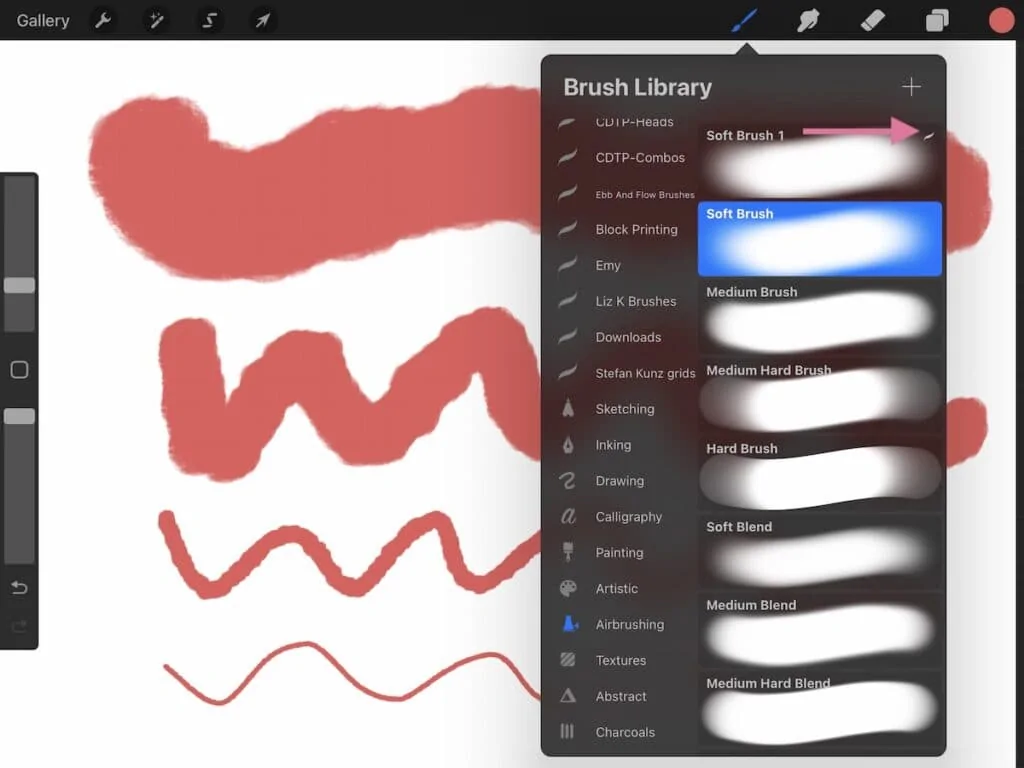
- Select the brush and slide left to duplicate the brush.

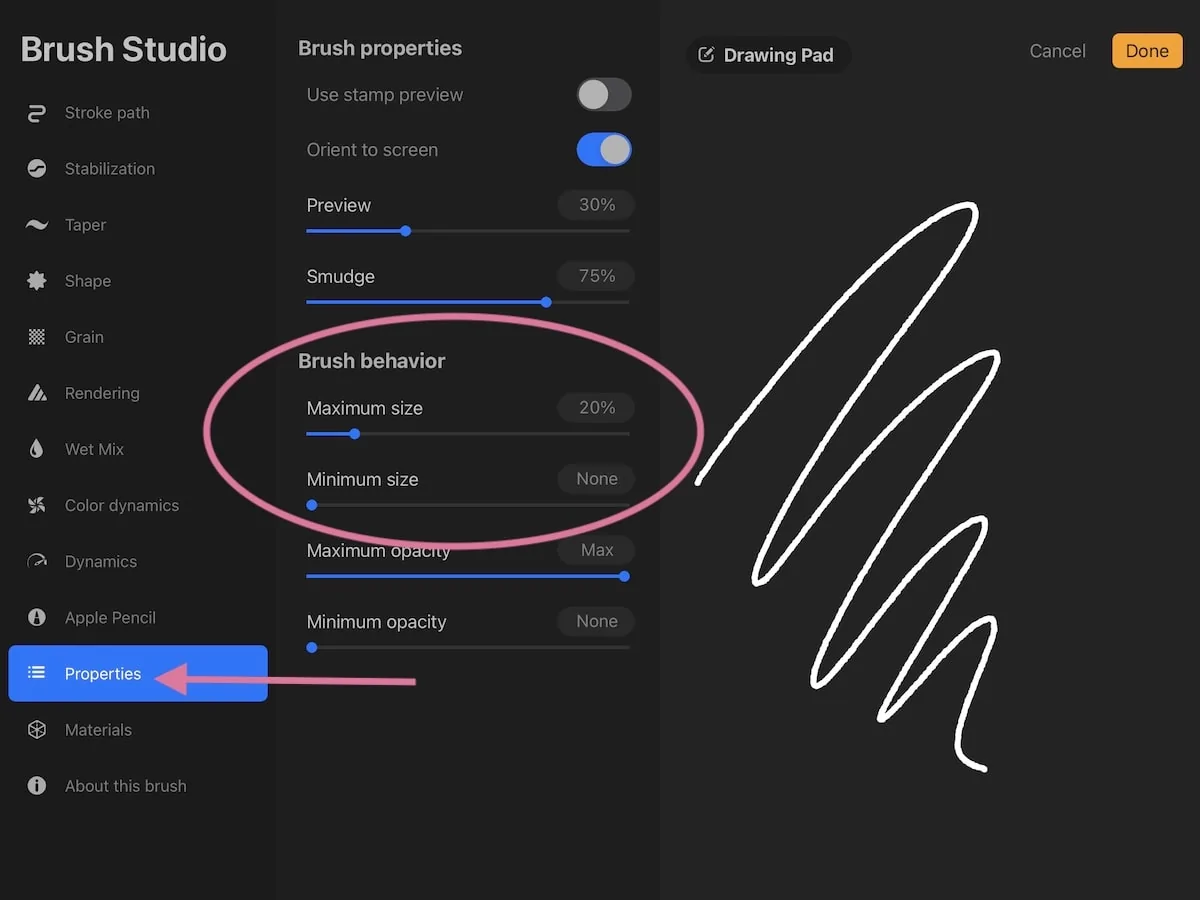
- Click on the chosen brush to open the Brush Studio. There are a ton of ways to change brushes, but we’re just talking about resizing brushes in this tutorial.
- In the Properties menu, under brush behavior, you can change the maximum and minimum brush sizes. (You can also change the opacity here if you want.)
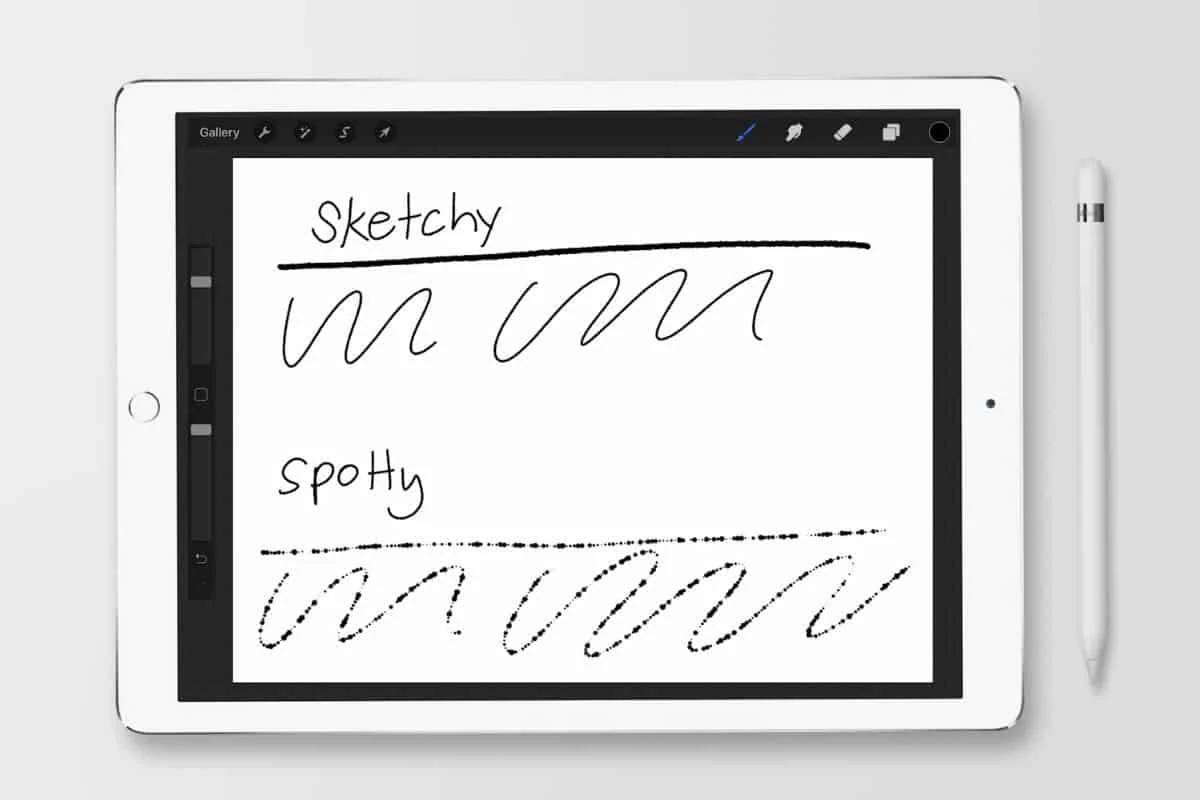
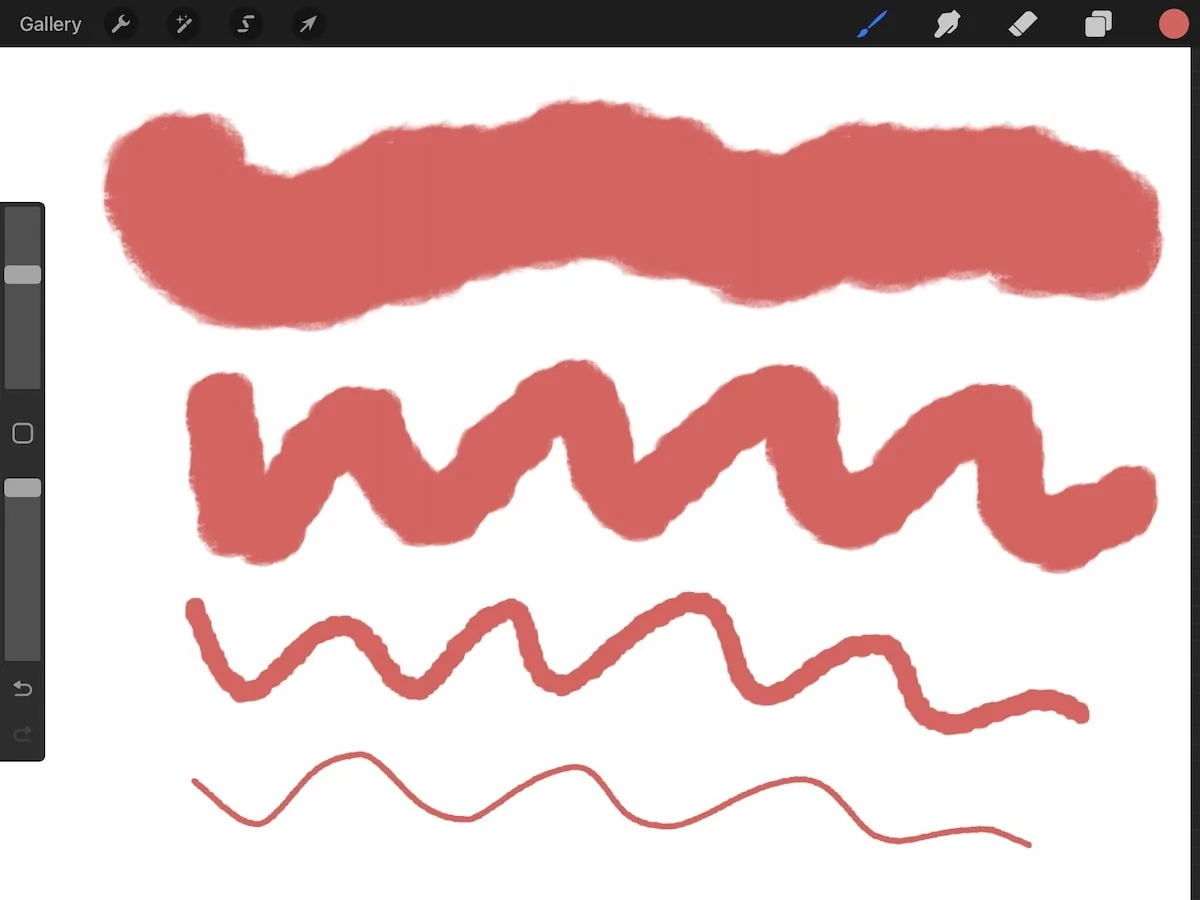
- Leaving the minimum and maximum closer together and in a smaller size creates a thinner brush, like a pencil.
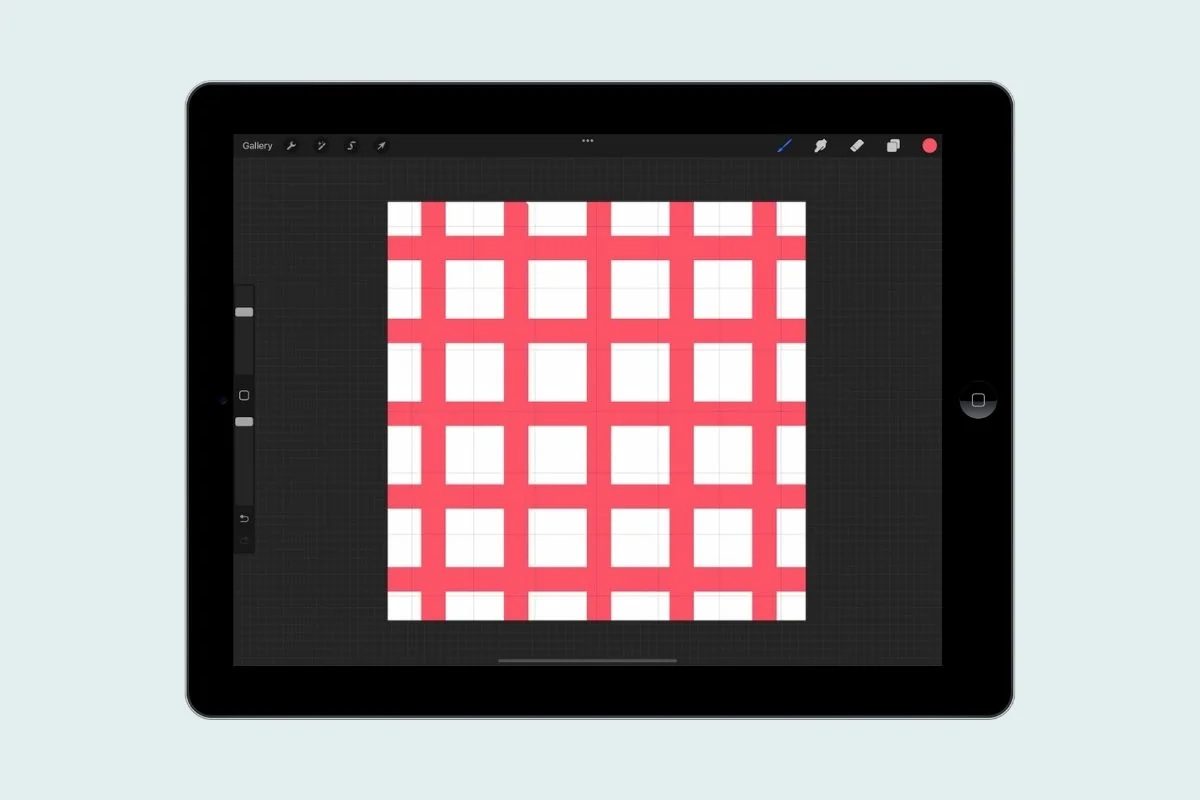
- If you increase the differnce between sizes, you end up with a larger variety of sizes. This is best for stamp brushes.
- You can also also increase the size of a thin brush to make it thicker. This can make a pencil brush look more like other art mediums like chalk or pastels (depending on the texture.)
- Play around with the sizes until you’re happy with it.
- Just changing the size range can make one brush into many brushes. Just make sure that you duplicate each brush before you make changes.
- When you’re finished, you can rename the brush and set the reset point (in the “About this brush” menu).
- I also like to move my finished brushes to their own folder.

You Might Also Like:
- Where to Get Procreate Brushes
- How to Install Procreate Brushes
- How to Transfer Procreate Brushes to a New iPad
Pin for Later!