Making a Procreate Brush from an Image

I’m a self-taught artist who loves sharing tips and tutorials for painting with watercolor and gouache, and using the Procreate app on the iPad.
Learn how to make a procreate brush from an image to make watermarks and graphic elements for your art.
This is an addendum to my post on making a stamp brush.
Get more Procreate brush-making tutorials!

This post contains affiliate links. By purchasing an item through an affiliate link, I earn a small commission at no extra cost to you. As an Amazon Associate I earn from qualifying purchases.
There are several reasons to use an image to make a procreate brush.
- Watermarks. Save time by adding a watermark to your artwork in Procreate. This tutorial has been moved to it’s own page.
- Add your signature. Like watermarks, a signature brush will save time and be uniform across your art.
- To use art created somewhere else. It’s possible to create art in a program like Adobe Illustrator and make brushes using those images. This also allows you to use bought elements like graphics from Creative Market.
- Creating textures. You can use images to create texture brushes.
- Create elements to use in art. It’s also possible to create brushes from photographs to use as elements in art. Foliage brushes are a great example of this.
How to Make a Procreate Brush from an Image
Here are a few tips for making a stamp brush.
- Start with a large image. If you’re making the image in another program, it needs to be at least 3000 pixels wide. Same with when you start a new canvas to create the brush.
- Brushes can only be made from black and white images. Procreate will automatically change the image to black and white, but if your image has lighter colors, you might want to manipulate the images beforehand.
- When using photos, shadows will show up so make sure that you photograph the item in bright light (or edit the photo first.) You can also erase the shadows, but this takes a while. (See tutorial below.)
Changing the Opacity
It’s possible to change the opacity of the brush if desired. For instance, you might want your watermark brush to be subtle, and lowering the opacity can achieve that.
There are 3 ways to change the opacity.
The opacity slider. This is the easiest way to change it. It’s located on the left side of the screen. This option must be changed before using the brush.

Change the opacity in the layer. For this option, the brush will need to be used on its own layer, which I recommend anyway. It’s easier to move the watermark logo if you want. Plus you can toggle it on or off.

This method allows you to change the opacity after using the brush. It’s also easier to fine-tune the opacity.
To use this option, click on the layers panel. Click on the N and slide the opacity down. There are also options for blend modes here, but changing the opacity should be enough for this technique.
Change the opacity in the brush settings. This option will affect the brush every time you use it, so this might be the option you want.

This option is located in the properties setting in the brush studio, there’s an option to change the minimum and maximum opacity levels.
Using Photos to Make a Brush
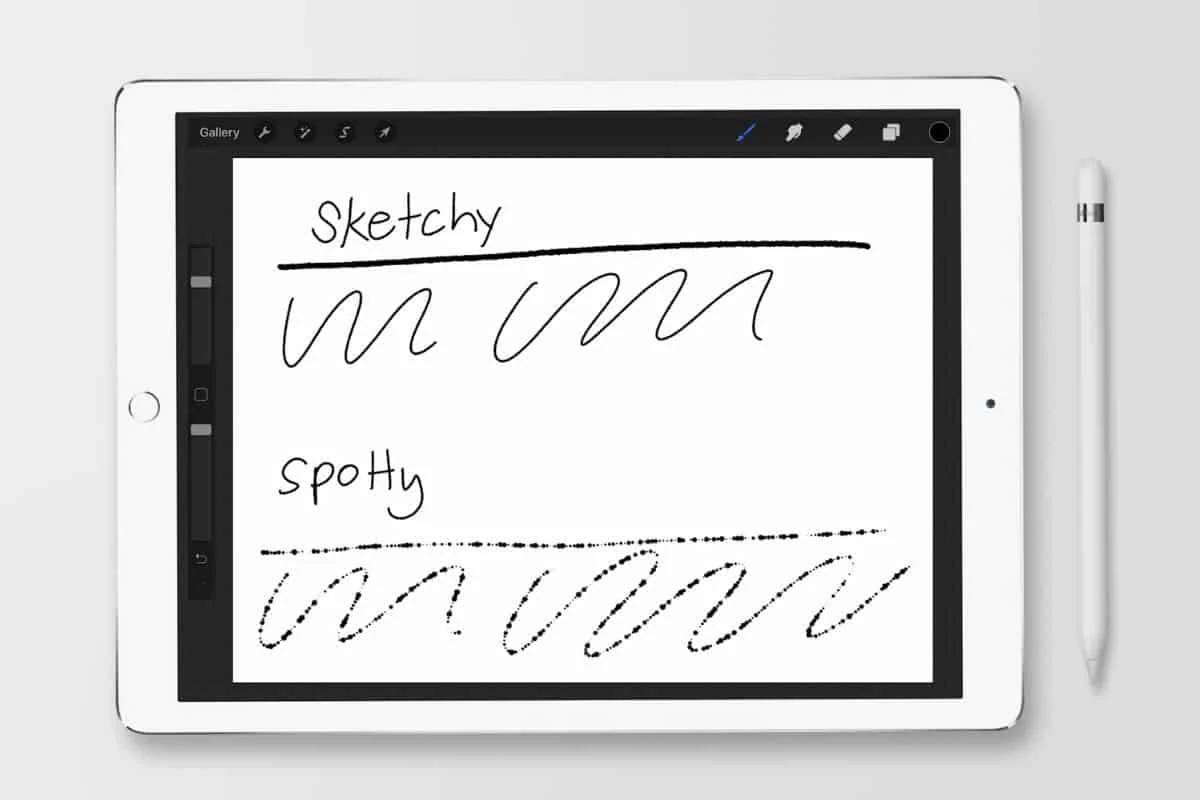
To make a brush from a photo, you will need to alter your photo a bit first. Here are some tips to make the best stamps from images.
Make sure that your photograph has a contrasting background. A dark object looks best on a white background.
If your image has shadows, your stamp will be shaped like a square instead of the shape of the image.

Simple Photo Editing
To fix this, you will need to edit your photo. You can just use the photo editor on the iPad. Change it to monochrome to make the image black and white.

You can also bump up the contrast.

Erasing the Background
There are probably many methods to do this, but I’m sharing the easy way.
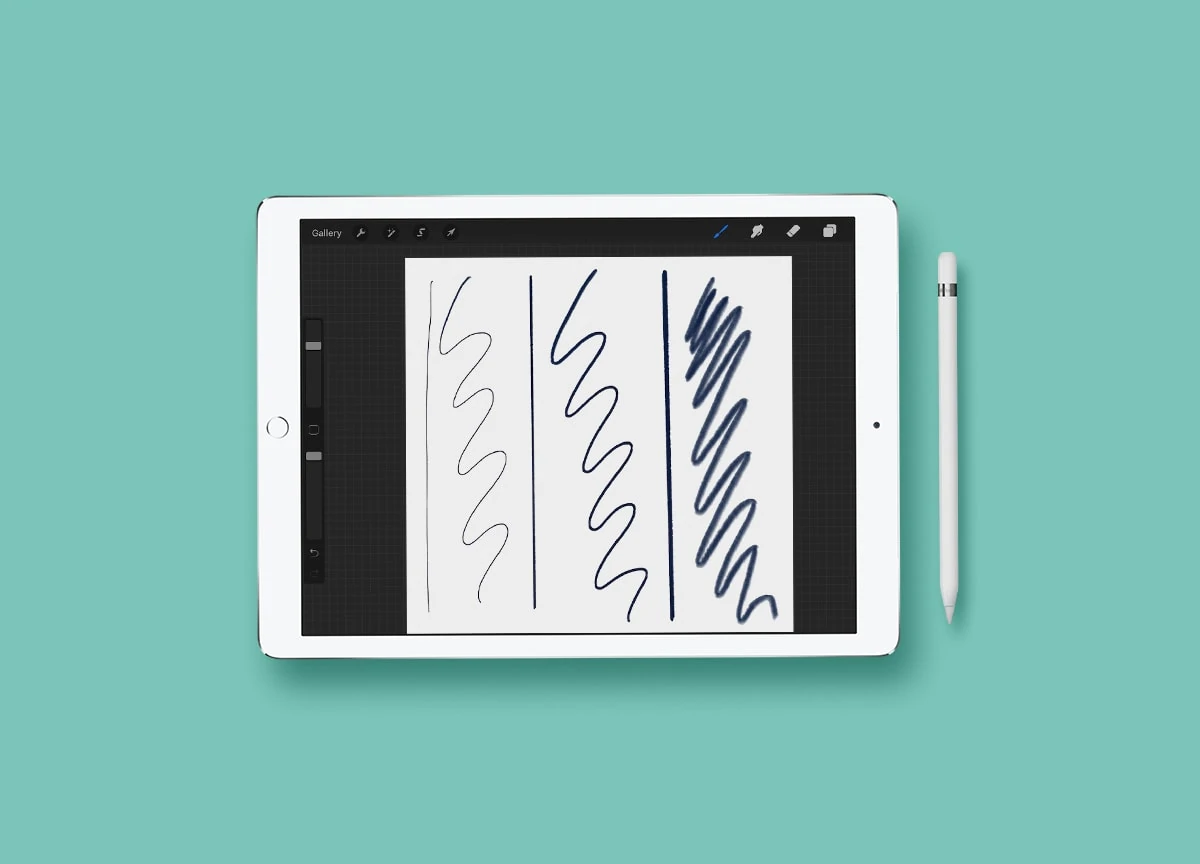
If the shadows still show up, you can erase them. This is easier if you add a colored layer below the image. I like using a monoline brush for this process.

Adding a colored background makes it easier to see where you have erased. Make sure that you’re erasing and not filling spaces with that color.

(You can also remove the background in canva. I’m not sure if the option is available on the iPad option, but it’s an option on the desktop version. It’s located in the Effects panel.)

A clean background gives you perfect stamp shapes. Obviously, simple shapes are easier to make than complicated shapes.
Rotating Brushes
If desired, you can make your brushes rotate each time you use the brush for a random effect. To do this, increase the jitter settings in the stroke menu.
How to Make a Brush from an Image
- Edit your image as needed.
- Make a new square canvas.
- Create a large canvas for the best results. I suggest at least 3000px by 3000px.
- Open the image in Procreate.
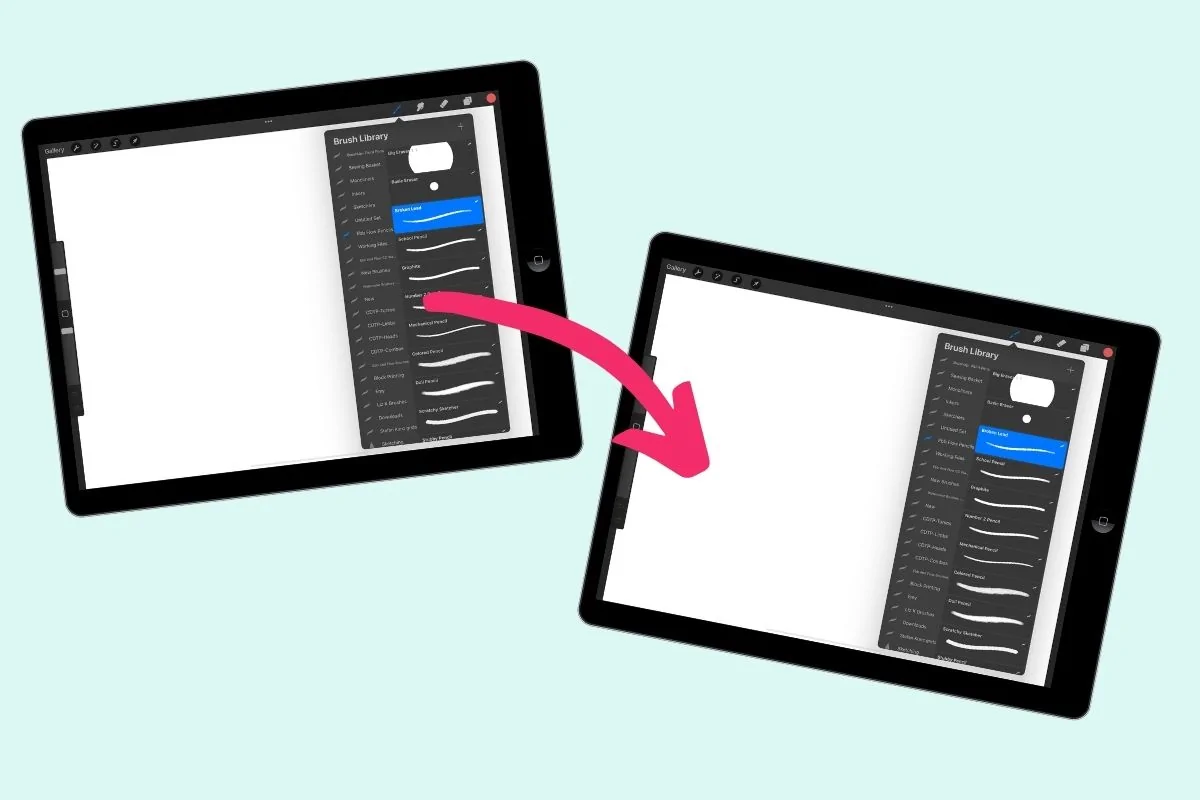
- Copy the canvas. (This option is in the Actions panel under Add. )
- Create a new brush in the brush studio.
- Select the shape tab.
- Click edit.
- Paste the copied canvas.
- Invert the image by using 2 fingers to tap it.
- Click done to make the changes stay.
- In the stroke menu, change the stroke to 100. This spreads out the shape and makes it into a stamp.
- In the Apple pencil settings, change the opacity to 0. This keeps the brush opaque and not transparent.
- If desired, you can change the brush sizes in the properties settings.
- Toggle on “Use stamp preview” to make the stamp visible as a stamp in the brush menu. The “preview” slider allows you to change the size of the stamp in the brush menu.
What kind of stamp brushes do you plan on making?
You Might Also Like:
- Tips for Using the Color Picker
- How to Make Watercolor Brushes for Procreate
- How to Make Color Changing Brushes
- Make Procreate Palettes from Images
Pin for Later!