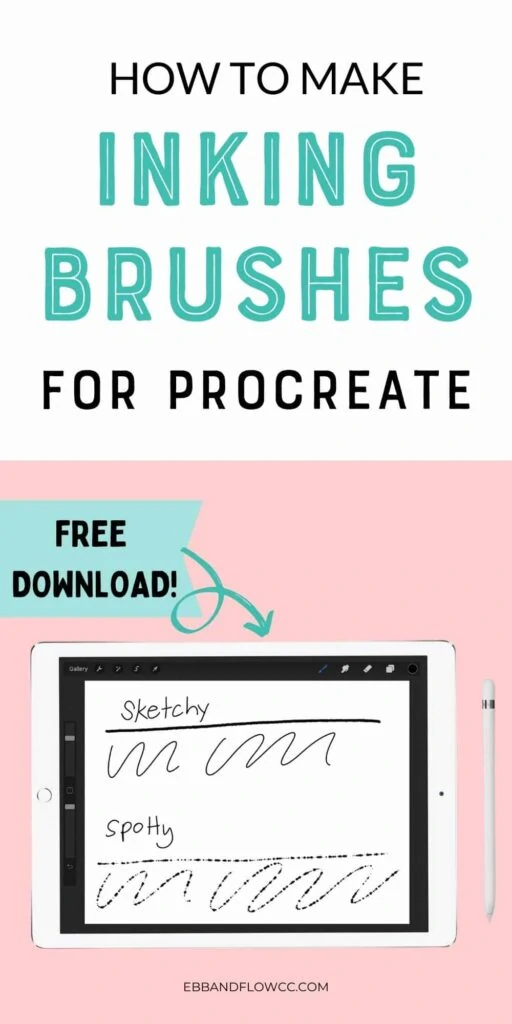
How to Make Procreate Inking Brushes (w/ Free Brush Download!)

I’m a self-taught artist who loves sharing tips and tutorials for painting with watercolor and gouache, and using the Procreate app on the iPad.
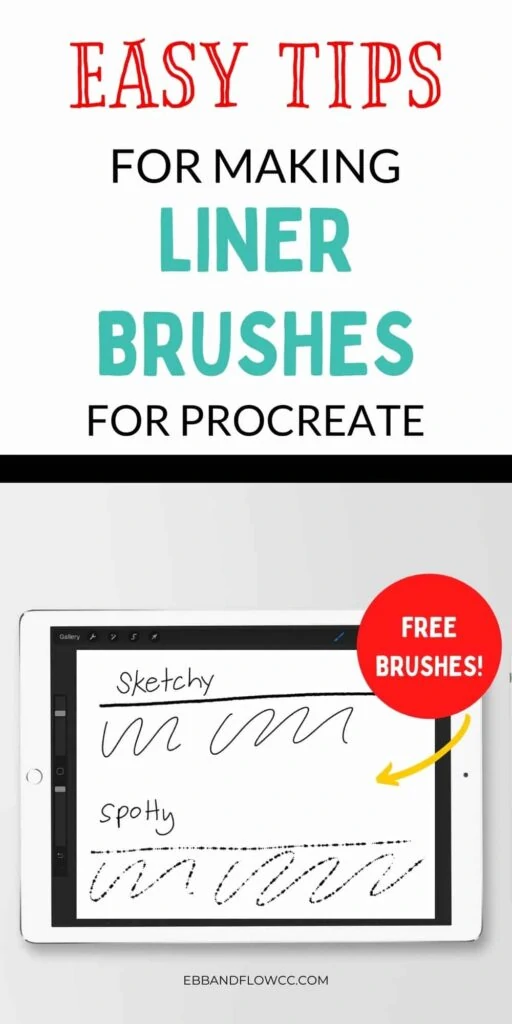
Learn how to make a Procreate inking brush. These brushes are great for lineart or even sketching! Plus get 2 free inking brushes for Procreate to download.
If you like making brushes, be sure to check out my other brush making tutorials for Procreate.
You might also like this overview of making brushes for Procreate.
This post contains affiliate links. By purchasing an item through an affiliate link, I earn a small commission at no extra cost to you. As an Amazon Associate I earn from qualifying purchases.
Procreate Inking Brushes
I wrote these tutorials for making Procreate brushes because I couldn’t find the information anywhere. Making brushes for Procreate is so much fun to me.
However, you might not be interested in making your brushes. Scroll down to get a free inking brush, or check out my premium inking brush set in my shop.
I created these inking brushes to behave like real ink pens for outlining or sketching illustrations.
When I draw digitally, I sketch using a pencil brush and then create a new layer using a liner brush to perfect the final outline.
The best part about creating your own inking brushes is that you can make them behave exactly how you want them to.
Directions
- Create a new canvas. I prefer to make mine 3000 x 3000 px, 300 DPI. This ensures that the quality of the brushes is nice, no matter how large the canvas is.
- Create a black circle shape in the middle. I like to create an imperfect shape for more interest. I used the default concrete block brush in the Industrial folder in this example. A soft airbrush creates a smoother liner brush.

- Center the circle in the middle of the canvas. The new snapping option in Procreate 5X makes this super easy now!
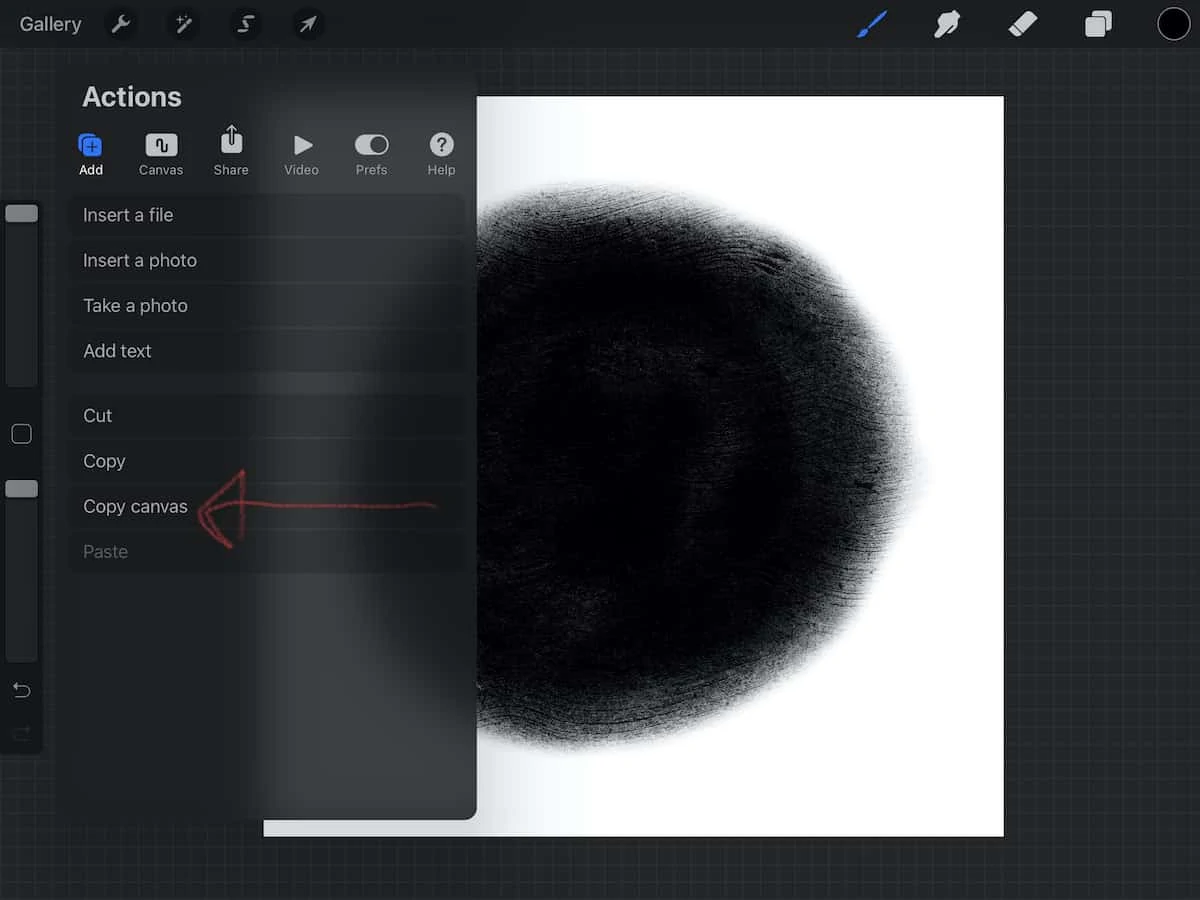
- Open the Actions menu and select Copy Canvas.
- Create a new brush in the brush menu.
- Open the shape folder and click edit.
- In the import menu, select “Paste.”
- Use 2 fingers to tap the canvas to invert the image.
- Click Done to keep the changes.
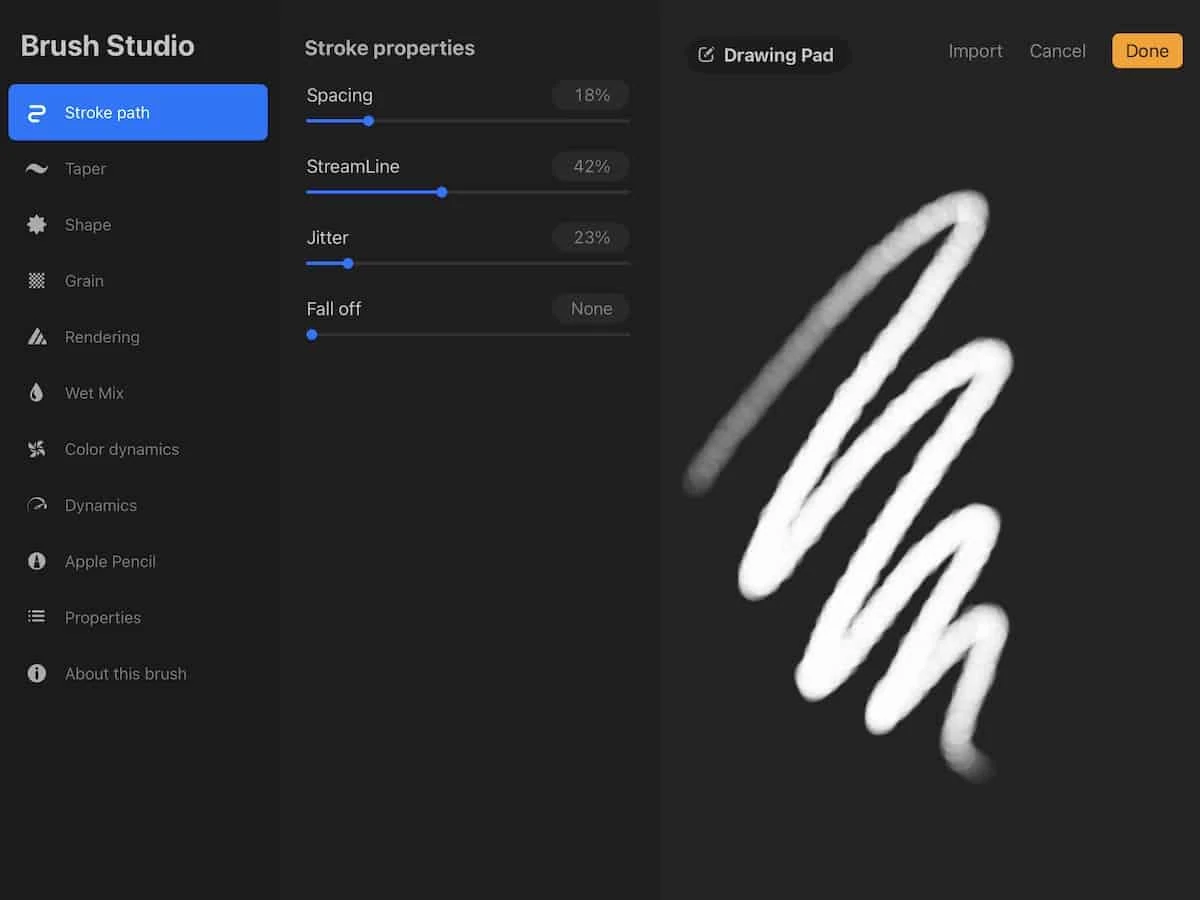
- In the Stroke path, play with the spacing, streamline, and jitter settings. Increasing the spacing adds more space between each circle (which creates texture in a pen.) Increasing the streamline makes the mark smoother as you write. Increasing the jitter also creates more texture.
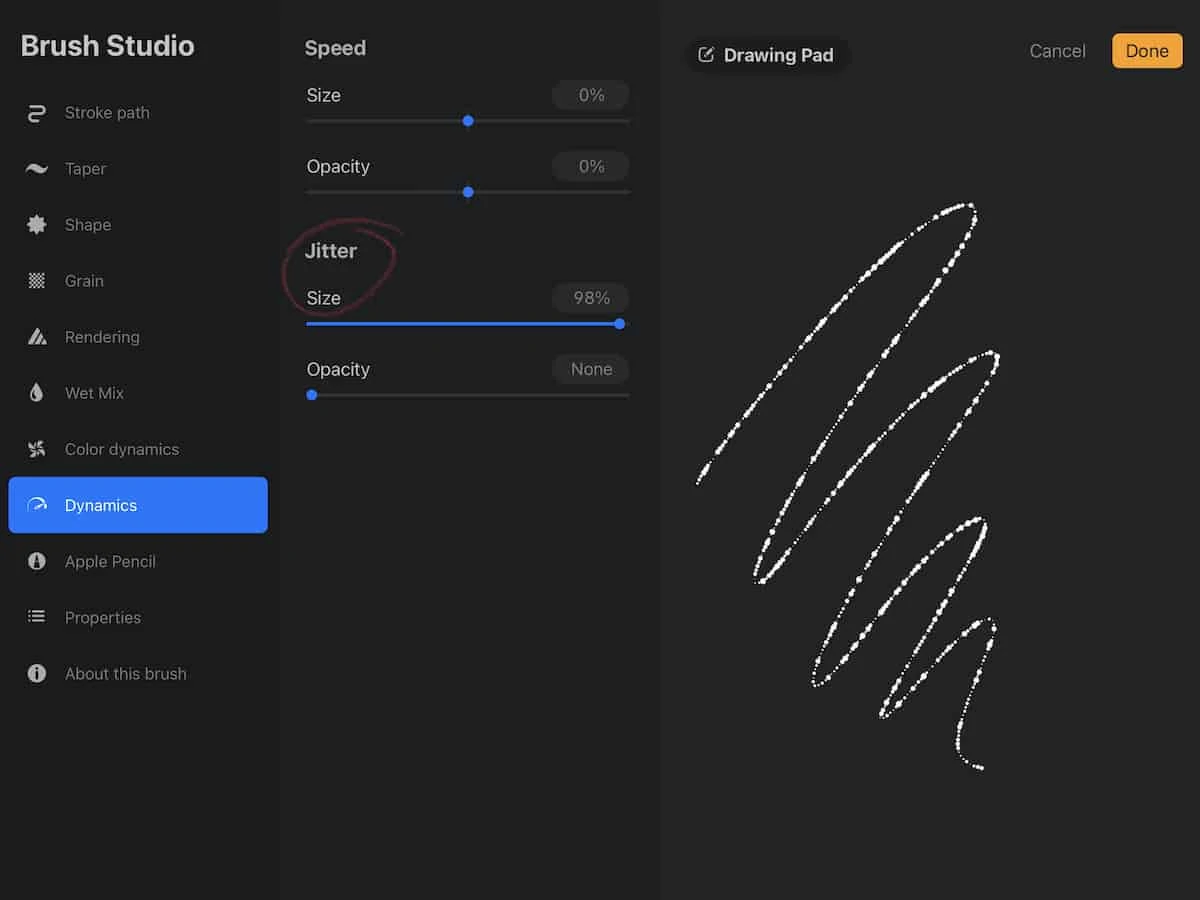
- In the dynamics window, increase the jitter setting to create even more texture.
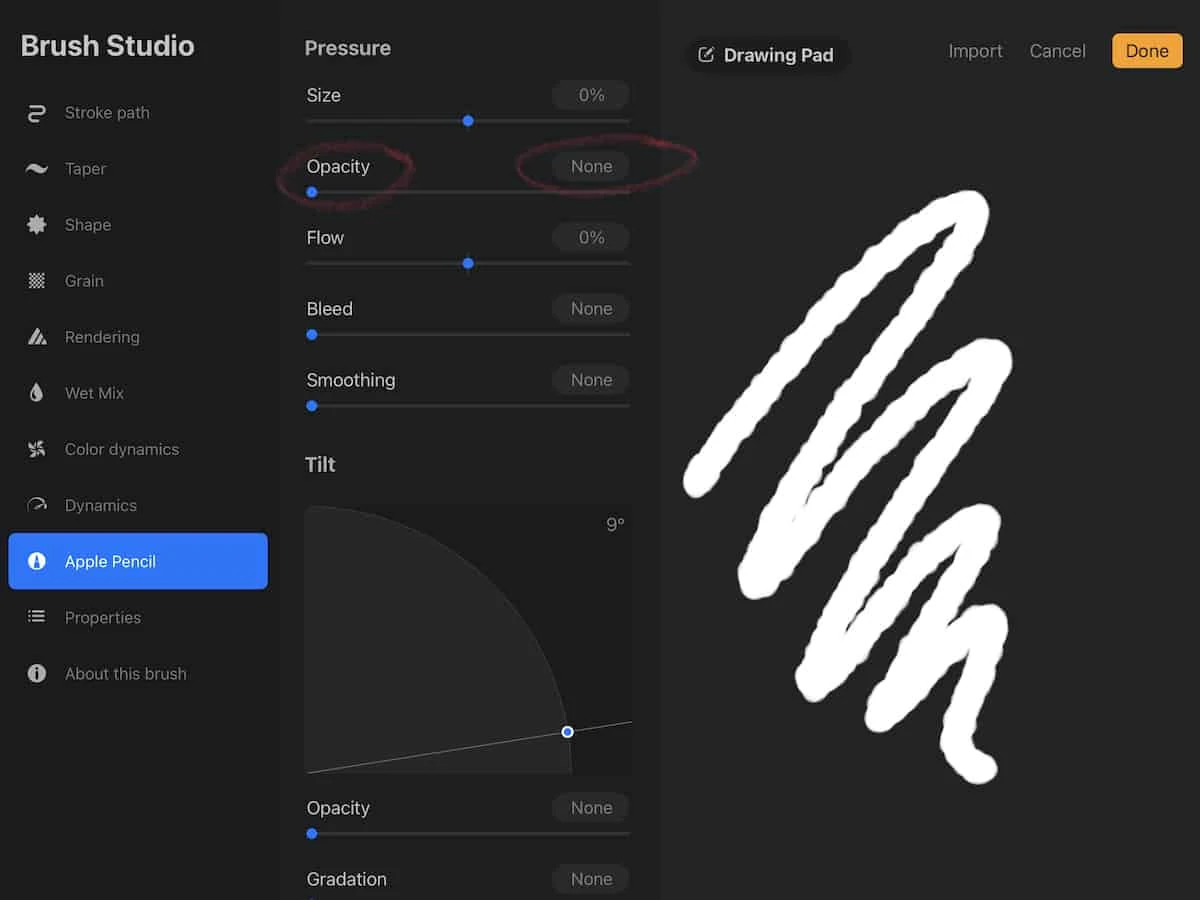
- In the Apple Pencil window, set the opacity to none. This creates a more opaque pen because the default is set to change opacity when using the Apple pencil.
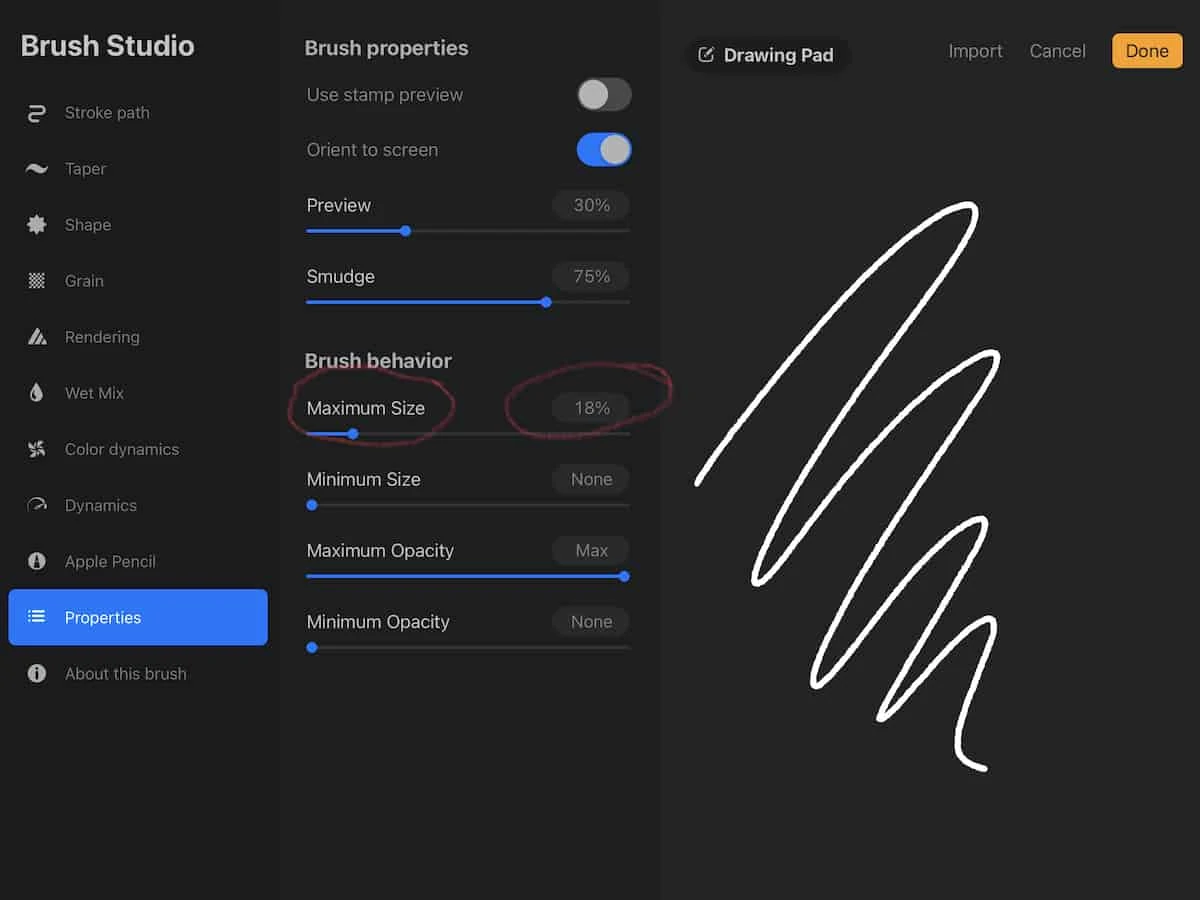
- Change the maximum size in the properties menu to make a pen-like size for your brush.


Variations
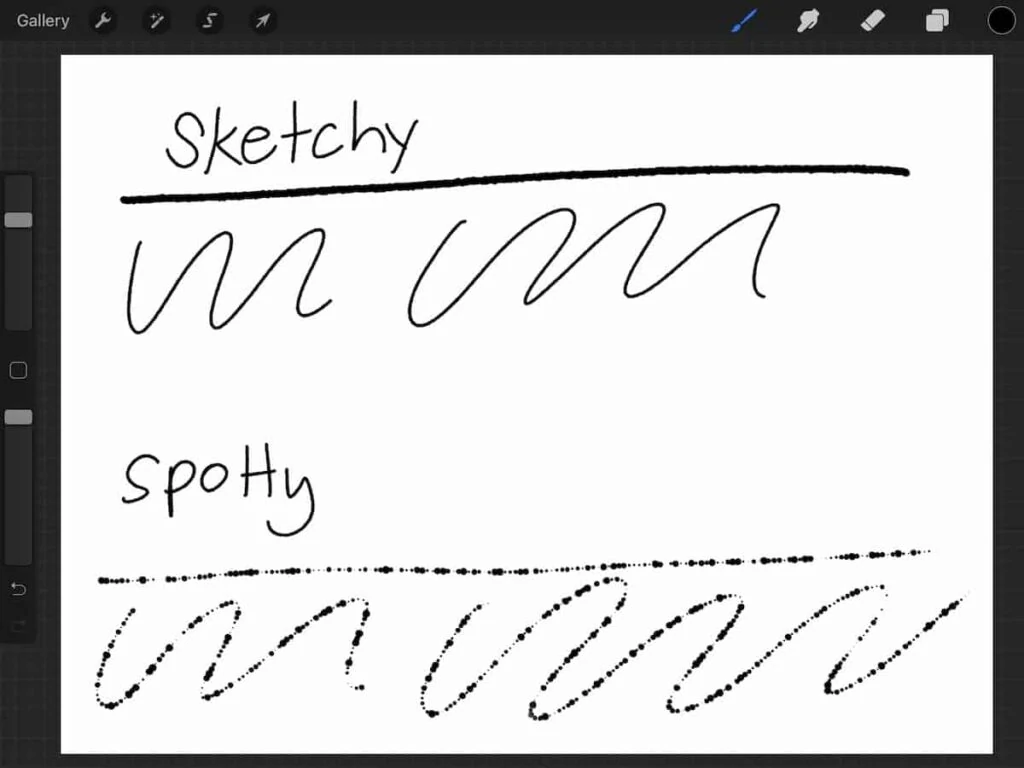
- For a sketchy pen, increase the spacing in the stroke path menu.
- For a spotty pen, increase the jitter in the dynamics menu.
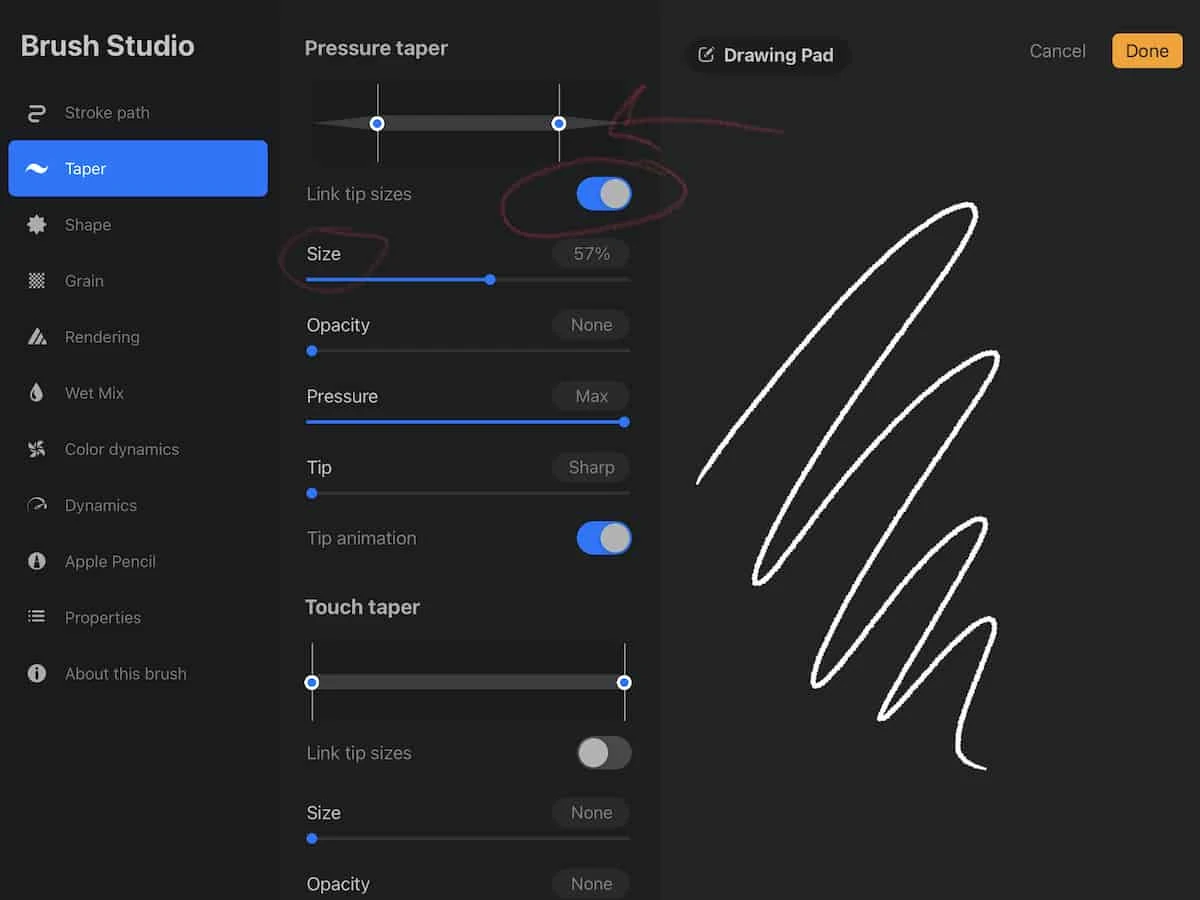
- In the taper menu, you can also add tapers to the ends of the brush. Change the size to see the changes.

Learn more about the Procreate Brush Studio here.
Procreate Brushes for Sale
Be sure to check out the brushes in my premium inking brush set.
This set does not include the free brushes in this post, so there is no overlap. It includes smooth, sketchy, rough, and spotty brushes.
These brushes are so fun for inking illustrations in Procreate.
Download Free Inking Brushes for Procreate
These downloads are for personal use only. Please do not redistribute or sell.
Dear teachers and students: this download will not work if you try to access it when logged into your school email account. Try a personal email account instead.
You will receive a sketchy inking brush and a spotty inking brush in a zip file.
Here’s how to install brushes in Procreate.
Other Procreate Brush Tutorials
Pin for Later!