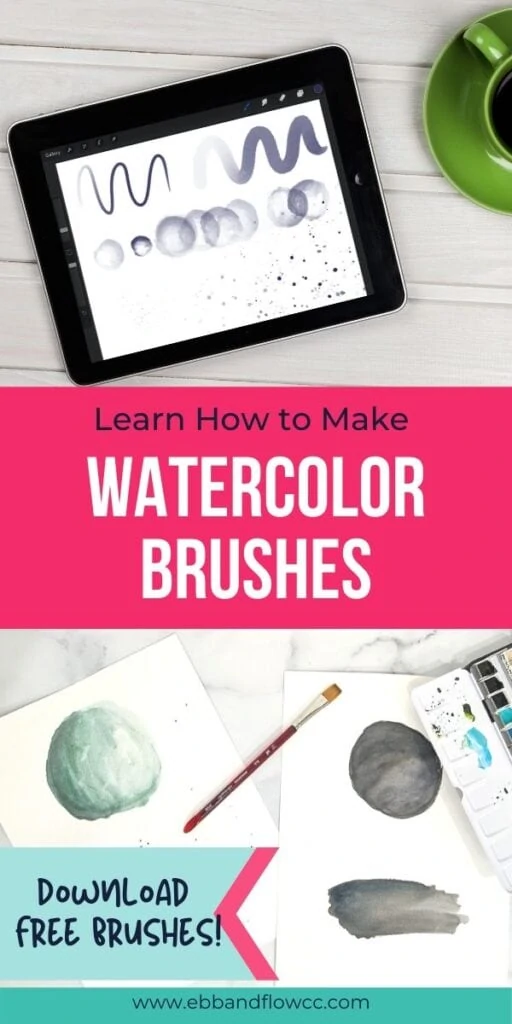
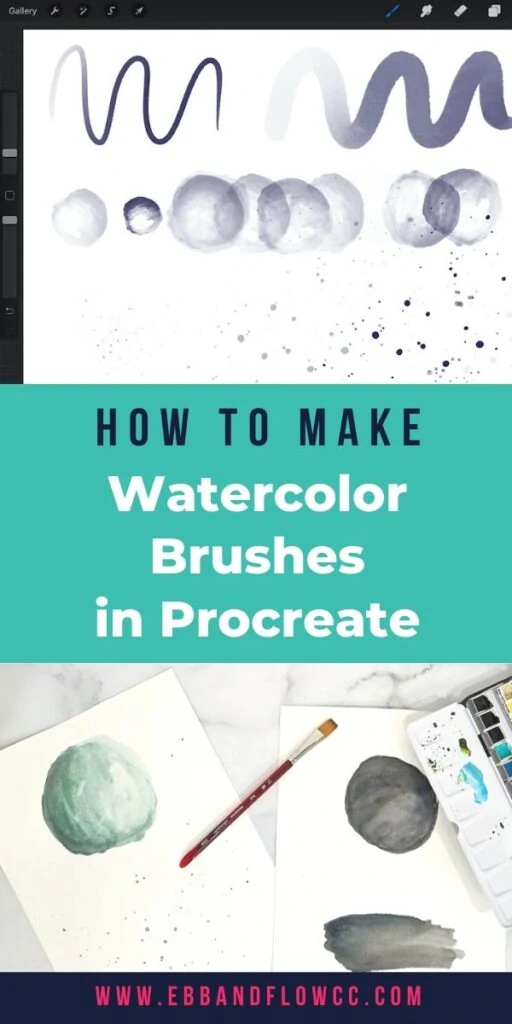
How to Make Watercolor Brushes for Procreate 5

I’m a self-taught artist who loves sharing tips and tutorials for painting with watercolor and gouache, and using the Procreate app on the iPad.
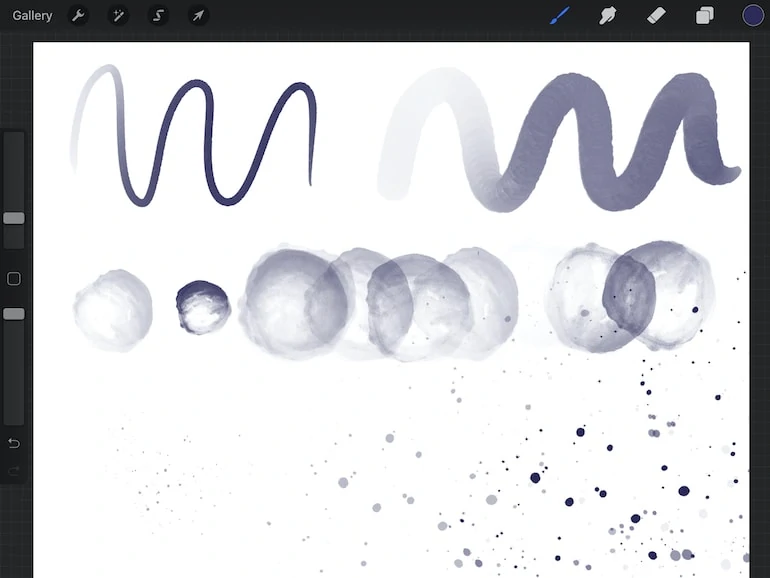
Learn how to make watercolor brushes for Procreate 5. Watercolor brushes allow you to create digital illustrations that look like watercolor.
If you like this tutorial, you might like my other Procreate brush tutorials.
You might also like this post on installing brushes in Procreate.
This post contains affiliate links. By purchasing an item through an affiliate link, I earn a small commission at no extra cost to you. As an Amazon Associate I earn from qualifying purchases.
Would you rather buy a set of watercolor brushes? Check out my premium watercolor brush set with 30 brushes!
I’ve been trying to figure out how to make watercolor brushes for months. All the existing tutorials I can find use an older version of Procreate, so the information is confusing and doesn’t work.
In the latest update, the Brush Studio expanded the offerings to include “Rendering” and “Wet Mix.” With so many new options, it’s hard to figure out what the old tutorials reference.
I’ve finally made several watercolor brushes that I love. A free download for a set of 3 brushes is at the bottom of this post.
By the way, if you want a brush that behaves like watercolor, try Adobe Fresco. The color spreads like wet paint.
How to Make Watercolor Brushes for Procreate
Make the Shape Source
It’s necessary to break out traditional painting mediums to make beautiful watercolor brushes for Procreate.
Supplies Needed
- Watercolor paper (I love this brand because it’s cheap)
- Watercolor paint (dark colors work best)
- Ink
- Paint Brush
- iPad
- Apple Pencil
- Scanner Pro App on iPad
- Procreate 5
Read more about my favorite watercolor paints.
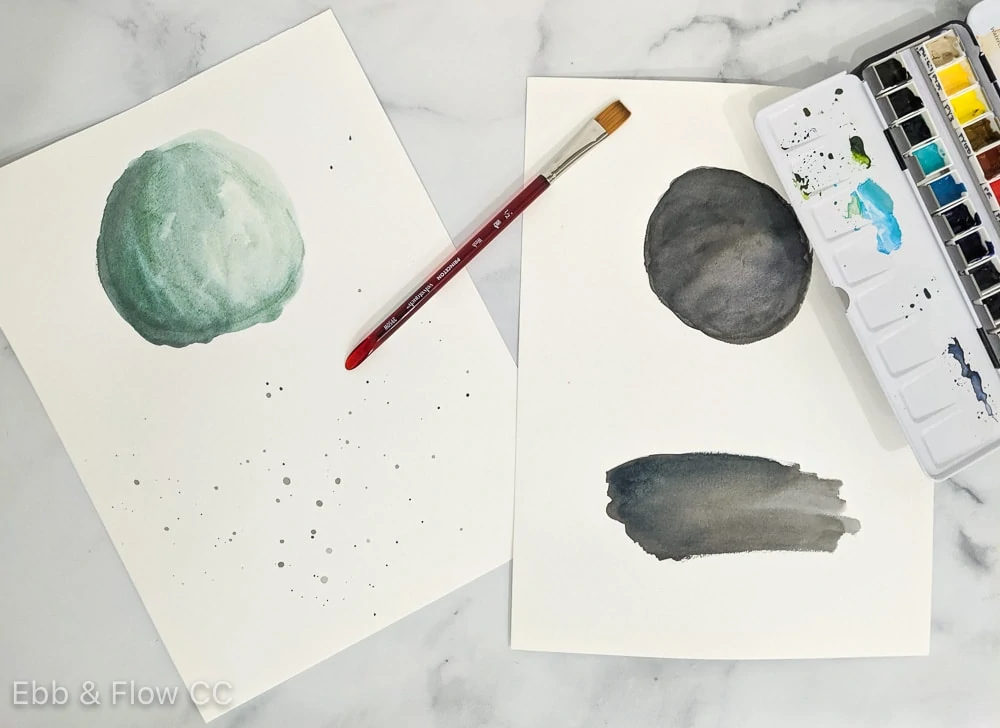
Directions
- Paint different shapes on watercolor paper, varying the sizes, shapes, and opacity.
- Make the shapes large for best results.
- Let dry.
Tips for Making Good Shape Sources
- Make your shapes large. Smaller shapes will result in smaller (or blurry) brushes. To get the best high-quality image, use at least half a page for each brush image.
- Experiment with different colors. Some colors granulate, and the effects are really cool when turned into black and white.
- There are plenty of variations. Make light and dark shapes. Make different shapes (round and rectangular swashes). Make drips and spatters. Make solid shapes and blotchy shapes.
Scanning the Art into an iPad
You’ll need a scanner app for bringing art into Procreate. You could use an actual scanner, but I prefer to do it all on my iPad to save time. I use the Scanner Pro app. It costs a few dollars, but it’s helpful in importing illustrations. My husband even uses it instead of our real scanner because it’s so easy.
- Open the app.
- Photograph each spot in good light. Move the camera close to the watercolor shape to make it as big as possible.
- Set it to Black and White.
- Edit the photo if needed.
- Save the photo.
- Be sure to save the photo to your photos.
- Repeat for all other images.
Bringing the Art into Procreate
- Open Procreate and make a new square document. I made mine 3000 x 3000 pixels.
- Import the photo.

- Use the eraser to remove any spots you don’t want. This is also a good way to remove the corners of your photo that are too dark. Turn off the background layer to see what needs to be removed.
- When you’re happy with the image, turn the background back on and copy the canvas.


Making Watercolor Brushes in Procreate
- Create a new brush folder.
- Create a new brush.
- In the shape menu, edit the shape source.
- Paste the image.
- Use a 2 finger tap to invert the image.


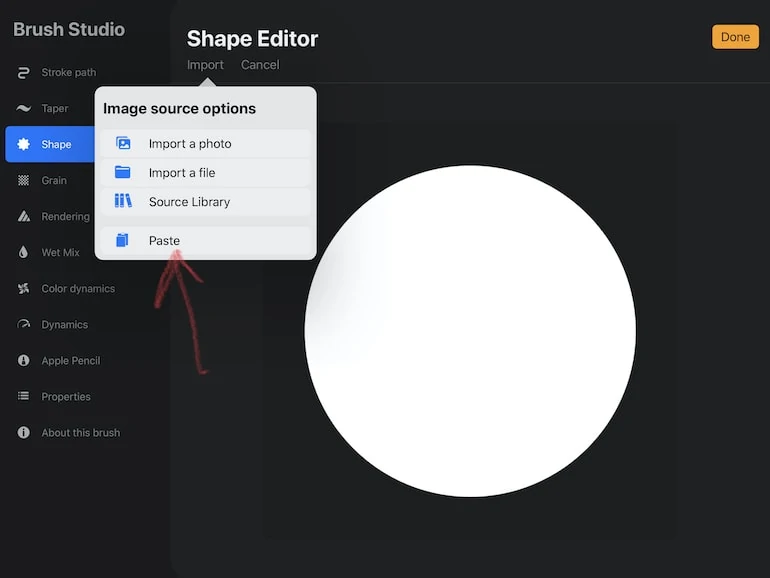
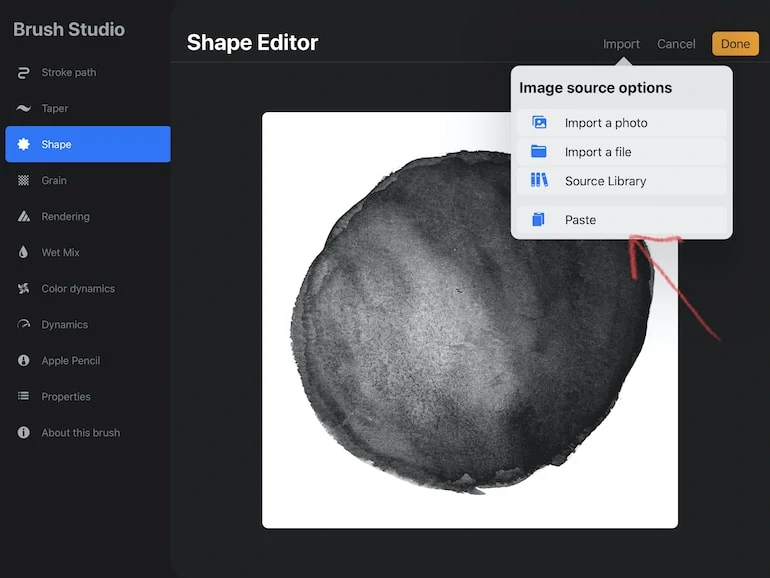

You have to invert the image because it acts like a clipping mask for the grain. If you don’t invert the image, you’re drawing with the grain (a solid square by default.)
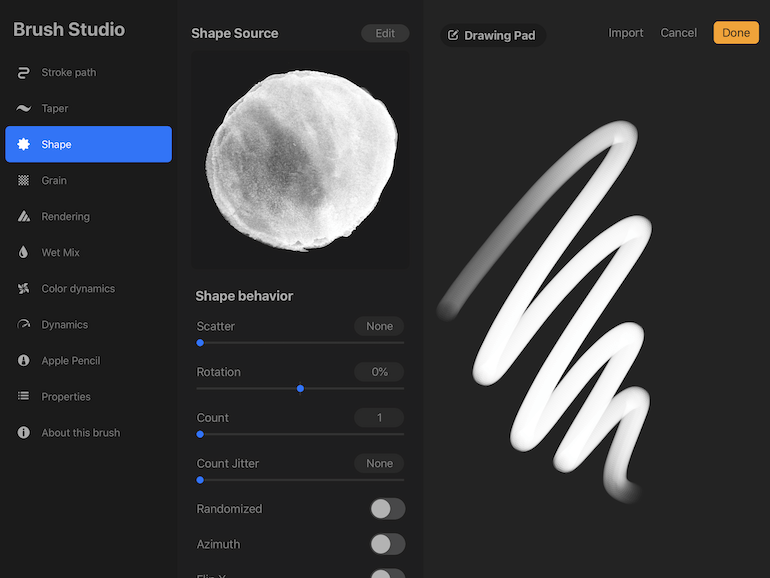
Here’s how the brush looks before you play with the settings.
From there, you can start playing with the settings. For a typical brush, here’s what I change.
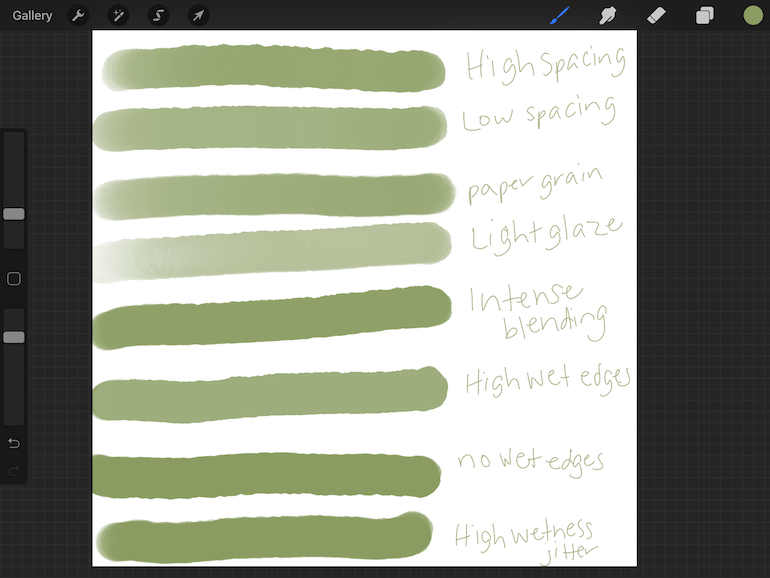
- In the stroke menu, I lower the spacing and raise the streamline. Lowering the spacing creates a smoother stroke, but it also reduces the size of the brush. Raising the streamline removes any shakiness from your hand.
- In the shape source, you can raise the scatter and rotation to add a rougher edge. This can make it look more realistic than a smooth line.
- Grain can be changed by editing and choosing a paper source from the source library. This creates a textured look. (I typically leave it as is, though.)
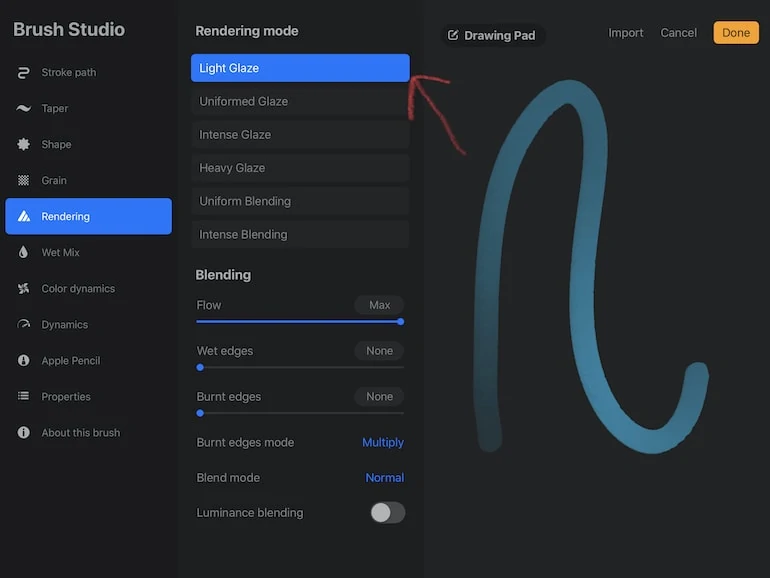
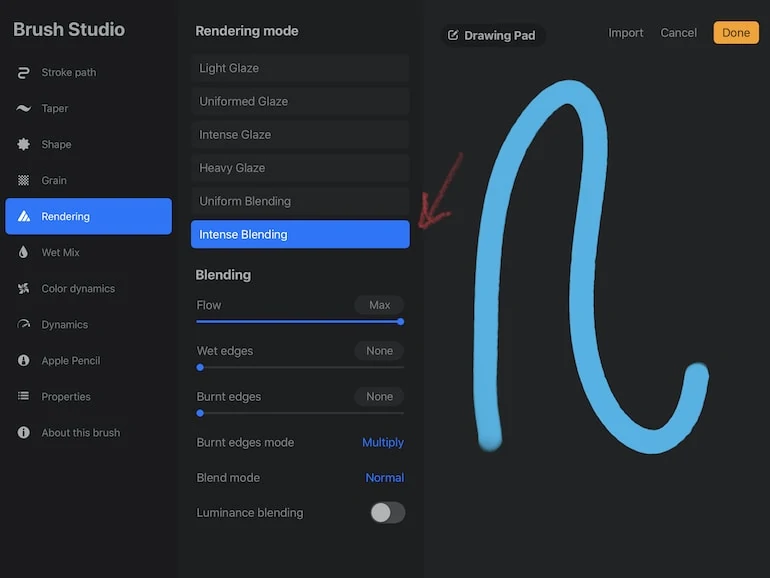
- You can change the opacity of the flow in the rendering menu. A light glaze creates a transparent brush, while intense blending creates an opaque brush.
- Raising the wet edges level makes the brushwork more like watercolors because the color builds on itself. Raising the burnt edges makes the edges slightly darker.
- Don’t forget to name your brush!


Variations for Watercolor Brushes
When you have a brush you like, duplicate it and make variations.
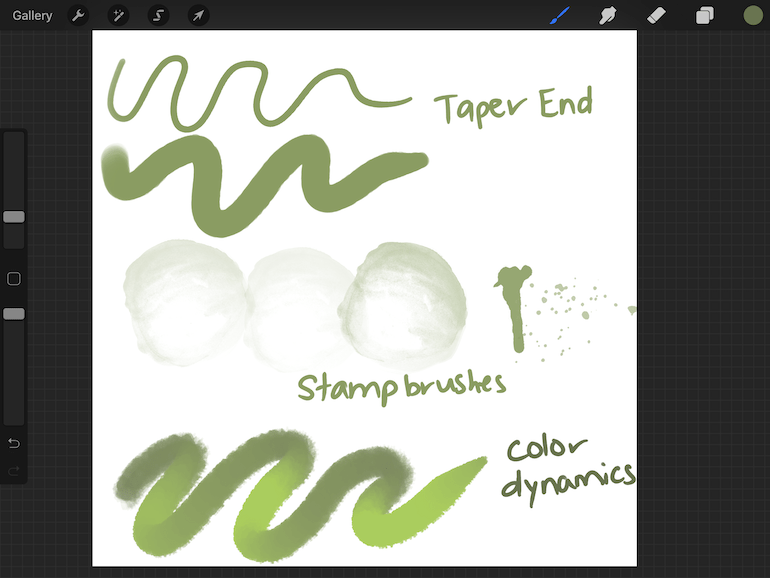
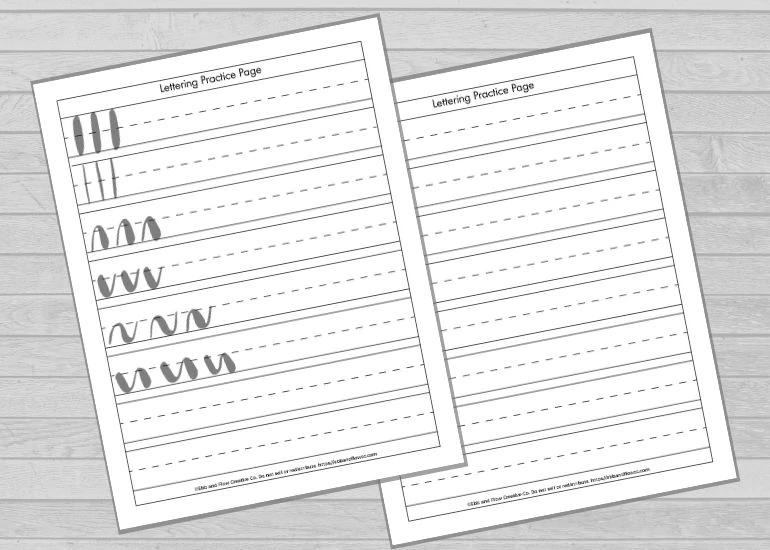
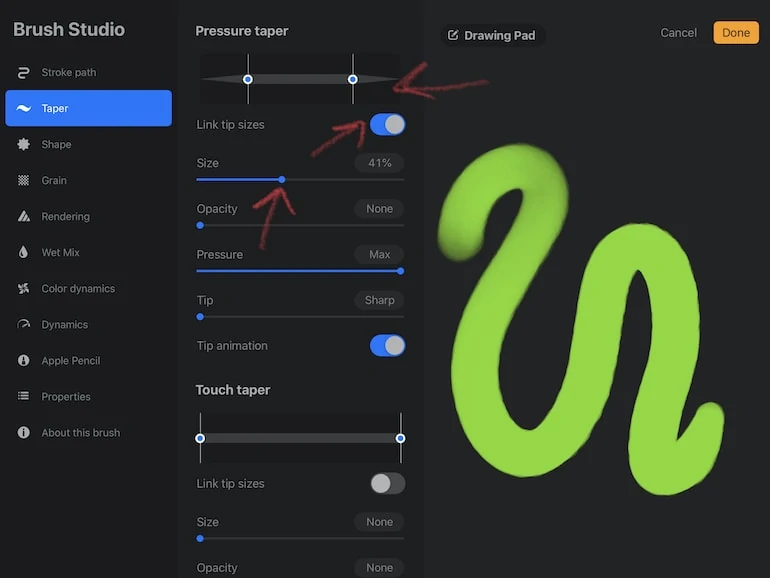
Tapered Brushes
Add tapered ends to create a Procreate brush that behaves like a round paintbrush. Be sure to increase the size of the taper.
Stamp Brushes for Textures
Some shapes are better as stamp brushes, like spatters and drips.
See my full tutorial for how to make a stamp brush.
Color Changing Brushes
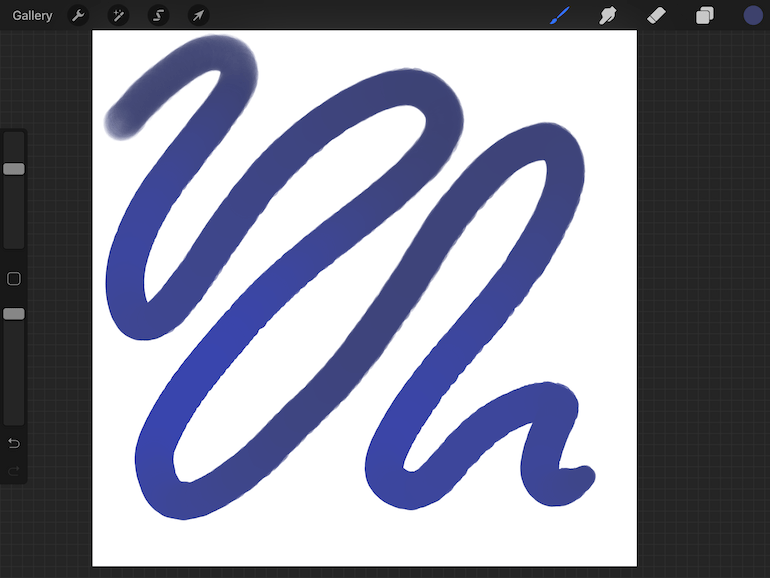
Playing with the settings in the Color Dynamics tab can create color-changing brushes. Depending on your choices, the effect can be intense or subtle.
Try slightly altering the Saturation and Brightness in Color Pressure for a realistic look.
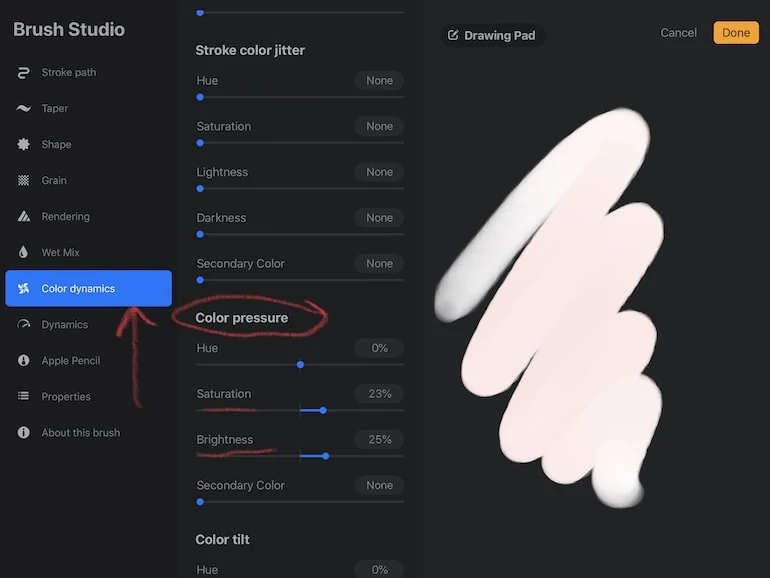
This shows up the best in colors that are a bit muted.
Buy The Whole Watercolor Brush Set
Be sure to check out my watercolor brush set! It contains 30 brushes (15 strokes, 6 tapers for lettering, 4 paint splotch stamps, 3 paint splatter stamps, and 2 paint drip stamps.)

Download a Mini Set of Watercolor Brushes
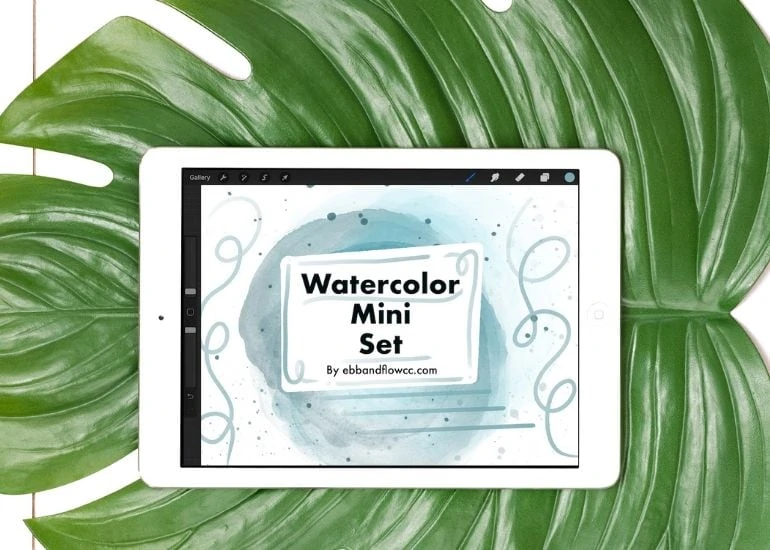
You will receive a mini pack of watercolor brushes for Procreate. This set includes:
- Large spatter stamp brush
- Spot Stamp
- Tapered Wash Brush
These downloads are for personal use only. Please do not redistribute or sell.
Dear teachers and students: this download will not work if you try to access it when logged into your school email account. Try a personal email account instead.
Download this Pack of 3 Watercolor Brushes
Here’s how to install downloaded brushes for Procreate.
More Procreate Brush Tutorials
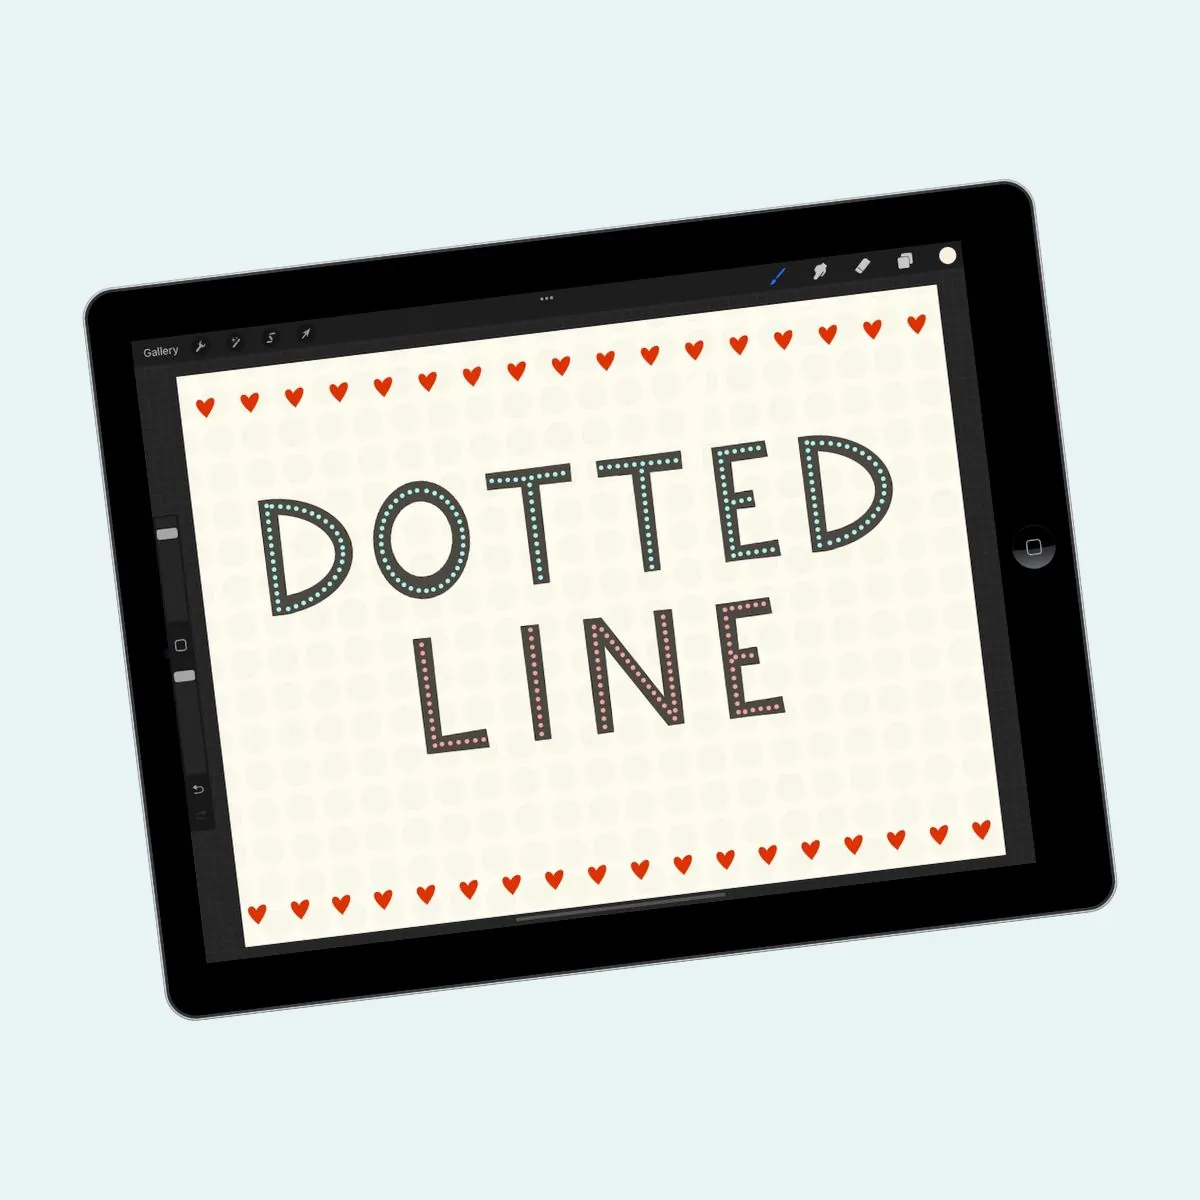
- Monoline Brush
- Lettering Brush
- Stamp Brush
- Pencil Brush
- Inking Brush
- Color Dynamics Brushes
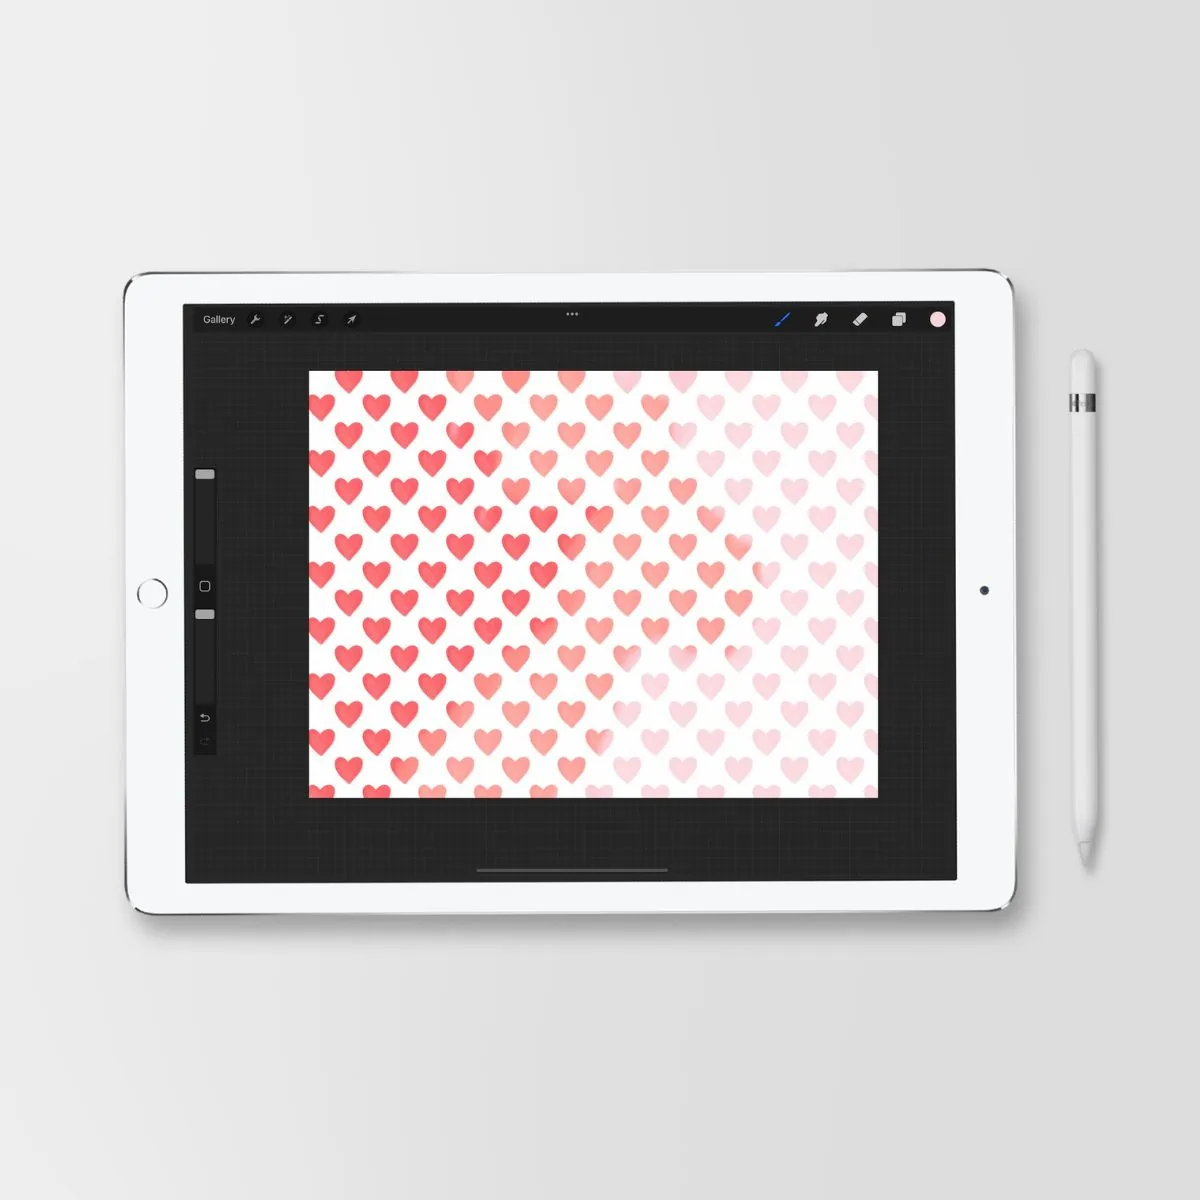
- Texture Brushes
Pin for Later!