How to Blend on Procreate

I’m a self-taught artist who loves sharing tips and tutorials for painting with watercolor and gouache, and using the Procreate app on the iPad.
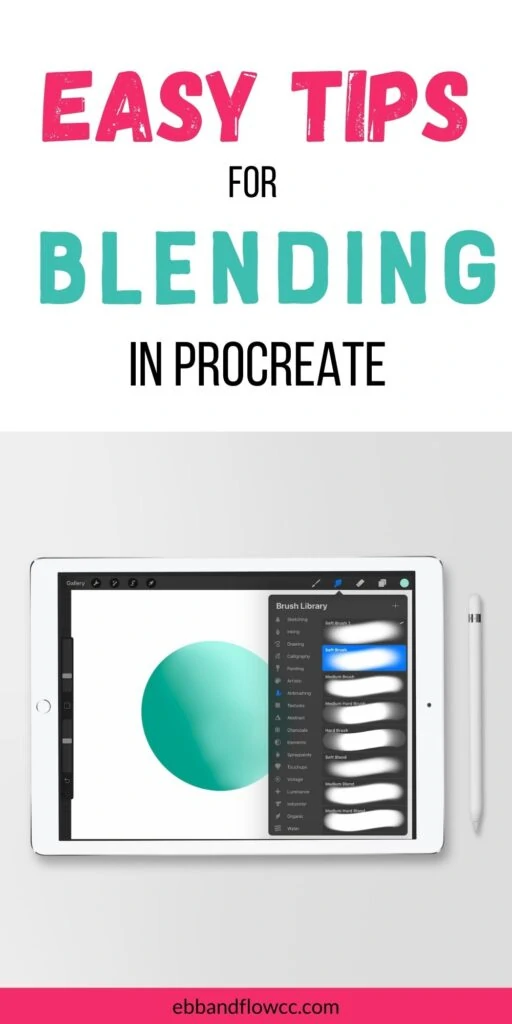
Learn how to blend on Procreate to create smooth gradients and 3D shadow effects for your digital art.
Get even more Procreate tutorials here.
This post contains affiliate links. By purchasing an item through an affiliate link, I earn a small commission at no extra cost to you. As an Amazon Associate I earn from qualifying purchases.
This is part of my series for how to use Procreate.
How to Blend on Procreate
There are a few ways to blend on the Procreate app. The simplest way is to use the smudge tool, which we will learn all about in a moment.
For now, let’s talk about blending basics to make blending easier.
Blending Technique Basics
Blending Analogous Colors
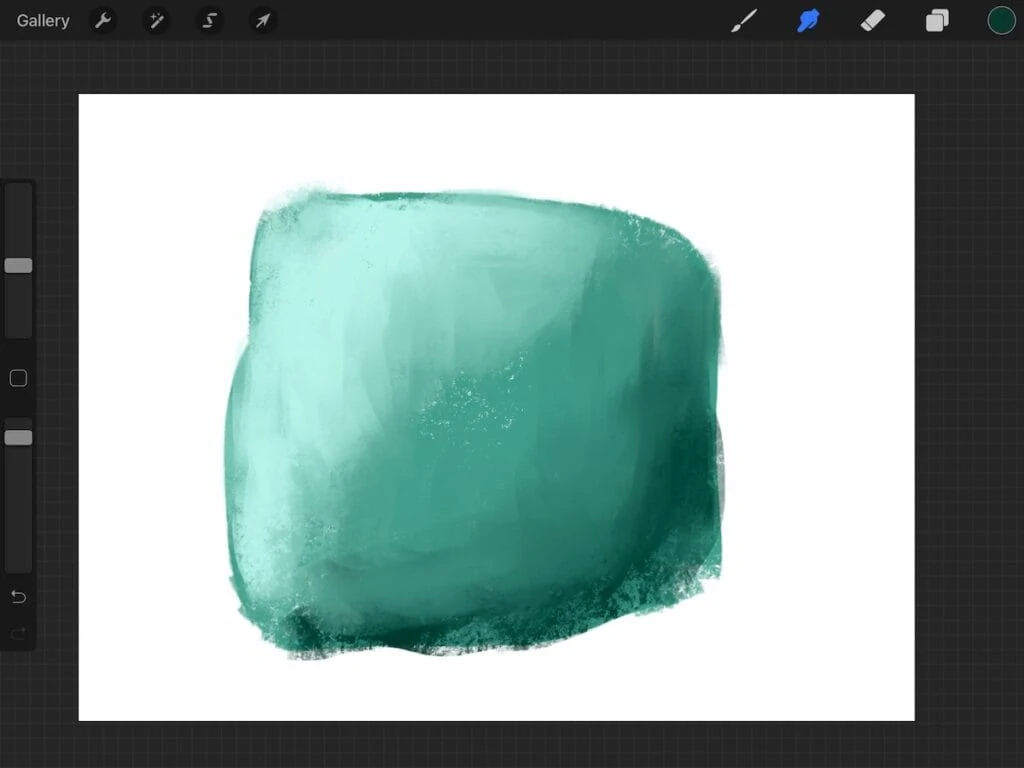
It’s much easier to blend analogous colors than complementary colors. What this means is that it’s easier to blend colors that sit next to each other on the color wheel than colors that are across from each other.
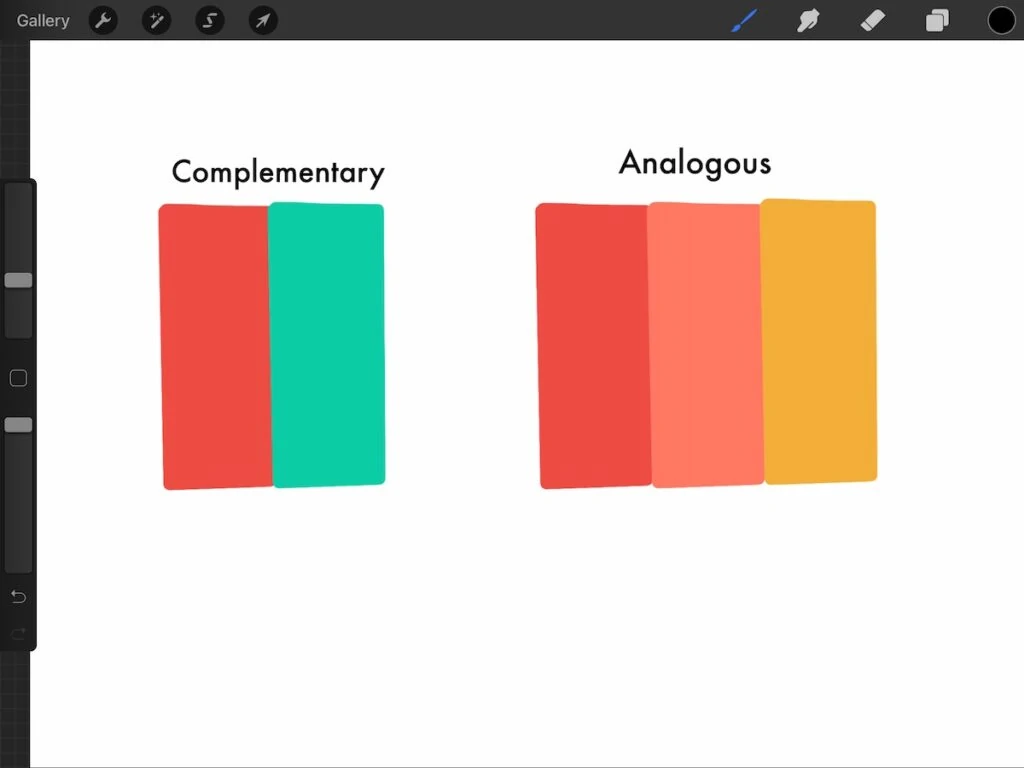
Just like traditional media, when you mix complementary colors, you end up with brown or black (depending on the colors.) The same happens with digital art. Read more about color theory here.

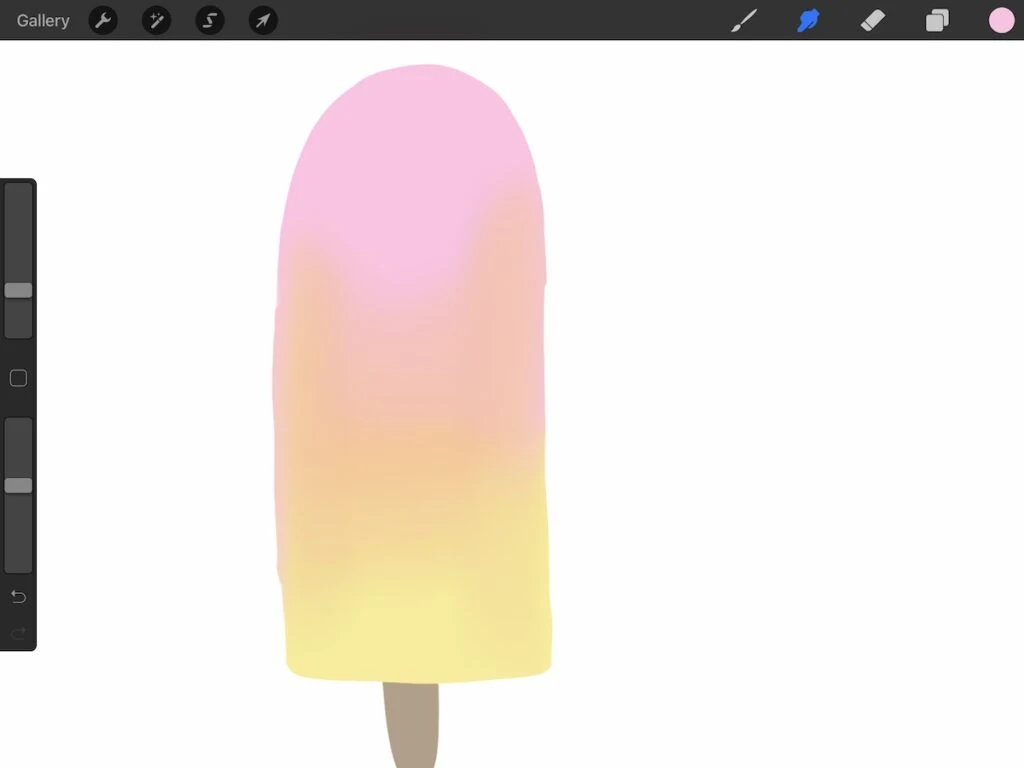
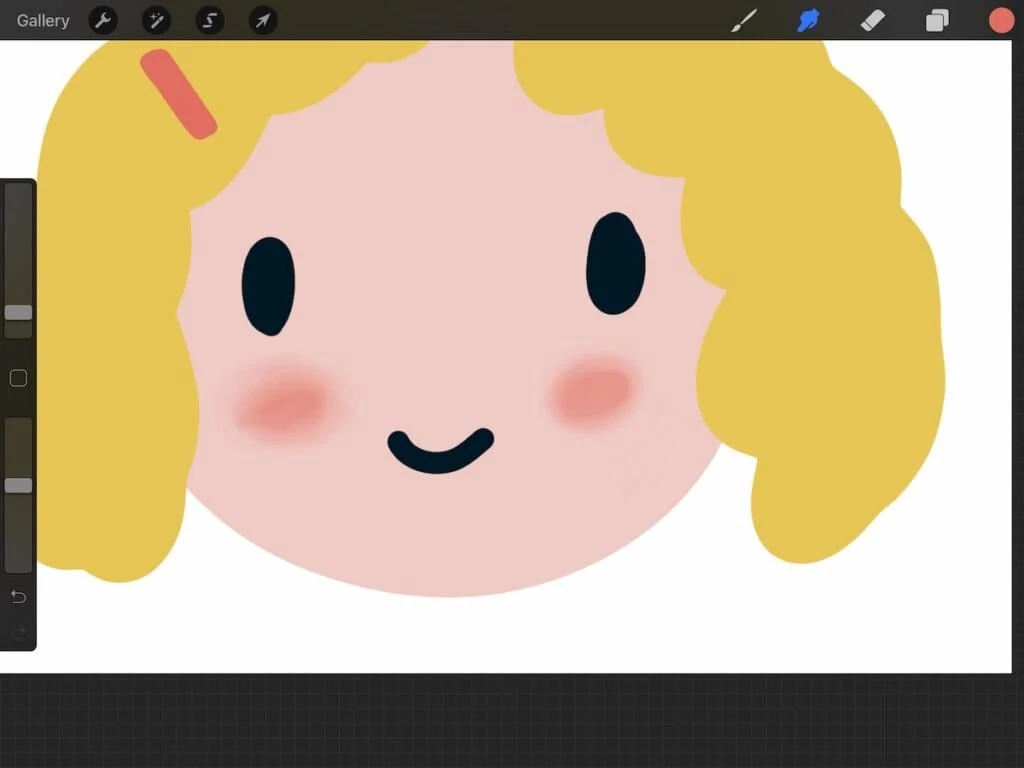
To create a 3D effect, create a color palette that uses 3 or more colors in the same hue (a darker color for the shadow, a mid-tone, and a lighter color for the highlight.)
Use a Light Touch
You will get more pleasing results if you use a light touch when blending. Hold the Apple pencil very lightly and use less pressure than drawing.
You can also lower the opacity to soften the effect.
Use One Layer When Blending
When blending, be sure to use a single layer. You can create your image and merge the layers down.
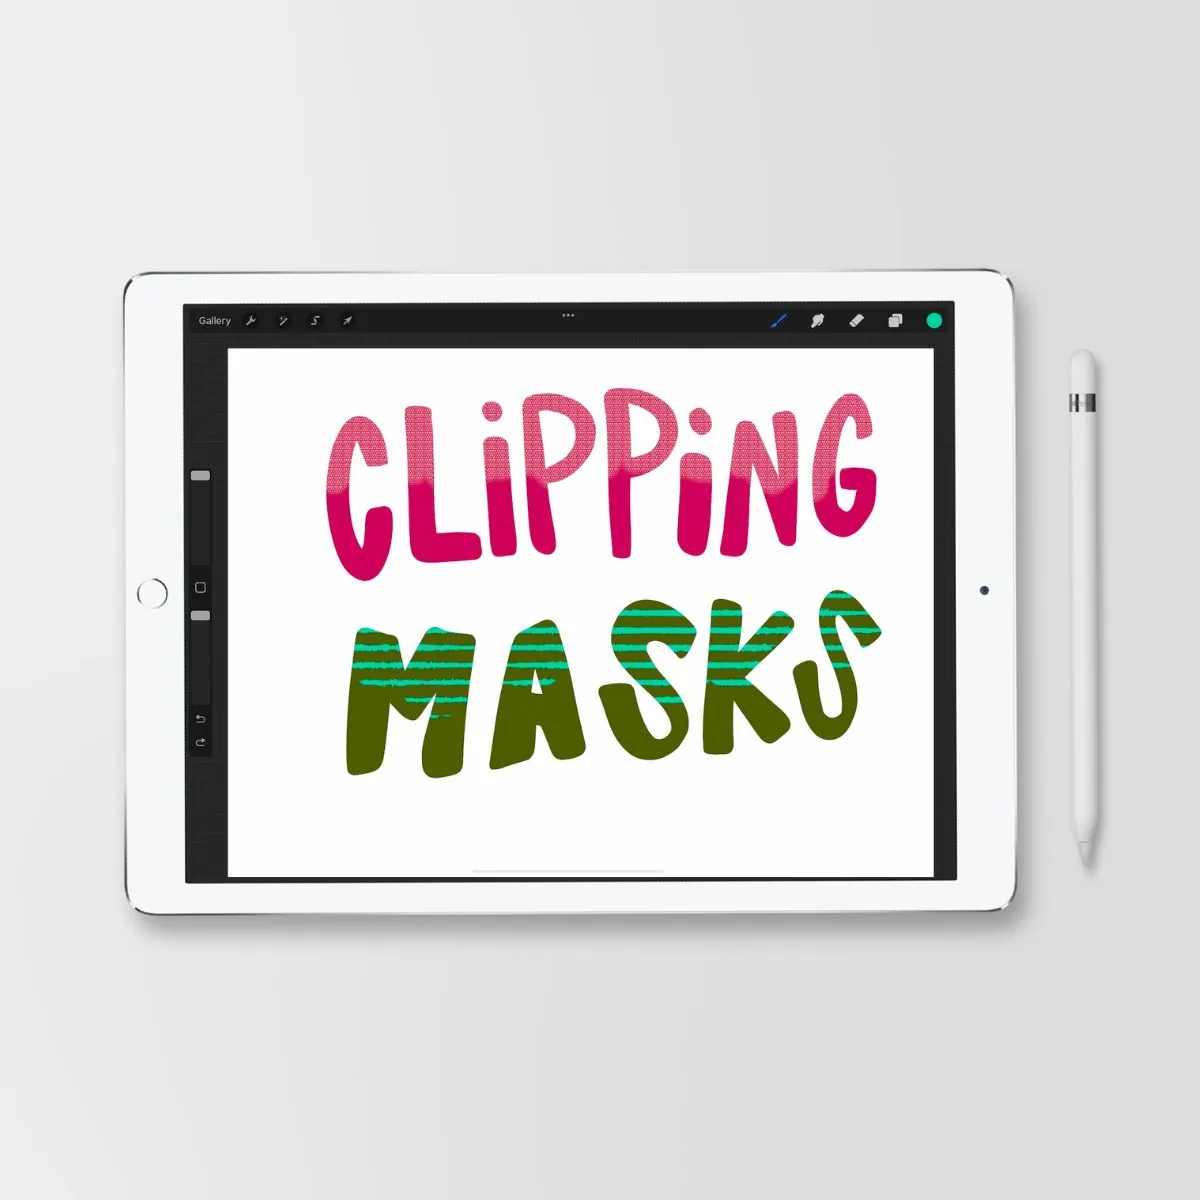
Alternatively, you can create a clipping mask. Be sure to select the clipping mask layer when blending.
Using Alpha Lock When Blending
It’s a good idea to turn on alpha lock when blending. This keeps you from drawing outside the original drawing, but it also prevents you from blending the background color with the drawing.
Alternatively, you can use the selections tool to select an area to blend.
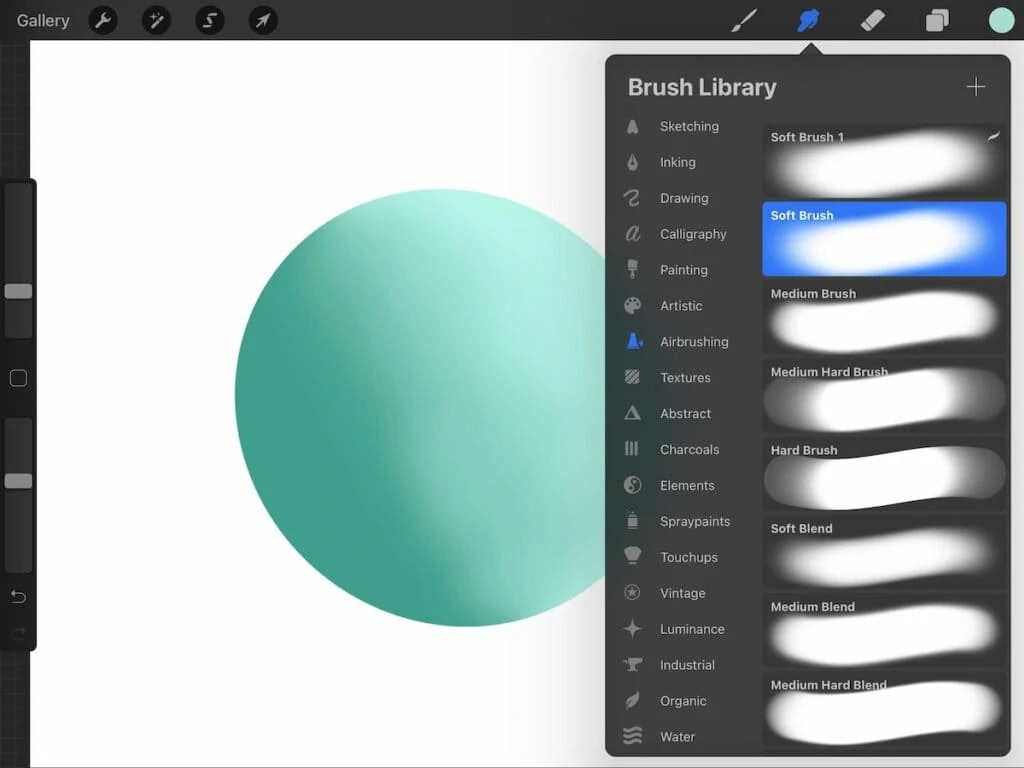
Blending Using the Smudge Tool
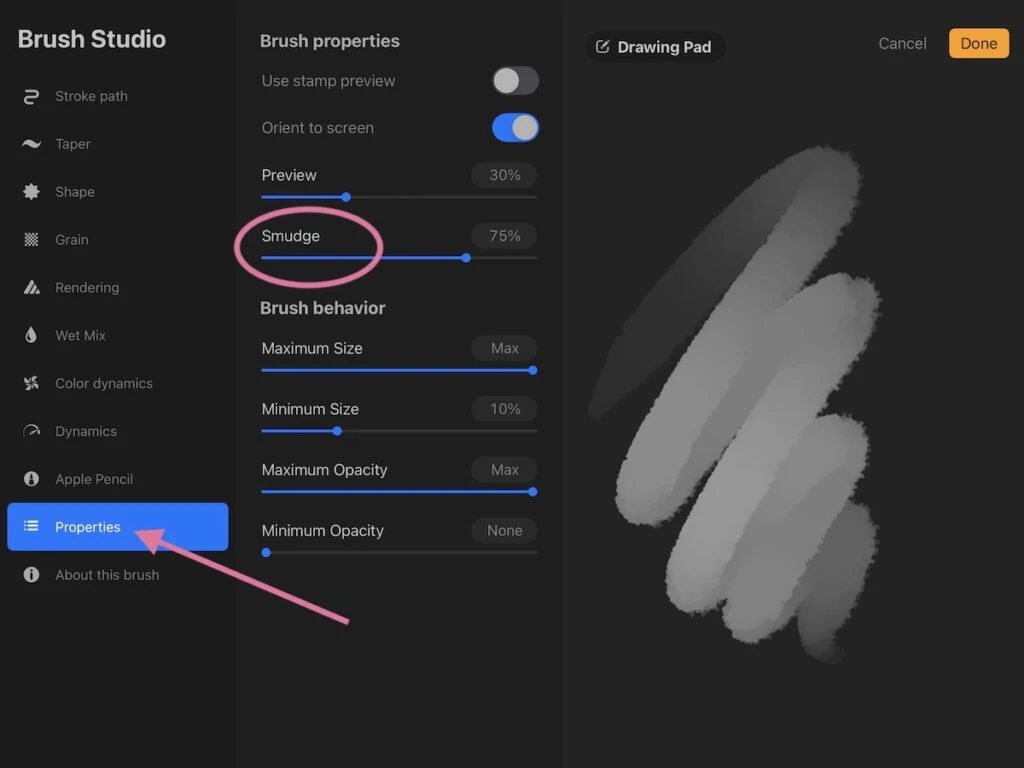
Click on the finger icon at the top of the screen to access the smudge brushes. You can use any Procreate brush that you want, but some brushes work better than others.
To blend with the brush that you are drawing with, you can hold the finger icon until it says that it is using your current brush. (Always check to make sure that it chose the right brush. It only works right about 50% of the time for me…)
Get more tips for making a blending brush for Procreate.
Each brush has the capability to increase the amount of smudging. (Learn more about Procreate brush making here.)
Directions
- Create your image using analogous colors on one layer (or using a clipping mask.)

- If you aren’t using a clipping mask, you can turn on alpha lock in the layers panel, which makes it where you can’t draw outside of your original drawing.
- Select the smudge brush that you want to use.
- Lower the opacity and change the size if needed.
- Use the Apple pencil to lightly draw in the middle of the shape where you want to blend the 2 colors.
- You can use the smudge tool to correct spots that are too dark or light by blending from the desired color into the spot you are trying to correct.
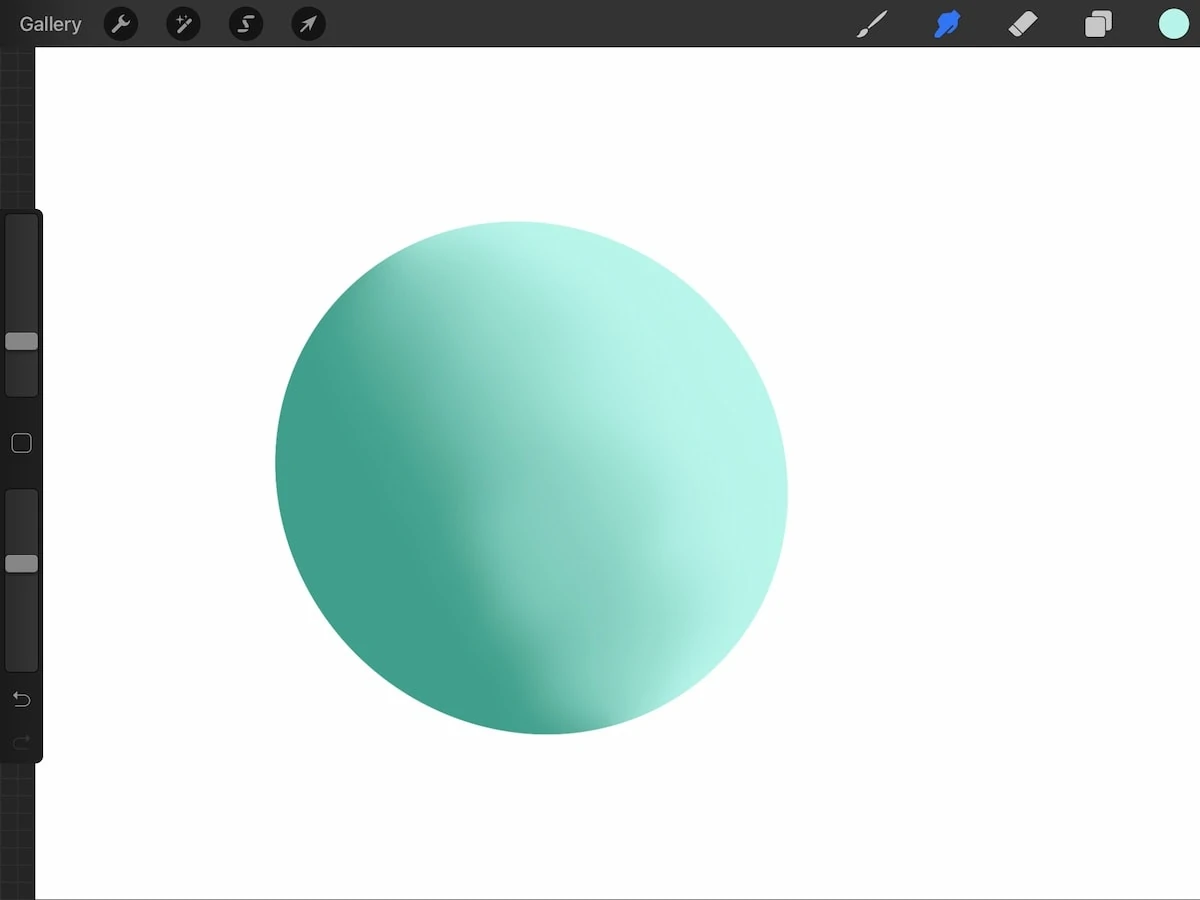
- Experiment with smudging in different directions to get the results you want. For a sphere, you might want to use a circular motion. Try up and down and side-to-side motions for different blending effects.
- Continue blending until you’re happy with the results.
- If you don’t like how it’s turning out, you can re-draw the shape and start blending it again.

Brushes
Like I said earlier, some brushes work better for smudging than others. Different brushes have different effects. The artistic and painting brushes create really interesting textured effects.
For a smooth blend, use the soft brush in the airbrush folder.
Pressure
Changing the pressure of the Apple pencil can soften or strengthen the blending effect. Draw lightly for a softer effect.
Size and Opacity
You can also change the size and opacity of the smudge brush. Lower the opacity to create a softer blend.
Using a Clipping Mask
A clipping mask is useful when you don’t want to mess up your original layer.
Create your first layer, then create a second layer and draw on it. Set it to clipping mask.
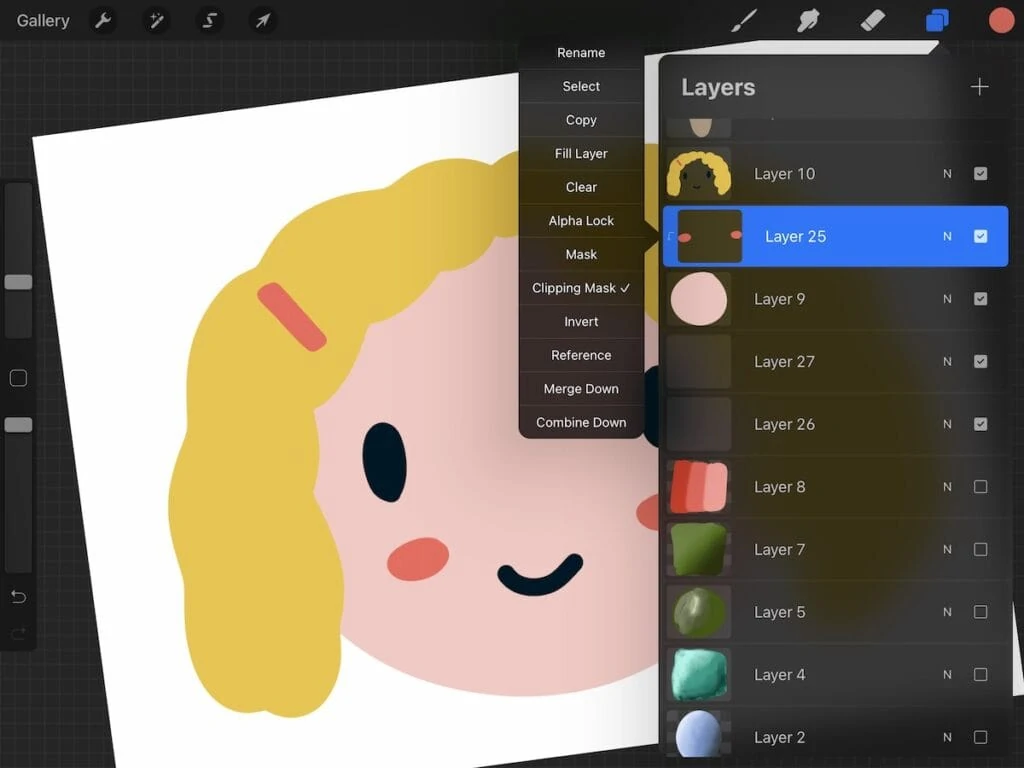
To blend, select the clipping mask layer and blend as usual. Be careful of brush size if the clipping mask layer is small.
Selected Color When Blending
I’ve seen a few tutorials where they change the selected color to match what they are blending.
In my experimenting, it makes no difference what color is chosen when blending. Smudge brushes are colorless.
Blending Using Blend Modes
When blending layers, you can use blend modes. Blend modes are a powerful tool that affects how the layer on top interacts with the layer below it.
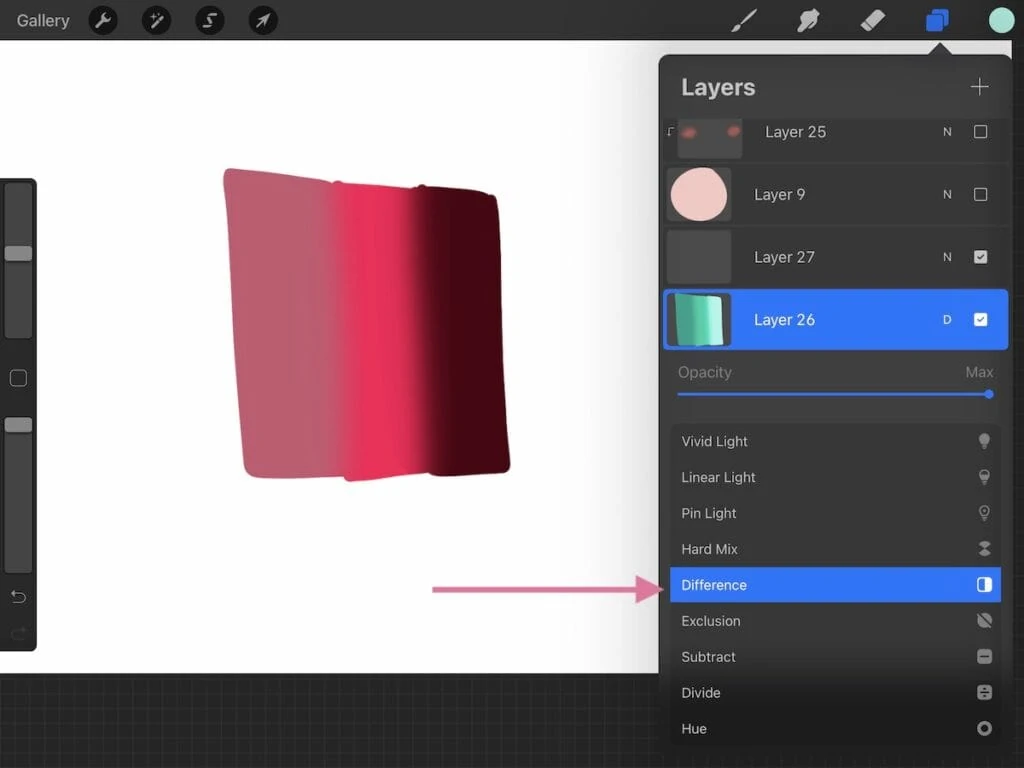
Learn more about blend modes in Procreate here. I wrote a very detailed post to explain the differences for each blend mode.
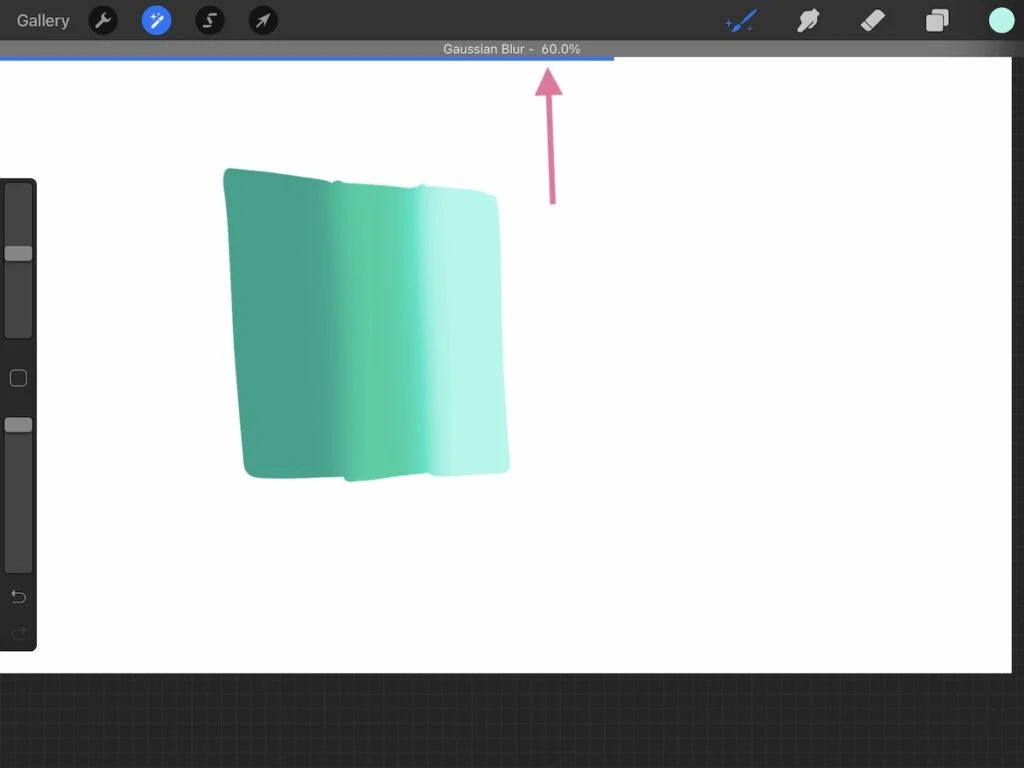
Blending Using the Gaussian Blur
When using this effect, you have the option to blur the entire layer or just where you draw with your pencil.
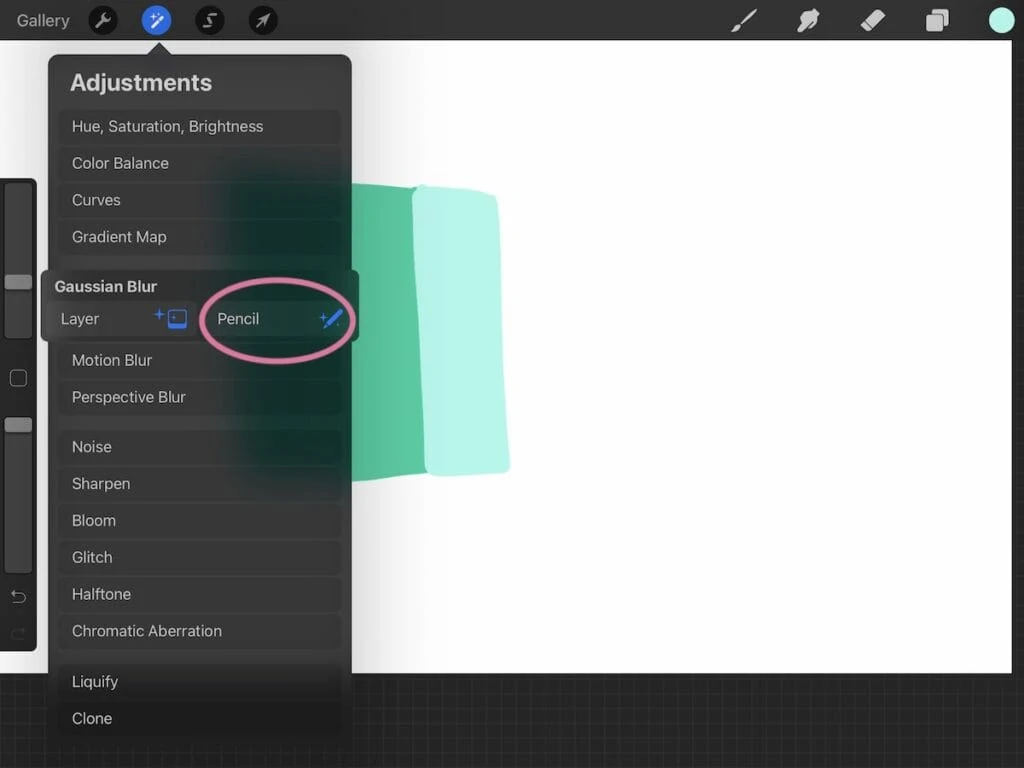
Choose the pencil option for more control.
This effect can be strengthened or softened by drawing in a horizontal line with your finger.
Happy blending!
Other Procreate Tutorials
- How to Install Color Palettes
- How to Install Brushes
- Animating in Procreate
- All About Selections in Procreate
- Using Procreate Drawing Guides
- How to Add Text in Procreate
Pin for Later!