Simple Watercolor Flowers for Beginners
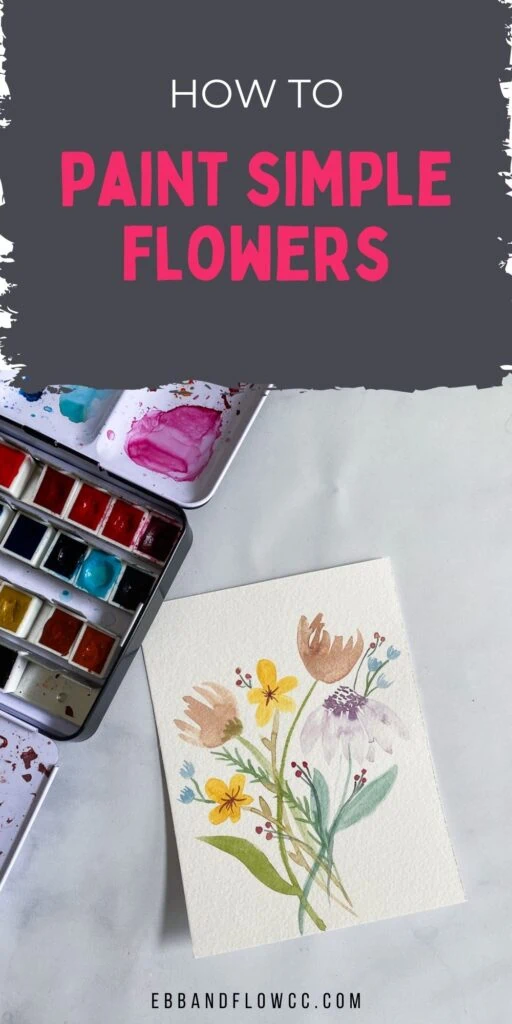
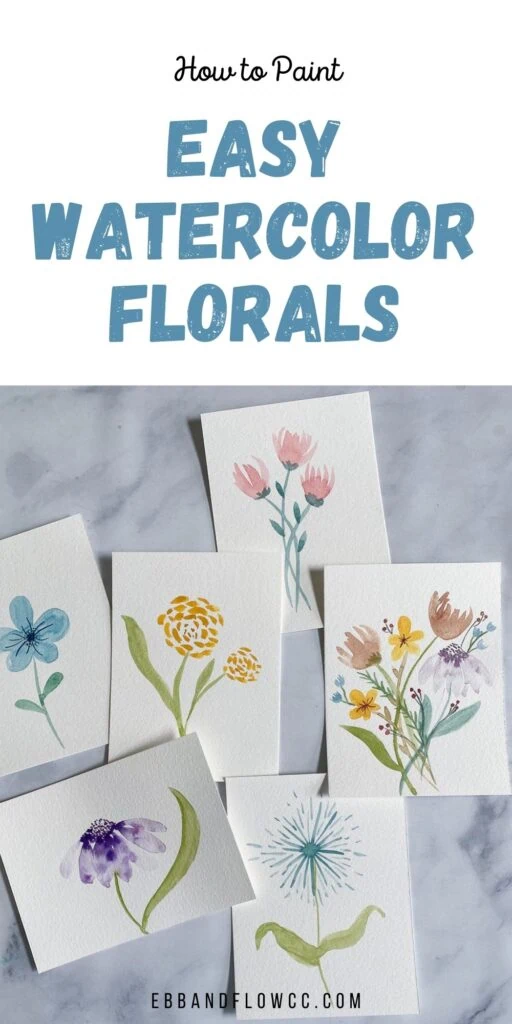
Learn how to paint simple watercolor flowers. This easy tutorial is perfect for beginners who want to paint, but aren’t sure what to paint.
You might also like these other watercolor tutorials.
This post contains affiliate links. By purchasing an item through an affiliate link, I earn a small commission at no extra cost to you. As an Amazon Associate I earn from qualifying purchases.
Flowers are one of my favorite things to paint with watercolor. There’s just something about it that’s really enjoyable.
Flowers are my go-to thing to paint or draw when I don’t know what to paint (or draw).
My Color Palette
I wanted a more muted color palette, so I mixed my favorite colors with a bit of Naples yellow and a bit of burnt sienna where needed.
When adding Naples yellow, you have to be careful not to add too much or it can change the color completely. It’s my favorite way to make colors into pastel shades though.
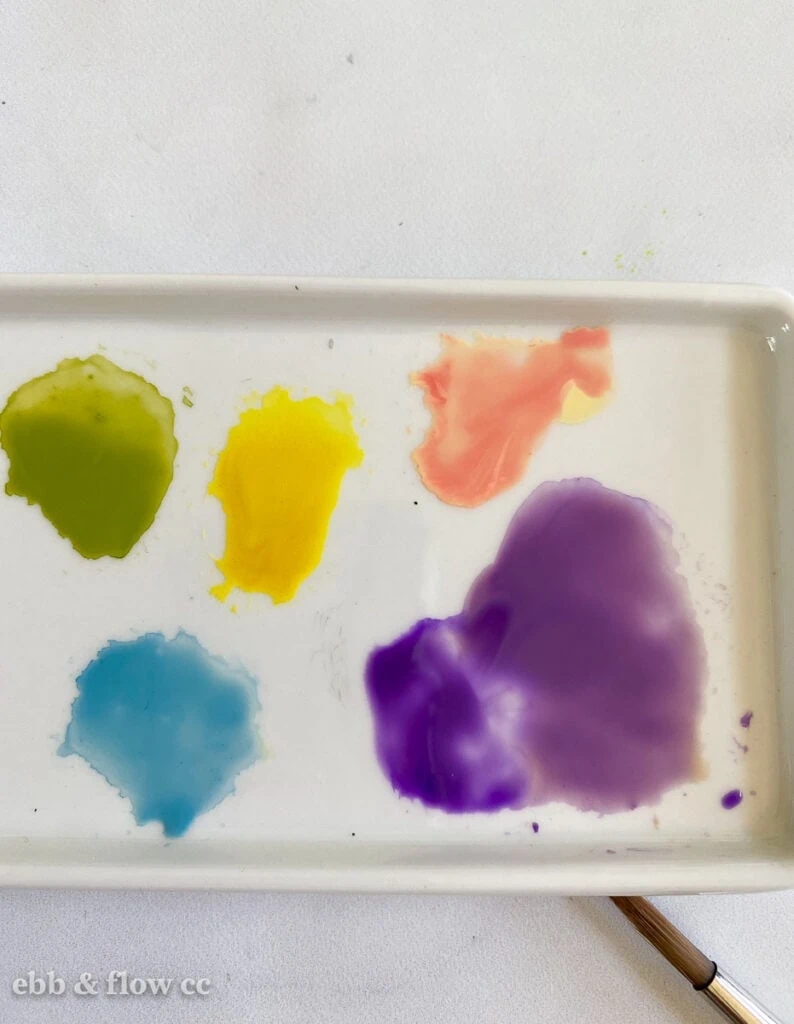
You can also add a touch of the complementary color to mute them more. For instance, the blue needed to be toned down a bit, so I added a touch of orange and it was perfect.
Use whatever color palette you want though.
Simple Watercolor Flowers
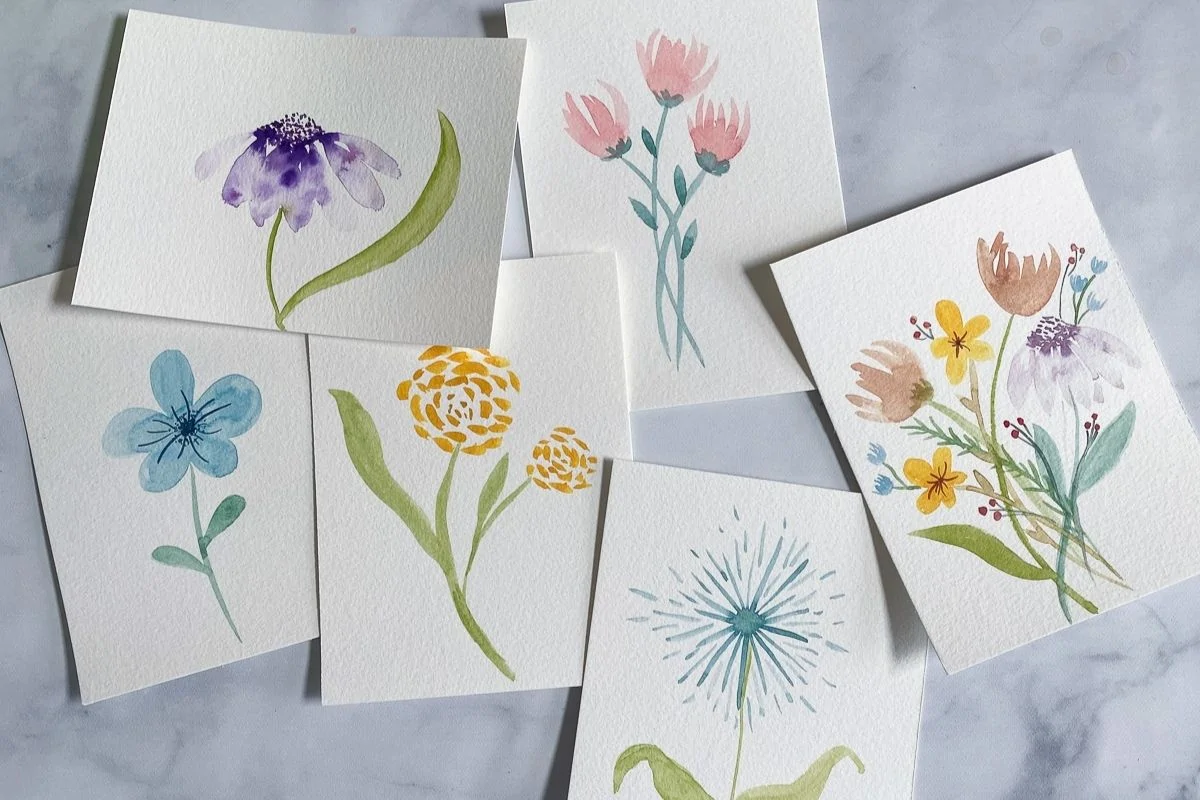
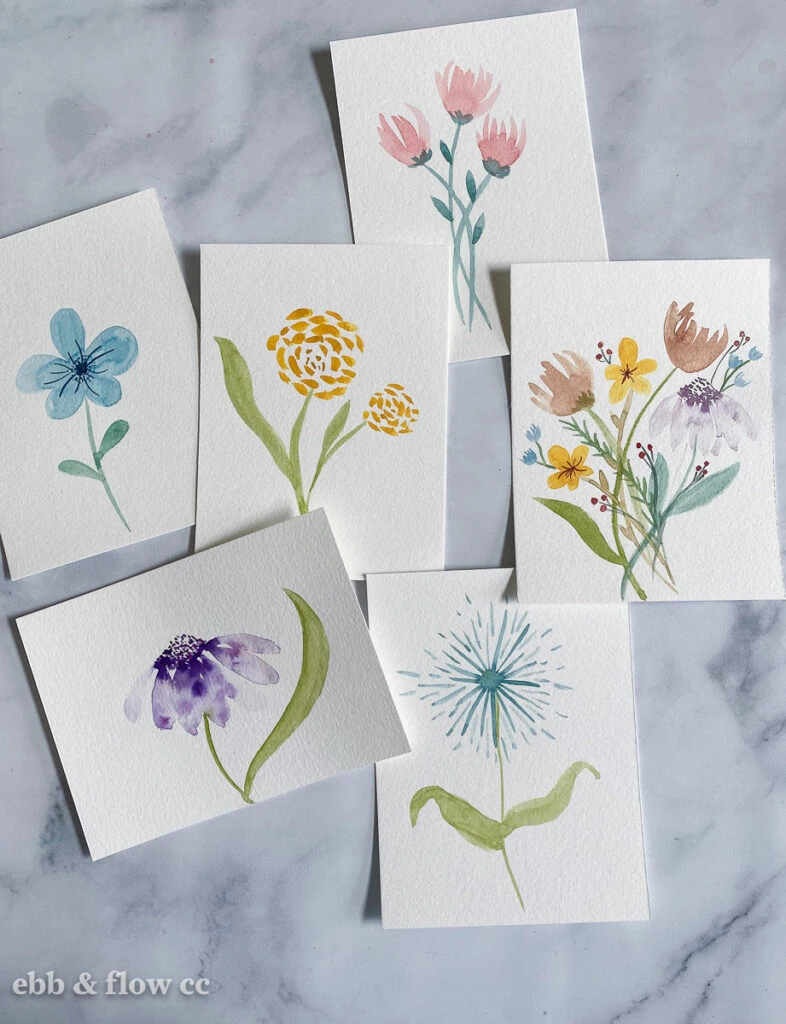
These are really simple, almost made-up flowers. No realism here. For the most part, they’re painted in a loose style, allowing colors to bleed into other colors.
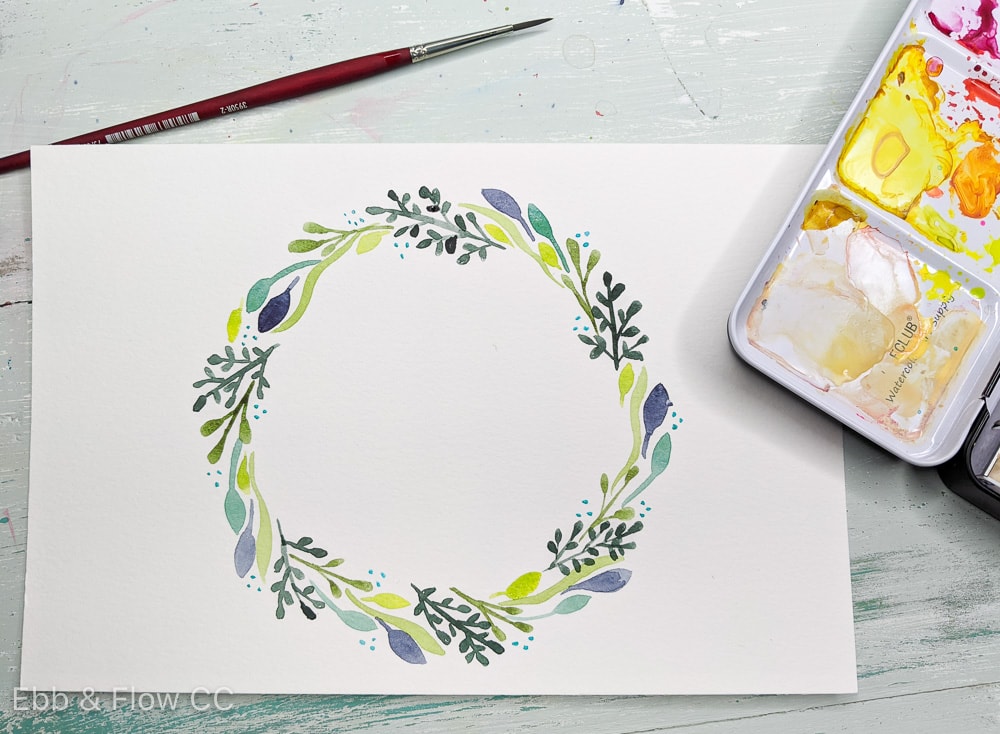
Since they’re made up flowers, I just made up the leaves to go on the stems. Here’s some easy leaves to paint.
One last tip: it’s okay if your flowers are a bit wonky. Flowers in nature are never perfect!
Supplies Needed
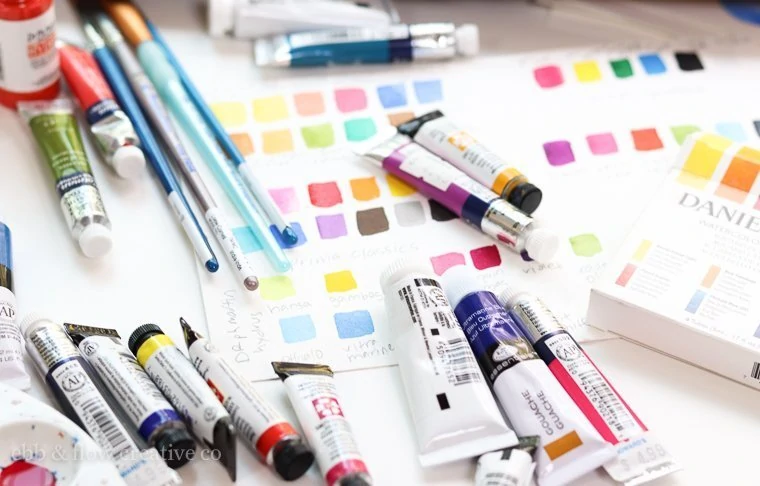
- Watercolor paint
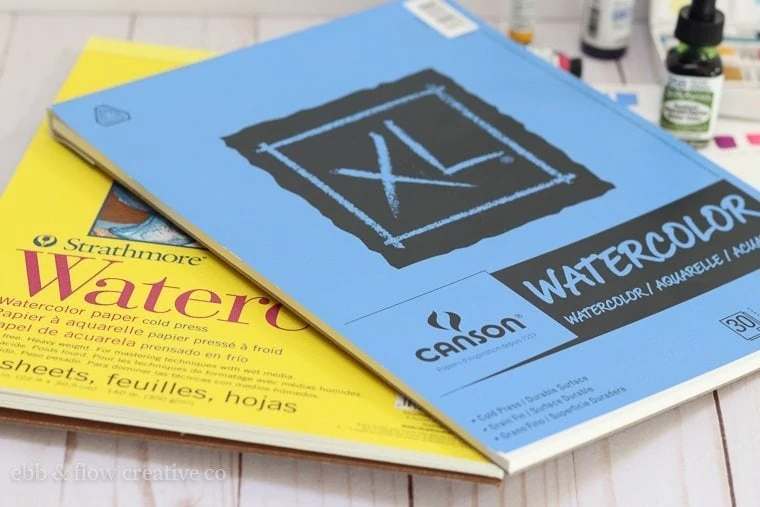
- Watercolor paper
- Paintbrush
- Water
You can read more about my recommended watercolor paint for beginners here.
Flower 1: Simple 5 Petal Flower
You can make this a 4 petal or 6 petal flower if you want. It’s the easiest flower to paint
- Paint a tear drop shape.
- Fill it in.
- Add 4 more tear drop shapes to make the flower.
- Add a stem and smaller tear drop leaves.
- While it’s wet, drop in a tiny bit of a darker color.
- When it’s dry, add details to the center. You can add dots or lines or a combination of both. Use a smaller brush for fine lines.
Flower 2
These flowers remind me a bit of tulips. They’re really fun to paint.
- Use the brush to create downward strokes for the petal.
- Connect several together to create the flower.
- You can paint these neatly or kind of scribble them on in an up and down motion.
- Add the stems and simple leaf shapes.
- Let the flowers dry.
- When it’s dry, use the same motion to create the green part under the flower.
Flower 3
This multi-petal flower is fun to paint.
- Paint small marks for the center of the flower.
- Paint larger curved marks around the center, moving your way out. Use the brush shape to get interesting shapes.
- Paint a stem and a leaf.
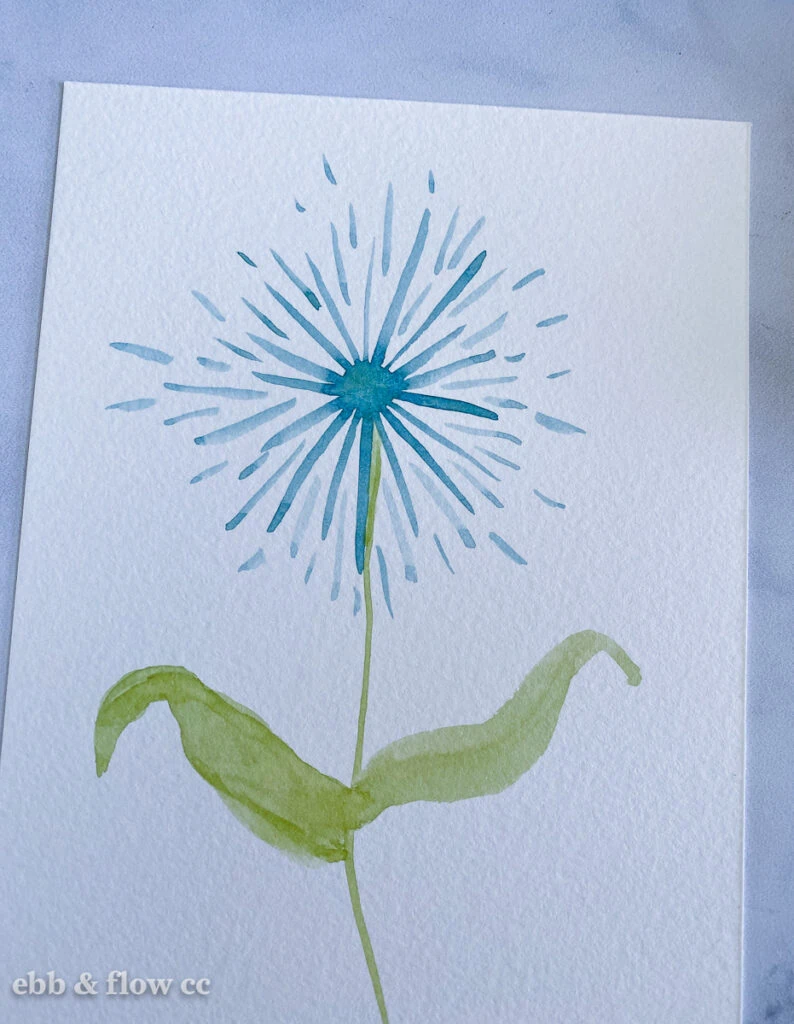
Flower 4
This flower kind of looks like a dandelion that’s gone to seed.
- Paint a dot for the center.
- Use the paintbrush to draw lines from the center.
- Keep adding lines, varying the length.
- When it’s pretty full, add shorter lines in between the lines.
- Add small lines around the edges.
- Add a stem and leaves. These leaves are created by dragging the brush to create a curved, wonky leaf.
Flower 5
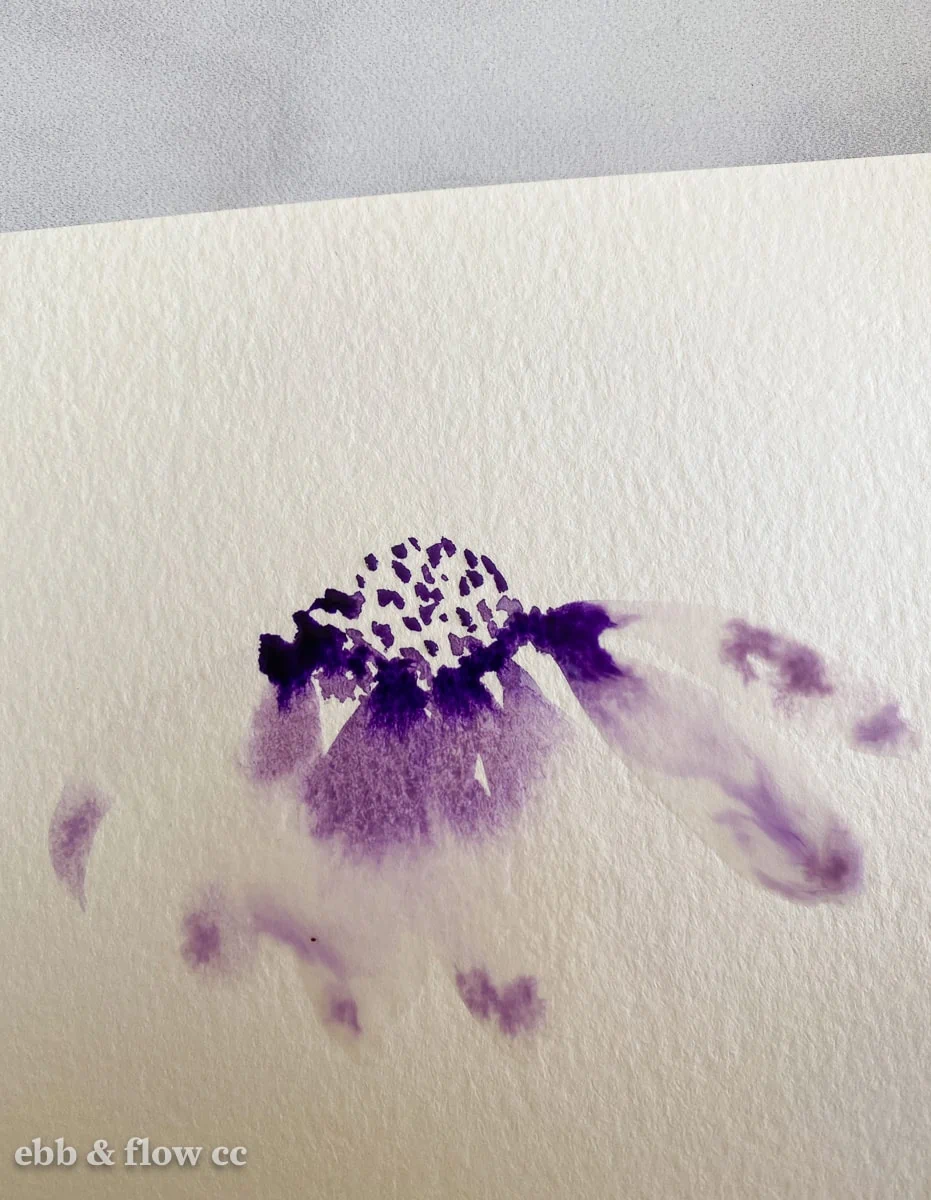
I paint these flowers all the time because I find them so satisfying.
- Use concentrated paint to paint dots in a semicircle shape with a curved bottom.
- Make sure that there are plenty of dots at the bottom edge.
- Clean your brush and paint clean water to create petals. Start at the bottom tip of the petal and work your way up to the paint.
- When the water touches the paint, the color will flow into the water.
- Continue around the bottom part of the edge, adding water petals.
- If the petals don’t fill with water, you can add a bit of paint to help it out.
- You can also drop in other colors in the water petals.
- Add a stem and a petal.
- When the flower dries, you can add more of the darker paint to redefine the dots of the flower center.
Combining the Flowers into a Bouquet
Here’s a few things to keep in mind when creating bouquets of flowers.
- I didn’t do it, but bouquets look really pretty when you paint a very diluted layer first and then paint your flowers around it. (They look like they’re behind the main blooms.)
- Stick to a limited, cohesive color palette.
- Flowers look best in groups of 3 or 5.
- The flowers should face in different directions instead of being straight up and down.
- Vary the stem colors and thicknesses for more interest.
- Add filler flowers to fill empty spaces. These can just be smaller versions of the simple flowers or even just dots to represent berry sprigs.
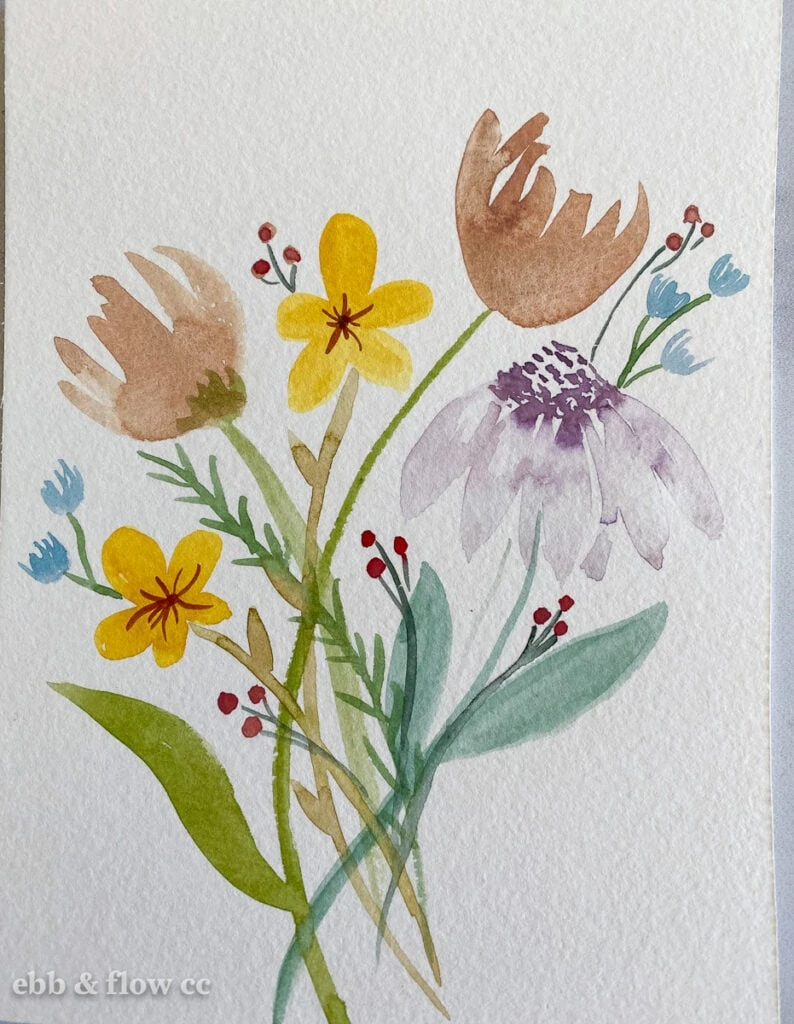
- Paint your biggest flowers first.
- Add in the medium flowers.
- Paint in the stems and leaves.
- Add filler flowers and greenery where it’s needed.
You Might Also Like:
- Watercolor Warm-Up Ideas
- Easy Watercolor Landscapes
- Simple Abstract Painting Ideas
- How to Paint Roses
- Watercolor Fruit Tutorial
Pin for Later!
