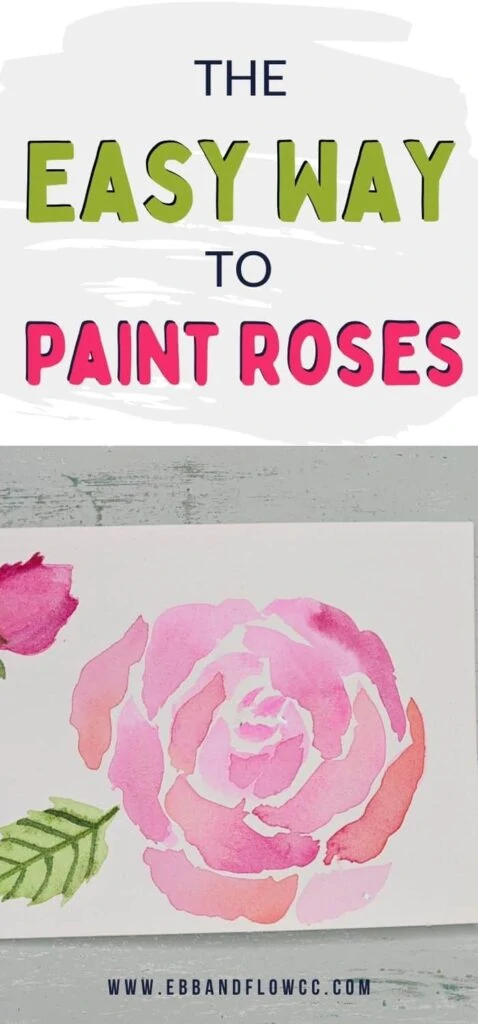
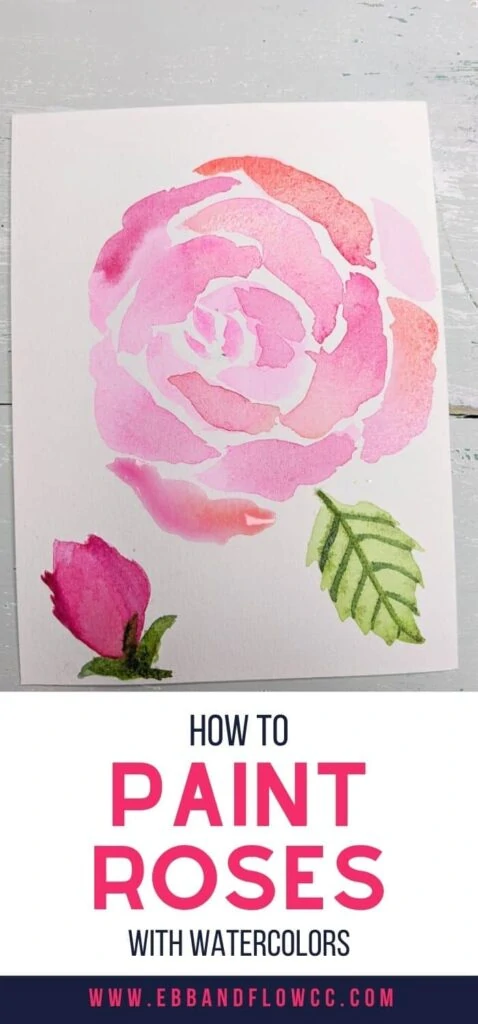
Watercolor Rose Tutorial: The Easy Way to Paint Roses

I’m a self-taught artist who loves sharing tips and tutorials for painting with watercolor and gouache, and using the Procreate app on the iPad.
Learn how to paint roses, the easy way with this watercolor rose tutorial. This method is perfect for beginners who can’t quite master painting rose the way that everyone else does.
You might also like this post on choosing watercolor paint for beginners.
This post contains affiliate links. By purchasing an item through an affiliate link, I earn a small commission at no extra cost to you. As an Amazon Associate I earn from qualifying purchases.
Watercolor roses look so effortless, but are a lot harder to master. Luckily, I’ve developed a method for painting roses that is a little easier.
I’ve watched youtube videos and Skillshare videos month and always seemed to fail when I attempted painting roses.
Then I switched brushes and the skies parted. Read more about the easy way to paint watercolor roses.
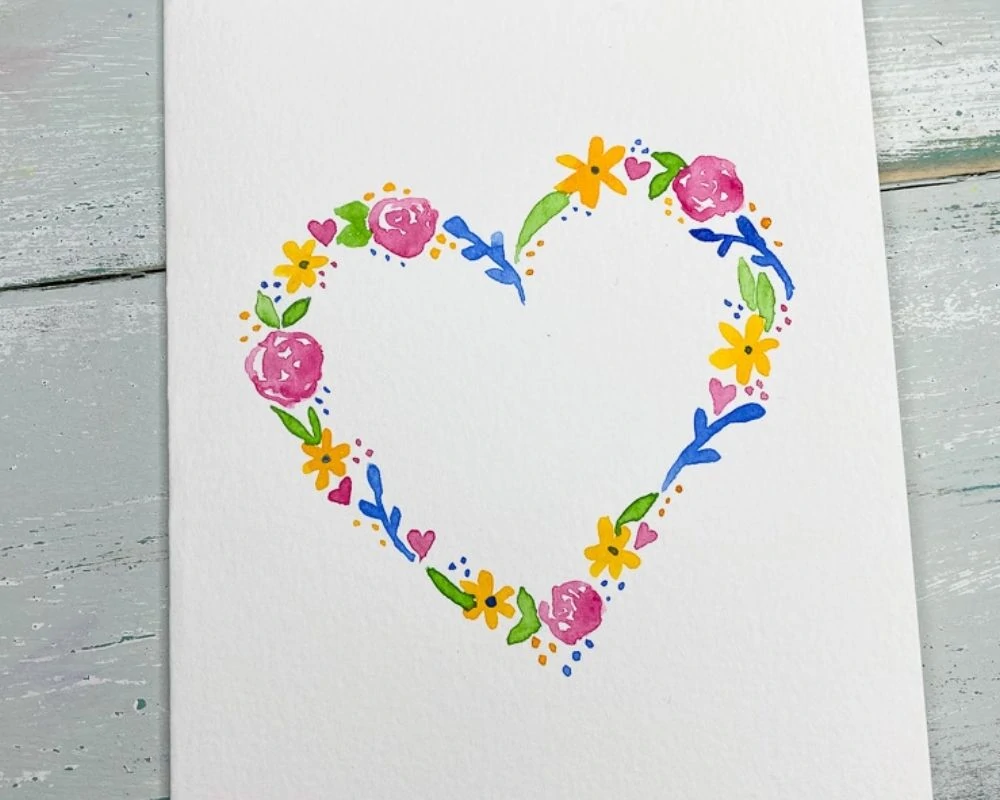
If you like painting roses and flowers, you might be interested in this post on how to paint a floral heart for Valentine’s Day.
Watercolor Rose Tutorial
Supplies Needed:
- Watercolor Paint (I’m using Opera Pink)
- Watercolor Brush
- Watercolor Paper
- Palette with larger wells
How to NOT Paint Watercolor Roses
- Don’t start with a circle.
- Don’t paint concentric lines.
- Don’t use a standard watercolor brush. The belly of the brush doesn’t hold enough water.
- Don’t forget to add details once the first layer of paint dries.
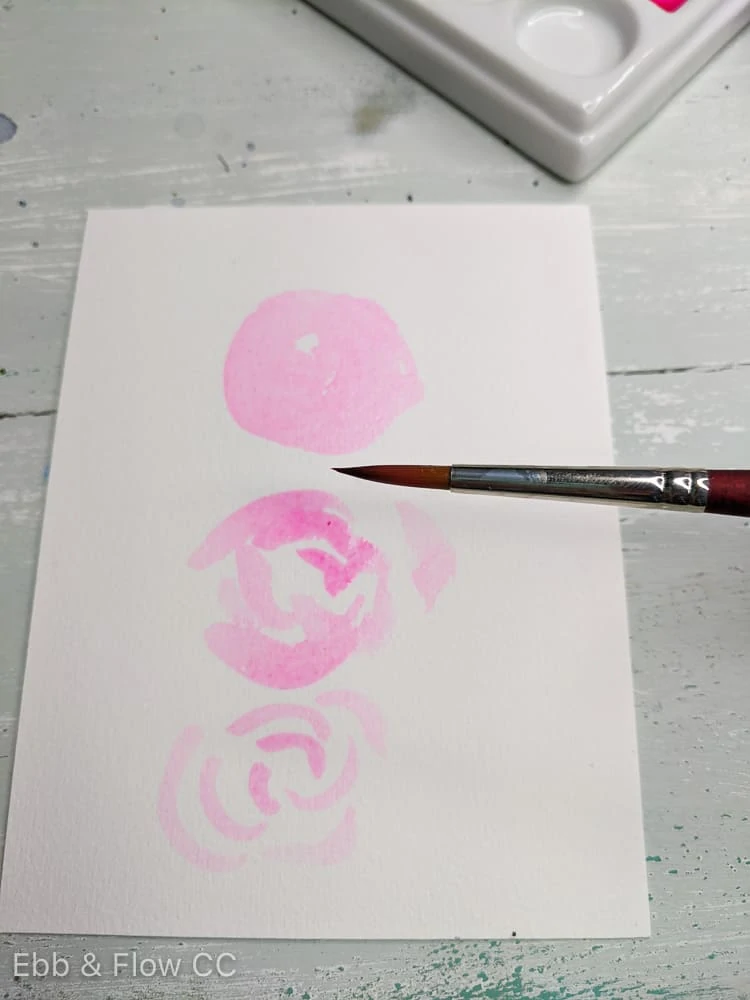
If you start a watercolor painting like this, it can be fixed if the paint is light enough.
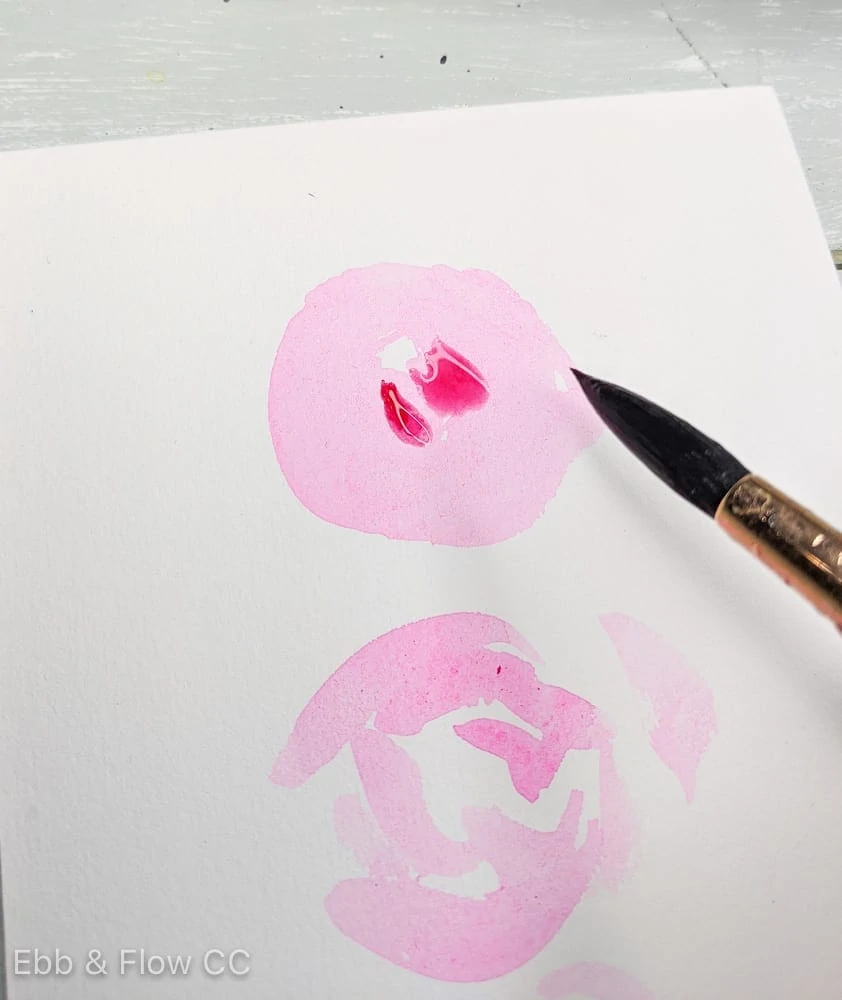
Let the paint dry completely, then paint over the old roses using the technique below.

Tips for Painting Watercolor Flowers
- Use a nice watercolor brush. It doesn’t have to be real animal hair, but it does need to be able to hold a lot of water, but still have a nice point. I really love this brush because it works so well, but doesn’t cost a fortune.
- Go slow. If you’ve watched a lot of youtube videos, it seems like the artists paint so fast! But beginners need to go slow.
- Use your brush in a drawing manner to fill in the spaces while still leaving white between the petals.
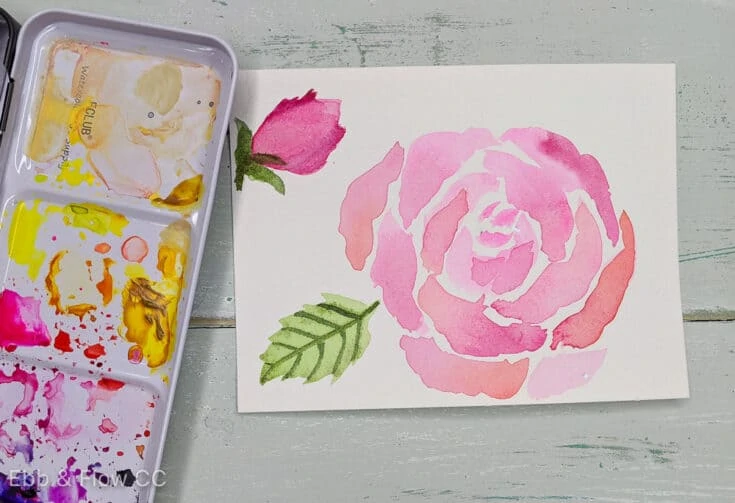
- Adding another color into the wet mix is a fun way to add interest to watercolor florals. I really like adding oranges and yellows into pink flowers.
- The center starts out small and darker, while the petals get larger and lighter in color as you get to the edges.
- Work in odd numbers for a more pleasing effect. I added 3 center parts to the rose, then 3 small petals, and so forth.
- Don’t make the petals too perfectly rounded. The need to be ruffly and irregular.
- Use a palette that holds plenty of paint. I really love this ceramic palette.
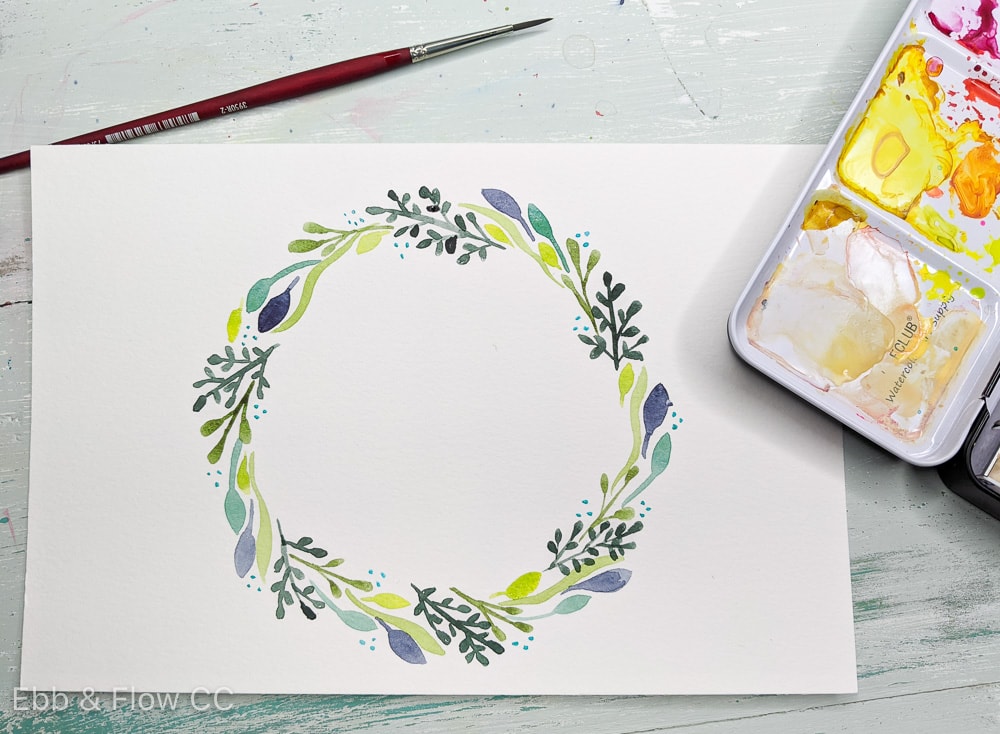
Be sure to check out this post I wrote on how to paint easy leaves. I also have a post with more easy flowers to paint with watercolor.
Watercolor Rose Tutorial
Materials
- Watercolor paint
- Watercolor paper
- Palette
Tools
- Paintbrush
Instructions
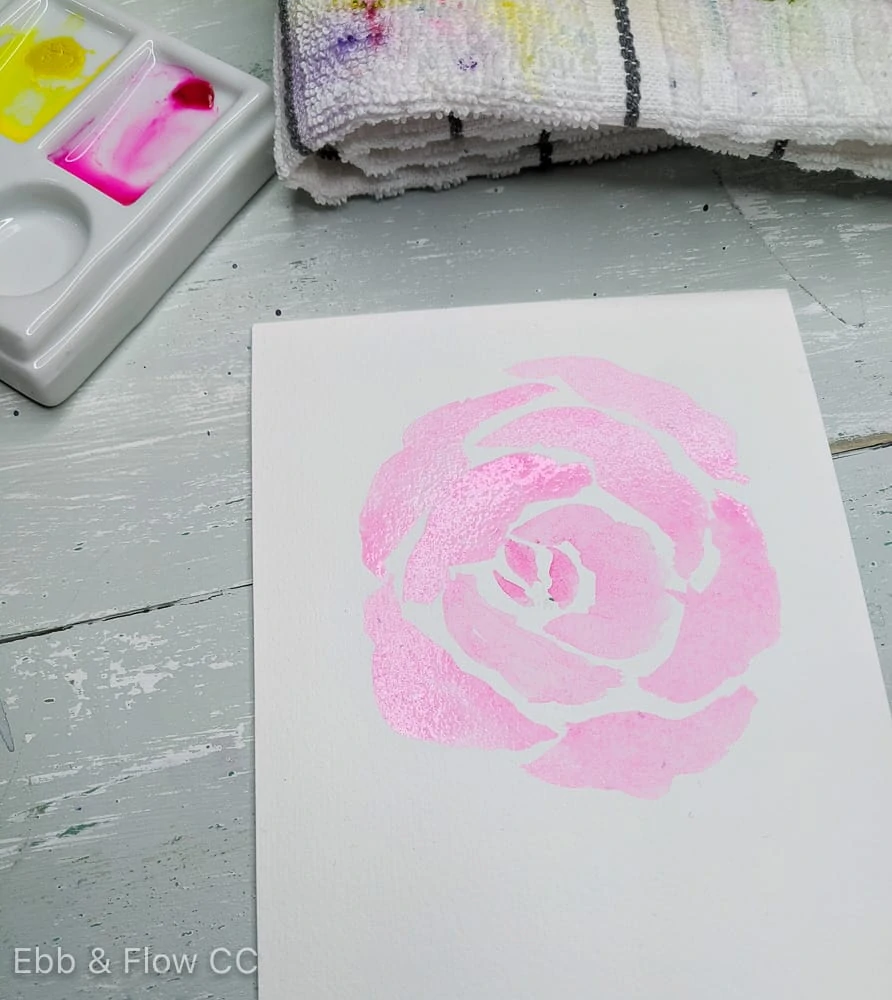
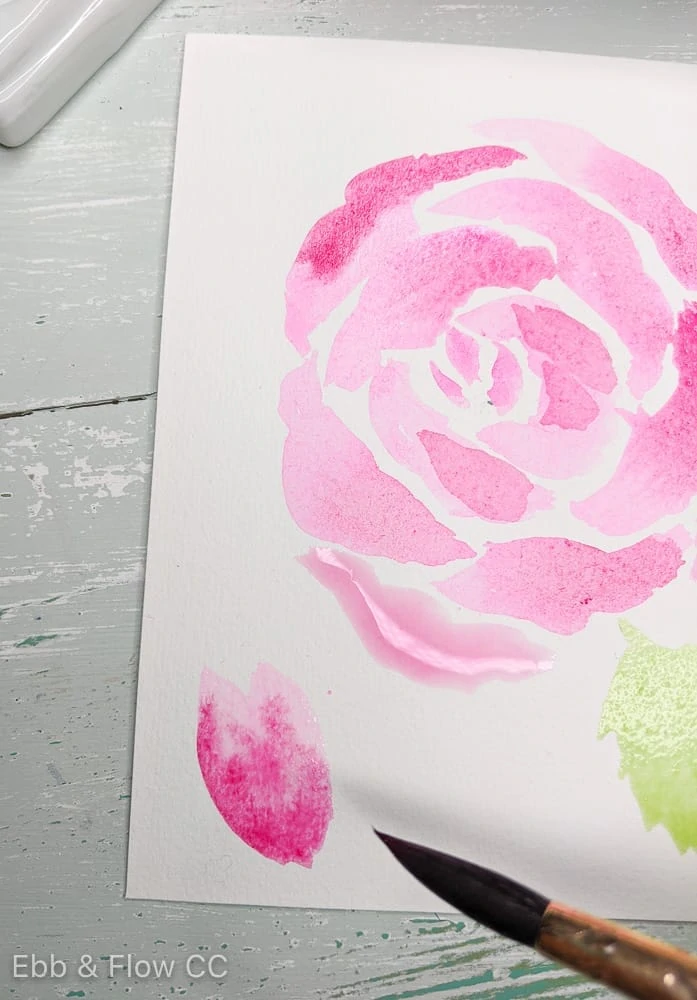
- Use a concentrated amount of watercolor and make 3 little marks in the center.

- Add a bit more water to your brush and start drawing petals around the center marks.
- Use the belly of the brush to make thicker petals and the tip of the brush to make thin parts of the petals.
- Make sure the edges are imperfect and not too round as you go.
- The first layer of petals should have 2-3 petals.

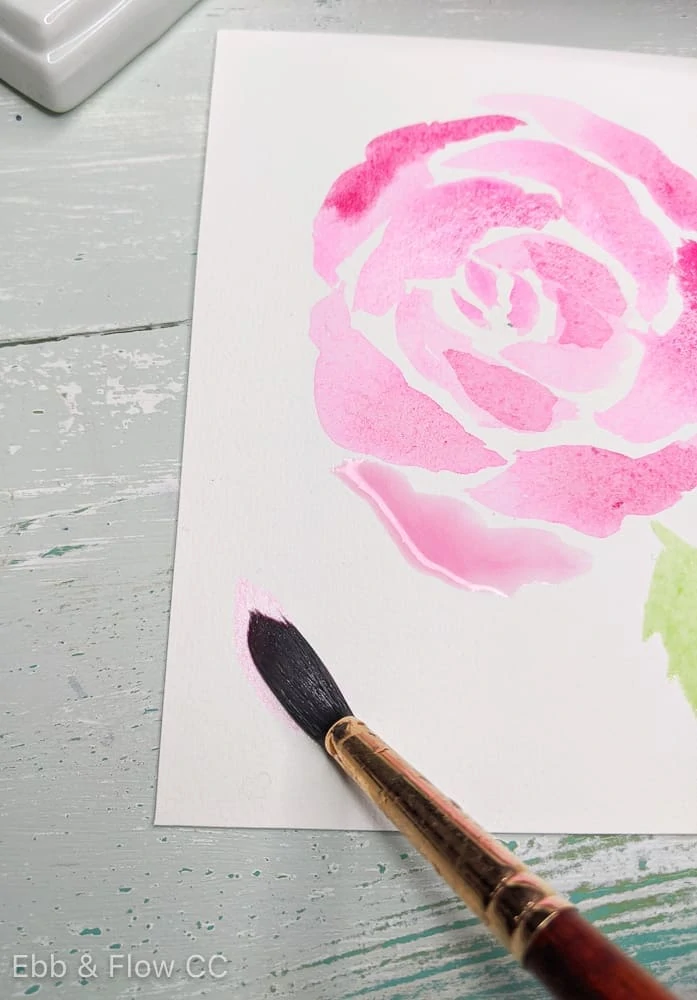
- Continue adding more petals, filling in the white spaces between them to make the petals look like they overlap.
- Add more water to lighten the color as you get to the edge.
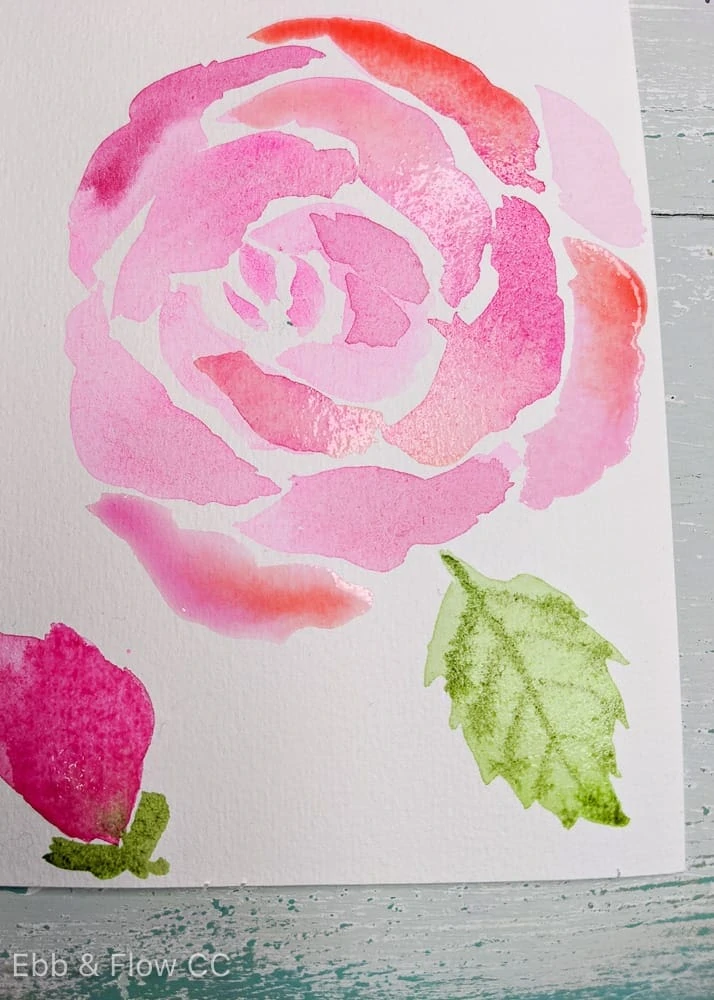
- Continue painting until you're happy.
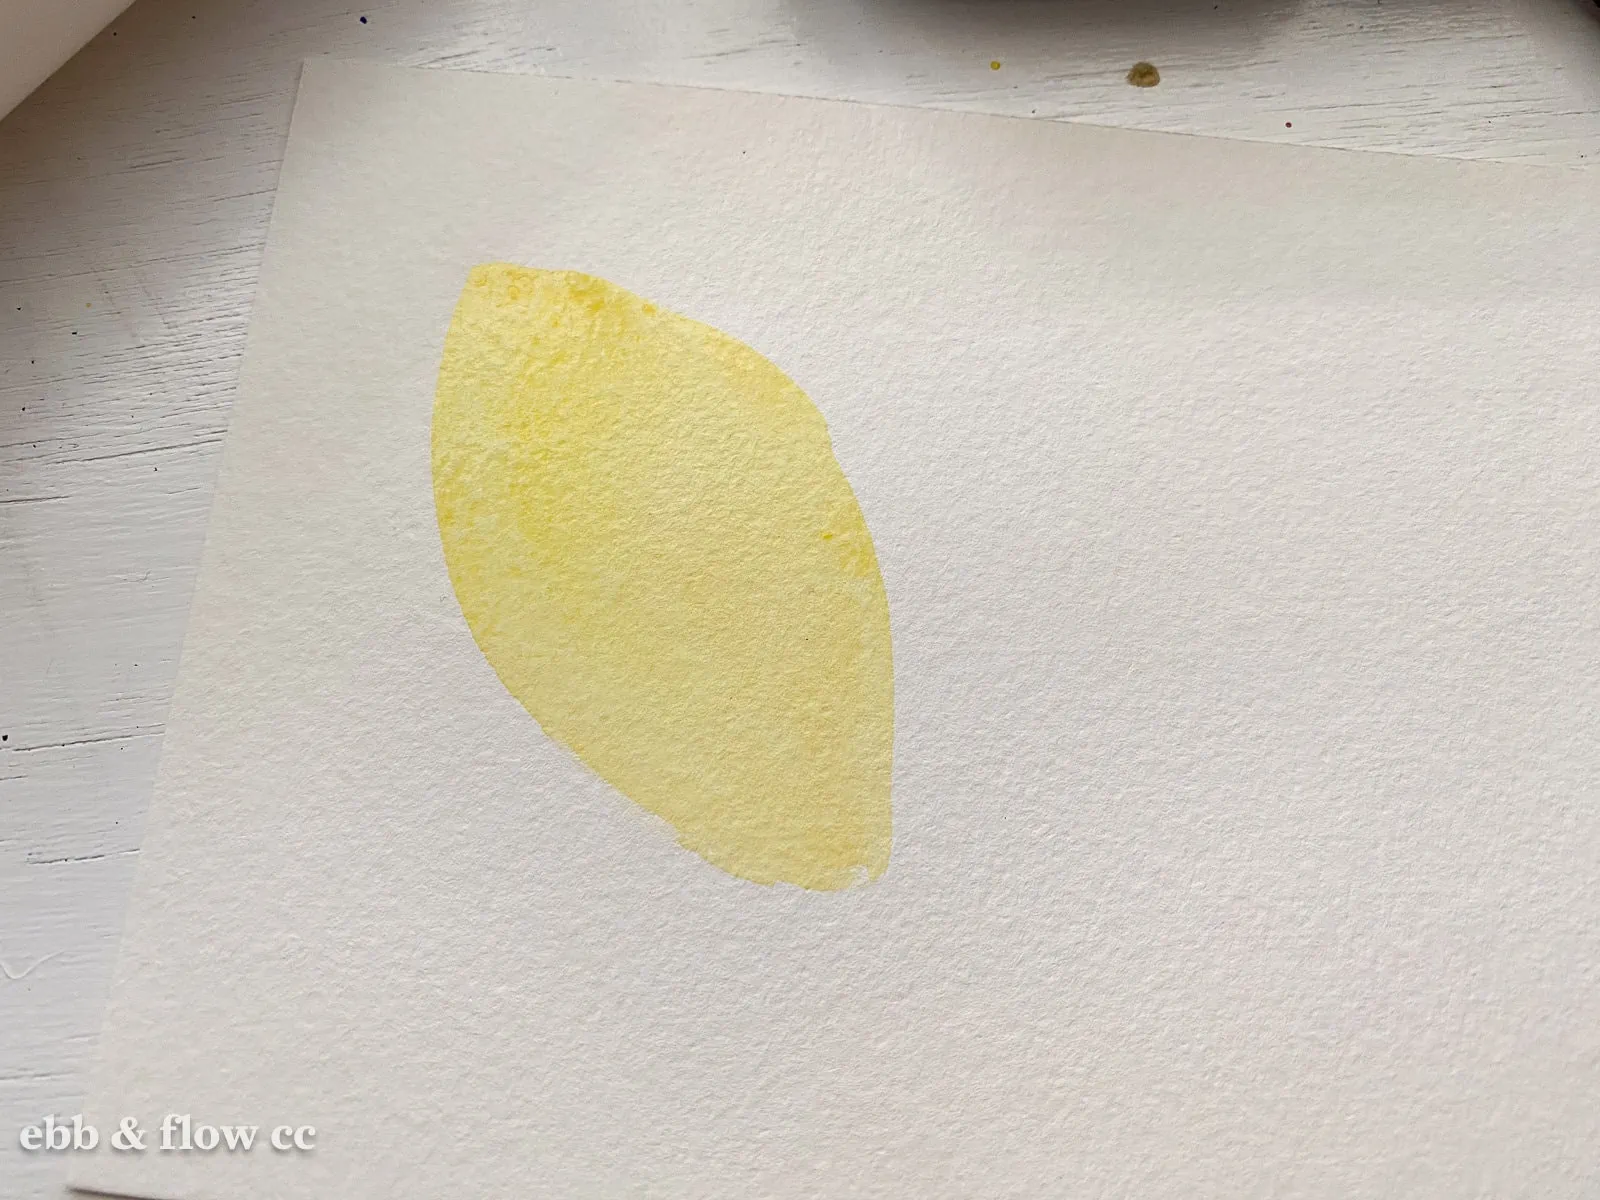
- Rosebuds can be made by using the belly of your brush to make an oval shape.

- Overlap the first oval with another oval.
- Add a few jagged lines at the top so that your rosebud isn't too perfect.
- Let the rosebud dry completely and add details as desired.
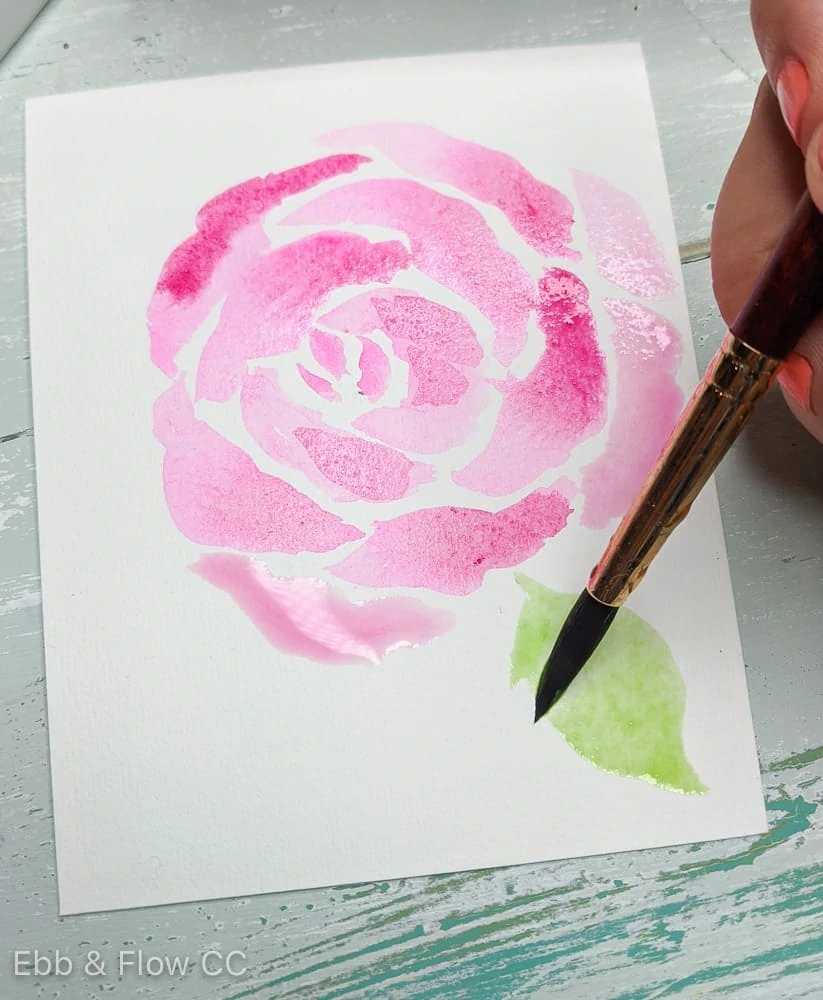
- Leaves are made in a similar manner to the rosebud. Use the belly of the brush to make 2 overlapping ovals that have a point at each end.

- Then use the tip of the brush to add jagged marks around the edges.
- Let the paint dry slightly and add lines for the veins. (They will bleed, but that will add depth to the finished leaf.)

- Let the leaves dry completely and add lines again.


Notes
You can drop spots of colors into the rose while it's wet for a fun effect. 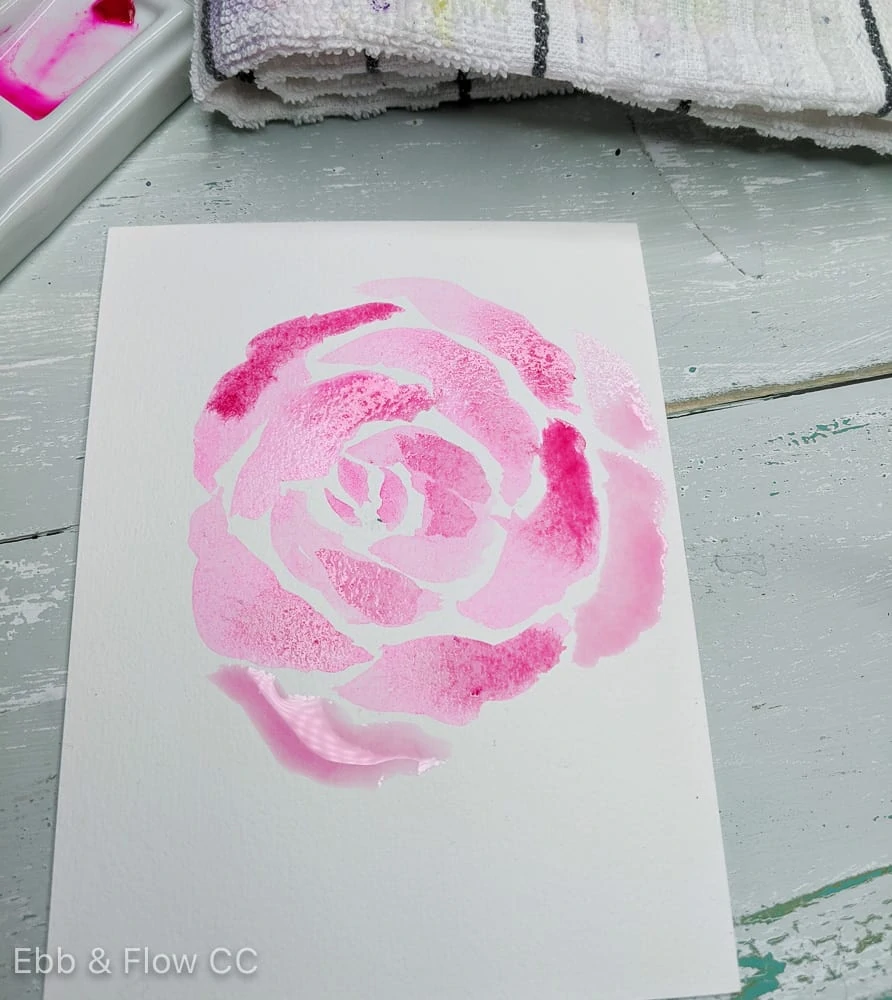
Details can be added once the painting is completely dry.
Recommended Products
As an Amazon Associate and member of other affiliate programs, I earn from qualifying purchases.
-
 MEEDEN Ceramic Artist Paint Palette Tray 7-1/2 by 4-1/3-Inch Rectangle Shape for Watercolor Gouache Painting
 -
ARTEZA 9x12" Expert Watercolor Pad, Pack of 2, 64 Sheets (140lb/300gsm), Cold Pressed, Acid Free Paper, 32 Sheets Each, Ideal for Watercolor Techniques and Mixed Media
-
Princeton Artist Brush Neptune, Brushes for Watercolor Series 4750, Quill Synthetic Squirrel, Size 6


You Might Also Like:
- How to Make a Custom Watercolor Palette
- Secrets for Mixing Green Watercolor Paint
- All About Watercolor Paper
Pin for Later!