How to Start an Etsy Shop

I’m a self-taught artist who loves sharing tips and tutorials for painting with watercolor and gouache, and using the Procreate app on the iPad.
Opening a shop on Etsy can feel a little intimidating. These easy tips will get you started in no time! Learn how to start an Etsy shop.
Don’t forget to download the free printable checklist for starting an Etsy shop.
Get more Etsy tips here.
This post contains affiliate links. By purchasing an item through an affiliate link, I earn a small commission at no extra cost to you. As an Amazon Associate I earn from qualifying purchases.
You might also like this post on digital products to sell on Etsy.
How Much Does It Cost to Start an Etsy Shop?
It doesn’t cost anything to start an Etsy shop. The whole process is free.
However, each listing costs $0.20, so be sure to sign up with those 40 free listings!
You won’t be billed for the listing fees until the end of the month. Hopefully, you’ve made a sale by then and it will just come out of the sales.
How to Start an Etsy Shop
Create a Shop
If you already have an account, make sure that you’re signed in and use this link to get 40 free listings.
You might be taken to another webpage and have to click another button to open a shop.
(Note: if you already have an Etsy shop and want to open another one, you will either have to log out of your current shop or you will need to open Etsy in another browser. You will need to use another email account to open a 2nd shop.)
Setting Up the Shop
You have to complete these steps before your Etsy shop is open.
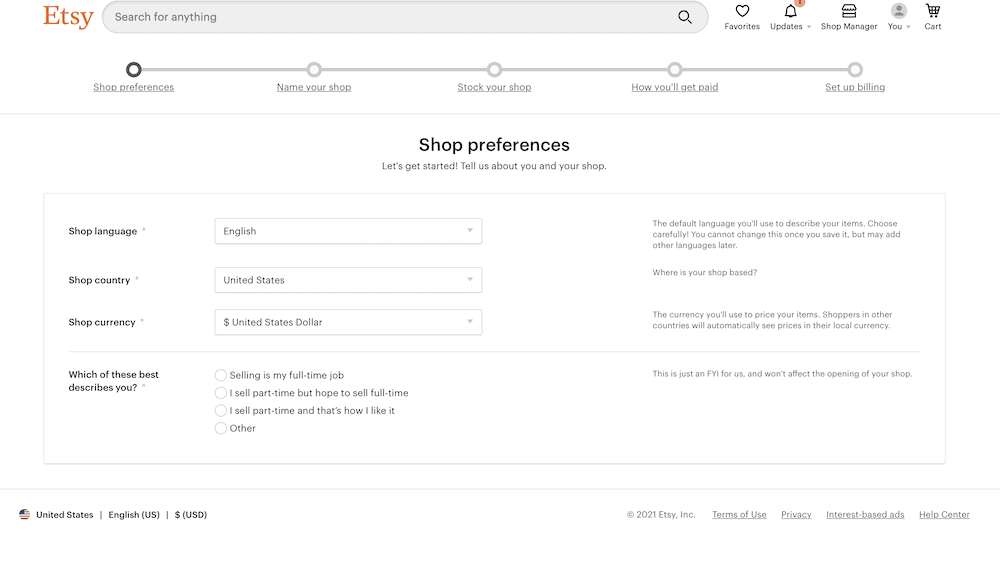
Preferences
In this section, you just fill out your currency preferences. It also asks if you plan to sell full time or part-time. This question is just for their own data and doesn’t affect your shop.
Name Your Shop
Hopefully, you’ve already come up with a good shop name. If the name has ever been used before, it cannot be used again. You can get around this by adding “Studio” or “Designs” to the end of your desired name.
Check out this post about how to name your Etsy shop.
Stock Your Shop
This part was the scariest part to me when I set up my Etsy shop, so let me clarify that NO ONE WILL SEE THIS.
You have to upload a photo, add information, and if it’s a digital product, add a file. None of it matters. Without keywords in the description, no will can see this.
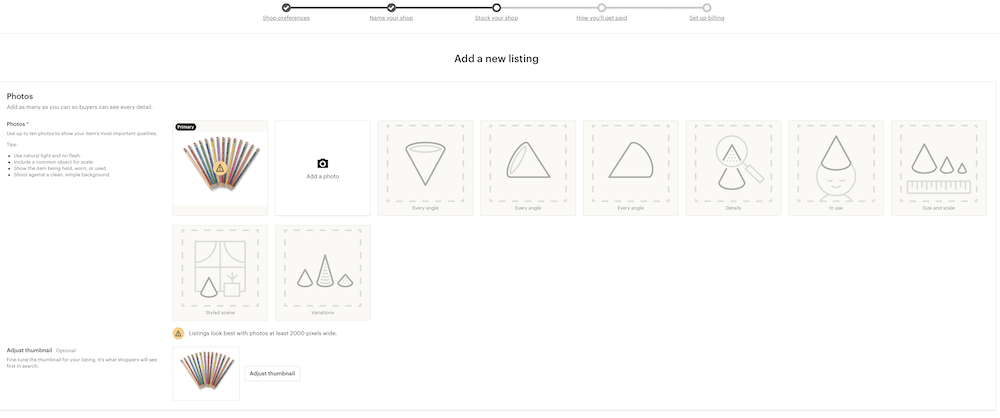
I usually upload the 1st photo that I find on my computer. I enter “Test” for the title, select a random category, change the listing to “digital”, add “test” for the description, add a price and a random zip file.
If you want, you can use the product placeholder file and image at the end of this page for your listing.
When your shop is set up, you can delete this item. (I’ll remind you!)
How to Get Paid
In this section, you add the information necessary for getting paid.
If you do not have a business bank account, you might want to consider getting one in the future. Treat this like a business and it will become a business. (Some states might require you to get an EIN number first.)
For now, add whatever bank you have.
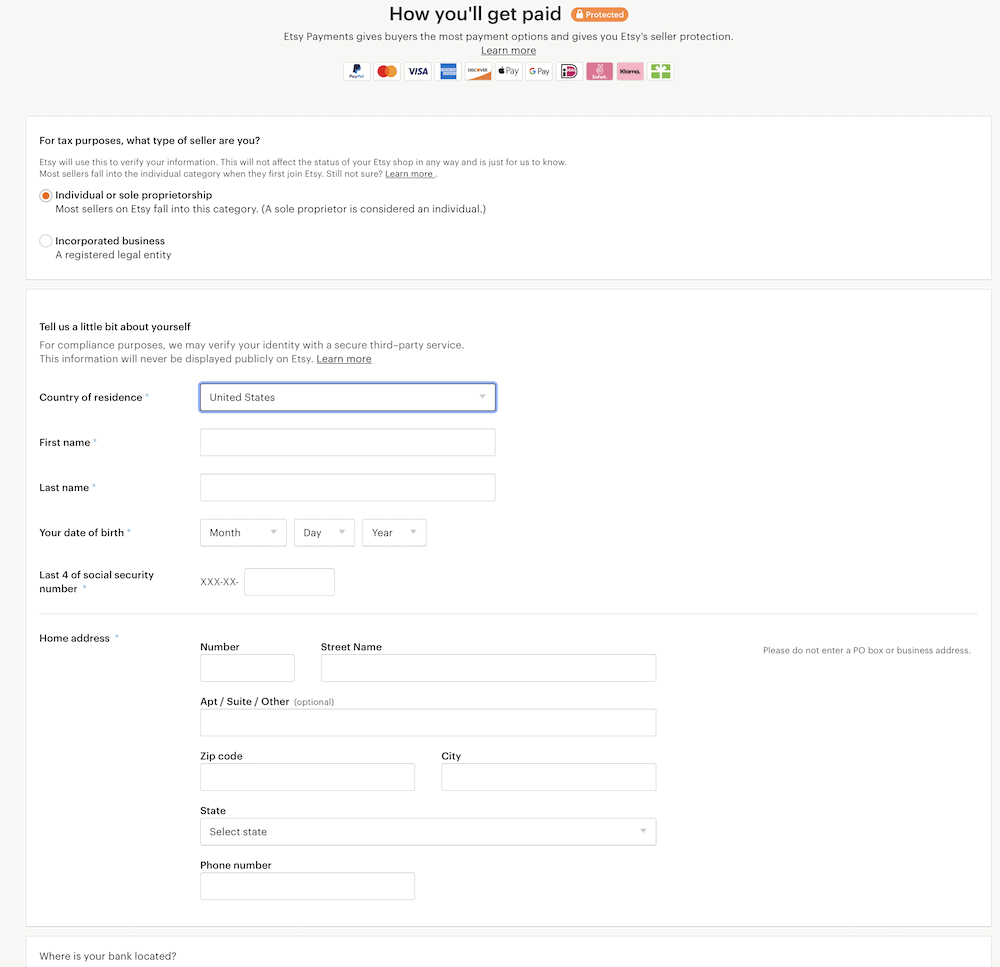
You will be asked what country you live in, your name, your date of birth, the last 4 of your social security number, your address, and your phone number.
Then you need to add what country your bank is in, the name on the account, the account type (checking vs savings), the routing number, and the account number. (If you don’t know the routing number, you can google it.
After that, click on the Open Shop button.
Confirm Your Account Via Email
Next you will need to confirm your account using the email address that you signed up with.
Delete the Fake Listing
From here, you can choose the option for shop manager at the top of the screen. Click on listings in the left side of the screen. Choose your fake listing and delete it.
If you used a real image of an item you want to sell, you can deactivate the listing until you finish filling out the information.
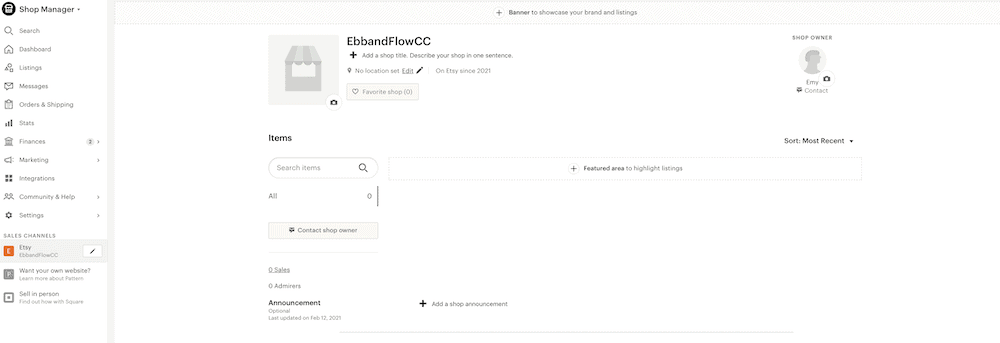
Making Your Shop Look Legit
Want to make your shop look legit? Filling in the following information is important for making your shop look legit. All of these things are important for trust.
You would never shop in a store without a sign. Your shop needs to look open and ready for business.
Shop Title
The shop title tells people what your shop is going to sell. This is a great place to put keywords. If you sell invitations, say something about invitations. You only have 55 characters so be brief.
Be sure to add your location as well.
Images (Logo and Banner)
(I have an entire post about creating images for Etsy.)
Here’s the fun part. You can create these images in Canva or professional software like Adobe Illustrator.
Don’t sweat this part too much. You will probably change it 10 times before you find a logo you like. Done is better than perfect.
For the banner, you have 2 options for sizes. The big banner is 1200 x 300. The mini banner is 1200 x 160.
The banner usually shows your shop name and any other relevant information.
You can show photos of what you sell or just keep to your name. Keep in mind that most people view it on a phone. Make sure that your images make sense when they are tiny.
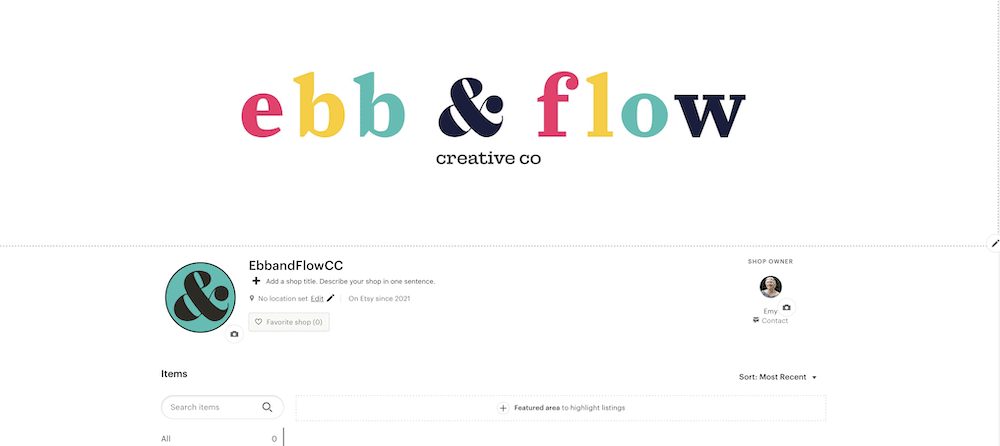
The logo needs to be 500 x 500. If you have a website, you can use the same image as your favicon.
If you don’t know what that means, don’t worry about it. Just make a simple square icon that represents your shop and can be seen when it’s tiny.
The photo needs to be of you. This shows that you are a real human and not some jerk who just wants their money. It needs to be at least 400 x 400.
Look, I get it. I hate taking photos too. My photo is about 5 years old because I have been in a bad hair phase for about 5 years…
It’s really important to show that you’re a person though.
Add Links to Website or Social Media
If you have social media accounts or a blog, list it here. If not, don’t worry about it. (I don’t think anyone ever clicks on these links to be honest.)
Shop Member Information
Here’s where you add more information about yourself. Add another photo of yourself. I used the same one. There’s space for a short bio. Add a little something about yourself.
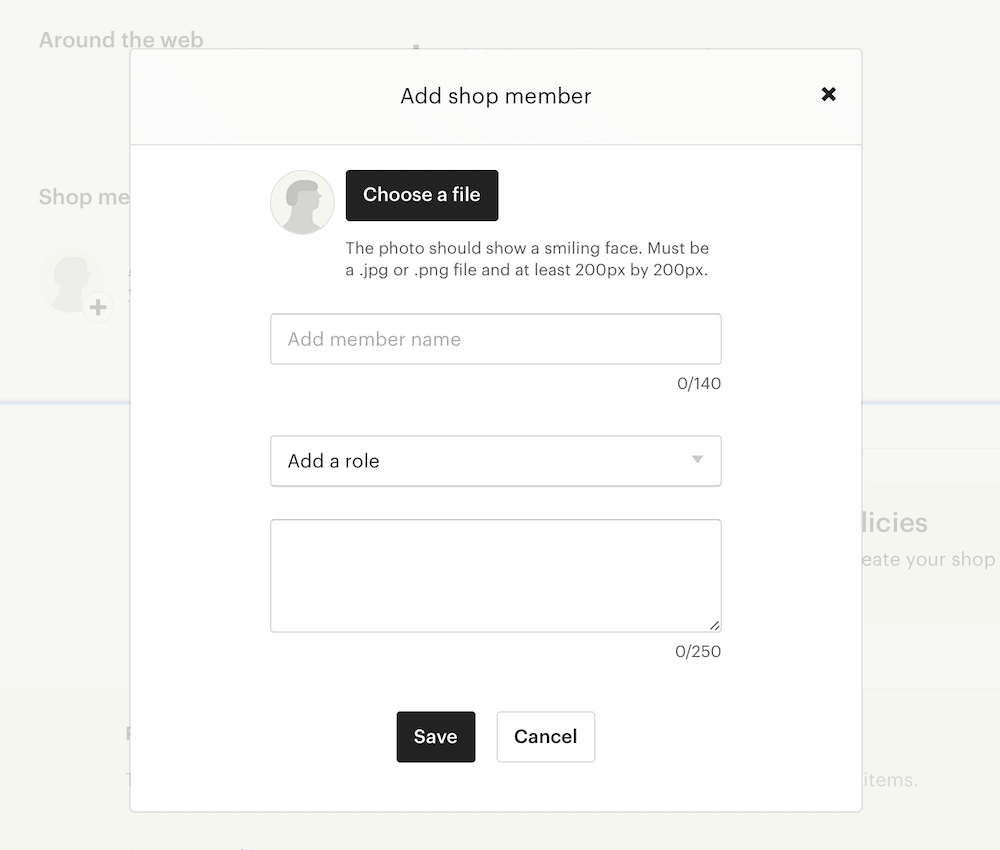
If you have more than 1 shop, add it here.
If more than one person works in your shop, you can add their information here with another member profile.
FAQ’s
If you plan on selling items that have the potential to get a lot of questions about use, add an FAQ section.
For instance, you might want to add information about how to unzip files or how to print art prints at home.
This will save you time from answering questions from the people who bother to read. This will also help you get more sales because when people have to contact your for information, they usually leave instead.
If you don’t know what to add right now, leave it blank. You can add to it as you get questions.
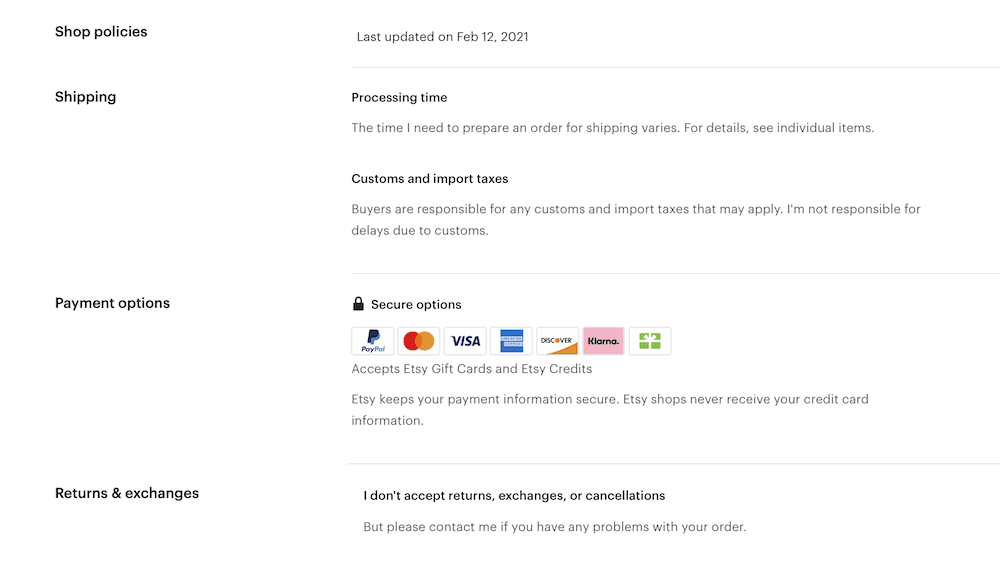
Shop Policies
You have the ability to let Etsy write the shop policies, so that’s what I do.
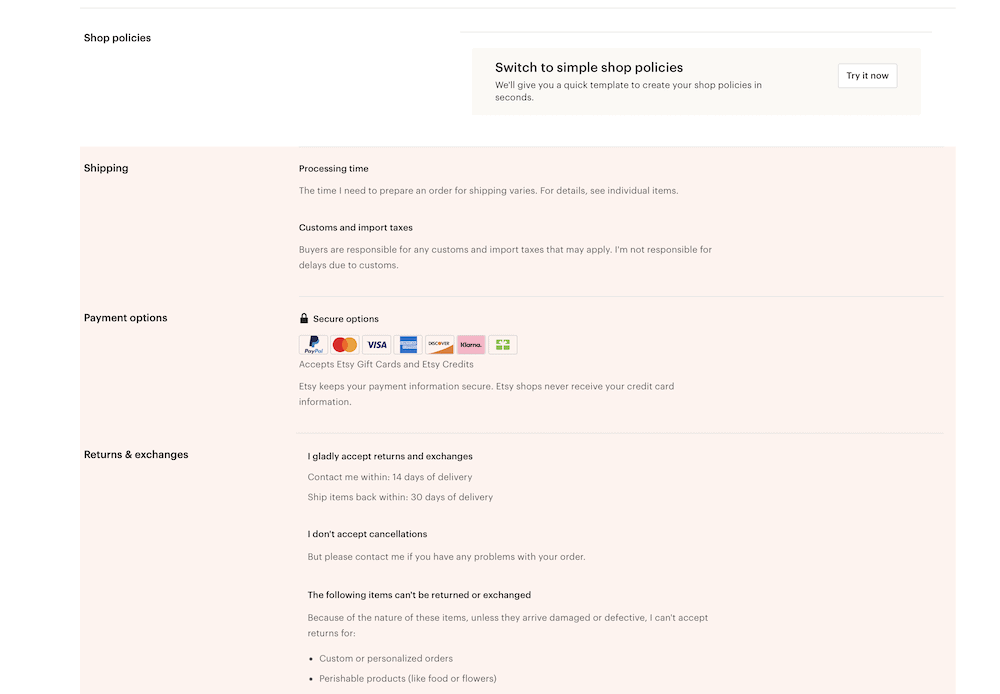
Since I sell digital products, I toggle the section about returns. (For the record, if someone asks for a return, I do give them. It’s worth it to not get a bad review.)
Optional Stuff
The rest of the places to add stuff is optional when setting up an Etsy shop.
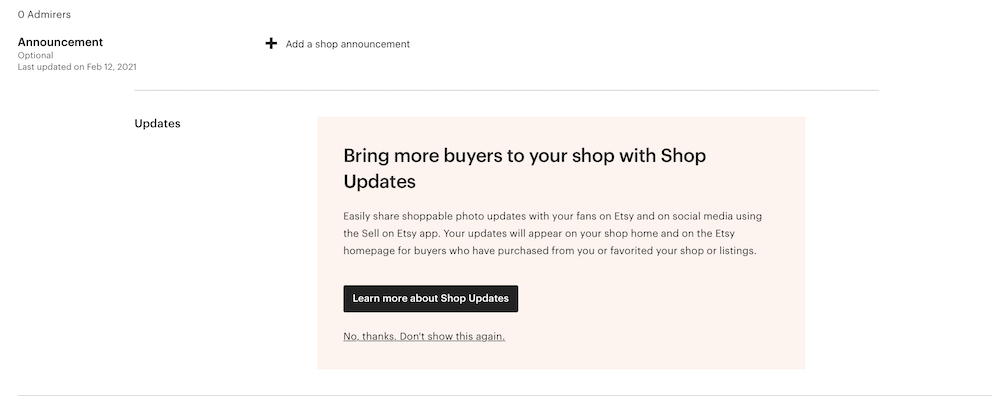
Shop Announcement
Once you have items in your shop, you can revisit this section. This is a good place to announce sales or coupon codes. You can also use this section to get people to sign up for your email list.
For now, it’s okay to leave it blank or just write a welcome message.
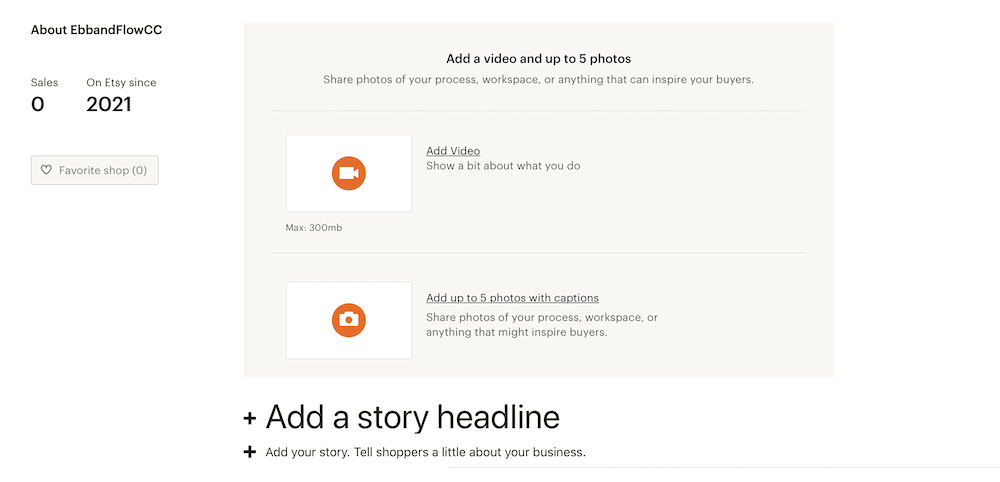
Adding Photos and Video
If you want, you can share photos or videos. You can show where you create or make videos for how to use your product.
The Last Step for Starting an Etsy Shop
Payment and Billing Settings
You can change these settings in the finance section on the left of the screen. Choose payment settings to make changes.
Edit payment schedule. If desired, you can change the payment schedule. It’s set to “once a week” by default, but you can change it to daily, every 2 weeks, or once a month.
Sales Tax. If your start requires you to buy sales tax on the type of items that you sell, you will also need to enter this information.
If you sell digital products, you will need to lookup whether your state requires sales tax on these items.
Add a credit card for billing. In the billing section, you will need to add a credit card. I’ve never had to pay for fees out of pocket, but you still need to fill this information out.
Next step: Listing your first item! Who’s excited?
Starting an Etsy Shop Checklist
These downloads are for personal use only. Please do not redistribute or sell.
Dear teachers and students: this download will not work if you try to access it when logged into your school email account. Try a personal email account instead.
Product Place Holder Image and File
Other Etsy Posts
- How to Create Digital Downloads
- Other Places to Sell Digital Items Besides Etsy
- Etsy Pros and Cons
- How to Name Your Shop
- How to Make Art Prints to Sell on Etsy
- How to Sell Procreate Brushes
Pin for Later!