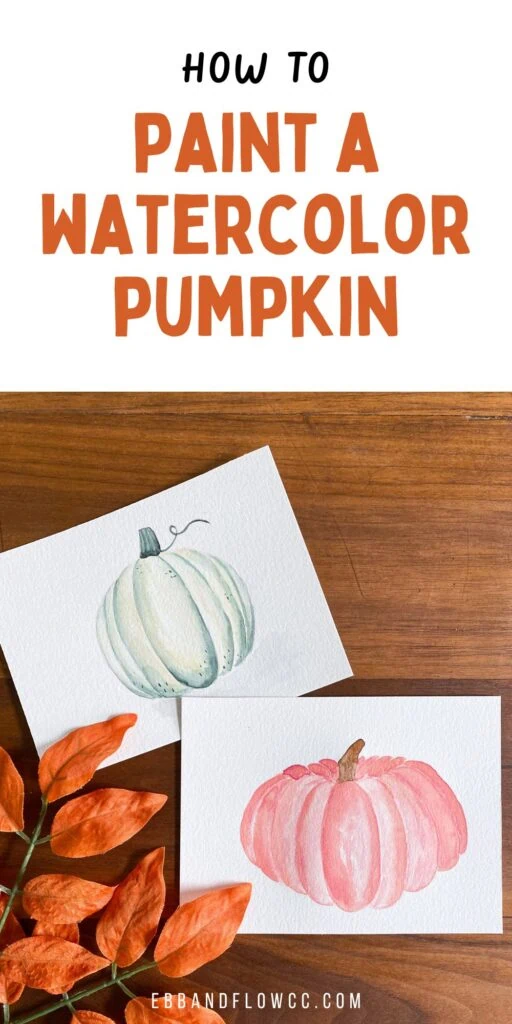
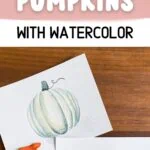
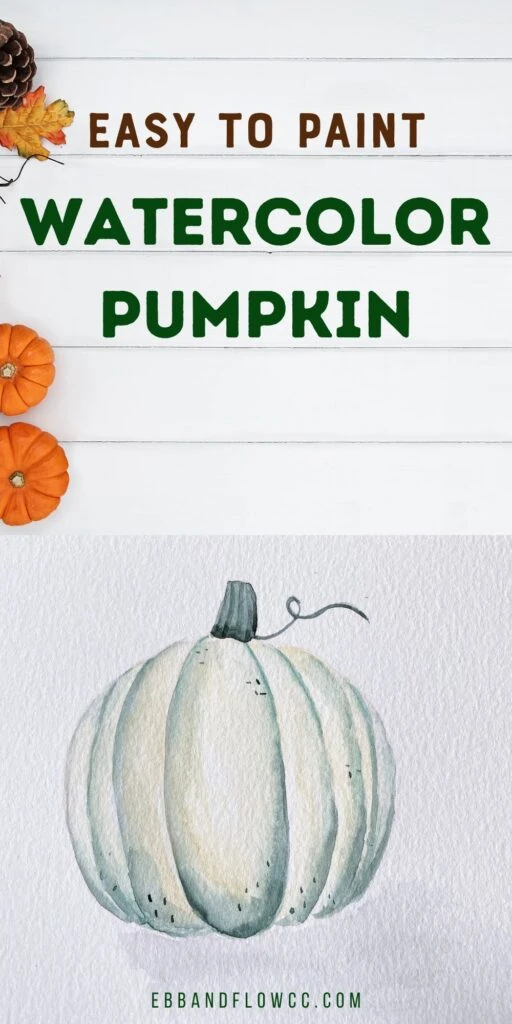
How to Paint Watercolor Pumpkins

I’m a self-taught artist who loves sharing tips and tutorials for painting with watercolor and gouache, and using the Procreate app on the iPad.
Follow this simple tutorial to paint watercolor pumpkins for fall.
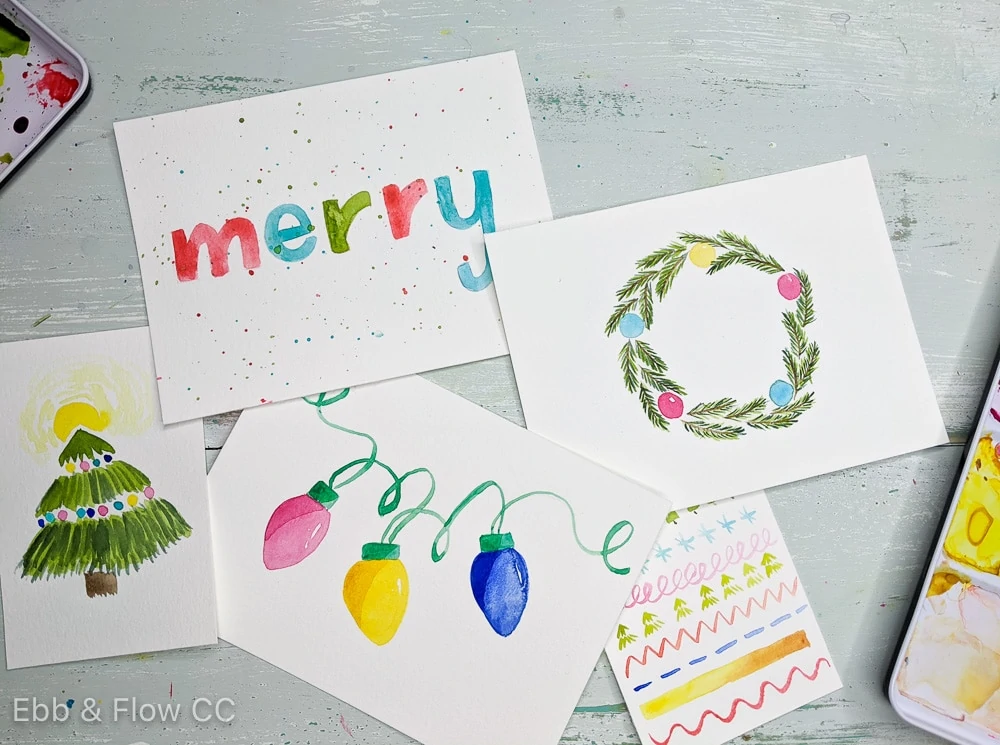
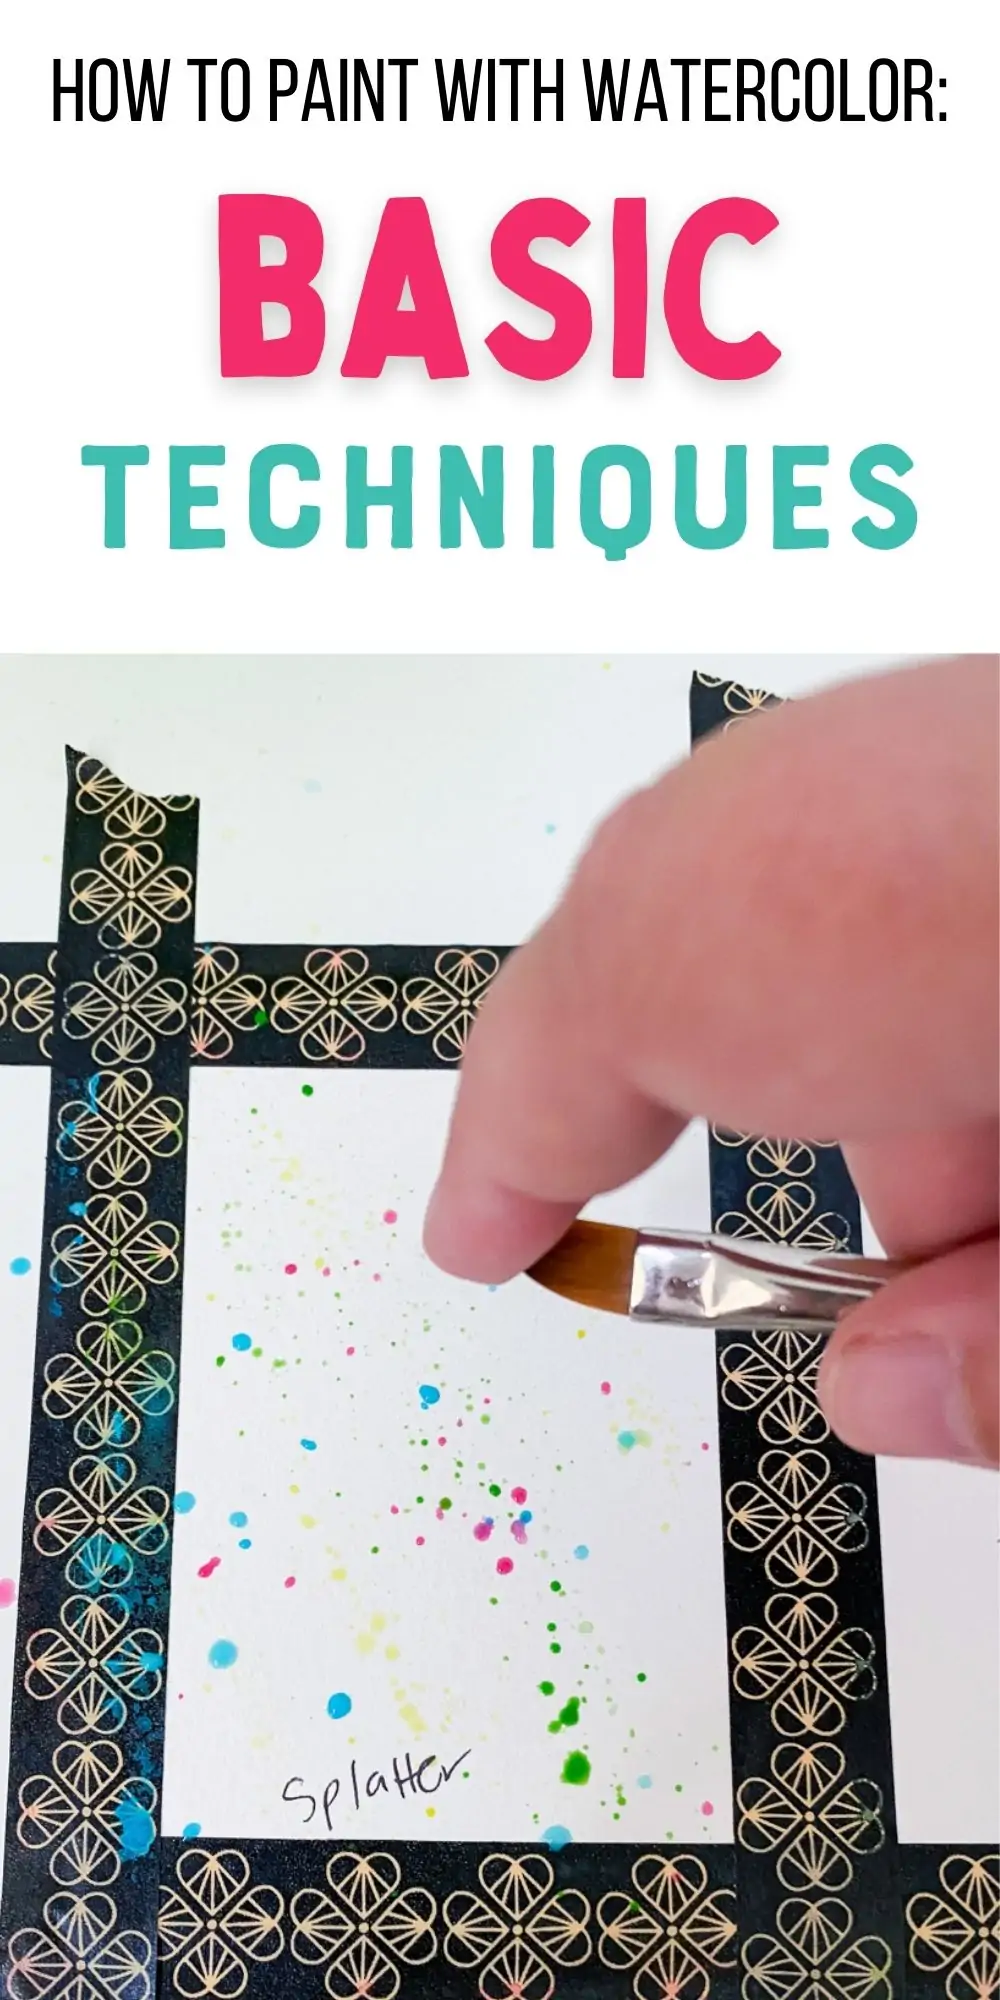
You might also like these other watercolor tutorials.
This post contains affiliate links. By purchasing an item through an affiliate link, I earn a small commission at no extra cost to you. As an Amazon Associate I earn from qualifying purchases.
Get ready for fall with this fun watercolor pumpkin tutorial.
What color should my pumpkin be?
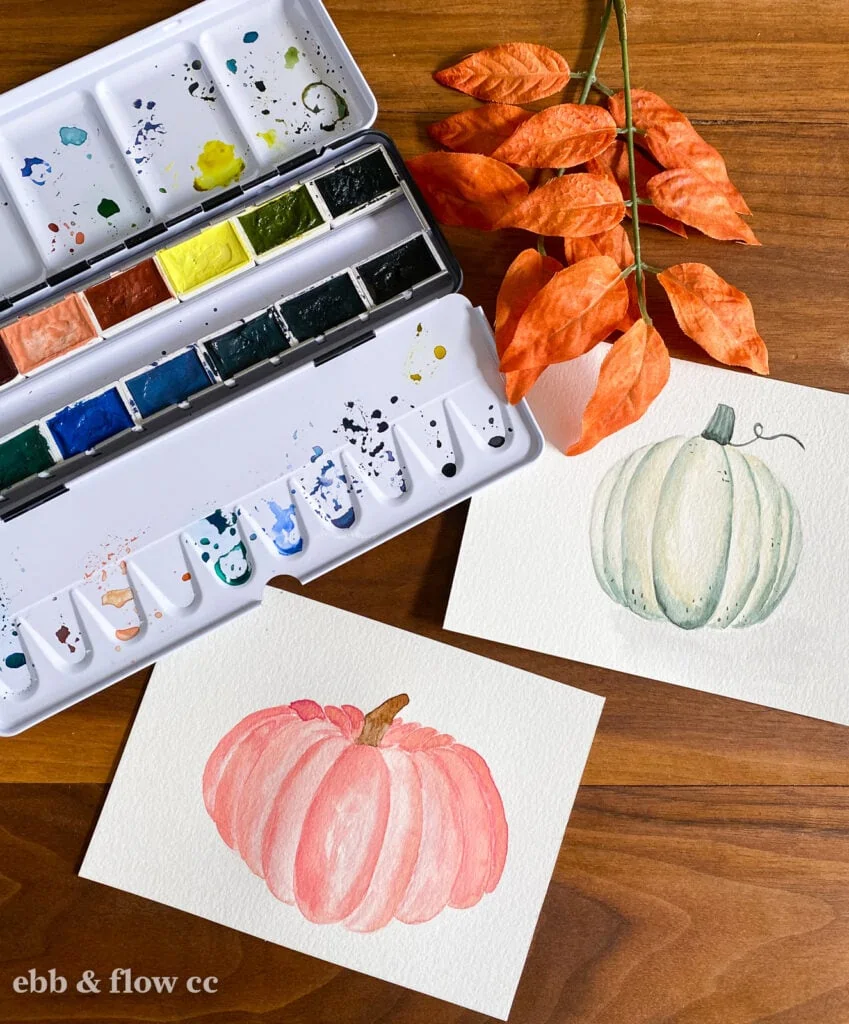
Pumpkins come in a variety of colors.
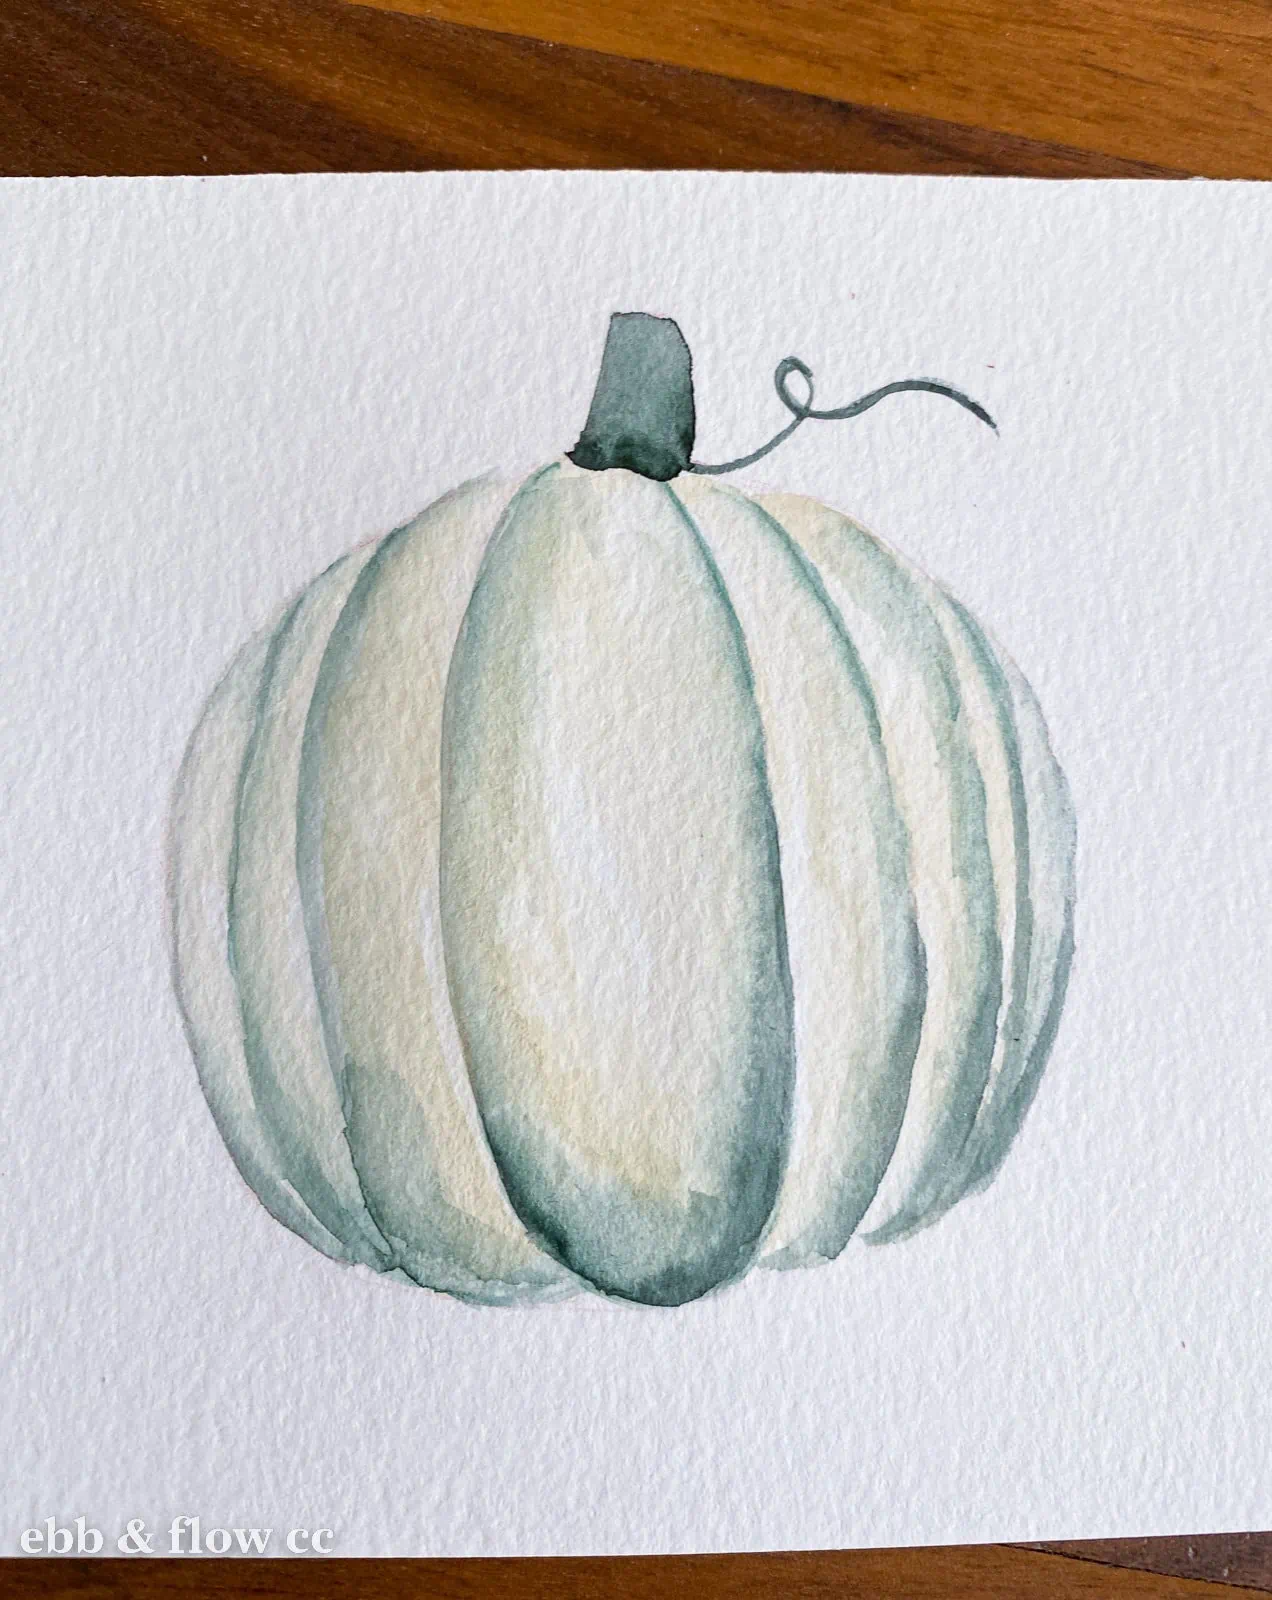
They can be orange, yellow-orange, or fun colors like white or baby blue. I’ve even seen black pumpkins.
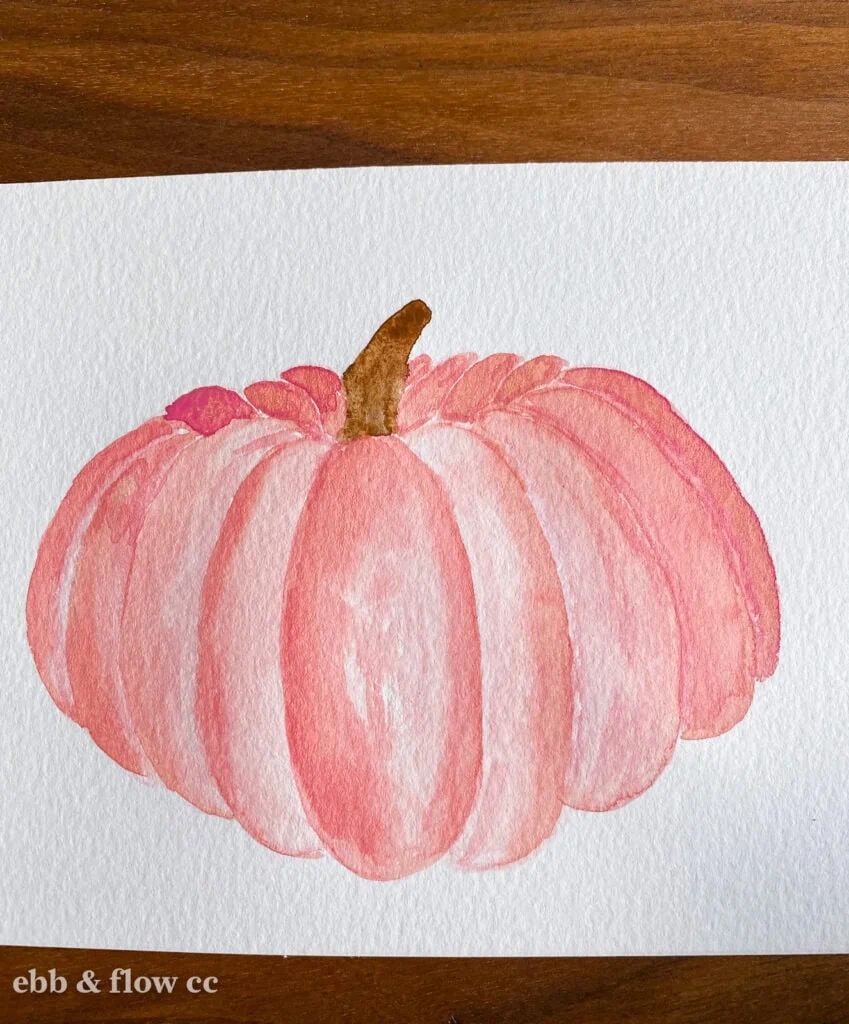
Of course, you can take artistic license and make your pumpkin whatever color you want. A pink pumpkin? Sounds great!
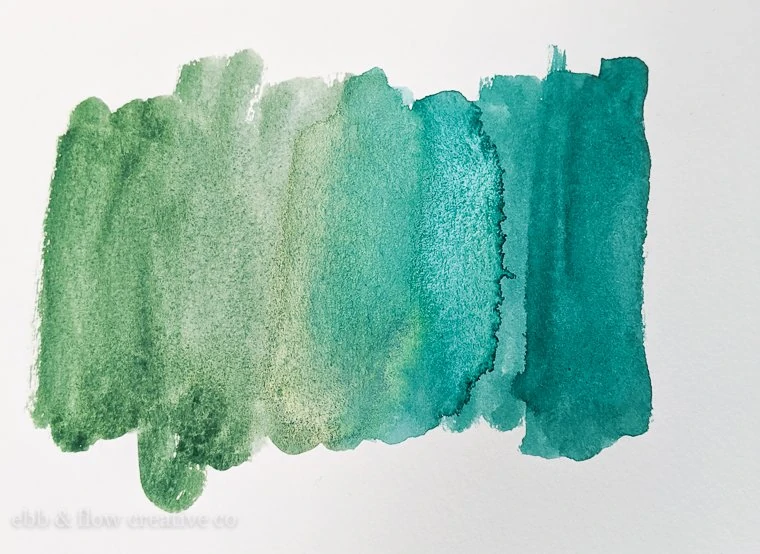
For white pumpkins, I like to include a bit of perylene green for shading. Purple would also be great.
Buff titanium works well to get a creamy white color.
(See more about painting white here.)
For realistic colored pumpkins, try muting the color by adding a touch of paint from a color opposite the color wheel. See more about color theory here.
For instance to get a muted orange, add a touch of blue to the mix.
Learn more about mixing orange here.
What shape should my pumpkin be?
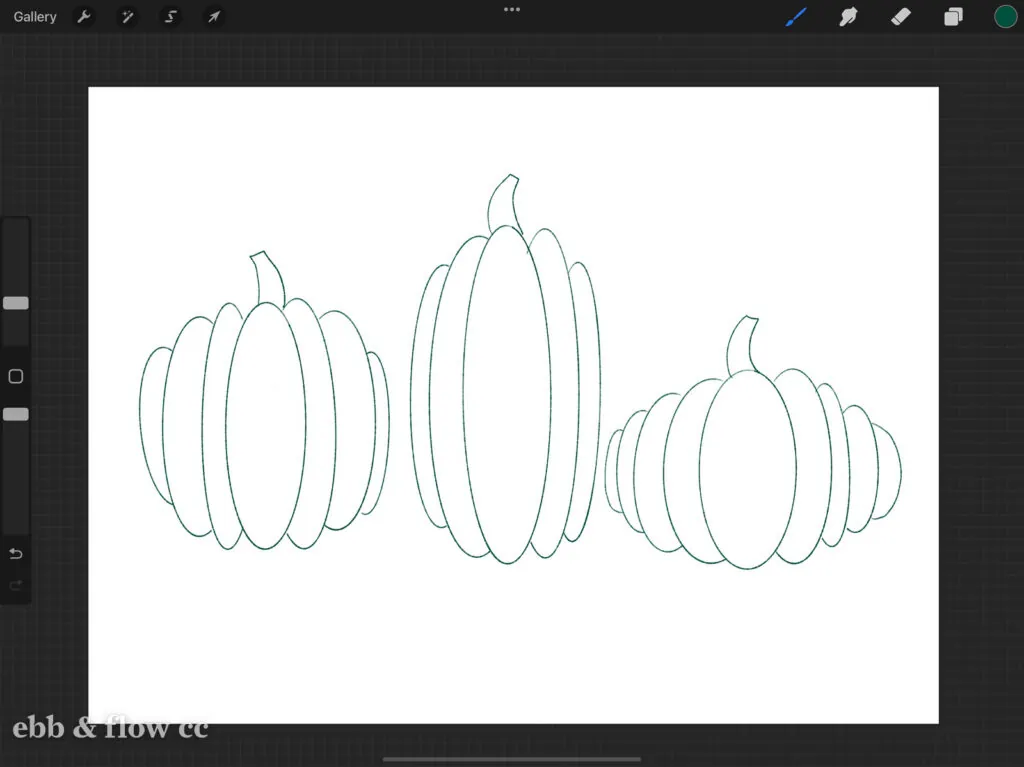
Pumpkins also come in a variety of shapes. They are most commonly round, but they can also be short and wide or tall and thin.
It’s okay if your pumpkin is a bit lumpy. It will look more realistic.
I have included a printable pumpkin template below to download and use for your watercolor pumpkin.
How to Paint Watercolor Pumpkins
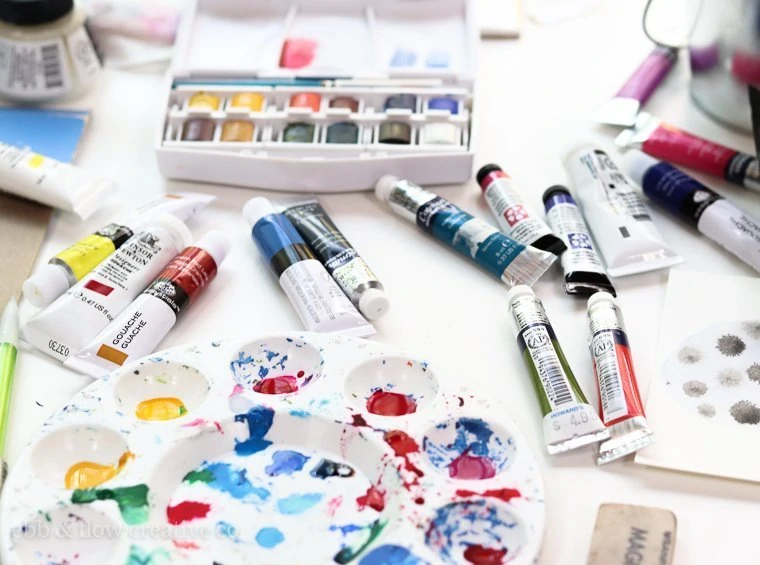
Supplies Needed:
- Watercolor paper
- Watercolor paint
- Watercolor brushes
- Pencil
- Eraser
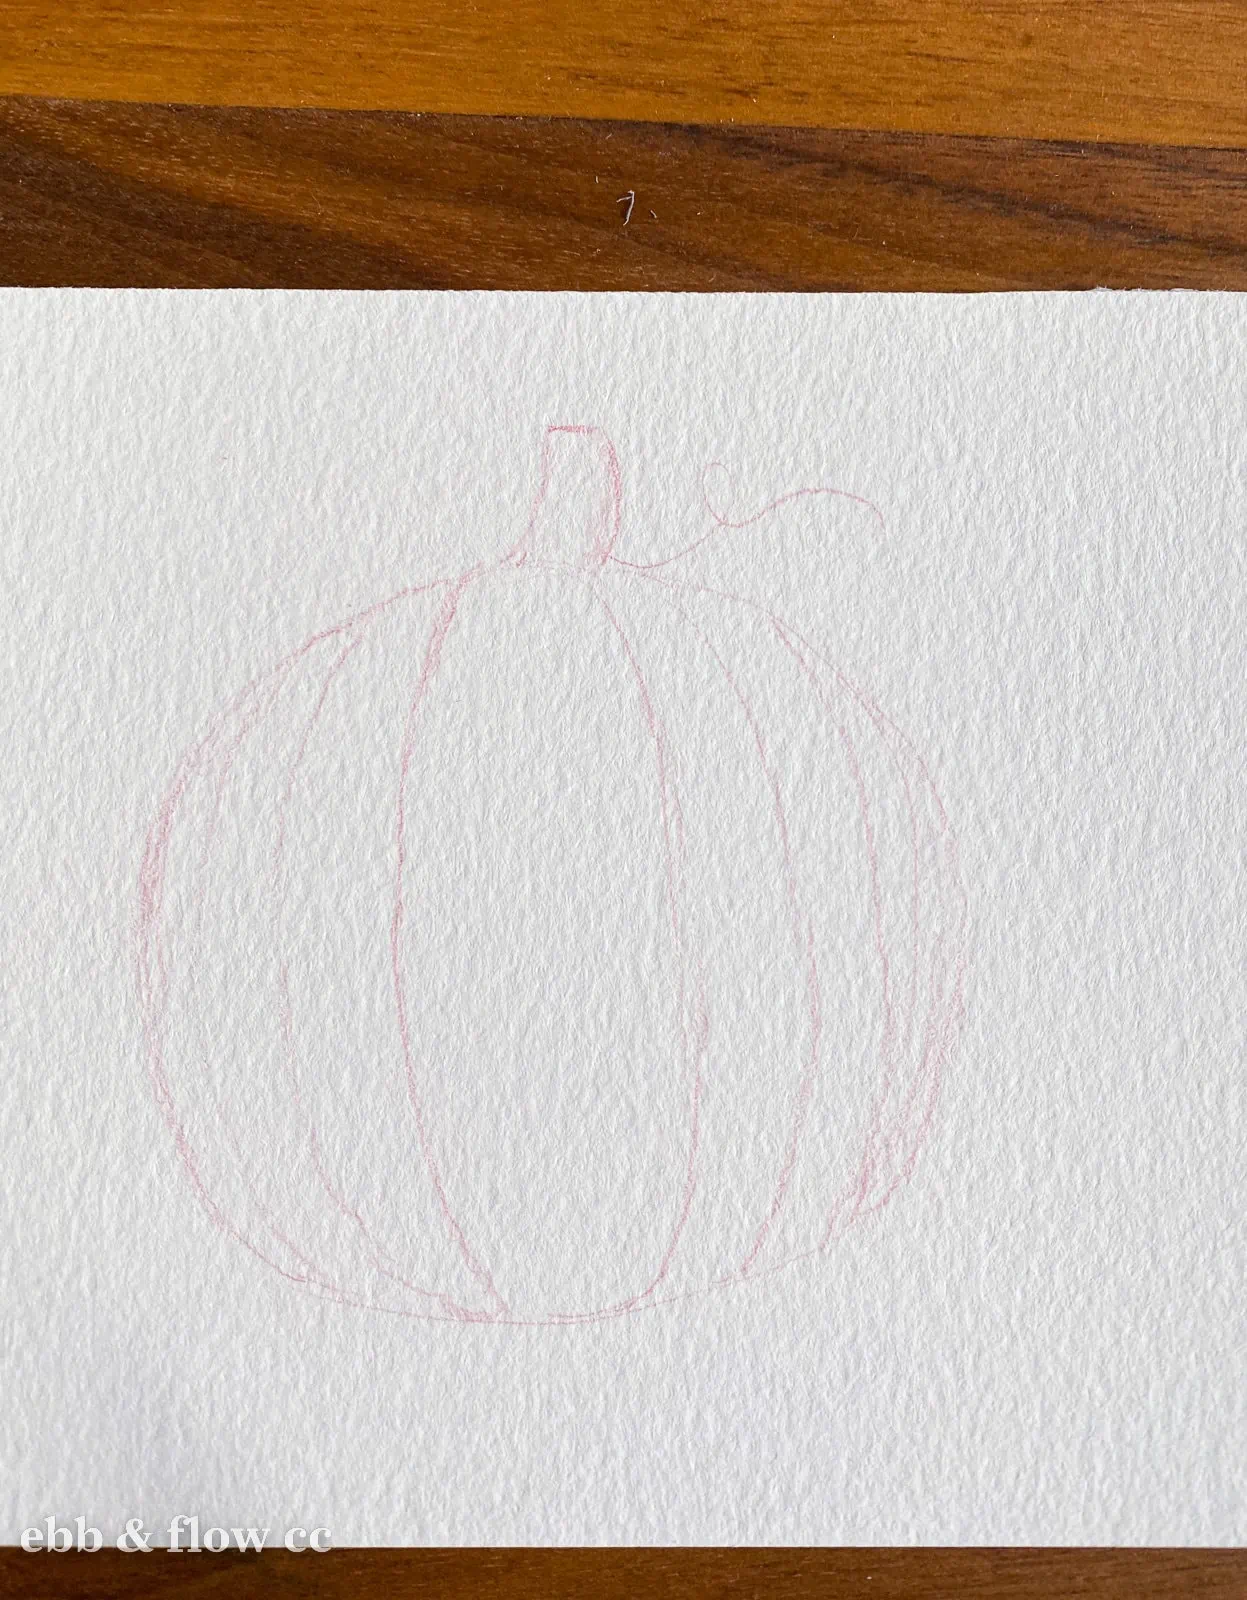
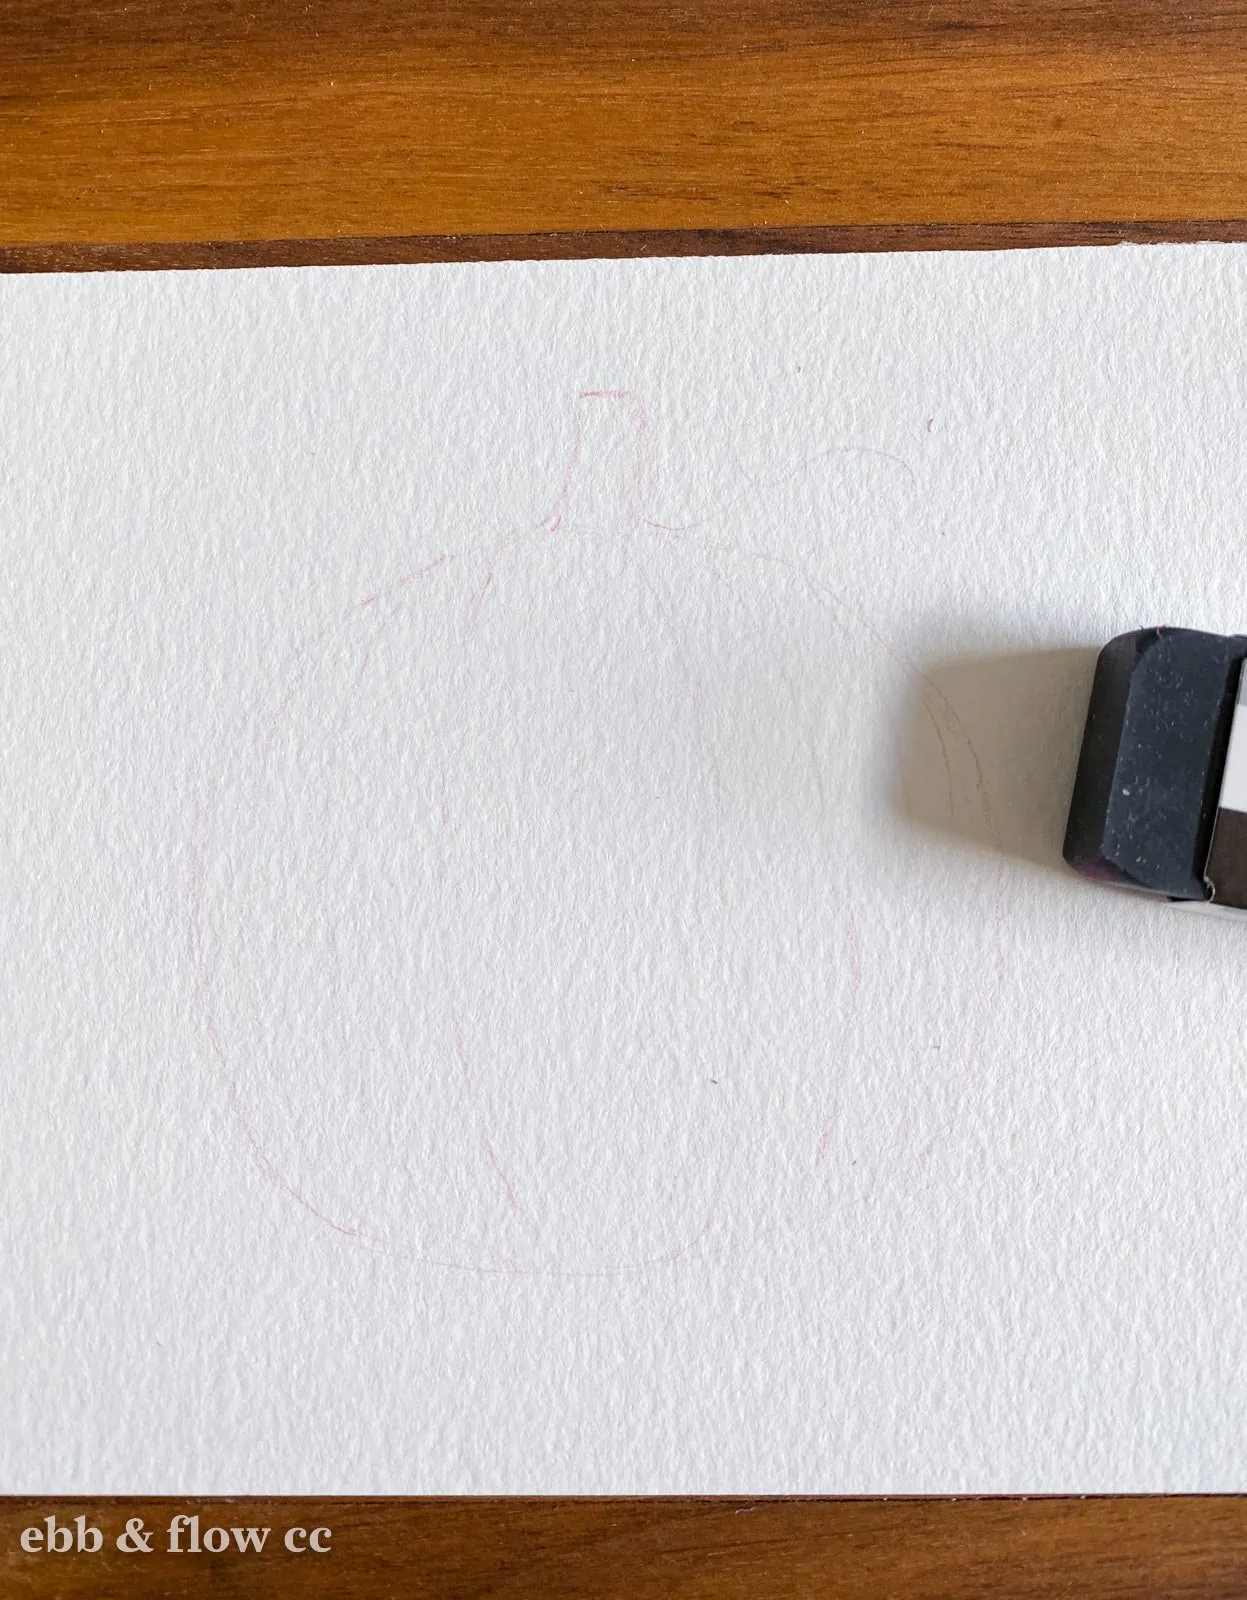
- Sketch out your pumpkin.

- Lightly erase the sketch with an eraser.
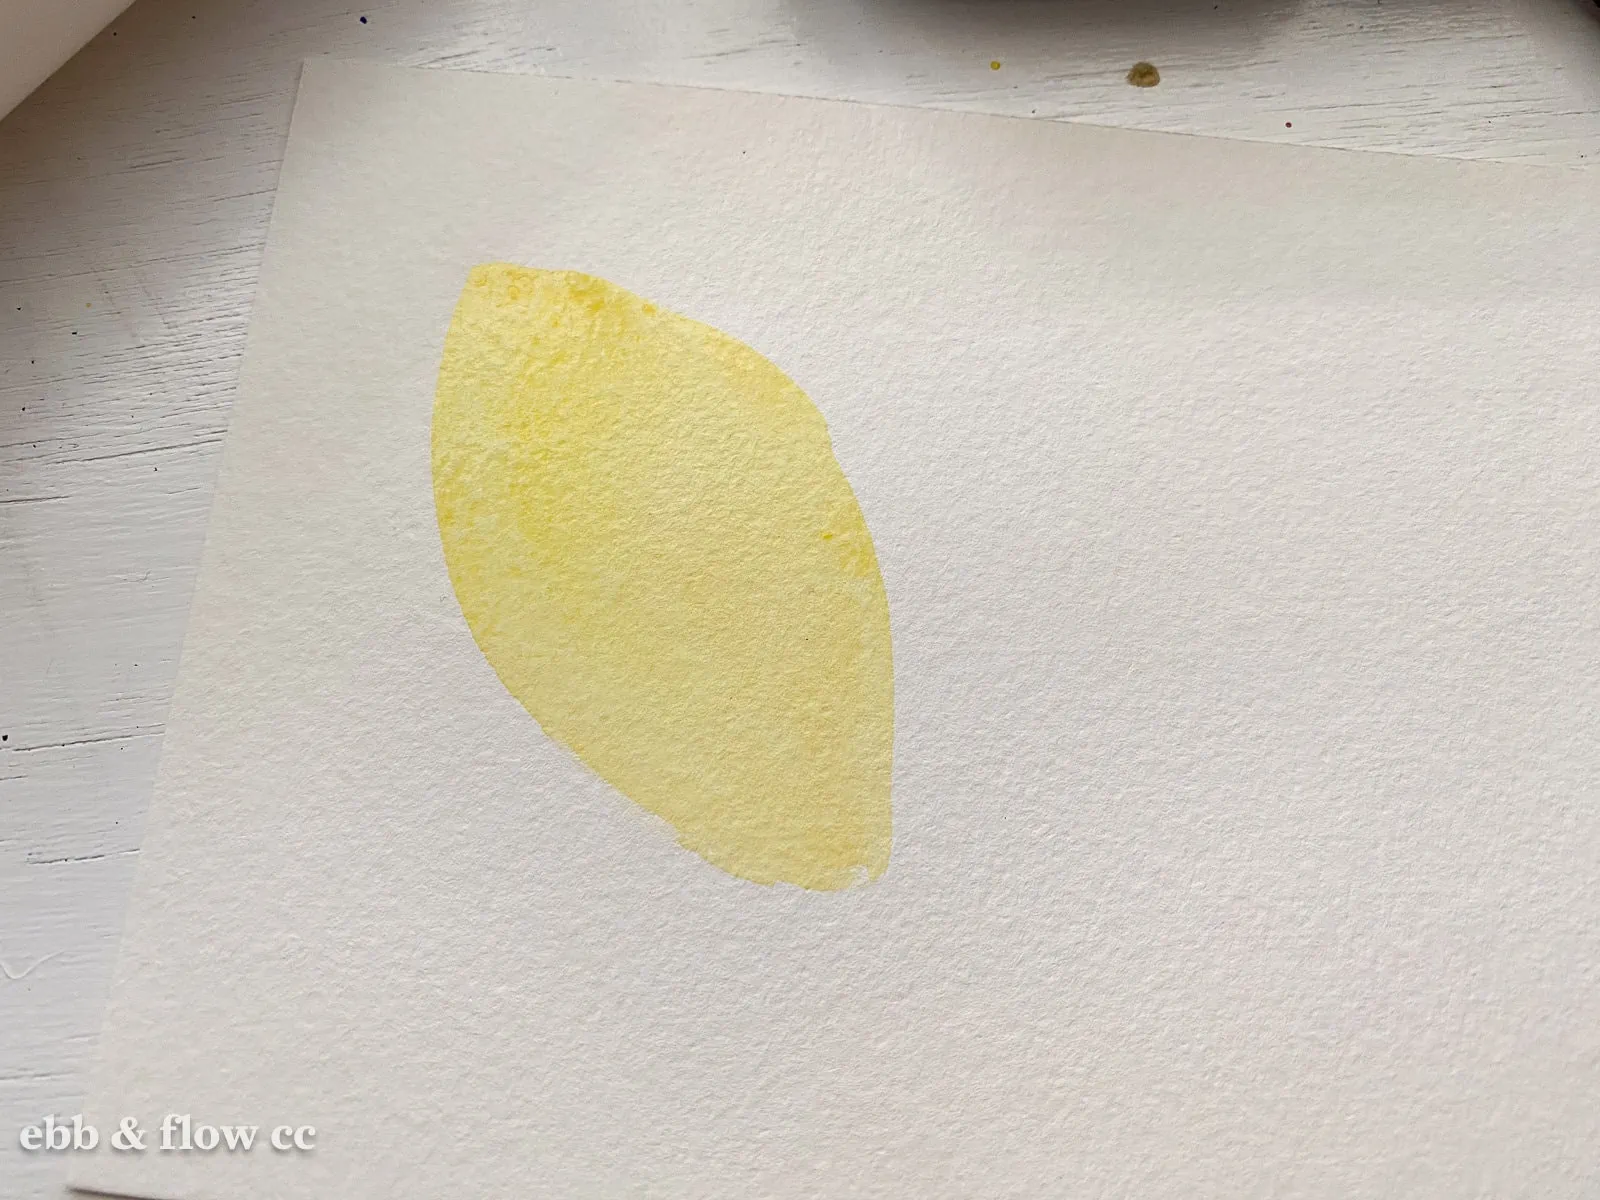
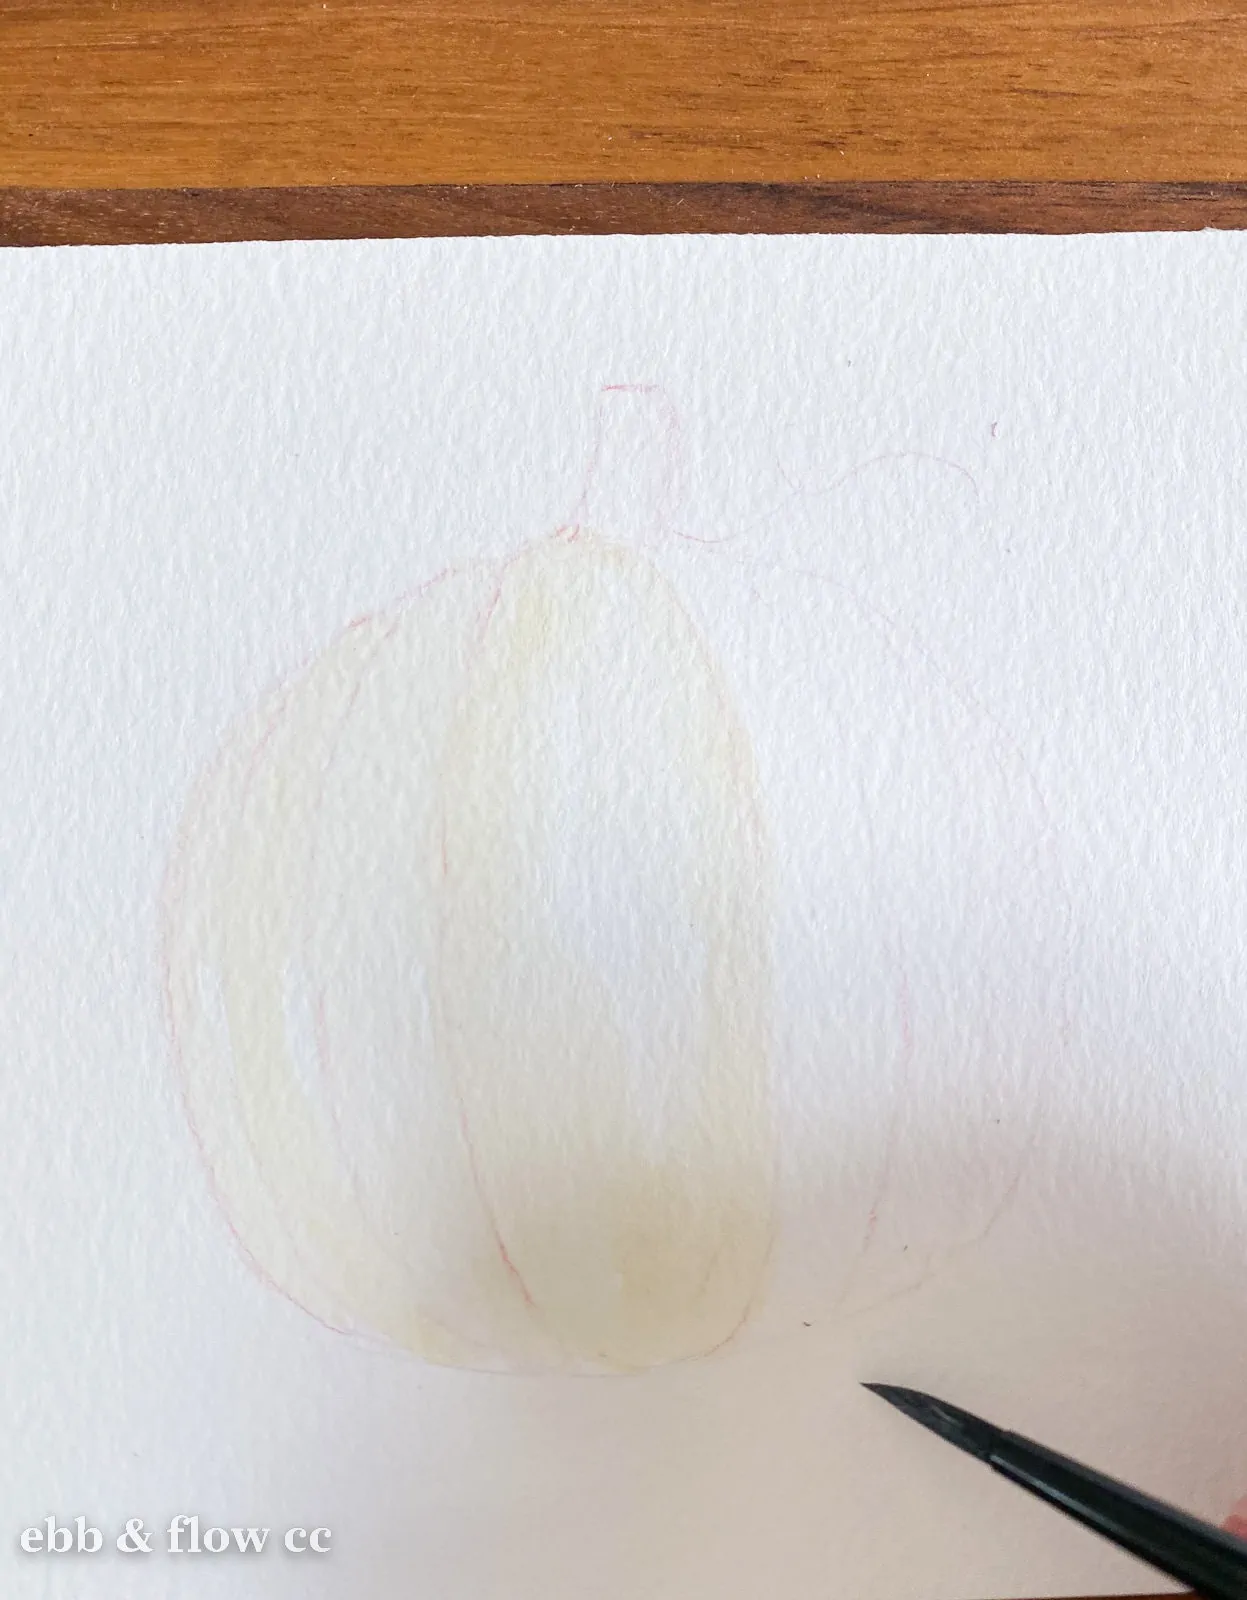
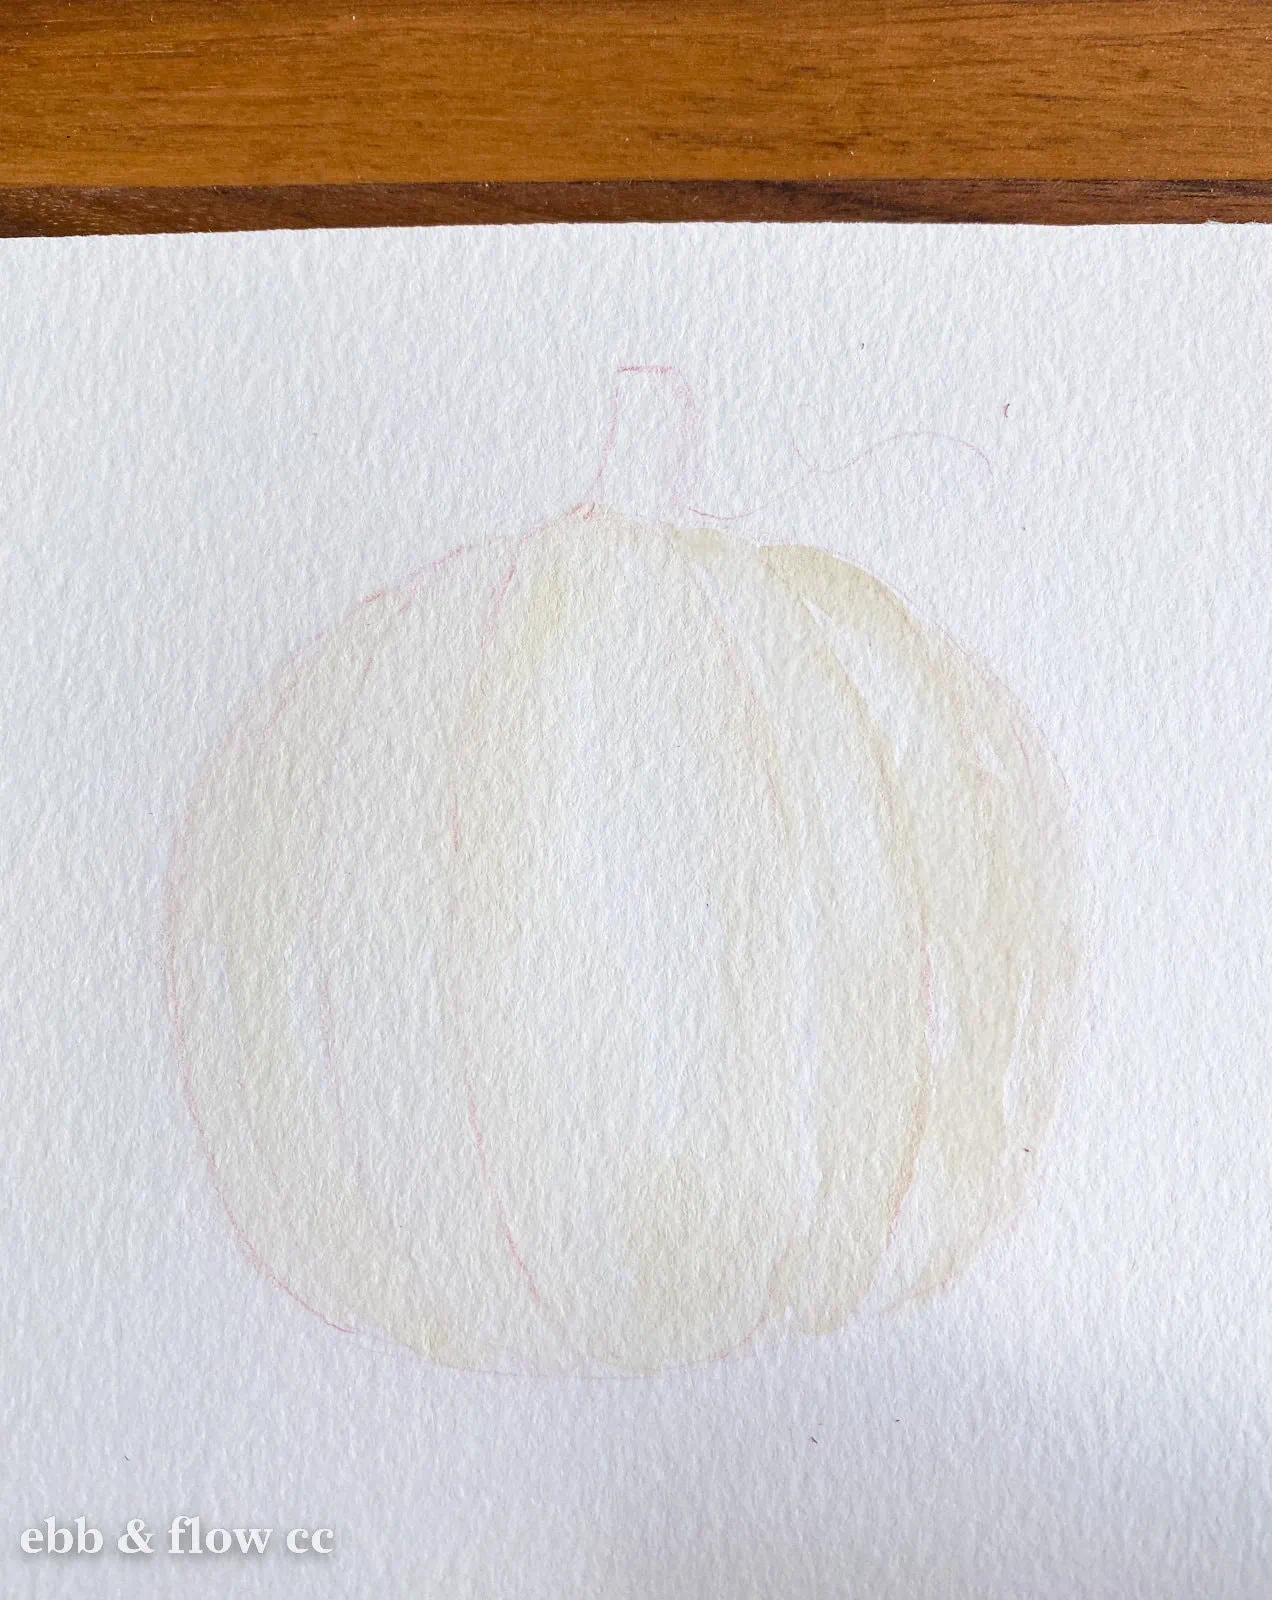
- Paint the center of your pumpkin first, making the outer edges darker and the center more diluted. You can use a damp brush to soften the edges of the paint and blend it out.
- Skip the ridge next to it and paint the next one over, using the same technique as before (darker along edges.)
- Keep going, skipping every other section.
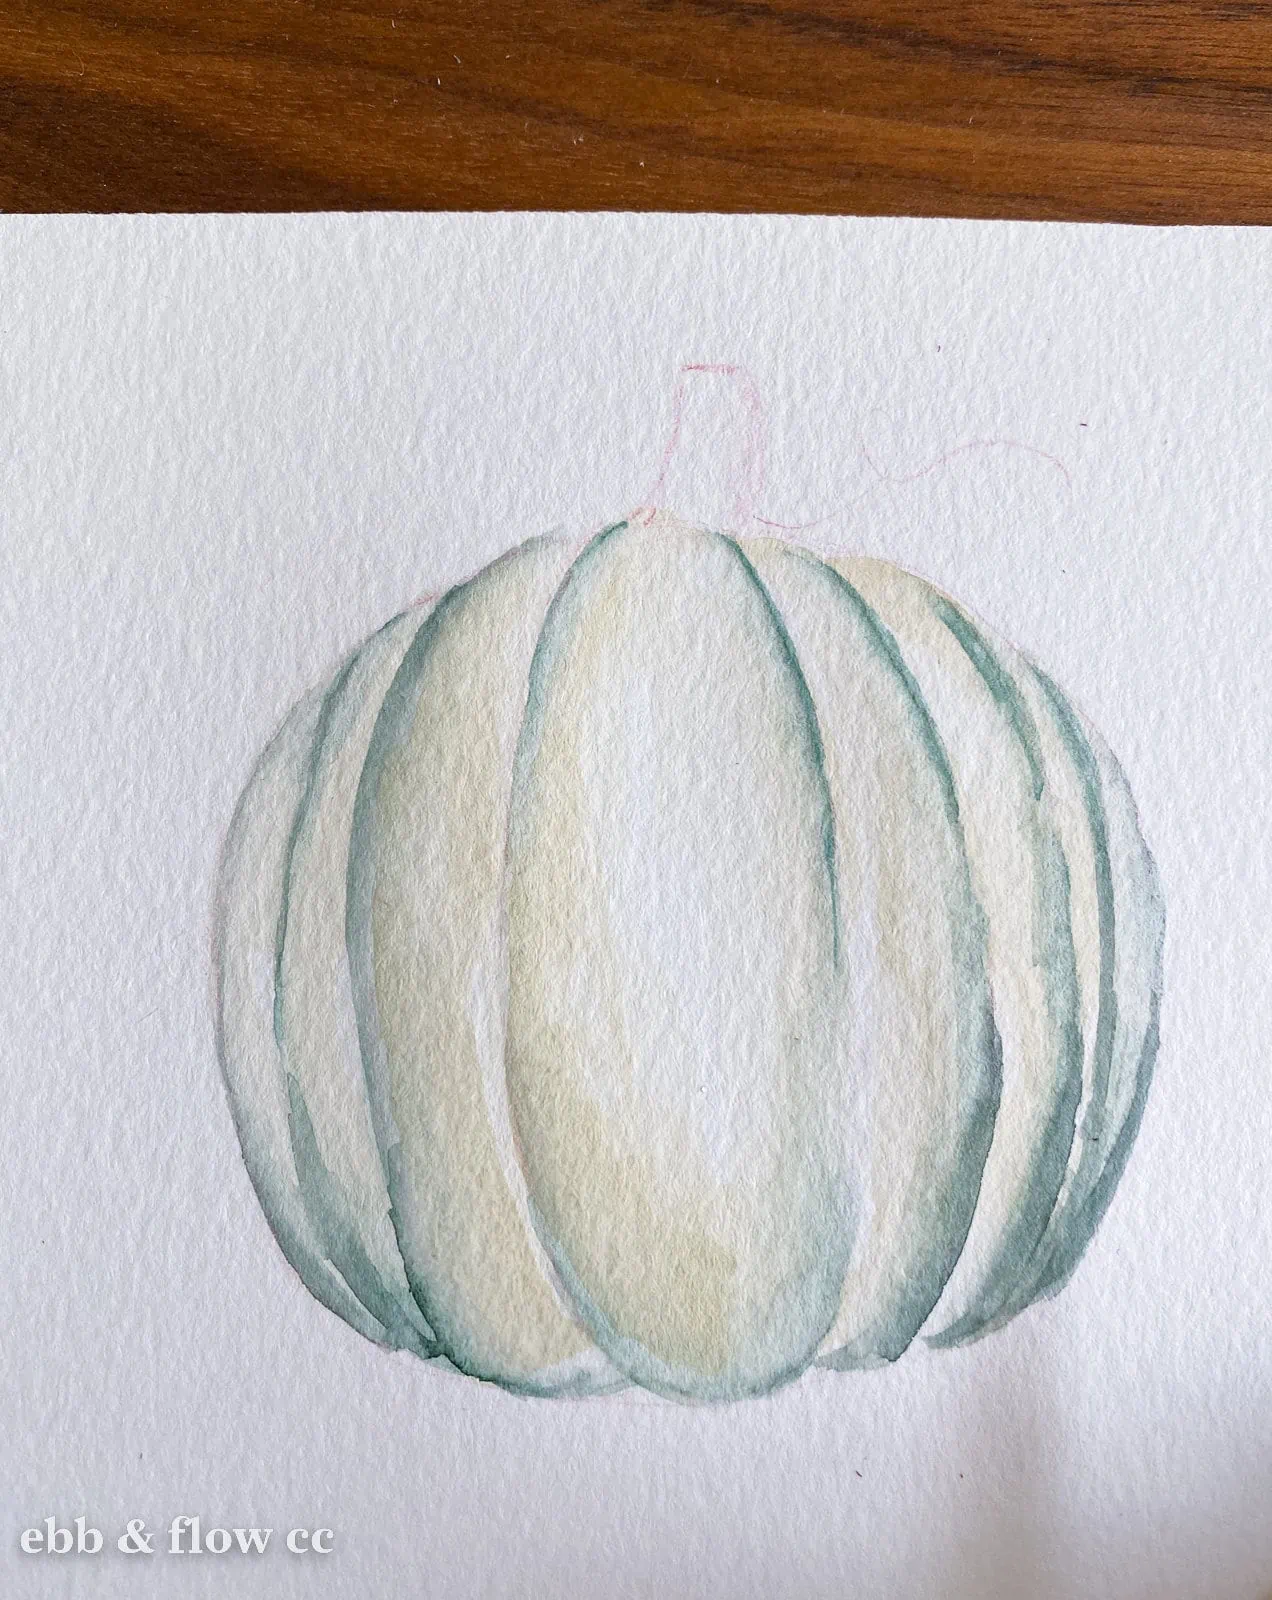
- When the first sections dry, go back and paint the ones you skipped.
- Let everything dry.

- Add another layer if needed to add more shadows and depth. I added shadows with perylene green paint.
- Let it dry.
- Paint the stem.
- When the stem is dry, add lines to indicate ridges. You can also add a curly vine.

- Add spots to the pumpkin body if desired.
- Dilute black paint and add a shadow beneath the pumpkin.


The pink pumpkin was created by mixing Naples yellow and quinacridone rose. These colors make the prettiest salmon pink color.
Download a Printable Pumpkin Template
Not sure how to draw a pumpkin? Download this pumpkin template with 3 different pumpkin shapes to draw.
These downloads are for personal use only. Please do not redistribute or sell.
Dear teachers and students: this download will not work if you try to access it when logged into your school email account. Try a personal email account instead.
You Might Also Like:
Pin for Later!