Watercolor Galaxy Painting Mistakes to Avoid
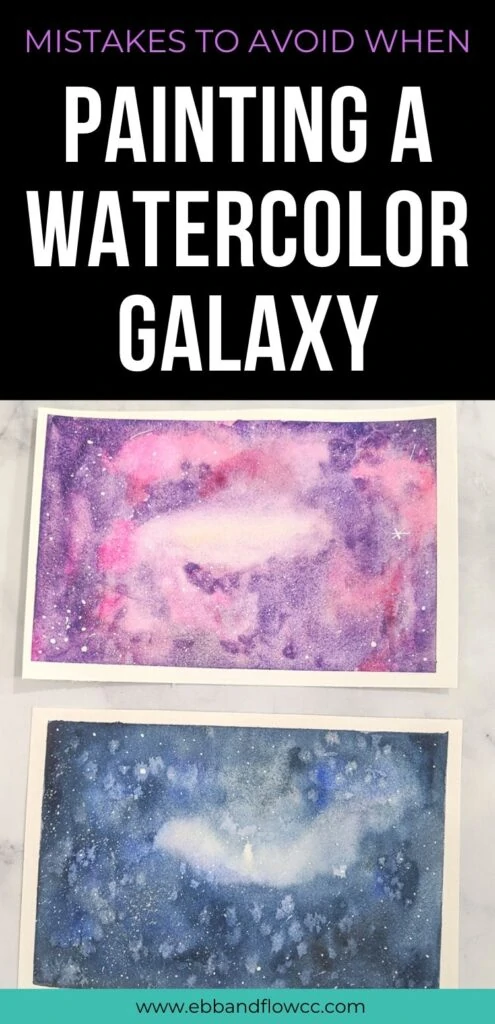
If you’ve ever watched a watercolor galaxy tutorial, it looks so easy. Just blend some colors together, right? So why does your painting keep turning out so bad? Read about some mistakes to avoid when painting so that you create gorgeous watercolor galaxies.
Want to learn more? Check out my other watercolor tutorials.
This post contains affiliate links. By purchasing an item through an affiliate link, I earn a small commission at no extra cost to you. As an Amazon Associate I earn from qualifying purchases.
You might like this post on the best watercolor brushes for beginners.
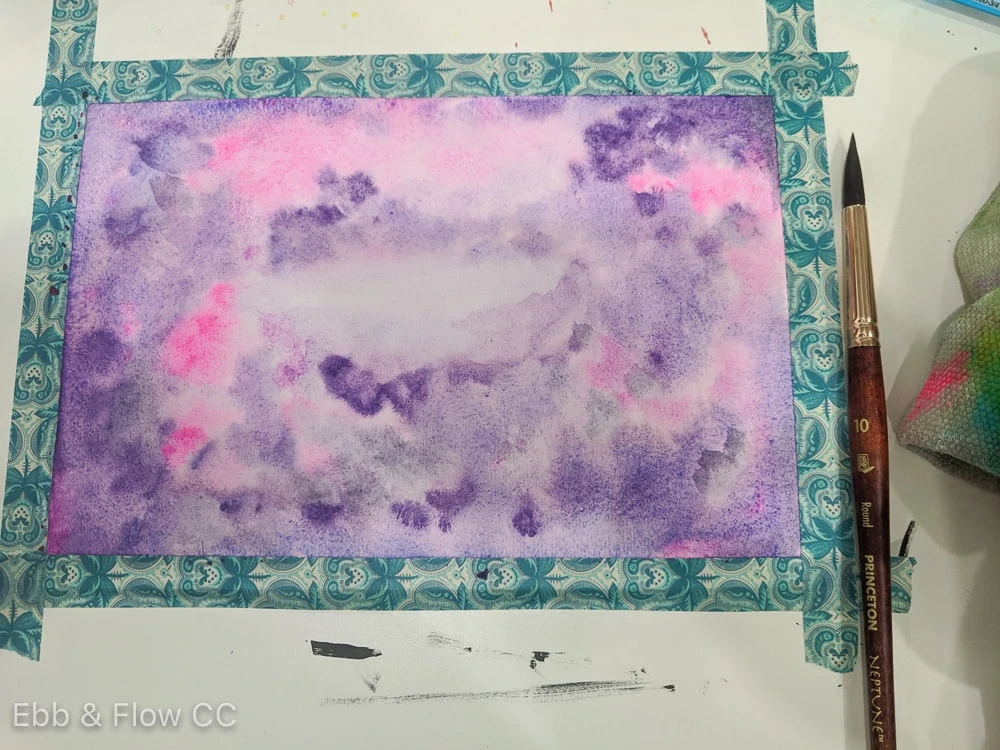
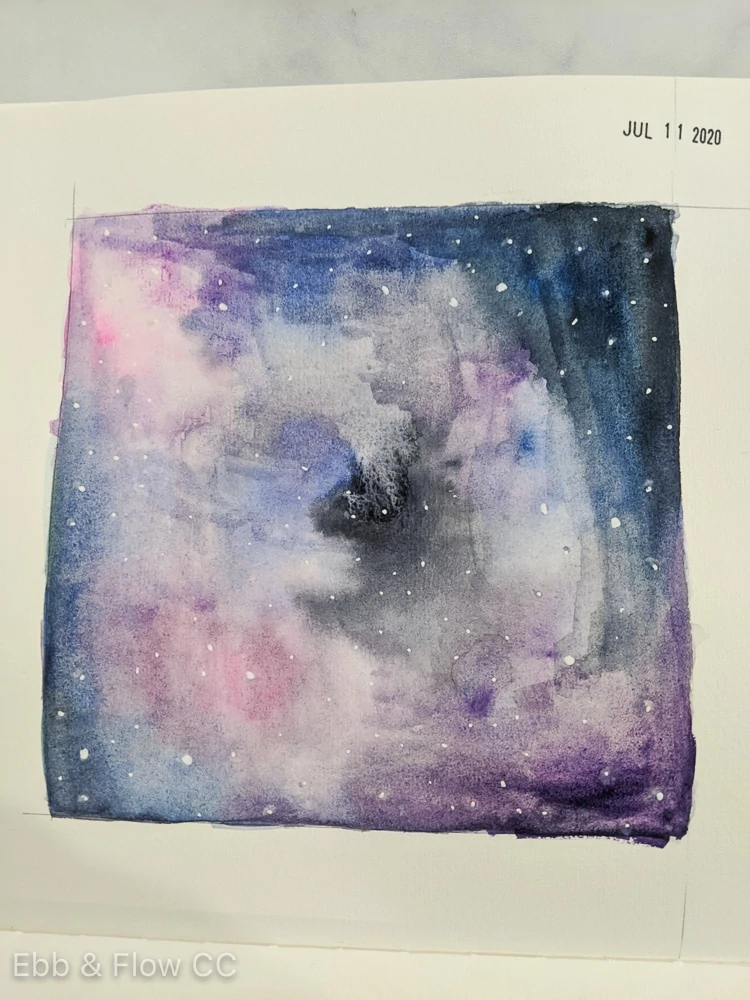
Here’s how my galaxy paintings normally turn out. This is a quick version that I did in my sketchbook. There are many issues with this painting, but I think I was able to fix them all in the versions later in the post.
Mistakes to Avoid When Painting a Watercolor Galaxy
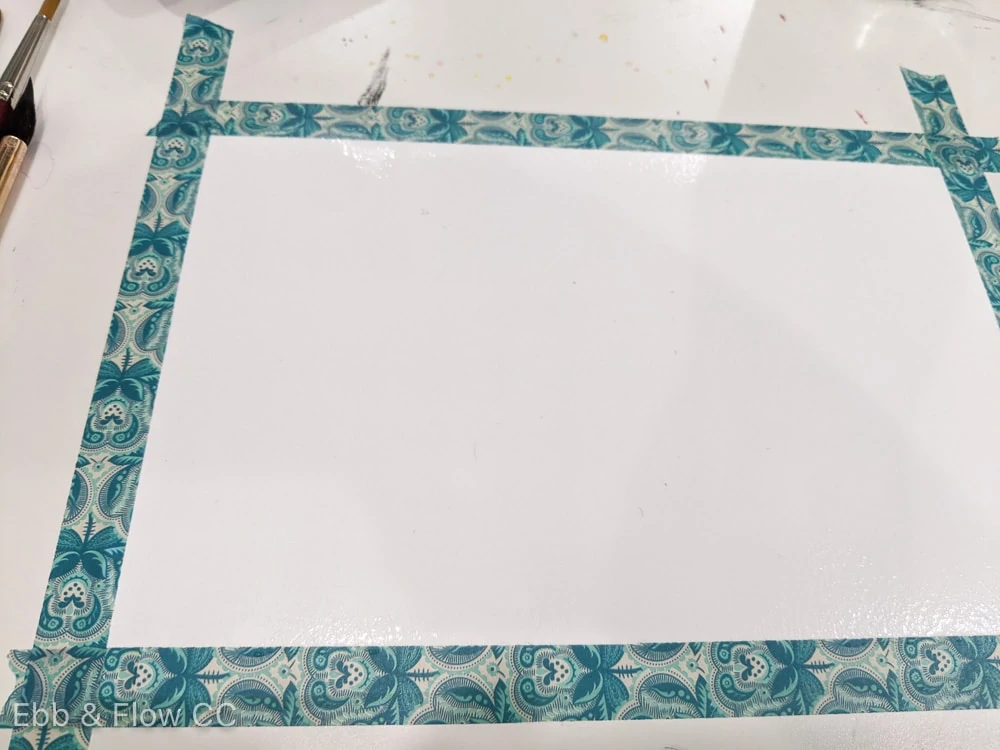
- Not using enough water. Add a thin layer of water to the entire surface when starting a galaxy painting. This helps the paint move and blend into the other colors.
- Diluting the colors too much. If the color is too light, you will need to add more layers. Start with a medium tone instead. Keep in mind that the paint will dry lighter than it goes on.
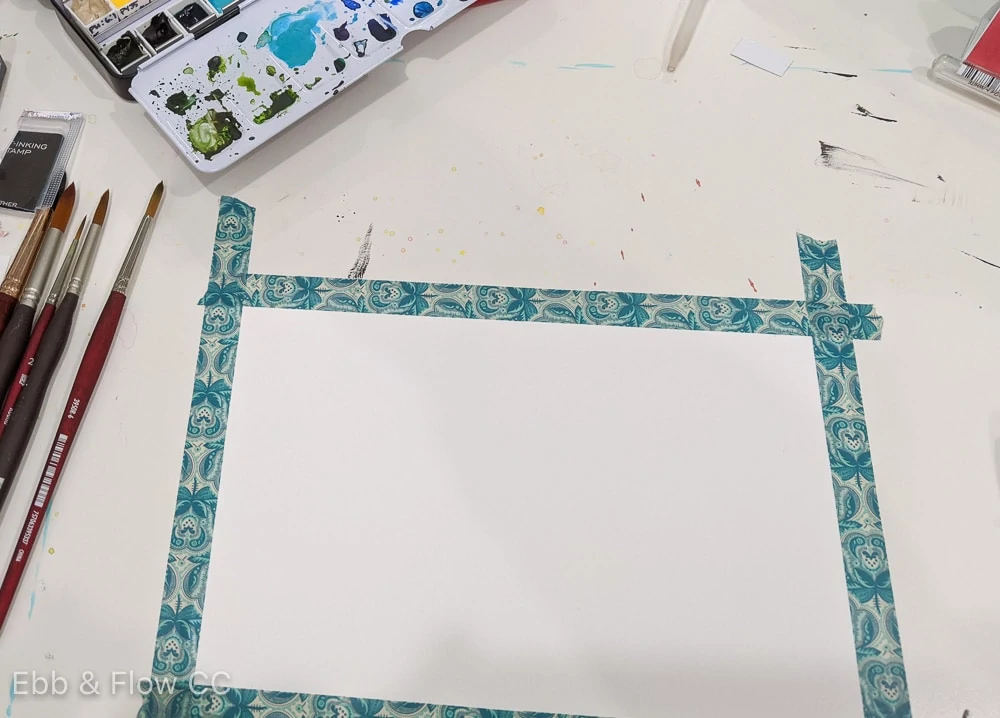
- Not taping your paper down. Painting a galaxy requires a ton of water. Tape your paper to avoid buckling.
- Using cheap paper. Cheaper paper will break down with all that water. It might be time to open that expensive pack of Arches that you’ve been hoarding…
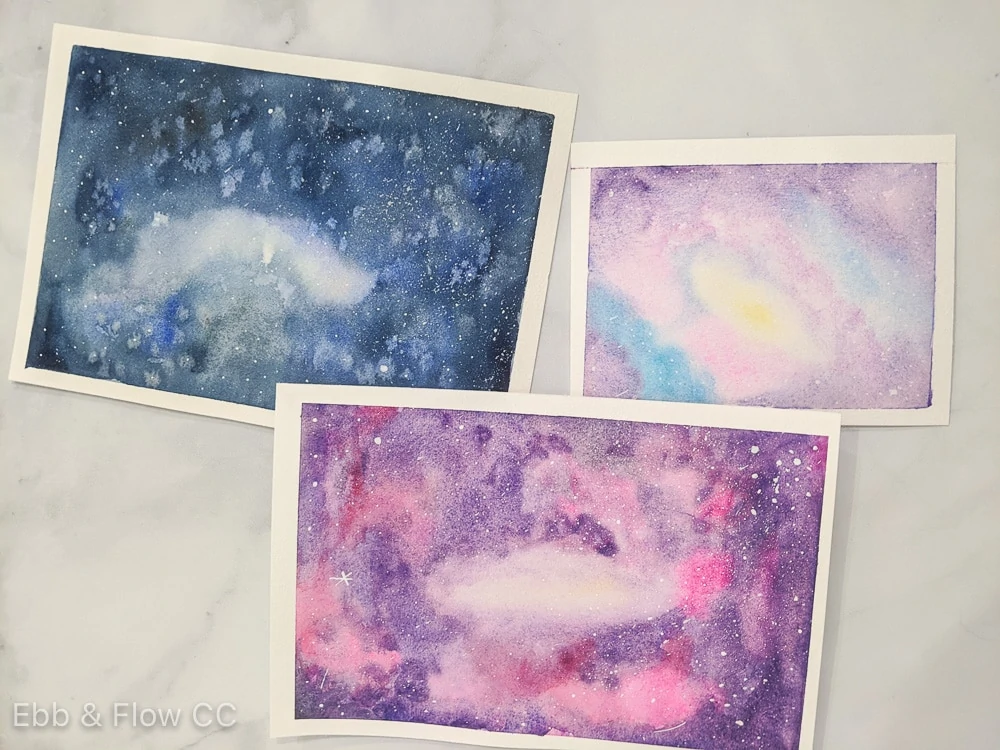
- Using too many colors. This might be a personal preference, but my favorite galaxy paintings use a limited color palette. Use pink and purple. Or blue and gray. Not the entire rainbow. In my examples, I’ve added a few contrasting colors as accents instead of using them throughout the painting.
- Using white watercolor paint for the stars. White watercolor is too transparent to use to make stars. Instead, use white gouache or acrylic paint with a toothbrush. (Unless you have a very stead hand, painting the stars results in wonky blotches.)
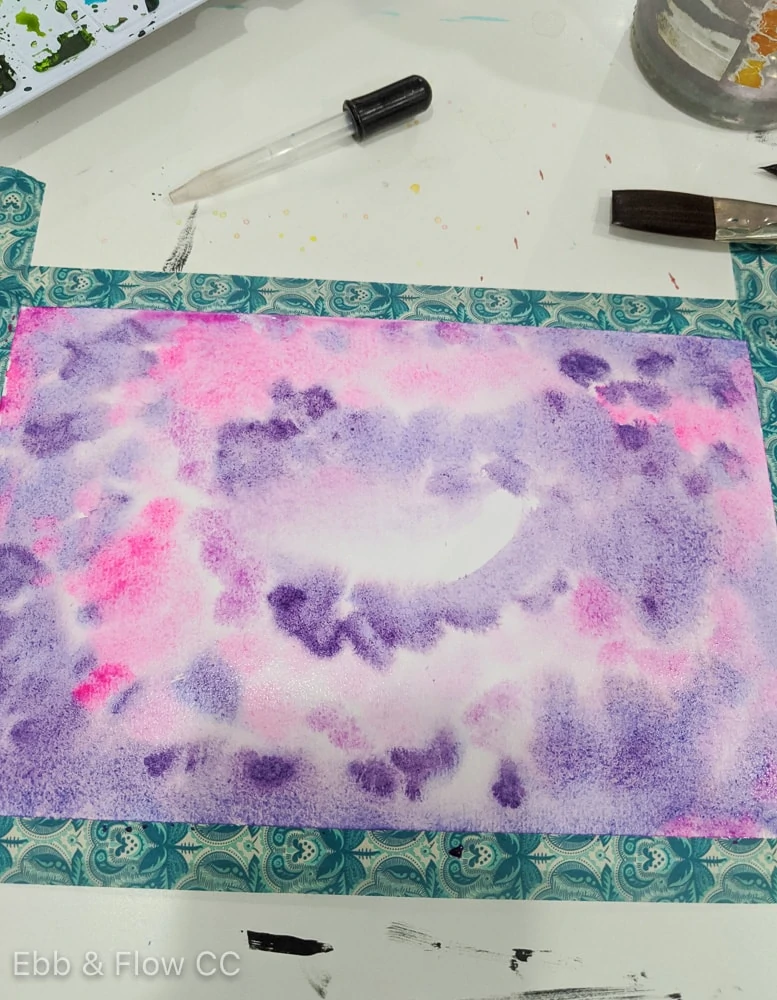
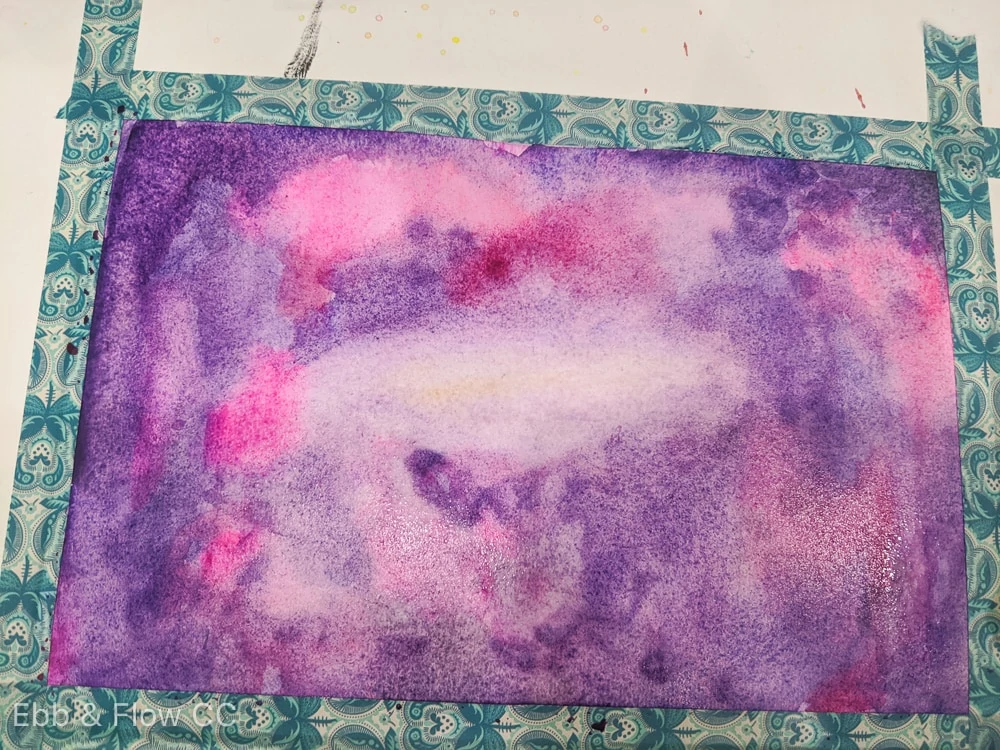
- Covering the whole area with paint. Leave an area somewhere in the middle to stay lighter. This gives the painting more depth.
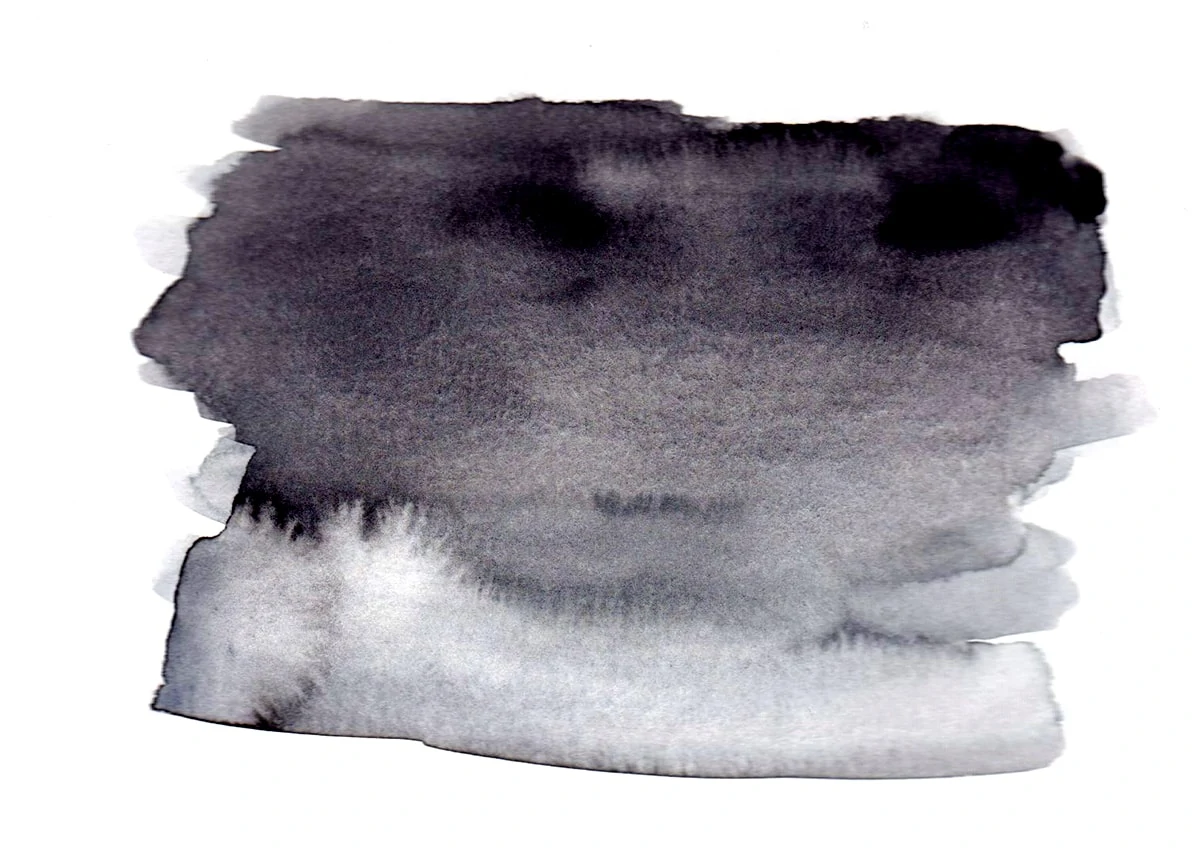
- Using straight black paint. Instead use mixtures for black or even Payne’s gray. Black is just too harsh and opaque.
- Not adding layers. Let the first layer dry completely and add more layers of watercolor to build the color up.
- Blending too much. The best galaxy paintings use a wet on wet technique. When you drop color into a wet area, the paint will flow on its own. If a watercolor bloom occurs, it just adds to the effect.
- Painting in straight lines. Nothing in nature is straight. Use organic shapes instead.
More Tips for Creating a Watercolor Galaxy
- Use a toothbrush to flick white paint for all over star coverage. It looks more realistic than trying to paint individual stars.
- If you make a mistake, wet the area and remove as much of the paint as possible with a paper towel.
- You can try adding salt while the paint is wet. As the paint dries, it creates small light spots where the salt was. Use this effect sparingly for the best results.
- Paint the edges darker and keep the center lighter for the most part.
- Use granulating paints for interesting effects. Daniel Smith makes a ton of interesting colors that produce interesting effects when they dry.
- When peeling the tape away, pull it at an angle close to the table. This prevents it from tearing up your paper.
Supplies I Used
- Watercolor paints (each color will be listed below)
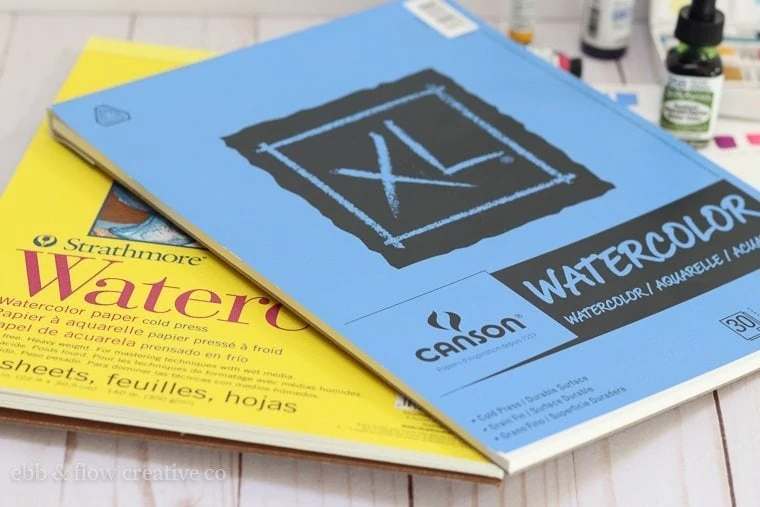
- Watercolor paper (I’ve been loving this brand lately.)
- Watercolor brush (This is my current favorite right now.)
- Water
- Masking tape
- White gouache and a toothbrush
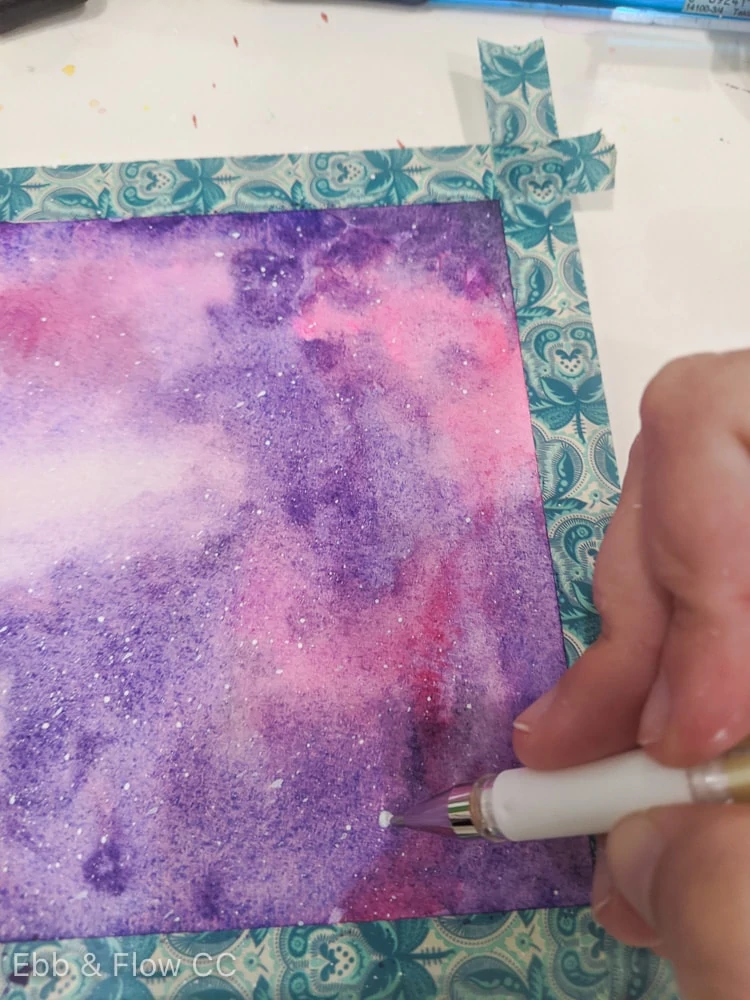
- White gel pen (This is my favorite gel pen.)
Watercolor Paints Used
I mostly used Daniel Smith paints that are in my custom palette. I’ve made notes when I used a different brand.
Purple and Pink Galaxy
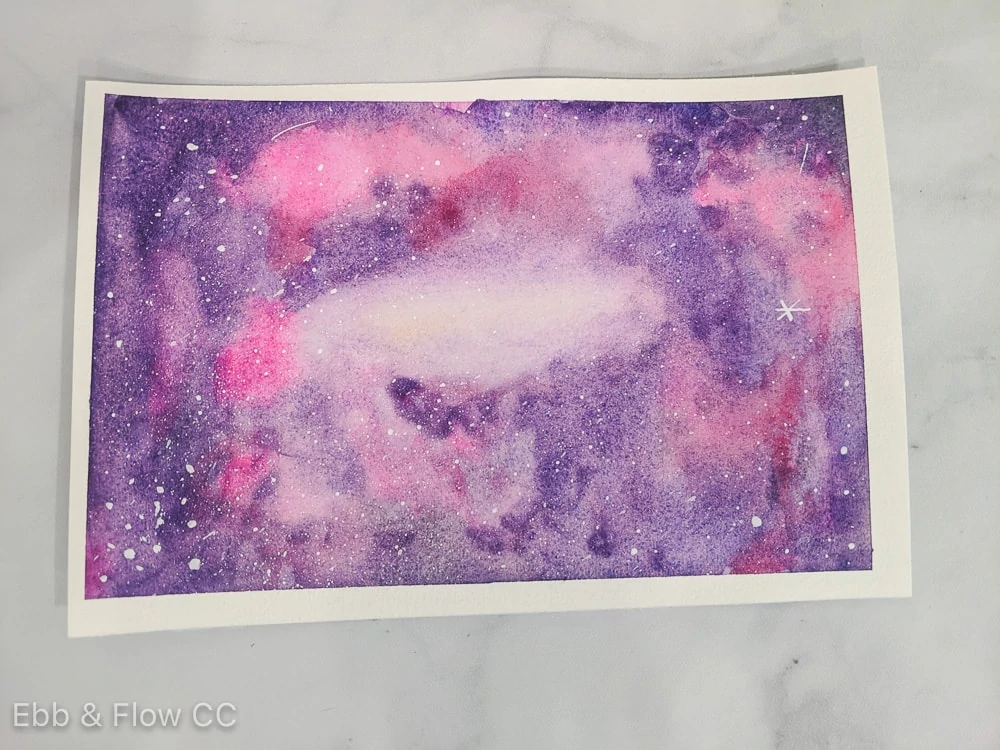
- Opera Pink (this color is fugitive, so keep that in mind)
- Quinacridone Magenta
- Imperial Purple (This color dries with a pink edge – so pretty!)
- Moonglow (I love this color. It’s perfect for galaxies!)
- Sennelier Naples Yellow (for the center)
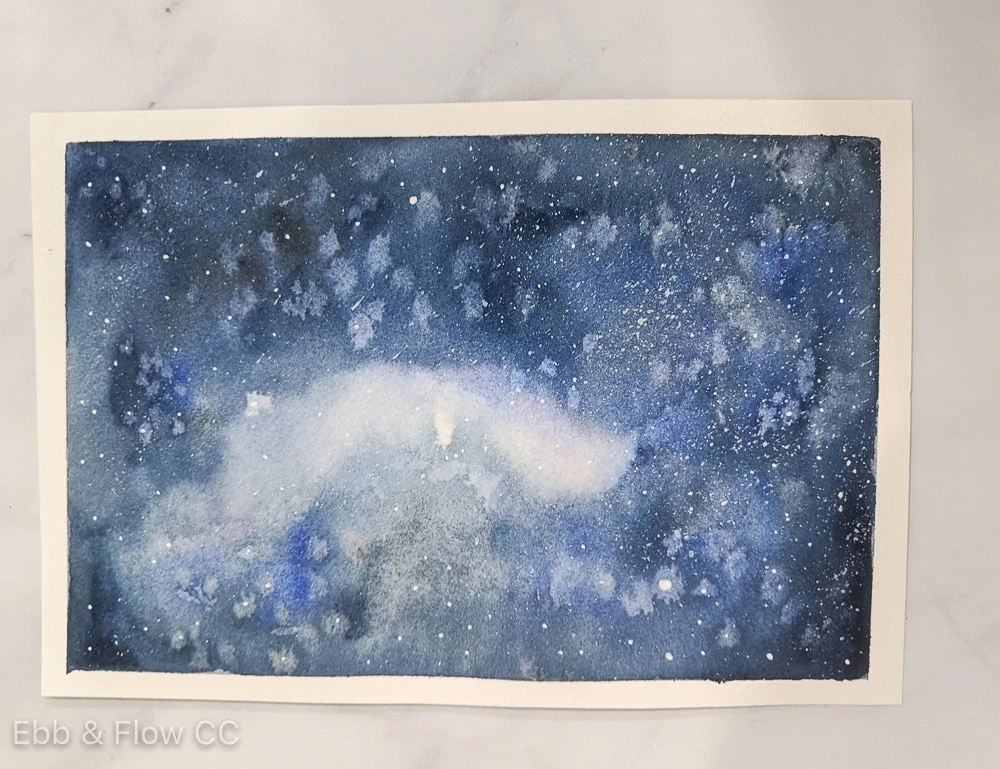
Blue Galaxy
Pastel Galaxy
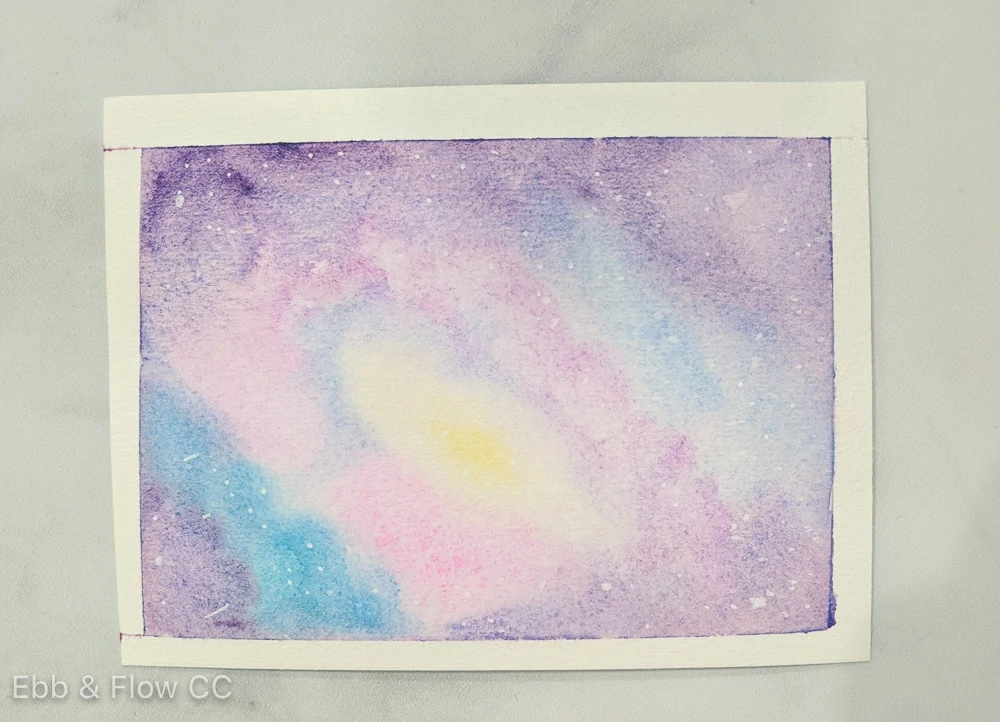
I diluted these colors to make pastel versions.
- Opera Pink
- Imperial Purple
- French Ultramarine
- Winsor & Newton Cobalt Turquoise Light
- Winsor & Newton Cerulean
- Sennelier Naples Yellow

How to Paint a Watercolor Galaxy
Materials
- Watercolor Paint
- Watercolor Paper
- Paint Brush
- White Gouache
- White Gel Pen
- Masking Tape
Instructions
- Use masking tape to tape your paper down.
- Add a thin wash of water on the entire surface.
- Start dropping in color, letting it spread on its own.
- Add another color next to the first, letting the colors mix.
- Add more colors as needed.
- Leave a white spot somewhere in the middle.
- Cover the page, besides the white spot.
- Let it dry completely.
- Add another layer, adding colors on top until you're happy.
- Let dry completely.
- Use watered down gouache and a toothbrush to flick white paint across the surface to create stars.
- You can also add stars with a white gel pen.
- Remove tape from paper.
Notes
For added interest, use granulating paints.
Recommended Products
As an Amazon Associate and member of other affiliate programs, I earn from qualifying purchases.
You Might Also Like:
- How to Paint a Galaxy in Procreate
- Easy Sunset with Watercolors
- How to Paint with Gouache
- Best Watercolor Paints for Beginners
- All About Watercolor Paper
Pin for Later!
