Sunset Over Water Painting: Easy Watercolor Tutorial
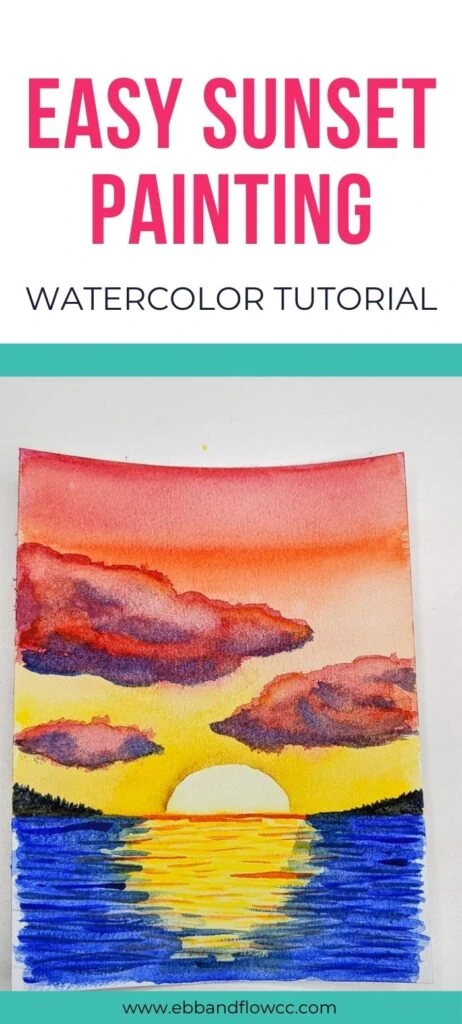
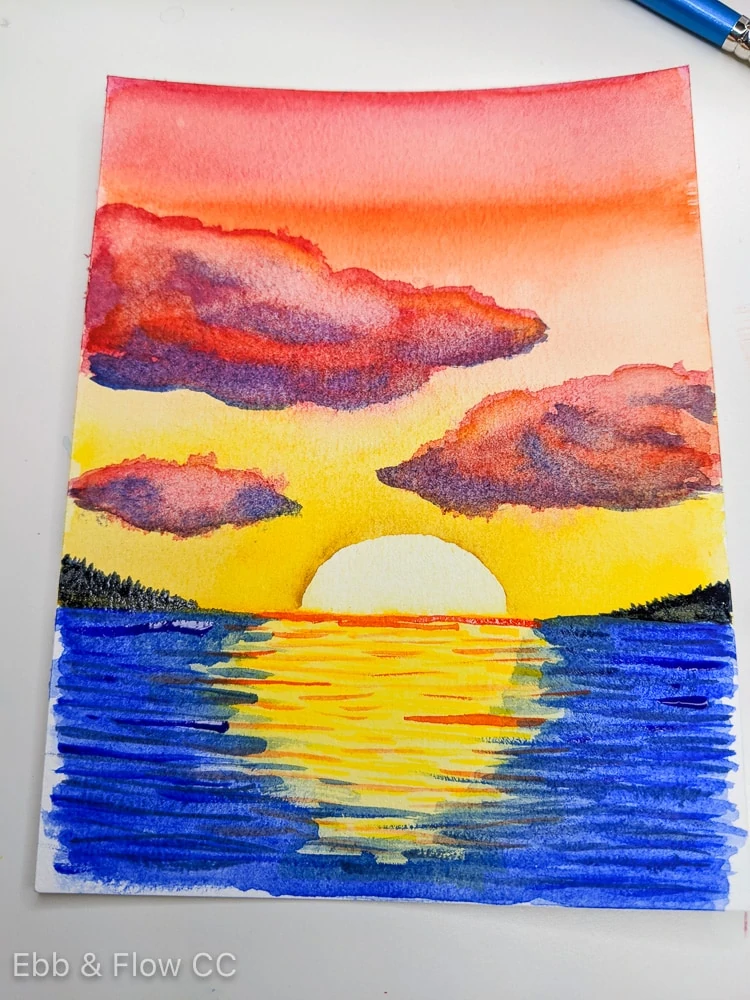
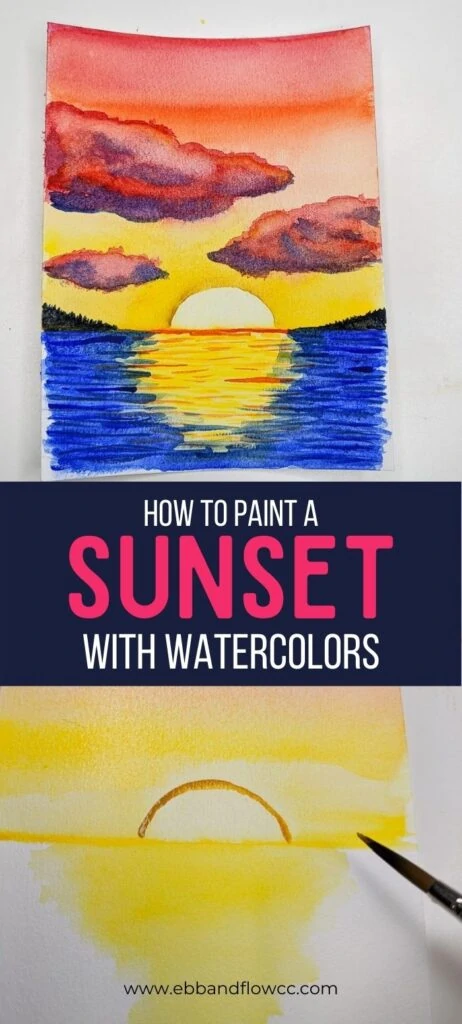
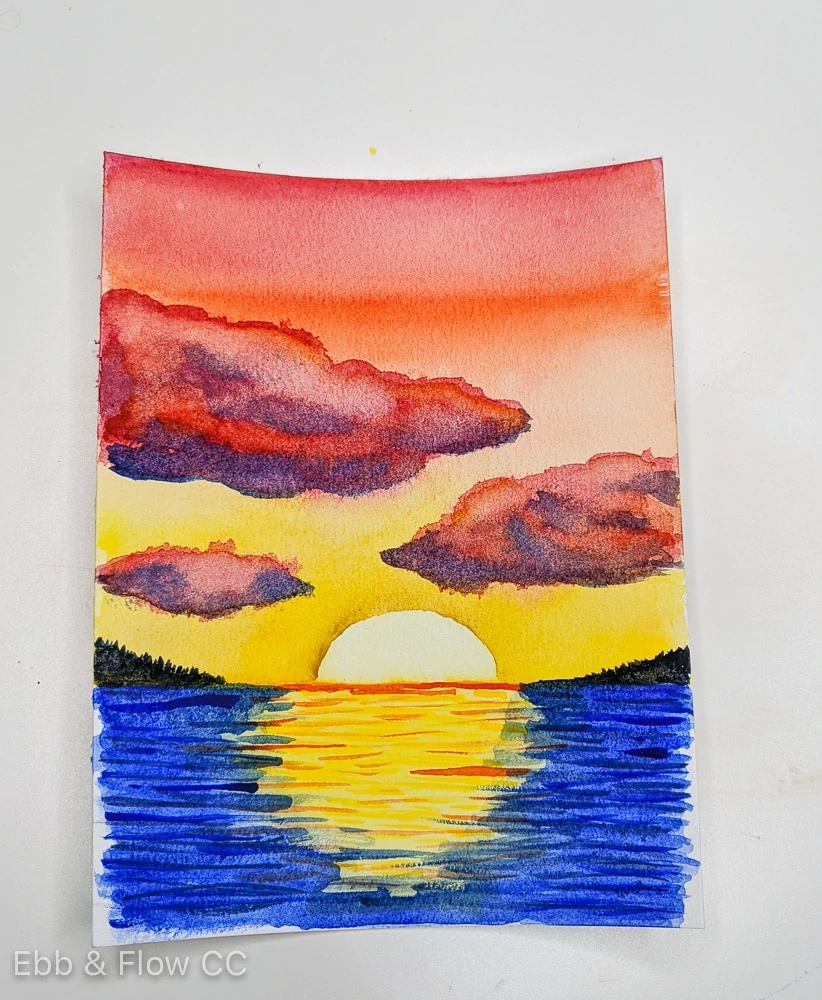
This sunset over water painting is perfect for people who want to learn how to paint with watercolors! Follow along with this step by step tutorial and learn basic watercolor techniques to create this easy painting.
You might also like this easy galaxy painting.
This post contains affiliate links. By purchasing an item through an affiliate link, I earn a small commission at no extra cost to you. As an Amazon Associate I earn from qualifying purchases.
Sunset Over Water Painting
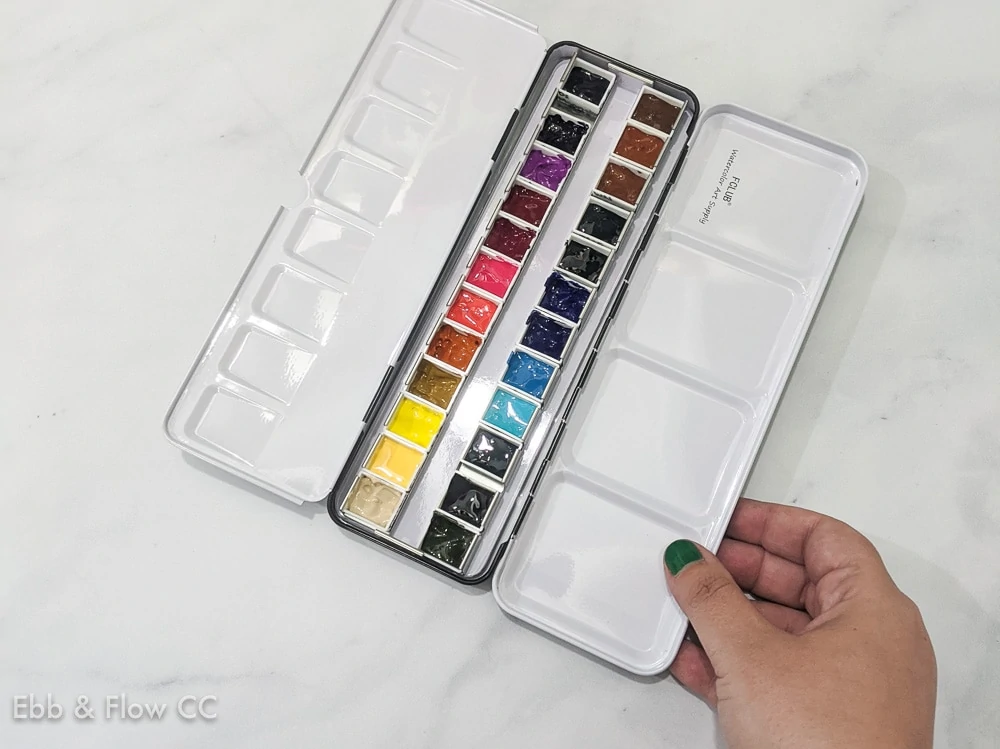
I’m using my Winsor and Newton Cotman travel set of watercolor paint for this painting because I want it to be accessible for new painters. Even if you don’t have this set, you might have a similar one with a limited amount of colors.
Supplies Needed:
Tips for Painting Sunsets
- Most landscape paintings look best when they’re divided into 3 parts.
- Sunsets can have 1/3 sky or 1/3 water. When a painting has more sky, it feels more open and airy. It’s also closer to how it would look if you were standing on the shore. If you have more water, it looks like you’re somewhere in the water.
- The horizon line should start with a lighter color and work to a darker color. For instance, this sunset starts with yellow and works its way up to red. It could also start with a pale pink and work towards a dark pink or purple.
- Work in layers to add depth to your painting.
- If any line or detail is too strong, it can be blended out with a wet brush. I went over the waves several times to make them softer.
- Tape your painting with masking tape for the best results.
- Mistakes can be removed with a paper towel.
You might be interested in this sunset color palette for Procreate.
If you’re looking for easier painting ideas, be sure to check out my simple landscape painting ideas.
How to Mix Gray
Mixing ultramarine blue and burnt umber will give you a gray. Use less water for a darker color.
How to Mix Purple
Mix the Alizarin Crimson (or cool red) with ultramarine blue to make a purple. (Learn more about mixing purple here.)
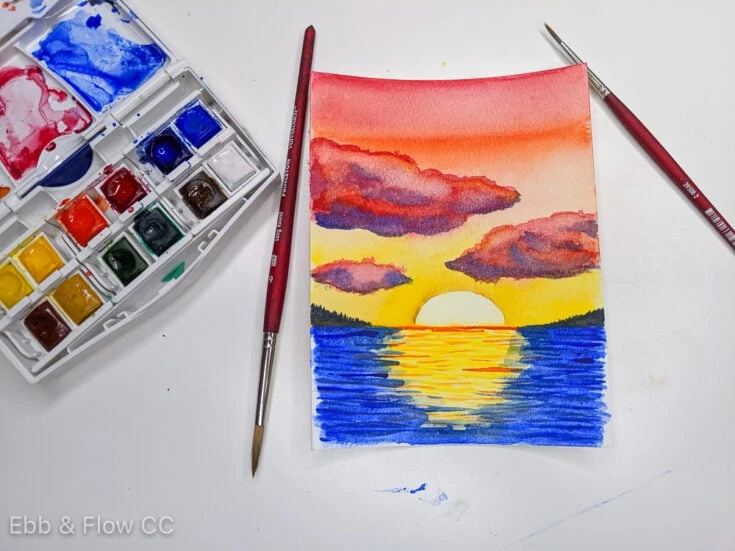
Watercolor Sunset Painting: Step by Step Tutorial
Materials
- Watercolor Paint
- Watercolor Paper
Tools
- Watercolor Brushes
Instructions
- Tape the edges of your paper to avoid warping.
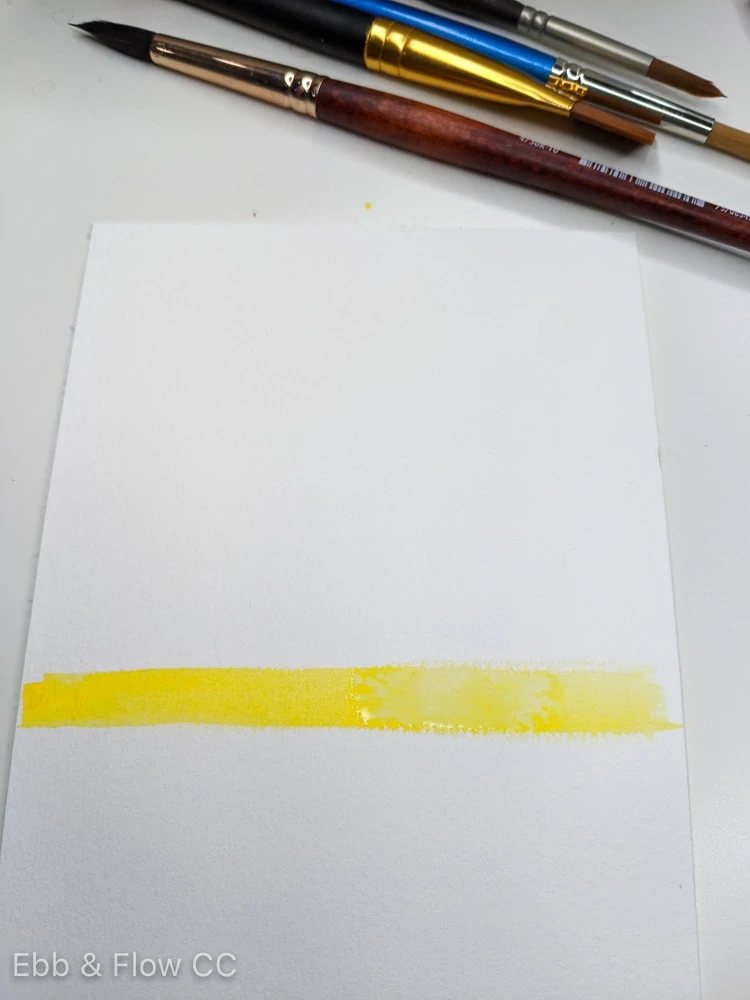
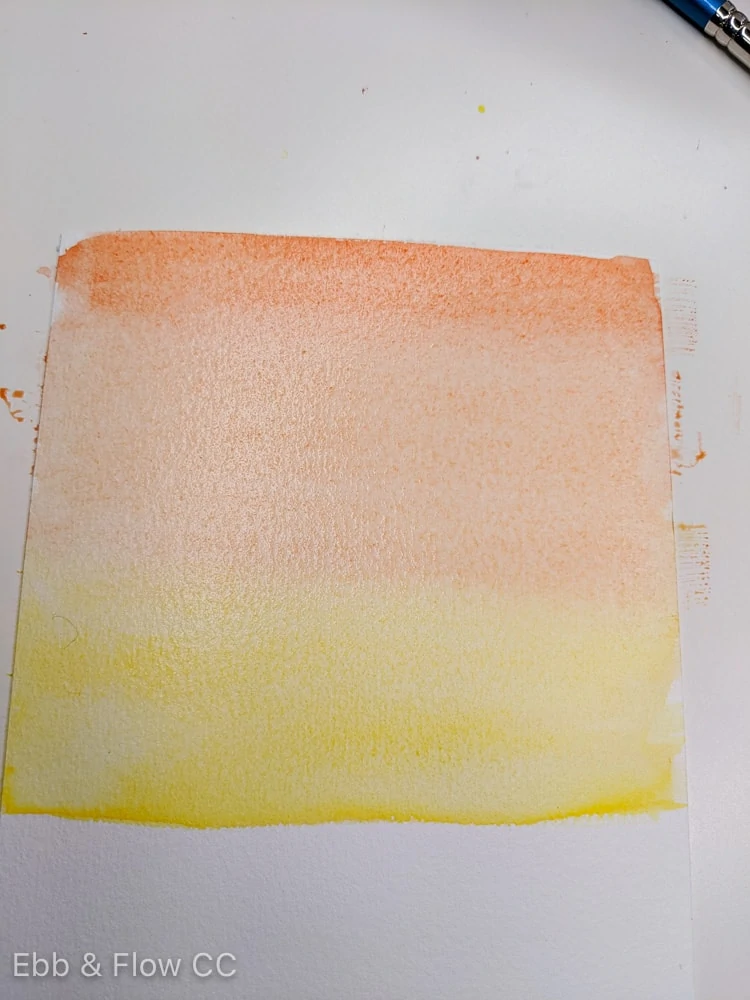
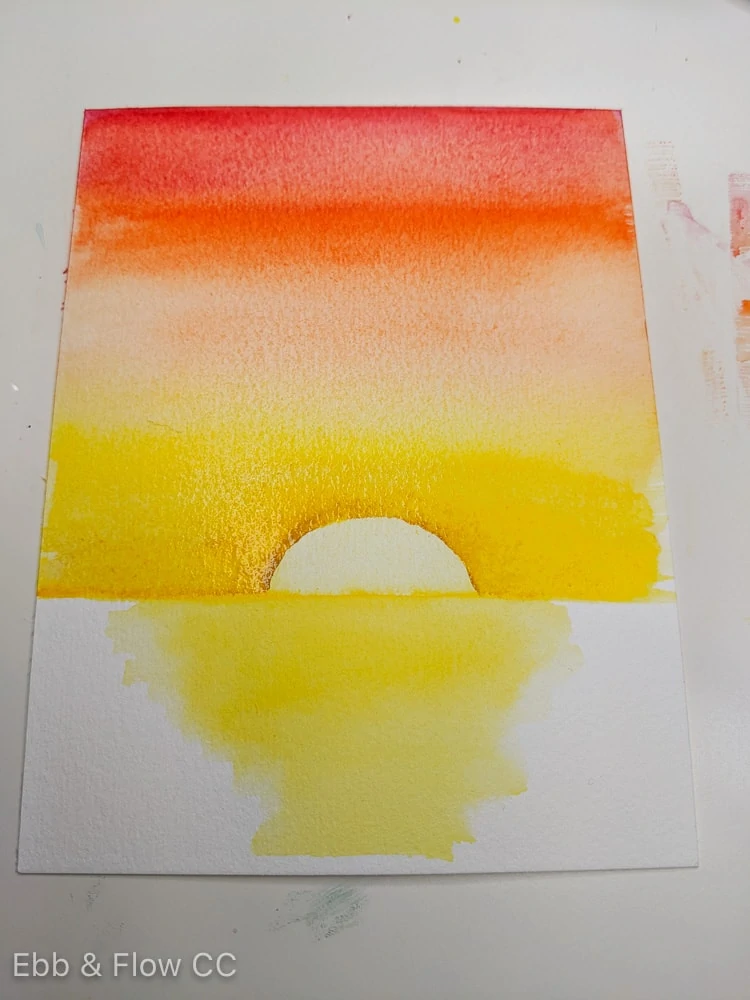
- Paint the horizon line with a warm yellow.
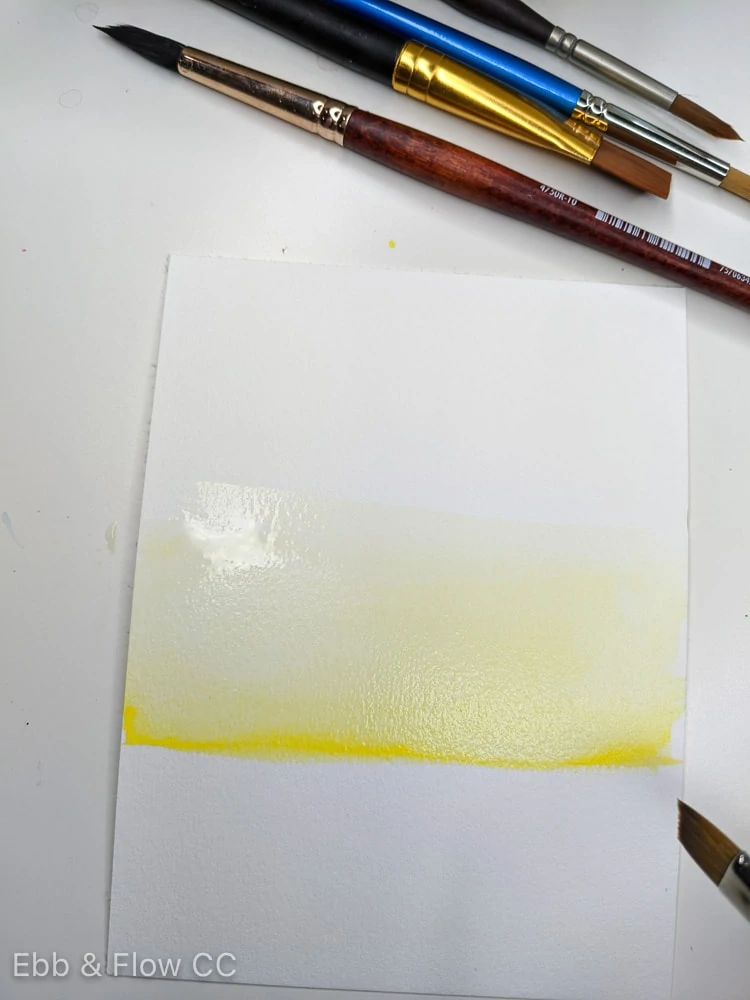
- Add a water wash to the rest of the sky.
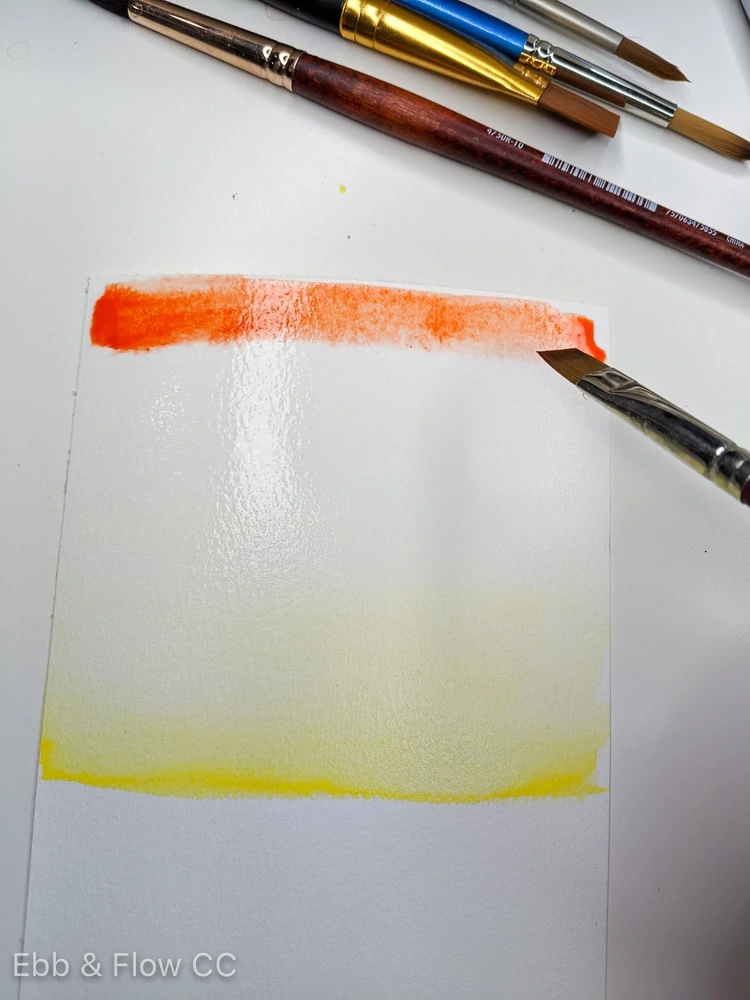
- Add a warm red to the top of the sky.
- Blend the 2 colors together to make a gradient.
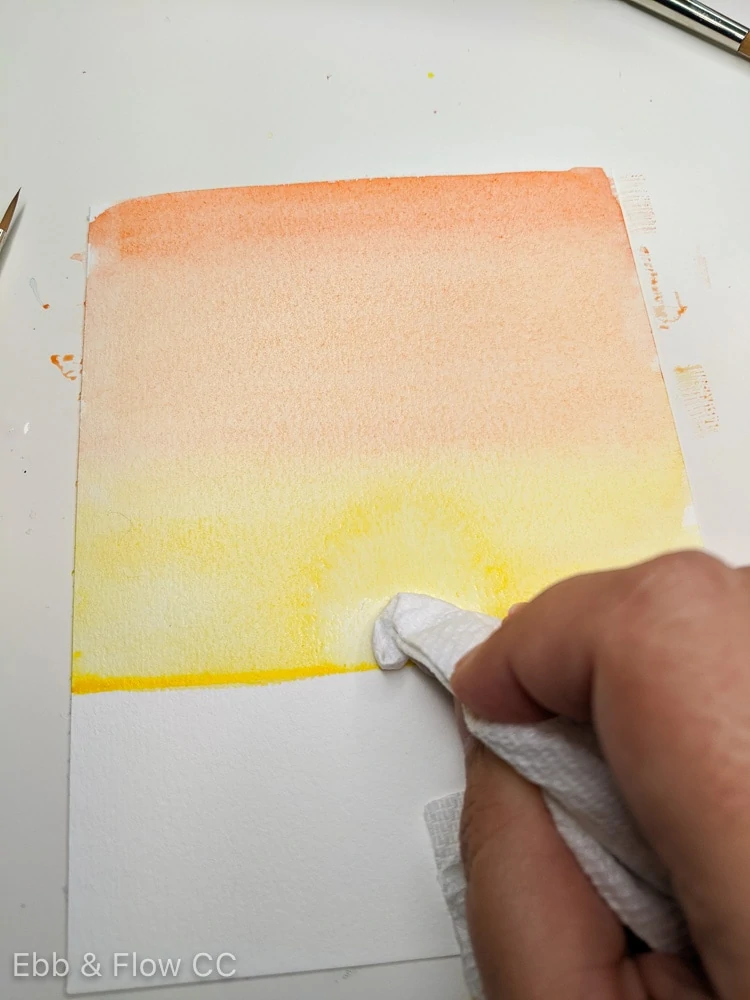
- Use a paper towel to lift paint at the horizon line for the sun. This allows the sun to have a little bit of color, but not get lost. Add water to this spot to rewet the paint if needed.
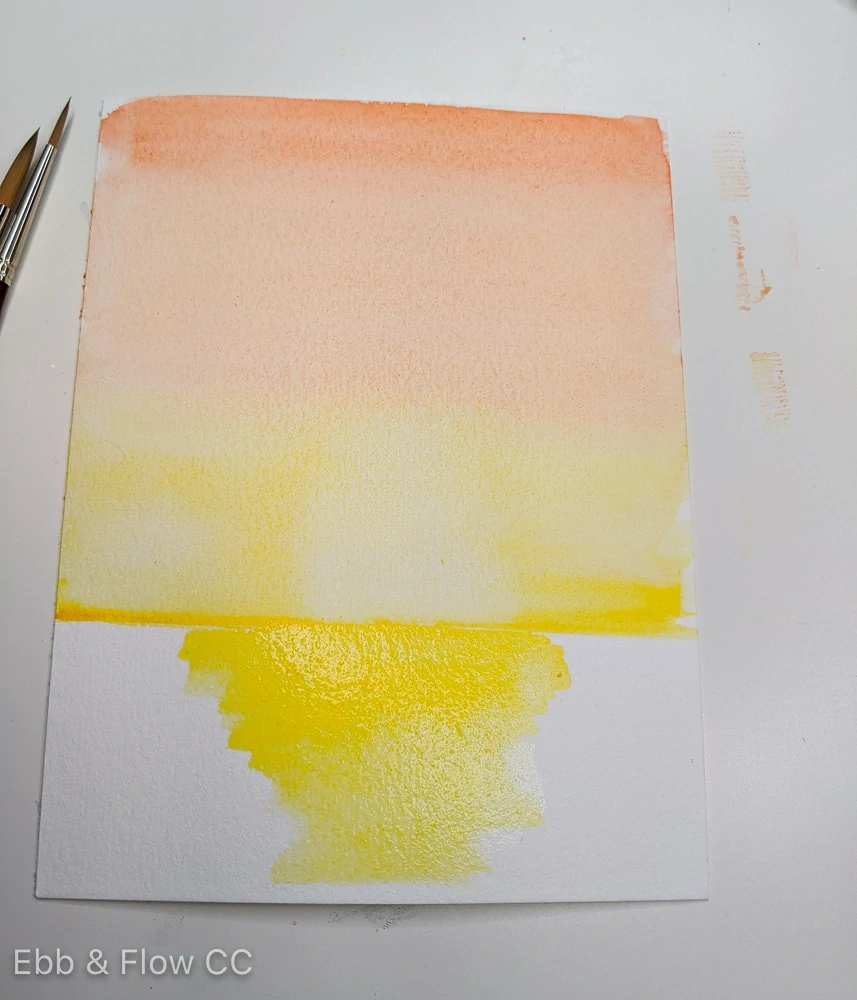
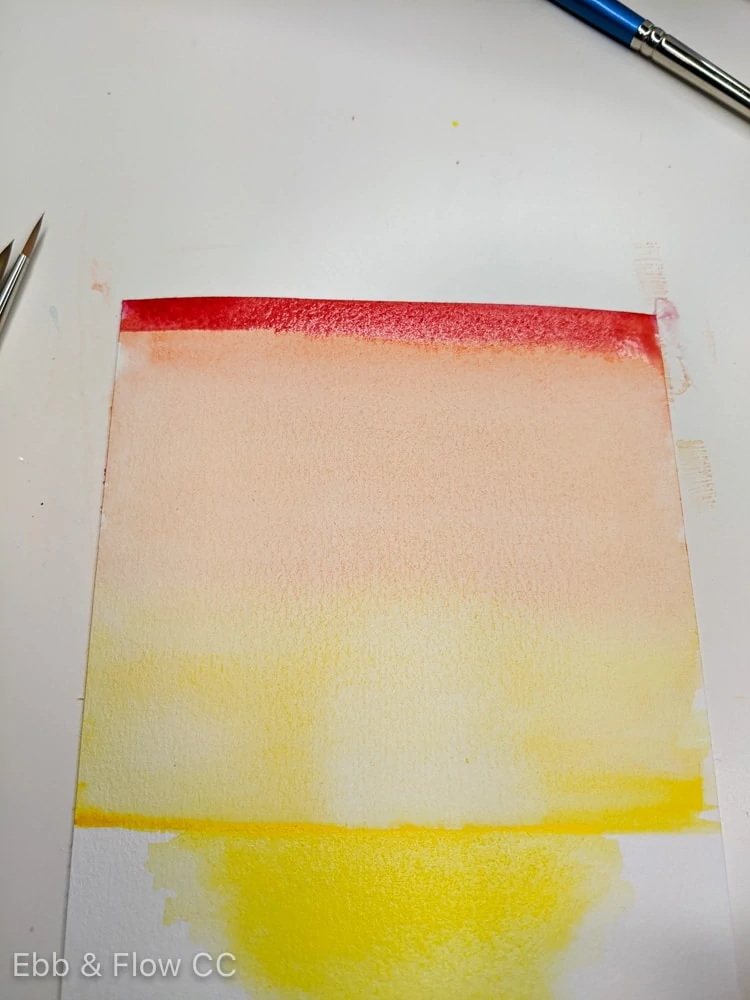
- Paint yellow in the sky. It should be narrow near the sun and get wider as it gets closer to you.
- Add cool red to the top and blend it in.
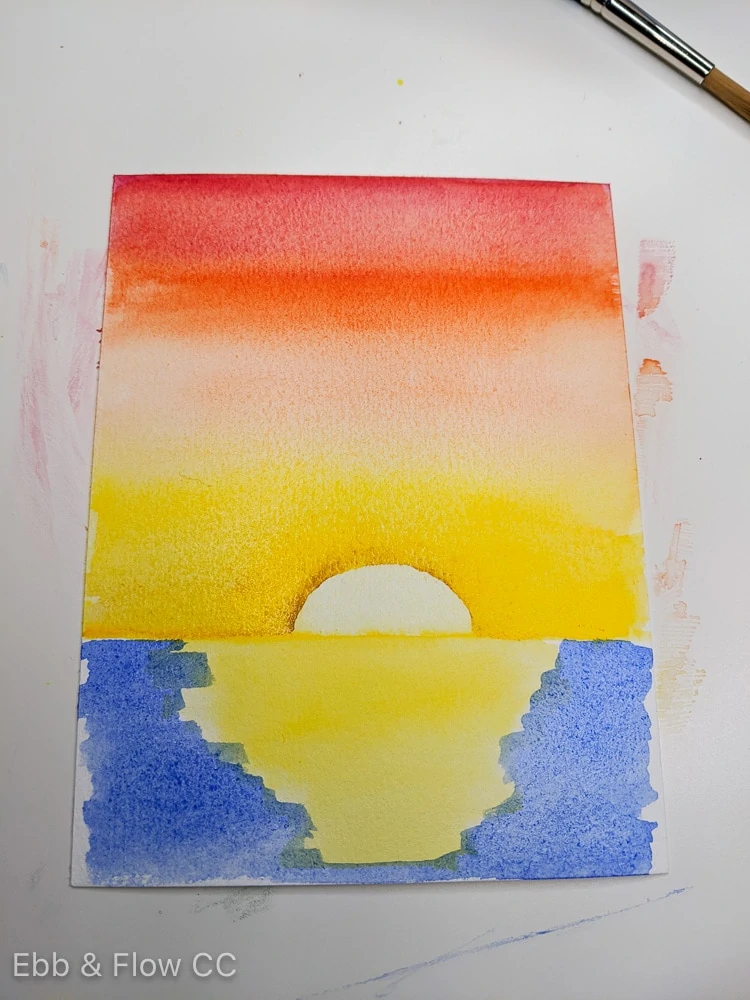
- Use yellow ochre to outline the sun to define the shape.
- Add more yellow ochre paint around the sun.
- Blend the yellow ochre into the yellow background. Use a wet brush if needed.
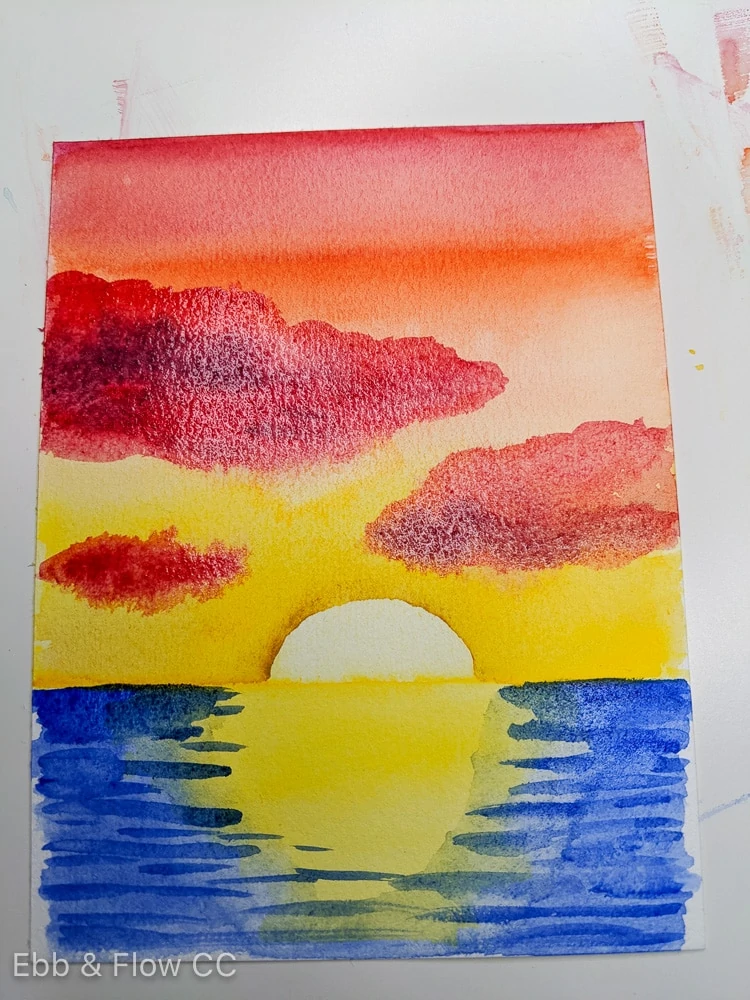
- Add ultramarine blue to the rest of the water. If it blends a little with the water, it's okay. Try not to let it touch the sky though. Wait until it's dry if needed.
- Blend the edges of the water with a lightly wet brush.
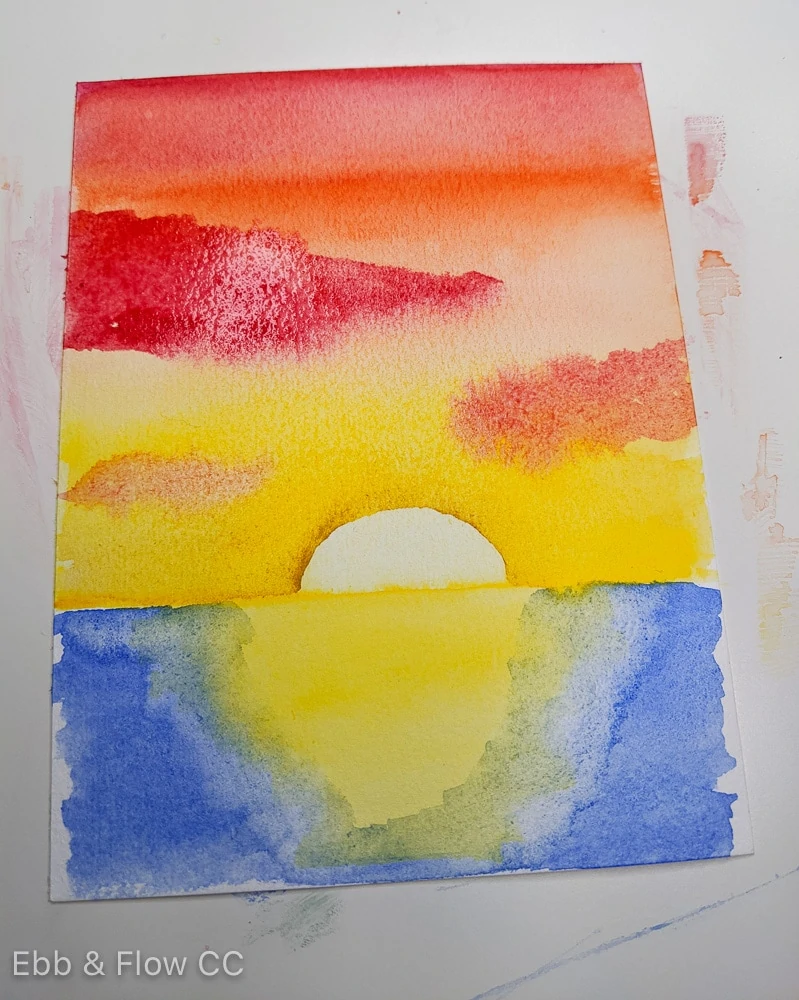
- Start adding in clouds using cool red. Clouds are kind of fluffy blobs. It's okay if they bleed a little into the sky because the shape will look more natural in the end.
- Add dark spots with a purple mixture on the clouds. Add them to the bottoms and in the middle.
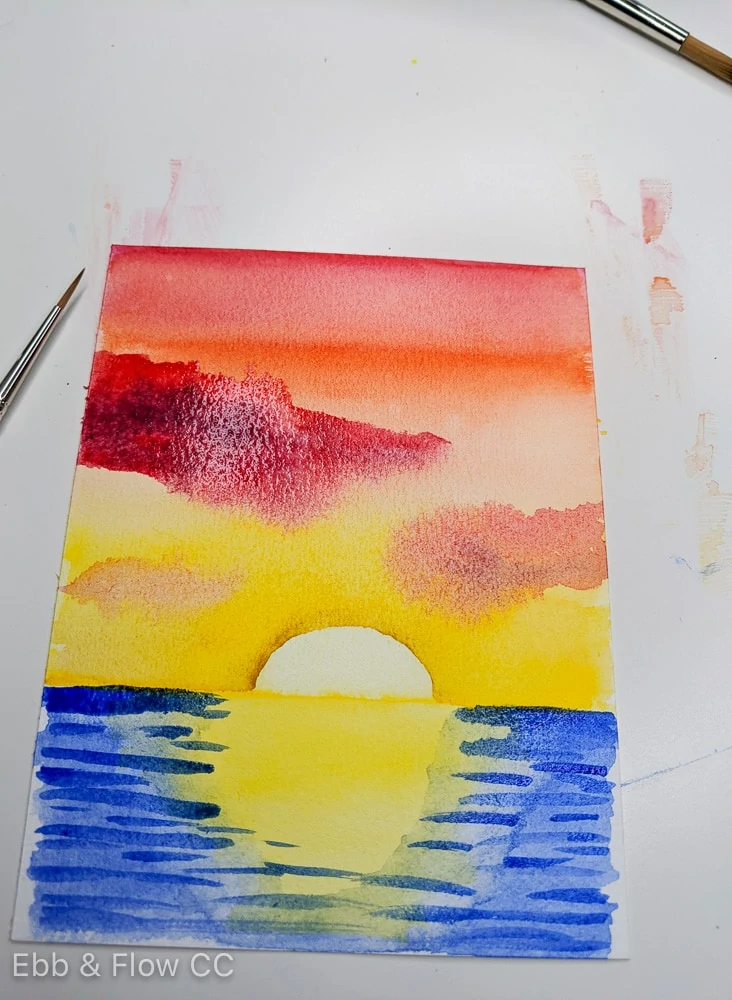
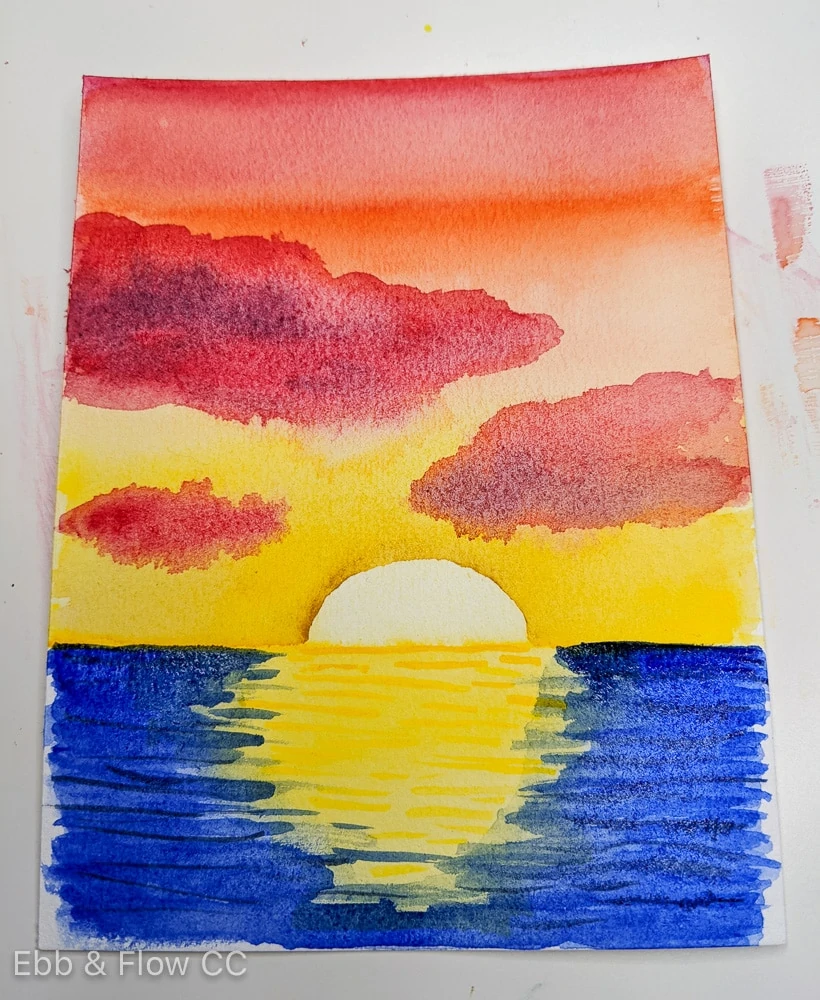
- Start adding waves to the water using ultramarine blue. Use less water to get a thicker mix. Try to make your lines wavy and have them start and stop at different points.
- Use a wet brush to soften any lines that seem too harsh.
- Add more waves.
- Let everything dry.
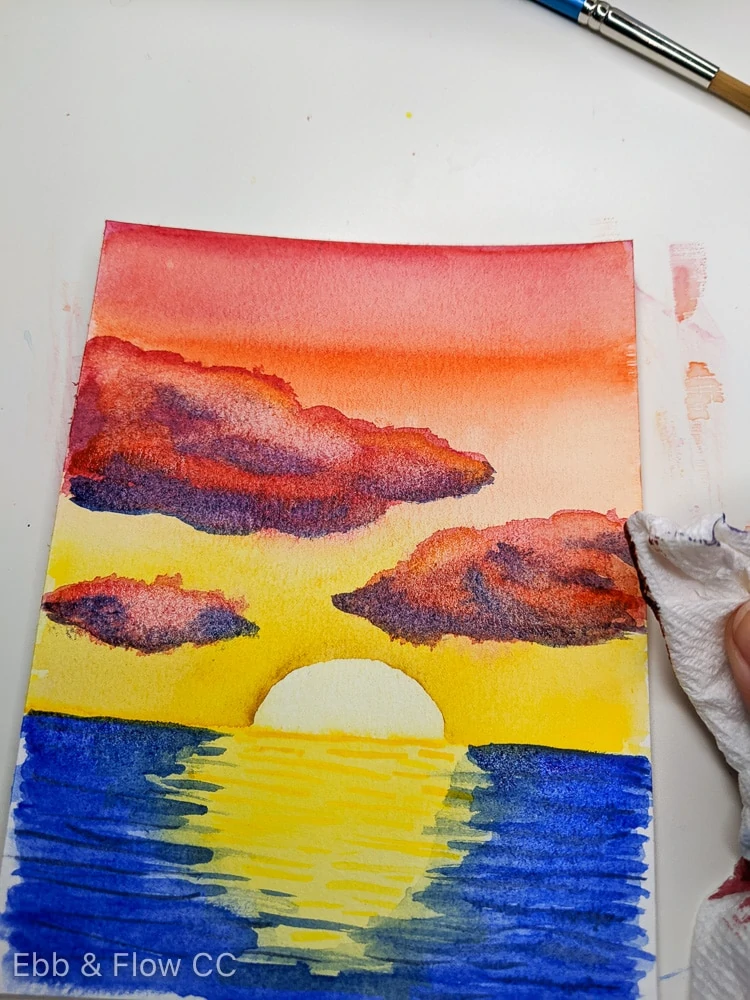
- Add dark waves using a gray mixture (ultramarine blue and burnt umber.)
- Use a purple mixture to add more shadows to the clouds.
- Drop yellow into the tops of the clouds. Blend the paint. Use a paper towel to remove paint from areas that are too dark.
- Add red waves to the water to show the reflection from the sky and clouds.
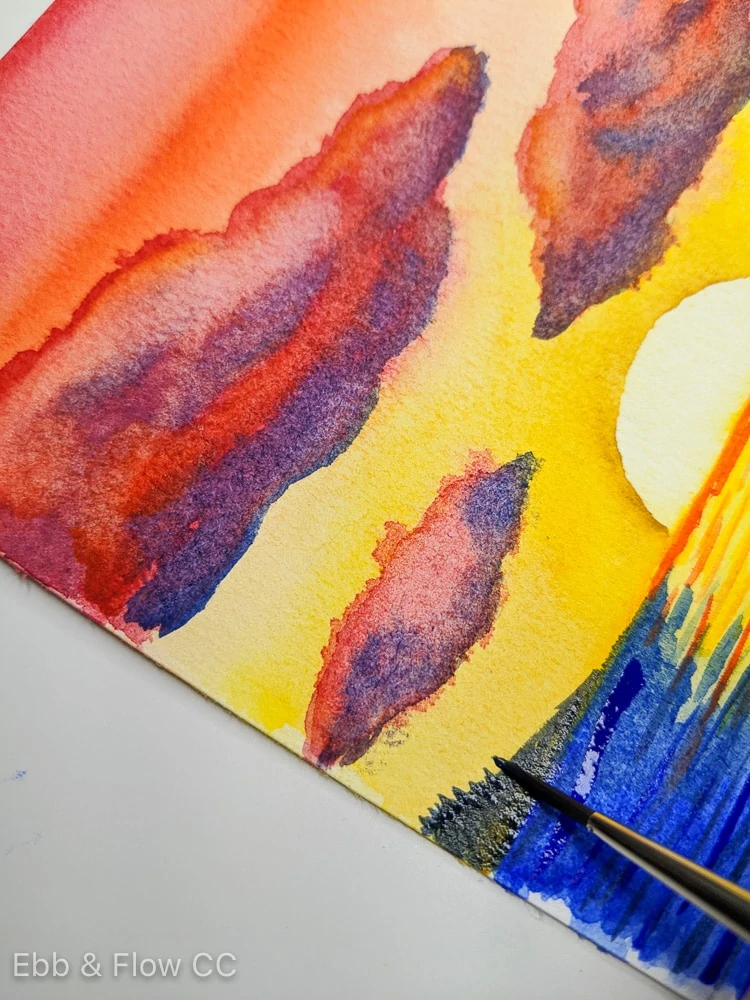
- Use the gray mixture to add land to each side of the painting. Use very little water to make the color dark.
- Use a small brush to add texture to the land to resemble trees (instead of plain triangles.)
- Enjoy your painting!
Notes
Use a paper towel to remove mistakes.
Recommended Products
As an Amazon Associate and member of other affiliate programs, I earn from qualifying purchases.
-
ARTEZA 9x12" Expert Watercolor Pad, Pack of 2, 64 Sheets (140lb/300gsm), Cold Pressed, Acid Free Paper, 32 Sheets Each, Ideal for Watercolor Techniques and Mixed Media
-
Winsor & Newton Cotman Water Colour Paint Pocket Plus Set, Set of 12, Half Pans
-
Princeton Artist Brush Neptune, Brushes for Watercolor Series 4750, Quill Synthetic Squirrel, Size 6
You Might Also Like:
- Techniques for Painting Leaves
- Best Watercolor Paint for Beginners
- All About Watercolor Paper
- Watercolor Palettes
Pin for Later!
